My neighbor, Miss Janelle, asked me last year why I couldn’t just use canned black-eyed peas for my New Year’s dip. I started to explain why that wouldn’t work—something about texture and freshness and the way dried beans hold their shape better. Then I stopped. Honestly, I had never actually tried it with canned beans. I was just repeating what my grandmother had told me, and she was a woman who believed dried beans were the only honest way to cook anything Southern. But Miss Janelle had been making her version of this dip for thirty years, and she swore by the canned stuff. So I gave in. I bought two cans of black-eyed peas, drained them, and made her recipe right there in her kitchen on a rainy Tuesday afternoon.
The dip was incredible. I mean, it was so good I had to sit down after the first bite. The texture was perfect—creamy but with enough bite to remind you these were still beans. And the flavor? Miss Janelle had a trick with smoked paprika and a splash of apple cider vinegar that gave it this warmth that spread through your whole chest. I felt a little ridiculous for all the times I had lectured people about using dried beans. Here was this sweet lady in her seventies showing me that the best recipe isn’t always the most traditional one—it’s the one that actually works for your life. She told me she had been making this dip for her family’s New Year’s Eve gathering since 1985, and nobody had ever complained about canned beans.
I went home that night and wrote down everything she had shown me. I tweaked a few things—added a little more heat, swapped in some different cheese—but the heart of the recipe is still hers. Every time I make this dip, I think about Miss Janelle and her worn-out wooden spoon and the way she laughed when I admitted she was right. Maybe you’ve been there too, holding onto some kitchen rule that nobody can actually explain. This dip taught me that sometimes the best cooking wisdom comes from the people who just want to get dinner on the table, not from the rule books. And honestly? That’s the kind of energy you want to carry into a new year.
Why You’ll Love This Recipe
Let me tell you straight up—this isn’t your average bean dip. This is the kind of dish that makes people hover around the kitchen island, scooping up every last bit even after they’ve sworn they’re full. I’ve tested this recipe at three different gatherings now, and it gets the same reaction every time: silence while people eat, then a chorus of “who made this?”
- Quick & Easy: From start to finish, this dip comes together in about 35 minutes. Most of that is just letting it bubble away in the oven while you set out the rest of your snacks. Perfect for those busy New Year’s Eve parties where you have a million other things to do.
- Simple Ingredients: You probably already have most of these in your pantry. Black-eyed peas, cream cheese, some cheese, spices. Nothing fancy, nothing that requires a special trip to a gourmet store. Miss Janelle would approve.
- Perfect for New Year’s Celebrations: Black-eyed peas are a Southern tradition for good luck and prosperity in the coming year. This dip makes that tradition actually delicious—not just something you choke down for superstition’s sake.
- Crowd-Pleaser: I’ve served this to people who “don’t like beans” and watched them go back for thirds. The creamy texture and smoky flavor win over even the pickiest eaters.
- Unbelievably Delicious: There’s something about the combination of creamy cheese, tender beans, and that hit of smoky paprika that just works. It’s comfort food at its finest—warm, satisfying, and impossible to stop eating.
What makes this recipe different from every other black-eyed pea dip out there? It’s the balance. Most versions are either too heavy on the cheese or too bean-forward and bland. This one hits that sweet spot where every ingredient supports the others without overwhelming them. The cream cheese gives it that luscious texture, the cheddar adds sharpness, and the smoked paprika ties it all together with this subtle warmth that feels like a hug in food form. Plus, using canned beans honestly makes it better for this application—they’re softer and blend more easily into that creamy consistency you want in a warm dip.
This is the recipe you want when you need something that feels special but doesn’t stress you out. It’s the dish that lets you actually enjoy your own party instead of hiding in the kitchen. And honestly, starting the new year with a bowl of something this good? That feels like a pretty solid omen.
What Ingredients You Will Need
This recipe uses simple, wholesome ingredients that come together to create something genuinely memorable. Most of these are pantry staples or easy to find at any grocery store, which is exactly the point—you shouldn’t have to hunt down obscure ingredients to make a delicious New Year’s dish.
- Black-eyed peas, canned (2 cans, 15 ounces each) — drained and rinsed. I prefer the Bush’s brand for consistent texture, but any brand works fine. The key is to rinse them well to remove that canned taste.
- Cream cheese (8 ounces) — softened to room temperature. This is non-negotiable for getting that smooth, creamy base. If you forget to set it out, microwave it in 10-second bursts until soft but not hot.
- Sour cream (1/2 cup) — adds tanginess and helps thin the dip to the perfect consistency. Full-fat works best here, but low-fat is okay in a pinch.
- Sharp cheddar cheese (1 1/2 cups, shredded) — divided. Use half in the dip and half on top for that golden, bubbly crust. I recommend Tillamook or Cabot for the best melting properties.
- Monterey Jack cheese (1/2 cup, shredded) — adds extra creaminess and mild flavor. Feel free to substitute with more cheddar if that’s what you have.
- Smoked paprika (1 1/2 teaspoons) — this is the secret weapon. Don’t substitute regular paprika unless you absolutely have to. The smokiness is what makes this dip so addictive.
- Garlic powder (1 teaspoon) — not fresh garlic here. Garlic powder distributes more evenly and doesn’t overpower the other flavors.
- Onion powder (1 teaspoon) — same reasoning as the garlic powder. It adds depth without chunks of onion in the dip.
- Apple cider vinegar (1 tablespoon) — this brightens everything up and cuts through the richness. Miss Janelle taught me this trick, and I’ve never made it without since.
- Worcestershire sauce (1 teaspoon) — adds umami and complexity. It’s a small amount, but you’d notice if it were missing.
- Hot sauce (1/2 teaspoon, or more to taste) — I use Tabasco, but any vinegar-based hot sauce works. This isn’t meant to make the dip spicy, just to add a little background warmth.
- Salt (1/2 teaspoon) — go easy here since the cheeses and canned beans already have salt.
- Black pepper (1/4 teaspoon) — freshly ground if possible.
- Green onions (3-4, sliced) — for garnish. They add a fresh, sharp contrast to the rich dip.
- Tortilla chips or crusty bread (for serving) — you need something sturdy enough to scoop up this thick, chunky dip. I like restaurant-style tortilla chips or slices of toasted baguette.
Substitution Guidance: If you need to make this dairy-free, use vegan cream cheese and sour cream alternatives, and look for dairy-free shredded cheese blends. The texture won’t be exactly the same, but it’ll still be good. For a lower-fat version, use Neufchâtel cheese instead of cream cheese and Greek yogurt instead of sour cream. And if you want to use dried black-eyed peas, cook 1 cup of dried beans until tender (about 45 minutes to 1 hour) and use 3 cups of those instead of the canned version. Just know that the texture will be a bit firmer.
Equipment Needed
You don’t need a fancy kitchen to make this dip, and that’s part of the beauty of it. Here’s what you’ll need:
- 8×8 inch baking dish — or any similar-sized oven-safe dish. A 9-inch pie plate works too. I’ve even made this in a small cast iron skillet, which gives it a nice rustic look.
- Mixing bowl — medium-sized, for combining the ingredients.
- Wooden spoon or spatula — for mixing. Miss Janelle’s wooden spoon is still my favorite tool for this job, but anything works.
- Cheese grater — if you’re shredding your own cheese, which I highly recommend. Pre-shredded cheese has anti-caking agents that prevent it from melting as smoothly.
- Can opener — obviously.
- Colander — for rinsing the black-eyed peas.
- Measuring cups and spoons — for accuracy.
- Small knife and cutting board — for slicing the green onions.
If you don’t have an 8×8 dish, you can use a 9×13 inch dish—the dip will just be thinner and might cook a few minutes faster. Keep an eye on it. And if you’re making this for a party and want to keep it warm, a small slow cooker works beautifully. Just combine everything in the slow cooker and cook on low for 2-3 hours, stirring occasionally. I’ve done this for potlucks and it works like a charm.
Preparation Method
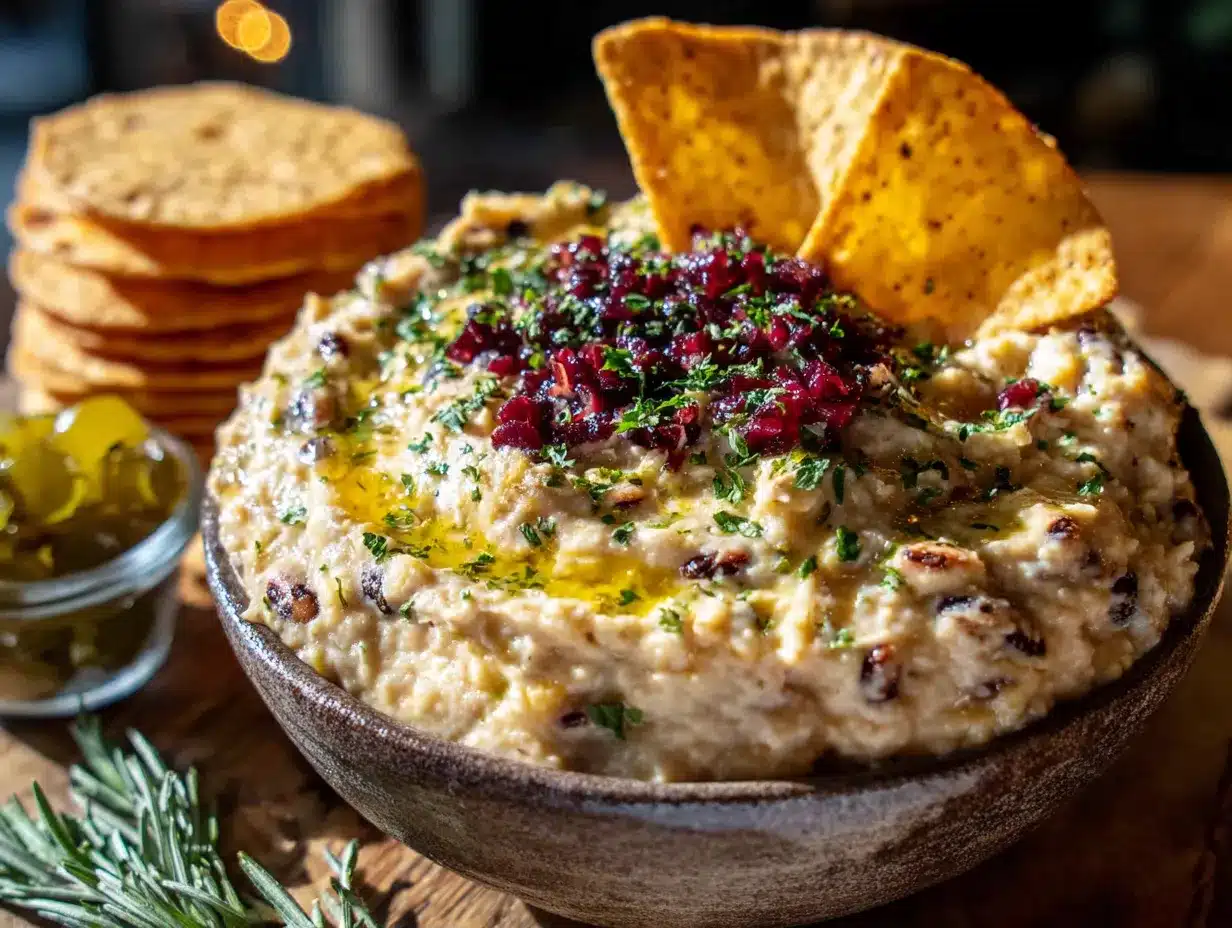
Alright, let’s get cooking. This is one of those recipes where the process is as relaxing as the result—perfect for a cozy New Year’s Eve afternoon when you want to be in the kitchen but not stressed out.
- Preheat your oven to 375°F (190°C). While it’s heating up, take your cream cheese out of the fridge if you haven’t already. You want it soft and spreadable, not cold and stiff. If you forgot, pop it in the microwave for about 15 seconds—just until it gives when you press it.
- Drain and rinse your black-eyed peas. Open both cans, pour them into a colander, and run cold water over them for about 30 seconds. Shake off the excess water. This step is important—it washes away the salty, metallic liquid from the can and lets the beans’ natural flavor come through. Give the colander a few good shakes to get rid of most of the water, but don’t worry about drying them completely.
- In your mixing bowl, combine the softened cream cheese and sour cream. Use your wooden spoon or spatula to mix them together until they’re completely smooth. There should be no lumps of cream cheese left—this is the foundation of your dip, and you want it silky. It takes about a minute of steady stirring. If your cream cheese was properly softened, this should be easy.
- Add the seasonings. Sprinkle in the smoked paprika, garlic powder, onion powder, salt, and black pepper. Add the apple cider vinegar, Worcestershire sauce, and hot sauce. Stir everything together until the spices are evenly distributed. The mixture will turn a lovely warm orange color from the paprika—that’s a good sign.
- Fold in the black-eyed peas and 1 cup of the shredded cheddar cheese. Reserve the remaining 1/2 cup of cheddar and all of the Monterey Jack for the top. Stir gently but thoroughly, making sure every bean gets coated in that creamy, seasoned mixture. The dip will look thick and chunky at this point—that’s exactly what you want.
- Transfer the mixture to your baking dish. Use your spatula to spread it evenly, smoothing out the top. Don’t pack it down—just spread it gently so it’s level.
- Top with the remaining cheeses. Sprinkle the reserved cheddar and the Monterey Jack evenly over the top. Make sure you cover the entire surface so you get that beautiful golden crust when it bakes.
- Bake for 20-25 minutes. You’ll know it’s done when the edges are bubbling and the top is golden brown and slightly crispy in spots. The dip should be hot all the way through—if you stick a spoon in the center, it should come out steaming. Every oven is different, so start checking at 18 minutes if yours runs hot.
- Let it rest for 5 minutes. I know this is the hardest part, but trust me. The dip needs a few minutes to set up so it doesn’t slide off your chips. Plus, you don’t want anyone burning their mouth on that first bite.
- Garnish with sliced green onions. Sprinkle them right before serving so they stay bright and fresh. The green against the golden cheese is gorgeous, and that sharp onion flavor cuts through the richness perfectly.
- Serve warm with tortilla chips or crusty bread. Set out a big bowl of chips and watch them disappear. If you’re serving this at a party, you might want to make a double batch—trust me on this one.
Sensory Cue Check: When you stir the cream cheese and sour cream together, it should feel smooth and give no resistance. When you fold in the beans, you should hear a soft squelching sound as they incorporate. When the dip comes out of the oven, the top should be bubbly and fragrant—that smoky paprika smell will fill your whole kitchen. And when you take that first bite, the contrast between the crispy cheese top and the creamy, chunky interior should make you close your eyes.
Cooking Tips & Techniques
I’ve made this dip probably a dozen times now, and I’ve learned a few things the hard way. Here’s what I wish someone had told me the first time:
Don’t overmix the beans. You want some whole beans in there for texture. Stir just until everything is combined, then stop. If you keep mixing, you’ll break up the beans and end up with more of a paste than a dip. Nobody wants that.
Watch your oven temperature. I made this once at 400°F because I was in a hurry, and the top got too dark before the center was hot. Stick with 375°F—it’s the sweet spot where the cheese melts evenly and the dip gets hot all the way through without burning.
Let the dip rest. I know I said this already, but I mean it. The first time I made this, I served it straight out of the oven and watched my brother-in-law burn his tongue. Plus, the dip is too runny when it’s piping hot. Those five minutes of resting allow the cream cheese to firm up slightly and the flavors to meld together. It’s worth the wait.
Make extra topping cheese. I always shred a little more cheese than the recipe calls for and add an extra sprinkle on top during the last 5 minutes of baking. It gives you that extra-crispy, almost lacy cheese crust that everyone fights over. Just keep an eye on it so it doesn’t burn.
Double the recipe for parties. Seriously. I made a single batch for a New Year’s Eve gathering of eight people, and it was gone in 20 minutes. People were scraping the dish with chips. The next time, I made a double batch in a 9×13 pan, and that barely lasted through the first hour. This dip is popular, and you will not have leftovers unless you hide some.
Variations & Adaptations
One of the best things about this dip is how flexible it is. Here are some variations I’ve tried and loved:
Spicy Southwest Version: Add a drained can of diced green chiles and a teaspoon of cumin along with the other seasonings. Top with some pickled jalapeños before baking for an extra kick. This version is great for game day or any gathering where people like things hot.
Vegetarian and Vegan Adaptation: The recipe is already vegetarian, but for a vegan version, use vegan cream cheese and sour cream, and look for a plant-based cheddar shred that melts well. I’ve tried this with Violife brand, and it works surprisingly well. Add a tablespoon of nutritional yeast along with the seasonings to boost that cheesy flavor.
Smoky Bacon Addition: Cook 4-5 slices of bacon until crispy, crumble them, and mix half into the dip before baking. Sprinkle the remaining bacon on top along with the cheese. The smokiness of the bacon pairs beautifully with the smoked paprika. This is my husband’s favorite version, and honestly, it’s hard to go back to the original once you’ve tried it.
Herby Fresh Version: Stir in a tablespoon of fresh chopped rosemary or thyme along with the seasonings. The herbs add a bright, aromatic note that lightens up the richness. I made this version for a spring gathering, and it was a hit with people who usually find dips too heavy.
Slow Cooker Method: Combine all ingredients except the topping cheese in a slow cooker. Cook on low for 2-3 hours, stirring once halfway through. About 20 minutes before serving, sprinkle the remaining cheese on top, cover, and let it melt. This is perfect for parties where you want to keep the dip warm for hours without worrying about it drying out.
Serving & Storage Suggestions
This dip is best served warm, straight from the oven. The texture is at its peak when the cheese is still stretchy and the cream cheese base is soft and luscious. Set it out with a big basket of sturdy tortilla chips—I like the restaurant-style ones that can handle a heavy scoop without breaking. Crusty French bread or sliced baguette works beautifully too, especially if you toast it lightly first.
For a full spread, serve this dip alongside other Southern classics like collard greens, cornbread, or a simple green salad. It also pairs wonderfully with crudités—carrot sticks, celery, and bell pepper strips add a fresh crunch that contrasts nicely with the rich dip. If you’re having a New Year’s Eve party, set it out with a bowl of spicy roasted pecans and some deviled eggs for a real Southern spread.
Storage: If you somehow have leftovers, let the dip cool completely, then cover the dish tightly with foil or plastic wrap. It will keep in the refrigerator for up to 4 days. The texture will firm up as it cools, but it’ll soften again when you reheat it.
Reheating: The best way to reheat this dip is in the oven at 350°F for about 15 minutes, or until it’s hot and bubbly again. You can also microwave individual portions in 30-second bursts, stirring between each, but the texture won’t be quite as nice. If you’re reheating the whole thing, consider adding a splash of milk or cream before warming to restore some of the creaminess that gets lost during refrigeration.
Freezing: This dip freezes surprisingly well. Let it cool completely, then transfer it to an airtight container. It will keep for up to 3 months. Thaw overnight in the refrigerator, then reheat in the oven at 350°F until hot. The texture might be slightly grainier than fresh, but it’s still delicious—perfect for those times when you need a quick appetizer.
One thing I’ve noticed: the flavors actually get better after a day in the fridge. The smoked paprika and apple cider vinegar meld together into something even more complex. So if you’re planning ahead, making this dip a day in advance and reheating it is a solid strategy. Just don’t add the green onion garnish until right before serving, or it’ll get sad and wilted.
Nutritional Information & Benefits
Let’s be real—this is not health food. It’s a rich, cheesy, indulgent dip that’s meant for celebrations and cozy nights. But it does have some redeeming qualities, especially if you compare it to other party dips.
Estimated Nutritional Values (per serving, based on 8 servings):
- Calories: 320
- Total Fat: 24g
- Saturated Fat: 14g
- Cholesterol: 70mg
- Sodium: 620mg
- Total Carbohydrates: 14g
- Dietary Fiber: 4g
- Sugars: 3g
- Protein: 14g
Health Benefits of Key Ingredients: Black-eyed peas are actually quite nutritious—they’re packed with fiber, protein, folate, and iron. That fiber helps with digestion and keeps you feeling full, which is helpful when you’re at a party full of tempting snacks. The cream cheese and sour cream provide calcium and vitamin A, though they also bring the fat content up. Smoked paprika contains capsaicin, which has anti-inflammatory properties, and the garlic and onion powders offer small amounts of antioxidants.
Dietary Considerations: This recipe is vegetarian and can be made gluten-free by serving with gluten-free chips or vegetables instead of bread. It’s not suitable for vegans or those with dairy allergies unless you use the substitutions mentioned above. It’s also relatively low in carbs for a cheesy dip, with most of the carbs coming from the beans themselves.
Allergen Note: This recipe contains dairy (cream cheese, sour cream, cheddar, Monterey Jack) and may contain gluten depending on what you serve with it. The Worcestershire sauce typically contains anchovies, so it’s not suitable for strict vegetarians or those with fish allergies—you can substitute soy sauce or tamari instead.
My personal take? This is a once-in-a-while treat, and that’s okay. Food is about more than just nutrients—it’s about connection, tradition, and joy. A bowl of this dip on New Year’s Eve, surrounded by people you love, is good for your soul. And that counts for something.
Conclusion
This cozy Southern black-eyed pea dip has become a New Year’s tradition in my house, and I think it deserves a spot in yours too. It’s warm, it’s comforting, and it carries that lovely symbolism of luck and prosperity without tasting like you’re eating for good fortune. It just tastes good—really, genuinely good.
What I love most about this recipe is how forgiving it is. Miss Janelle taught me that you don’t have to follow every rule to make something special. You can use canned beans. You can tweak the spices. You can add bacon or keep it simple. The dip will still be delicious, and the people around your table will still feel loved. That’s what cooking is really about, isn’t it?
I’d love to hear how this turns out for you. Did you add your own twist? Did your family fight over the last bite? Drop a comment below and let me know—I read every single one, and I promise I’ll respond. And if you’re looking for more cozy Southern recipes to carry you through the winter, check out my creamy collard greens dip and my Southern Hoppin’ John casserole for more lucky New Year’s dishes.
Here’s to a new year full of good food, good company, and a little bit of luck. Go make that dip, and don’t forget the extra cheese on top. Miss Janelle would want it that way.
Frequently Asked Questions
Can I make this dip ahead of time?
Absolutely. You can assemble the entire dip (minus the topping cheese and garnish) up to 24 hours in advance. Cover it and keep it in the refrigerator. When you’re ready to bake, add the topping cheese and add about 5-10 minutes to the baking time since you’re starting from cold. It’s a great make-ahead option for party planning.
Can I use dried black-eyed peas instead of canned?
You can, but I honestly prefer canned for this recipe. The canned beans are softer and blend more easily into the creamy base. If you want to use dried, cook 1 cup of dried black-eyed peas until tender (about 45 minutes to 1 hour), drain them well, and use 3 cups of cooked beans. The texture will be firmer, so you might want to mash some of them slightly before adding them to the dip.
How can I make this dip less rich?
Use Neufchâtel cheese instead of cream cheese and Greek yogurt instead of sour cream. You can also reduce the cheese on top by half. The dip won’t be quite as luxurious, but it’ll still be tasty. Another option is to add more black-eyed peas and less cheese—just keep the ratios balanced so the consistency stays right.
What can I serve with this dip besides chips?
So many options! Crusty baguette slices, crostini, pita chips, crackers, celery sticks, carrot chips, bell pepper strips, or even roasted potato wedges. I’ve also served it as a spread on sliders, and it was incredible. Basically, anything sturdy enough to scoop or spread will work.
Can I freeze this dip?
Yes, and it works surprisingly well. Let the dip cool completely, then transfer it to an airtight container. It will keep in the freezer for up to 3 months. Thaw overnight in the refrigerator, then reheat in the oven at 350°F until hot and bubbly. The texture might be slightly grainier than fresh, but the flavor will still be excellent. Just don’t freeze it with the green onion garnish—add that fresh after reheating.
Pin This Recipe!
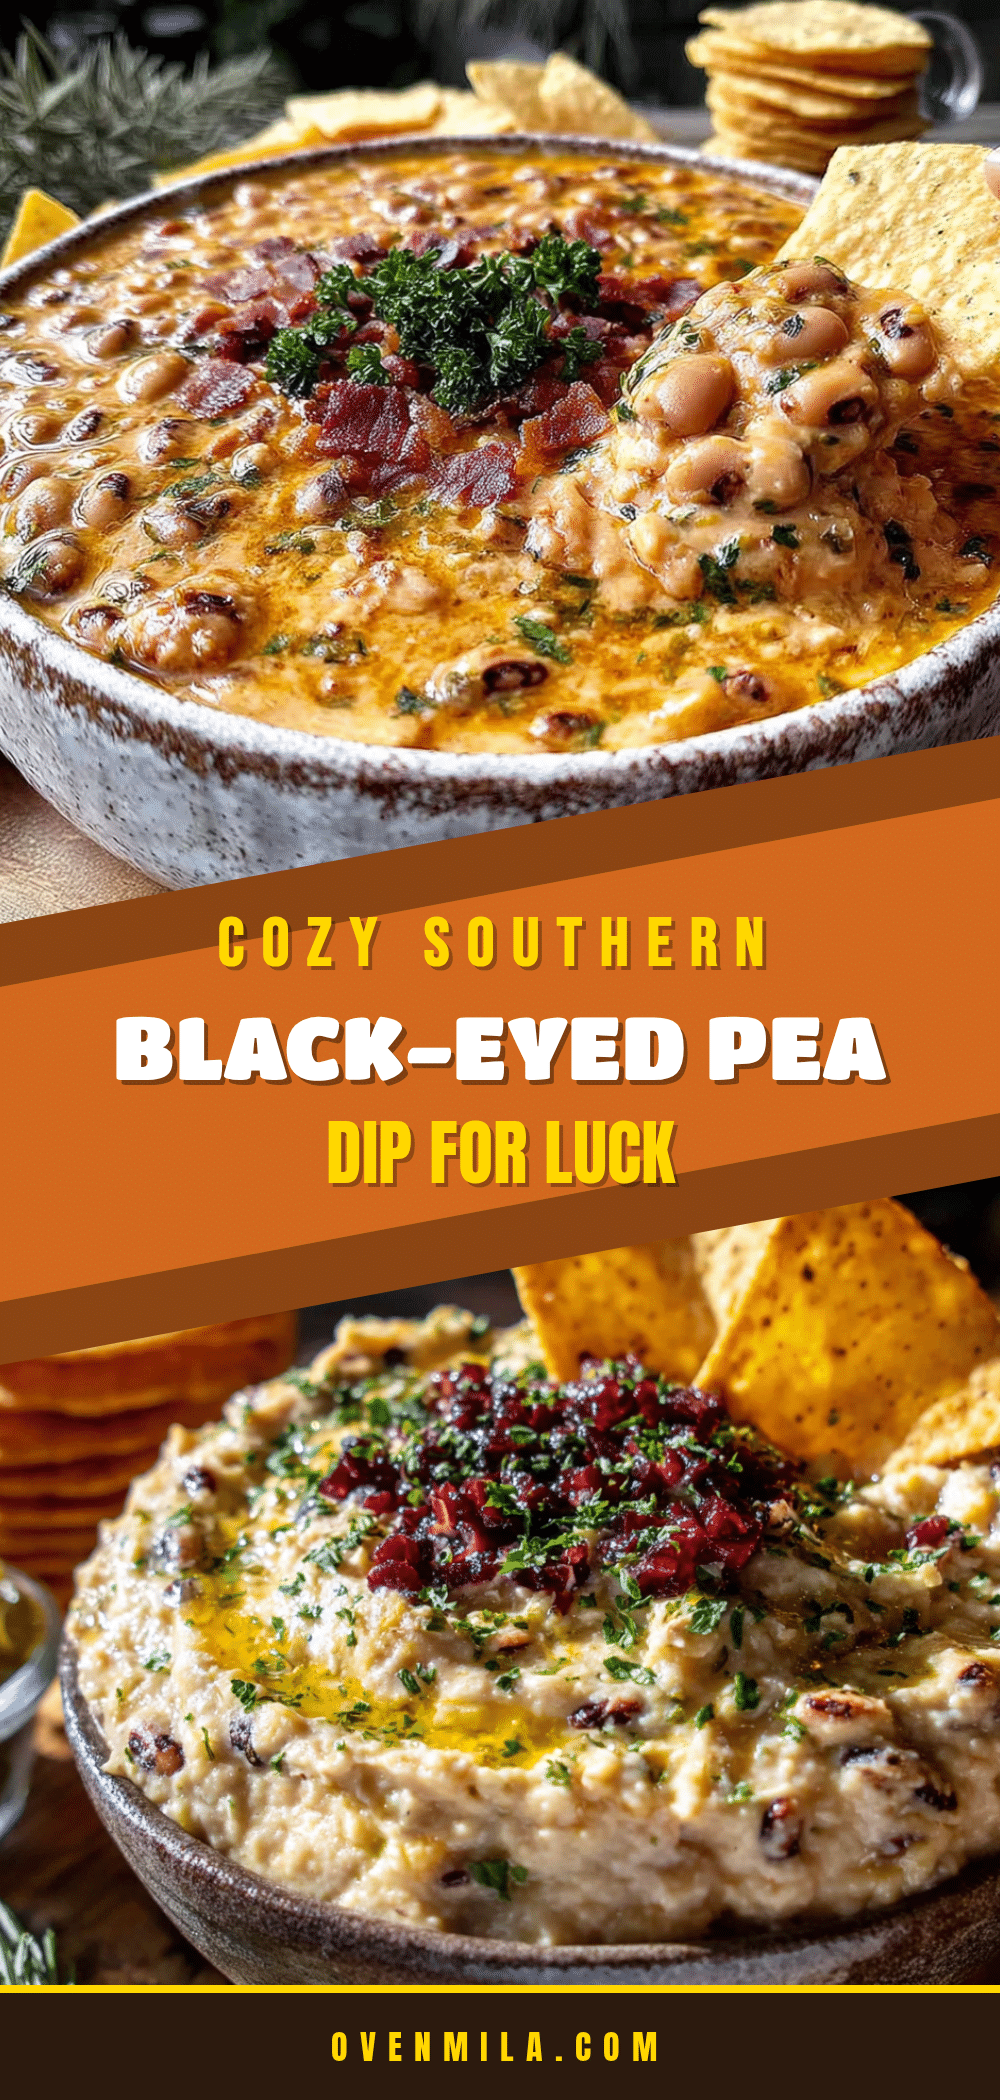
Cozy Southern Black-Eyed Pea Dip for New Year’s Luck

A creamy, smoky, and utterly delicious black-eyed pea dip that’s perfect for New Year’s celebrations. Made with canned beans for convenience, this crowd-pleasing appetizer comes together in about 35 minutes and is sure to bring good luck and full bellies.
- Prep Time: 10 minutes
- Cook Time: 25 minutes
- Total Time: 35 minutes
- Yield: 8 servings 1x
- Category: Appetizer
- Cuisine: Southern
Ingredients
- 2 cans (15 ounces each) black-eyed peas, drained and rinsed
- 8 ounces cream cheese, softened
- 1/2 cup sour cream
- 1 1/2 cups sharp cheddar cheese, shredded, divided
- 1/2 cup Monterey Jack cheese, shredded
- 1 1/2 teaspoons smoked paprika
- 1 teaspoon garlic powder
- 1 teaspoon onion powder
- 1 tablespoon apple cider vinegar
- 1 teaspoon Worcestershire sauce
- 1/2 teaspoon hot sauce (or more to taste)
- 1/2 teaspoon salt
- 1/4 teaspoon black pepper
- 3–4 green onions, sliced (for garnish)
- Tortilla chips or crusty bread (for serving)
Instructions
- Preheat oven to 375°F (190°C).
- Drain and rinse black-eyed peas in a colander under cold water for about 30 seconds; shake off excess water.
- In a mixing bowl, combine softened cream cheese and sour cream until smooth.
- Add smoked paprika, garlic powder, onion powder, salt, black pepper, apple cider vinegar, Worcestershire sauce, and hot sauce; stir until evenly distributed.
- Fold in black-eyed peas and 1 cup of shredded cheddar cheese until combined.
- Transfer mixture to an 8×8 inch baking dish and spread evenly.
- Top with remaining 1/2 cup cheddar and Monterey Jack cheese.
- Bake for 20-25 minutes until edges are bubbling and top is golden brown.
- Let rest for 5 minutes before serving.
- Garnish with sliced green onions and serve warm with tortilla chips or crusty bread.
Notes
For a dairy-free version, use vegan cream cheese, sour cream, and shredded cheese. For a lower-fat version, use Neufchâtel cheese and Greek yogurt. To use dried black-eyed peas, cook 1 cup dried beans until tender (about 45 minutes to 1 hour) and use 3 cups cooked beans. The dip can be assembled up to 24 hours in advance (without topping cheese) and refrigerated; add topping cheese and bake, adding 5-10 minutes to baking time. Leftovers keep in the refrigerator for up to 4 days and can be frozen for up to 3 months.
Nutrition
- Serving Size: 1/8 of recipe
- Calories: 320
- Sugar: 3
- Sodium: 620
- Fat: 24
- Saturated Fat: 14
- Carbohydrates: 14
- Fiber: 4
- Protein: 14
Keywords: black-eyed pea dip, New Year's dip, Southern appetizer, creamy bean dip, smoked paprika dip, easy party dip


