I was digging through my pantry last October, looking for something—anything—that could pass for a quick dinner before the neighborhood kids started their trick-or-treating rounds. My hands brushed past a can of diced tomatoes, then a box of brown rice, and I stopped. There, sitting in the back corner, was a jar of roasted red peppers I’d bought on a whim three weeks earlier. And just like that, I was nine years old again, standing in my aunt Carol’s tiny kitchen in Cleveland.
Aunt Carol wasn’t really my aunt—she was my mom’s best friend from college—but she was the person who taught me that Halloween food didn’t have to mean store-bought cookies and orange-frosted cupcakes. She’d make these stuffed peppers every year, except hers were loaded with ground beef and enough cheddar to make a cardiologist wince. She’d arrange them on a platter with olive slices for eyes, calling them her “mummy peppers.” I remember watching her hands, speckled with sauce, as she’d pipe the cheese in thin ribbons across the top. “The gooier, the better,” she’d say, winking at me.
She passed away five years ago, and I haven’t had her stuffed peppers since. Honestly, I’d been scared to try making them myself—partly because I knew I’d mess up the cheese ribbons, and partly because I didn’t want to ruin the memory. But standing there in my own kitchen, with the Halloween decorations half-hung and a chill in the air, I figured it was time. The twist? I wanted a version that felt indulgent but didn’t leave me sluggish afterward. You know that feeling—when you eat something heavy and regret it an hour later? I wanted the opposite. I wanted the comfort without the coma.
So I started experimenting. Ground turkey instead of beef. Brown rice for fiber. A lighter cheese situation that still melted into those glorious, stretchy ribbons. And you know what? It worked. The first batch came out of the oven looking exactly like I remembered—golden, gooey, a little ridiculous in the best way. I may have cried a little. Just a little. But that’s what happens when a recipe carries a whole decade of Halloween memories on its shoulders.
Why You’ll Love This Recipe
Let me tell you—these Lightened-Up Mummy Stuffed Peppers are the kind of recipe that makes you feel like you’ve hacked the system. You get all the cozy, cheesy satisfaction of a classic stuffed pepper, but without the heavy feeling that usually follows. I’ve tested this at least six times (my family is very patient), and I can honestly say this version is the one I reach for every single time.
- Quick & Easy: From fridge to table in about 45 minutes. That’s faster than ordering delivery in some neighborhoods.
- Simple Ingredients: No weird health-food store trips. Everything is either in your pantry or at the regular grocery store.
- Perfect for Halloween Dinner: It’s festive without being fussy. Kids love the mummy look, and adults love that it’s actually nutritious.
- Crowd-Pleaser: I’ve served these to picky eaters, health-conscious friends, and my uncle who “doesn’t do turkey.” Everyone went back for seconds.
- Unbelievably Delicious: The texture is where this recipe shines. The peppers stay tender but not mushy, the filling is savory and satisfying, and the cheese ribbons get all stretchy and golden on top.
What makes this different from every other stuffed pepper recipe out there? It’s the balance. Most lightened-up versions taste like punishment—dry, bland, and sad. Not these. The secret is in how you season the turkey (don’t skimp on the smoked paprika) and how you layer the cheese. You get just enough to feel indulgent, but not so much that you regret it. It’s comfort food reimagined—healthier, faster, but with the same soul-soothing satisfaction. Perfect for impressing guests without stress, or turning a simple Tuesday dinner into something memorable.
What Ingredients You Will Need
This recipe uses simple, wholesome ingredients to deliver bold flavor and satisfying texture without the fuss. Most of these are pantry staples, and I’ve included substitution notes where I can.
- 4 large bell peppers (any color works, but orange and red look most “mummy-like” and are sweeter)
- 1 lb lean ground turkey (93/7 works best—not too dry, not too greasy)
- 1 cup cooked brown rice (or white rice, quinoa, or cauliflower rice for low-carb)
- 1 small onion, diced (about 1/2 cup)
- 3 cloves garlic, minced (fresh is better, but jarred works in a pinch)
- 1 can (15 oz) diced tomatoes, drained (fire-roasted adds a nice smoky depth)
- 1 teaspoon smoked paprika (I use [brand]—it’s worth getting the good stuff)
- 1 teaspoon dried oregano
- 1/2 teaspoon cumin
- 1/2 teaspoon salt (plus more to taste)
- 1/4 teaspoon black pepper
- 1 cup shredded part-skim mozzarella cheese (divided—3/4 cup for filling, 1/4 cup for topping)
- 1/4 cup shredded Parmesan cheese (adds a salty, nutty kick)
- 2 tablespoons olive oil (for sautéing)
- Optional: black olive slices (for the “mummy eyes”—purely decorative but very fun)
For the cheese ribbons, I recommend using part-skim mozzarella because it melts beautifully without getting greasy. Full-fat mozzarella works too, but it can make the dish heavier. If you’re dairy-free, try a plant-based mozzarella shred—just know the texture won’t be quite as stretchy. I’ve tested this with [brand] and it held up surprisingly well.
When choosing bell peppers, look for ones that are squat and wide rather than tall and narrow—they’re easier to stuff and stand up better in the baking dish. And if you can find organic peppers, great, but conventional ones work just fine here since you’re cooking them down.
Equipment Needed
You don’t need a fancy kitchen to pull these off. Here’s what I use:
- Large skillet or sauté pan (for cooking the filling)
- 9×13 baking dish (glass or ceramic works best)
- Sharp knife and cutting board
- Mixing bowl (for combining the filling)
- Small saucepan (if you need to cook the rice)
- Aluminum foil (for covering the peppers while baking)
- Piping bag or zip-top bag (for the cheese ribbons—honestly, a zip-top bag with the corner snipped works perfectly)
If you don’t have a piping bag, don’t stress. I’ve used a spoon to drizzle the cheese before, and it looked rustic but charming. The key is to let the cheese cool slightly so it’s thicker and easier to control. Also, I recommend using a baking dish that’s just big enough to hold the peppers snugly—this prevents them from tipping over and losing their filling.
Preparation Method
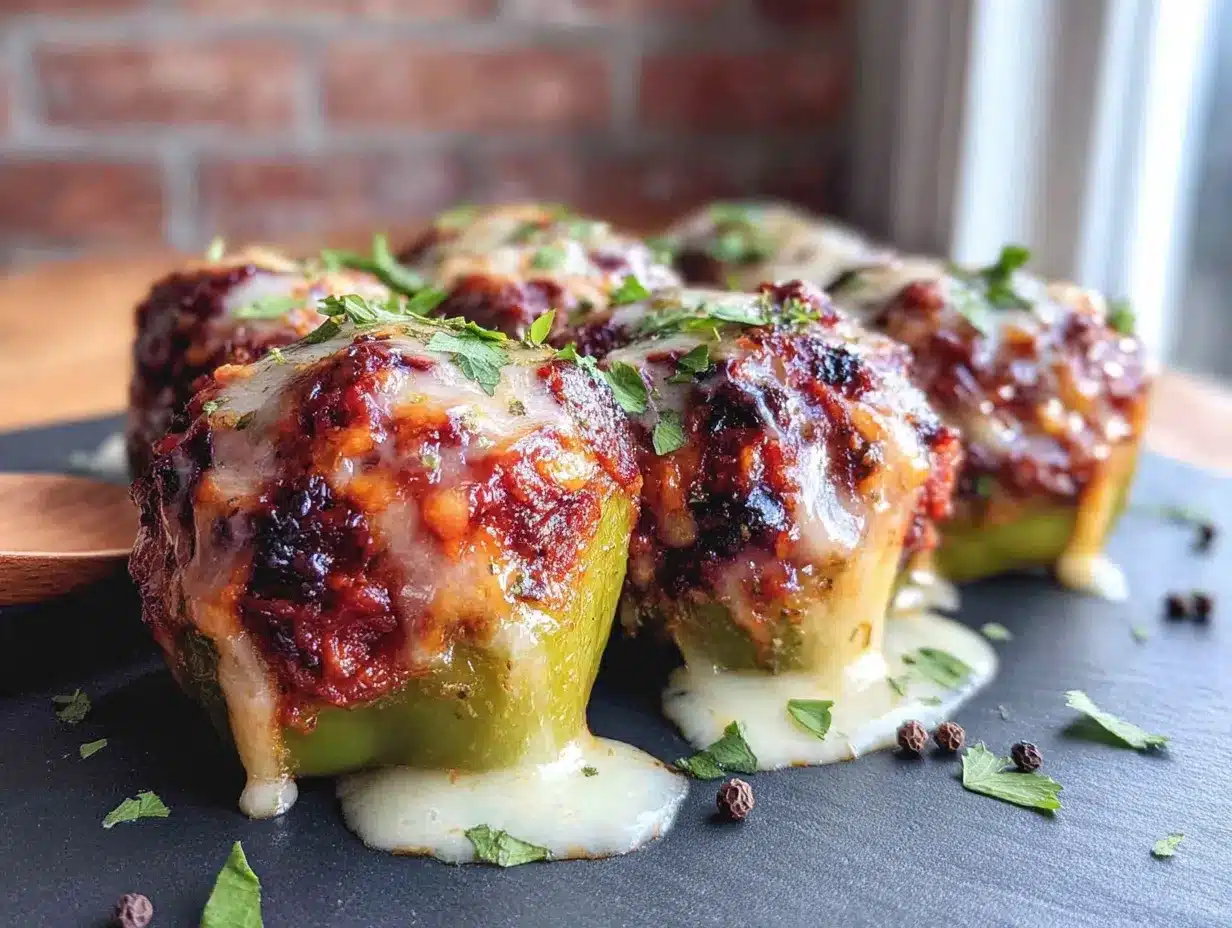
Alright, let’s get cooking. I’ve broken this down step-by-step so you don’t miss anything. Total time is about 45 minutes.
- Preheat your oven to 375°F (190°C). While it’s heating, bring a large pot of water to a boil. You’ll blanch the peppers for about 3 minutes—this softens them just enough so they cook evenly in the oven.
- Prep the peppers. Cut the tops off each bell pepper (save the tops if you want to chop them up for the filling—waste not!). Remove the seeds and membranes from inside. If the peppers won’t stand up straight, trim a tiny slice off the bottom—but don’t cut through, or the filling will leak out.
- Blanch the peppers. Submerge the peppers in the boiling water for 3 minutes. You’ll see them turn brighter and slightly softer. Remove them with tongs and let them drain upside down on a paper towel. Pat the insides dry too—excess water will make the filling soggy.
- Cook the filling. Heat the olive oil in a large skillet over medium heat. Add the diced onion and cook for 3-4 minutes until translucent. Add the minced garlic and cook for 30 seconds—don’t let it burn, or it’ll taste bitter. Add the ground turkey, breaking it up with a wooden spoon. Cook for 6-8 minutes until browned and cooked through.
- Season and combine. Drain any excess fat from the skillet (there shouldn’t be much with lean turkey). Stir in the diced tomatoes, cooked brown rice, smoked paprika, oregano, cumin, salt, and pepper. Cook for 2-3 minutes until everything is heated through. Taste and adjust seasoning—I usually add a pinch more salt here.
- Add the cheese. Remove the skillet from heat. Stir in 3/4 cup of the shredded mozzarella and all of the Parmesan. The cheese will melt into the filling, making it extra creamy and delicious.
- Stuff the peppers. Place the blanched peppers upright in your baking dish. Spoon the filling into each pepper, packing it gently but not too tightly—you want it to hold together but not be dense. You should have enough filling to mound slightly above the rim of each pepper.
- Bake the peppers. Cover the baking dish with aluminum foil and bake for 20 minutes. This steams the peppers until tender and melds all the flavors together.
- Make the cheese ribbons. While the peppers are baking, take the remaining 1/4 cup of mozzarella and let it come to room temperature. If you’re using a piping bag, fill it with the cheese. If you’re using a zip-top bag, spoon the cheese into one corner, seal it, and snip off a tiny bit of the corner. The cheese should be soft enough to pipe but not melted.
- Finish and serve. After 20 minutes, remove the foil. Carefully pipe the cheese in zigzag lines across the top of each pepper to look like mummy wrappings. Return the peppers to the oven (uncovered) for 5-7 minutes, until the cheese is melted and slightly golden. If you’re using olive slices for eyes, press them into the cheese while it’s still warm. Let the peppers rest for 5 minutes before serving—the filling will set and be easier to handle.
Sensory cues: When the peppers come out of the oven, you should see the cheese ribbons lightly browned at the edges, and the peppers should be tender enough that a fork slides in easily. The filling should be steaming and fragrant with smoked paprika. If you tap the side of a pepper, it should feel firm but not hard.
Cooking Tips & Techniques
I’ve made this recipe enough times to know where things can go wrong. Here’s what I’ve learned:
Don’t over-blanch the peppers. I made this mistake the first time—I left them in the boiling water for 6 minutes, thinking softer would be better. Nope. They turned into mushy messes that collapsed under the filling. Three minutes is the sweet spot. You want them pliable but still holding their shape.
Let the cheese cool slightly before piping. If you try to pipe hot, melted cheese, it’ll be too runny and you’ll end up with a puddle instead of ribbons. Let it sit at room temperature for about 5 minutes after you take it out of the fridge. It should be soft but not liquid.
Season the turkey generously. Ground turkey is leaner than beef, which means it can be bland if you’re not careful. Don’t be shy with the smoked paprika—it adds a depth that makes the dish feel hearty. I once forgot the cumin and the filling tasted flat. Learn from my mistake.
Use a piping bag for the cheese ribbons. I know it sounds fussy, but it makes a huge difference in presentation. A zip-top bag works fine, but a piping bag gives you more control over the thickness of the lines. If you’re serving these for a Halloween party, the visual payoff is worth the extra 30 seconds.
Multitasking strategy: While the peppers are blanching, start cooking the onion and garlic. While the turkey is browning, cook the rice if you haven’t already. The oven preheats while you’re prepping. If you time it right, everything comes together in about 40 minutes flat.
Variations & Adaptations
One of the best things about this recipe is how easy it is to customize. Here are some variations I’ve tried:
Vegetarian Version: Swap the ground turkey for 1 can of black beans (drained and rinsed) plus 1/2 cup of finely chopped mushrooms. Sauté the mushrooms first to release their moisture, then add the beans and seasonings. It’s hearty, protein-packed, and my vegetarian friend said it was “better than the original.” High praise.
Low-Carb/Keto: Replace the brown rice with 1 cup of cauliflower rice (frozen or fresh). Sauté it in the skillet before adding it to the filling to remove excess moisture. The texture is slightly different, but the flavor holds up beautifully. I’ve also used riced broccoli in a pinch—it works, but it’s a little more assertive.
Spicy Southwest: Add 1 diced jalapeño (seeds removed if you want less heat) along with the onion. Use pepper jack cheese instead of mozzarella for the ribbons. Stir in 1/2 cup of corn kernels (frozen or canned) with the tomatoes. This version has a nice kick without being overwhelming.
Dairy-Free: Use dairy-free mozzarella shreds (I like [brand] for melting) and skip the Parmesan. The texture won’t be quite as stretchy, but it’s still delicious. Nutritional yeast can add a cheesy flavor if you miss the Parmesan.
Gluten-Free: This recipe is naturally gluten-free as written—just make sure your diced tomatoes and spices are certified gluten-free if you’re sensitive.
Serving & Storage Suggestions
These peppers are best served warm, right out of the oven. The cheese ribbons should be gooey and stretchy, and the peppers should be tender but still holding their shape. I like to serve them with a simple side salad or some roasted vegetables—the freshness balances the richness of the filling.
For a Halloween party, arrange the peppers on a platter with the olive slice “eyes” facing outward. You can also add a small dollop of sour cream or Greek yogurt on the side for dipping. Kids love the mummy theme, and adults appreciate that it’s actual food and not just candy.
Storage: Leftover stuffed peppers keep well in the refrigerator for up to 4 days. Store them in an airtight container. The flavors actually meld together overnight, so they might taste even better the next day.
Reheating: The best way to reheat is in the oven at 350°F for 10-15 minutes, covered with foil to prevent the peppers from drying out. The microwave works in a pinch (2-3 minutes on high), but the peppers will be softer and the cheese won’t be as stretchy. I don’t recommend freezing these—the peppers get mushy when thawed, and the cheese texture changes. But if you must, freeze them before adding the cheese ribbons, and add fresh cheese when reheating.
Make-ahead tip: You can assemble the peppers (through step 7) up to 24 hours in advance. Keep them covered in the fridge, then add the cheese ribbons and bake when you’re ready. This is a lifesaver for busy Halloween nights.
Nutritional Information & Benefits
Here’s the approximate nutritional breakdown for one stuffed pepper (using lean turkey, part-skim mozzarella, and brown rice):
| Nutrient | Amount |
|---|---|
| Calories | 320 |
| Protein | 28g |
| Carbohydrates | 22g |
| Fiber | 4g |
| Fat | 12g |
| Saturated Fat | 5g |
| Sodium | 580mg |
These peppers are packed with protein from the turkey and cheese, which keeps you full and satisfied. The bell peppers are an excellent source of vitamin C—one pepper provides more than 150% of your daily needs. The brown rice adds fiber and complex carbohydrates for steady energy. And by using lean turkey and part-skim cheese, you’re cutting the fat and calories significantly compared to traditional stuffed peppers.
If you’re watching your sodium, use no-salt-added diced tomatoes and reduce the added salt. You can also rinse the canned tomatoes to remove excess sodium. This recipe is naturally gluten-free and can be made dairy-free with simple swaps.
Conclusion
These Lightened-Up Mummy Stuffed Peppers are everything I wanted them to be—comforting, festive, and actually good for you. They’re the kind of recipe that proves you don’t have to choose between eating well and eating something that feels like a treat. Whether you’re making them for Halloween dinner, a fall weeknight meal, or just because you’re craving something warm and cheesy, they deliver every single time.
I’d love to hear how yours turn out. Did you add your own twist? Did the kids love the mummy look? Drop a comment below and let me know—I read every single one. And if you’re looking for more lightened-up comfort food, check out my healthy turkey chili or these baked chicken parmesan recipes. They’ve got the same vibe—satisfying, simple, and secretly good for you.
Now go make some mummies. Your Halloween dinner just got a whole lot better.
Frequently Asked Questions
Can I use ground beef instead of turkey?
Absolutely. Use lean ground beef (90/10 or 93/7) for a similar texture. Just drain any excess fat after browning, since beef has more fat than turkey. The flavor will be a bit richer, but the recipe works perfectly either way.
Do I have to blanch the peppers first?
I highly recommend it. Blanching softens the peppers so they cook evenly in the oven. If you skip this step, the peppers will be crunchier and might not be tender by the time the filling is hot. If you’re short on time, you can microwave the peppers for 2 minutes instead.
Can I make these ahead of time?
Yes! Assemble the peppers (through step 7) up to 24 hours in advance. Keep them covered in the fridge. When you’re ready to bake, add the cheese ribbons and bake as directed. You may need to add 5 extra minutes to the baking time since the filling will be cold.
How do I get the cheese ribbons to look like mummy wrappings?
The trick is to let the cheese come to room temperature so it’s soft but not melted. Pipe it in zigzag lines across the top of each pepper, starting from one side and moving to the other. Don’t worry about perfection—the slightly uneven lines look more like authentic mummy wrappings anyway.
What can I serve with these peppers?
A simple green salad with a light vinaigrette is my go-to. The acidity cuts through the richness of the cheese and filling. Roasted broccoli or green beans also work well. For a heartier meal, serve with crusty bread or a side of quinoa. And if you’re feeling festive, add a small bowl of tortilla chips and salsa on the side.
Pin This Recipe!
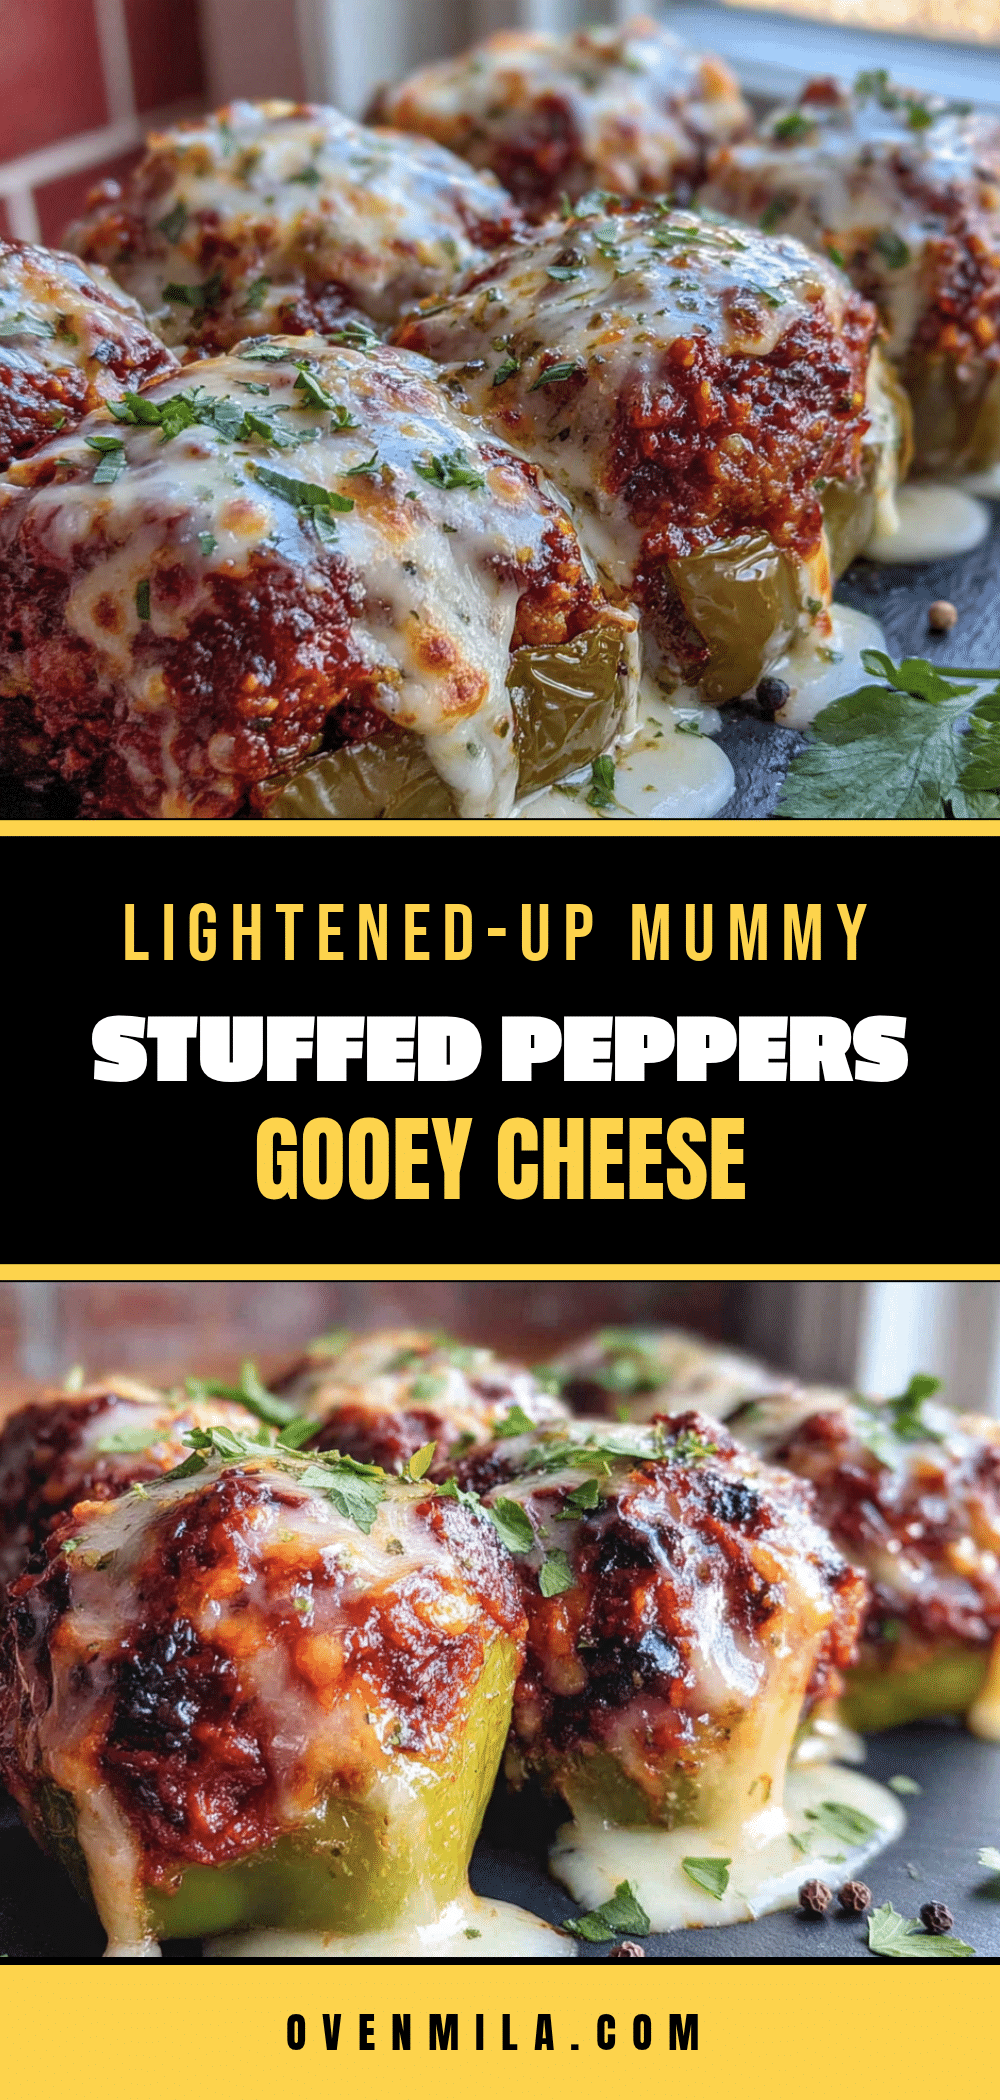
Easy Lightened-Up Mummy Stuffed Peppers with Gooey Cheese
These Lightened-Up Mummy Stuffed Peppers are a healthier twist on a classic Halloween comfort food, featuring lean ground turkey, brown rice, and gooey mozzarella cheese ribbons. They’re festive, easy to make, and perfect for a quick weeknight dinner or Halloween party.
- Prep Time: 15 minutes
- Cook Time: 30 minutes
- Total Time: 45 minutes
- Yield: 4 servings 1x
- Category: Main Course
- Cuisine: American
Ingredients
- 4 large bell peppers (any color, but orange and red look most ‘mummy-like’)
- 1 lb lean ground turkey (93/7 works best)
- 1 cup cooked brown rice (or white rice, quinoa, or cauliflower rice for low-carb)
- 1 small onion, diced (about 1/2 cup)
- 3 cloves garlic, minced
- 1 can (15 oz) diced tomatoes, drained (fire-roasted adds smoky depth)
- 1 teaspoon smoked paprika
- 1 teaspoon dried oregano
- 1/2 teaspoon cumin
- 1/2 teaspoon salt (plus more to taste)
- 1/4 teaspoon black pepper
- 1 cup shredded part-skim mozzarella cheese (divided: 3/4 cup for filling, 1/4 cup for topping)
- 1/4 cup shredded Parmesan cheese
- 2 tablespoons olive oil
- Optional: black olive slices (for ‘mummy eyes’)
Instructions
- Preheat your oven to 375°F (190°C). Bring a large pot of water to a boil.
- Prep the peppers: Cut the tops off each bell pepper (save tops for filling if desired). Remove seeds and membranes. If peppers won’t stand up straight, trim a tiny slice off the bottom—but don’t cut through.
- Blanch the peppers: Submerge peppers in boiling water for 3 minutes. Remove with tongs and let drain upside down on a paper towel. Pat insides dry.
- Cook the filling: Heat olive oil in a large skillet over medium heat. Add diced onion and cook 3-4 minutes until translucent. Add minced garlic and cook 30 seconds. Add ground turkey, breaking it up, and cook 6-8 minutes until browned and cooked through.
- Season and combine: Drain any excess fat. Stir in diced tomatoes, cooked brown rice, smoked paprika, oregano, cumin, salt, and pepper. Cook 2-3 minutes until heated through. Taste and adjust seasoning.
- Add the cheese: Remove skillet from heat. Stir in 3/4 cup mozzarella and all of the Parmesan until melted.
- Stuff the peppers: Place blanched peppers upright in a 9×13 baking dish. Spoon filling into each pepper, packing gently but not too tightly. Mound slightly above the rim.
- Bake the peppers: Cover dish with aluminum foil and bake for 20 minutes.
- Make the cheese ribbons: While peppers bake, let remaining 1/4 cup mozzarella come to room temperature. Fill a piping bag or zip-top bag (snip a tiny corner) with the cheese.
- Finish and serve: After 20 minutes, remove foil. Pipe cheese in zigzag lines across each pepper to look like mummy wrappings. Return to oven (uncovered) for 5-7 minutes until cheese is melted and slightly golden. If using olive slices for eyes, press them into warm cheese. Let rest 5 minutes before serving.
Notes
Don’t over-blanch the peppers—3 minutes is the sweet spot. Let the cheese cool slightly before piping to avoid runny ribbons. Season the turkey generously with smoked paprika for depth. Use a piping bag for better control of cheese ribbons. For a make-ahead option, assemble peppers (through step 7) up to 24 hours in advance, then add cheese ribbons and bake when ready.
Nutrition
- Serving Size: 1 stuffed pepper
- Calories: 320
- Sodium: 580
- Fat: 12
- Saturated Fat: 5
- Carbohydrates: 22
- Fiber: 4
- Protein: 28
Keywords: mummy stuffed peppers, lightened-up stuffed peppers, Halloween dinner, healthy stuffed peppers, ground turkey stuffed peppers, easy stuffed peppers


