My neighbor Susan asked why I couldn’t just use store-bought pie crust for my apple pie. I started explaining the whole thing about homemade flakiness and butter distribution and why it really does make a difference. Then I stopped. Because honestly? She had a point for a Tuesday night when I was already tired and the apples were getting soft on the counter. I grabbed the refrigerated crust from the back of my fridge (the one I’d been saving for a “real” pie) and decided to see what happened. That was the night I stopped being a pie snob and started being a practical baker who actually gets dessert on the table.
The lattice crust came together in about four minutes flat. The filling was simple — apples, sugar, cinnamon, a little flour — and I didn’t even peel half of them because who has time for that on a weeknight? The pie came out golden and bubbling and honestly better than some of the fussy ones I’d spent hours on. Susan was right. And I’m still a little embarrassed about how long it took me to figure that out.
This quick cinnamon apple pie with lattice crust has become my go-to for fall weeknights, last-minute dinner invites, and those evenings when you just need something warm and sweet without a whole production. It tastes like you spent hours in the kitchen. You didn’t. And that’s the whole point, really.
Why You’ll Love This Recipe
Let me tell you why this one stays in my regular rotation. I’ve tested this quick cinnamon apple pie with lattice crust about eight times now, tweaking the filling ratios and figuring out the fastest way to get that lattice looking decent. Here is what makes it worth your time.
- Quick and Easy: From start to oven in under 20 minutes. I mean it. The filling takes five minutes to toss together, and the lattice crust is way simpler than it looks. Perfect for those nights when you promised dessert and then forgot until 6 PM.
- Simple Ingredients: Apples, sugar, cinnamon, butter, and two pie crusts. That is basically it. No fancy extracts, no special equipment, no trip to three different stores.
- Perfect for Weeknights: This is not a weekend project pie. It is a Tuesday night pie. A “the kids need something warm after dinner” pie. A “I just want to sit down with a slice and watch something mindless” pie.
- Crowd-Pleaser: I brought this to a potluck last month and three people asked for the recipe. One of them texted me the next day saying she made it for her book club and it was gone in twenty minutes.
- Unbelievably Delicious: The cinnamon gets all warm and fragrant while it bakes. The apples get tender but not mushy. The lattice crust gets golden and flaky. It is comfort food that actually delivers.
What makes this different from other apple pie recipes is that it respects your time. I am not going to pretend you need to make your own butter or chill the dough for three hours. You just need a solid filling, a decent store-bought crust, and the willingness to weave a few strips of dough together. That is it. And honestly? The first time you pull this out of the oven and people think you fussed, you are going to feel pretty good about it.
What Ingredients You Will Need
This quick cinnamon apple pie with lattice crust uses simple, everyday ingredients that you probably already have in your kitchen. No specialty items, no trips to the fancy grocery store. Just real ingredients that work together to make something genuinely delicious.
For the Filling:
- 6 medium apples, peeled and sliced (about 2 pounds or 900 grams) — I use Granny Smith for tartness or Honeycrisp for sweetness, but any firm apple works
- 3/4 cup (150 grams) granulated sugar
- 2 tablespoons all-purpose flour (helps thicken the juices so the pie isn’t runny)
- 1 tablespoon ground cinnamon — this is the star of the show, so use good quality cinnamon if you have it
- 1/4 teaspoon ground nutmeg (optional but really nice)
- 1 tablespoon lemon juice (keeps the apples from browning and adds brightness)
- 2 tablespoons unsalted butter, cut into small pieces (dot on top before the lattice goes on)
For the Crust:
- 2 refrigerated pie crusts (the kind in the red box works perfectly) — I recommend Pillsbury for consistent results, but any brand you trust is fine
- 1 egg beaten with 1 tablespoon water (for the egg wash that makes it golden)
- 1 tablespoon coarse sugar or turbinado sugar (for sprinkling on top — that crunchy texture is everything)
A few notes on ingredients. For the apples, you want something that holds its shape during baking. Granny Smith is my go-to because it stays firm and balances the sweetness. But I have also used Fuji and Gala when that is what I had, and they worked fine — just a little softer. If you are using sweeter apples, you can cut the sugar back to 1/2 cup.
The flour in the filling is important. I have skipped it before thinking the apples would thicken on their own, and ended up with a soupy pie that soaked through the bottom crust. Just use the flour. It works.
For the cinnamon, I use Saigon cinnamon when I can find it. It has a stronger, warmer flavor than regular cinnamon and really makes this quick cinnamon apple pie with lattice crust taste like something special. But regular cinnamon works perfectly fine — just use a generous tablespoon.
Equipment Needed
You do not need much for this one. Here is what I use every time.
- 9-inch pie dish (glass or ceramic works best — metal can cook the crust too fast)
- Sharp knife or apple slicer for cutting the apples
- Large mixing bowl for the filling
- Measuring cups and spoons
- Pastry brush or just a clean paintbrush you use for baking (I have one specifically for egg washes)
- Pizza cutter or sharp knife for cutting the lattice strips
- Baking sheet to put under the pie in case it bubbles over
If you do not have a pie dish, you can use a 9-inch cake pan or even a cast iron skillet. The skillet actually makes a really nice deep-dish version — just watch the baking time because it might take a few extra minutes. I have also used a disposable aluminum pie pan in a pinch and it worked fine. This recipe is flexible like that.
One tip: if your rolling pin is gathering dust somewhere, you do not need it here. The refrigerated crusts come already rolled out. Just unroll them and go. That is the whole point of making this quick.
Preparation Method
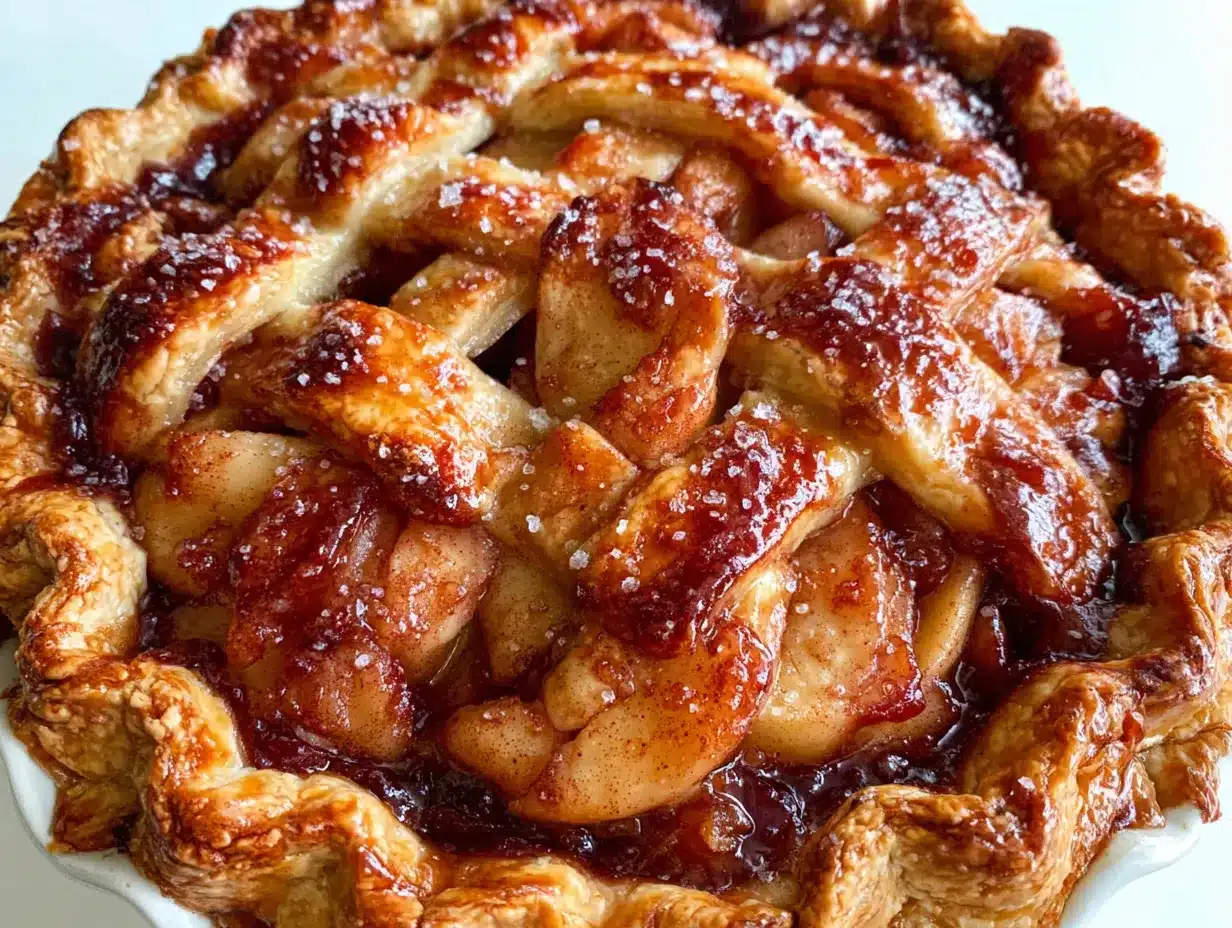
Alright, let us make this quick cinnamon apple pie with lattice crust. I am going to walk you through every step so there is no guessing.
- Preheat your oven to 400°F (200°C). Put a baking sheet on the middle rack to catch any drips. Trust me on this — even if you think your pie won’t bubble over, it probably will.
- Make the filling. In a large bowl, combine the sliced apples, sugar, flour, cinnamon, nutmeg, and lemon juice. Toss everything together with your hands or a big spoon until the apples are evenly coated. Let it sit for about 5 minutes while you get the crust ready. You will see some liquid start to release — that is normal and the flour will thicken it during baking.
- Prepare the bottom crust. Unroll one pie crust and gently press it into your pie dish. Do not stretch the dough — just lay it in and press it against the bottom and sides. Trim the overhang to about 1/2 inch beyond the edge of the dish. If you want, you can crimp the edges with your fingers or a fork. I usually just do a quick pinch around the edge and call it good.
- Fill the pie. Pour the apple mixture into the prepared crust. Spread it out evenly. Dot the top with those small pieces of butter you cut earlier. This adds richness and helps the filling get that nice, glossy texture.
- Make the lattice top. Unroll the second pie crust on a cutting board. Use a pizza cutter or knife to cut it into 8 strips, each about 1 inch wide. Here is the easy way to weave the lattice: lay 4 strips across the pie in one direction. Then fold back every other strip halfway, lay one strip perpendicular, and unfold the folded strips back over it. Then fold back the other strips, lay another perpendicular strip, and repeat. It sounds complicated but once you do it once, it makes perfect sense. If weaving feels like too much, just lay all the strips on top in a crisscross pattern — it will still look great.
- Seal and trim. Press the ends of the lattice strips into the edge of the bottom crust. Trim off any excess dough that hangs over the edge. Crimp the edges all around to seal everything together.
- Apply the egg wash. Brush the beaten egg mixture over the entire top crust and edges. This is what gives the pie that beautiful golden color. Sprinkle the coarse sugar all over the top — do not be shy with it.
- Bake. Place the pie on the preheated baking sheet and bake at 400°F for 45 to 55 minutes. The pie is done when the crust is deep golden brown and the filling is bubbling up through the lattice openings. If the edges start browning too fast (around 30 minutes in), cover them with strips of aluminum foil or a pie shield.
- Cool. This is the hardest part. Let the pie cool on a wire rack for at least 2 hours before slicing. I know it smells incredible and you want to dig in right away, but the filling needs time to set. If you cut it too soon, it will run all over the place. Trust me, I have made that mistake more than once.
A few things to watch for while baking. If you see the filling bubbling over the sides, that is fine — that is what the baking sheet is for. And if your lattice strips look a little uneven, do not worry about it. Homemade-looking pies have more charm than perfect ones anyway.
Cooking Tips and Techniques
I have made this quick cinnamon apple pie with lattice crust enough times to figure out what works and what does not. Here are the things I wish someone had told me.
Do not overthink the lattice. The first time I tried a lattice crust, I spent twenty minutes fussing with the strips and they still looked crooked. Now I just cut the strips, lay them out, and weave them loosely. Imperfect lattice looks rustic and beautiful. Perfect lattice looks like you tried too hard. Go for rustic.
Let the apples sit in the sugar mixture. That five-minute rest is not optional. It draws out some liquid from the apples, which mixes with the flour and creates a syrup that thickens as it bakes. If you skip this step, your filling will be watery and the bottom crust will get soggy.
Use cold butter for dotting. I keep my butter in the fridge until the last minute, then cut it into small pieces and scatter them over the filling. Cold butter melts slowly in the oven, which helps create steam pockets in the filling and keeps everything from turning into apple mush.
Watch the edges. The rim of the pie crust cooks faster than the center because it is thinner and more exposed. I check my pie at 30 minutes and if the edges look brown, I cover them with foil. This one tip alone will save you from burned crusts forever.
Let it cool completely. I know I said this already, but it bears repeating. A warm pie slice looks gorgeous but it will fall apart on your plate. The filling needs time to set into a sliceable consistency. Two hours on the counter, minimum. If you can wait four hours, even better.
One mistake I made early on was using too many apples. I thought more fruit meant more pie, but it actually caused the filling to mound up too high and the lattice crust to slide off. Six medium apples is the sweet spot. If your apples are large, use five. If they are small, use seven. You want the filling to be level with the top of the pie dish, not towering above it.
Variations and Adaptations
This quick cinnamon apple pie with lattice crust is pretty flexible. Here are some ways I have changed it up depending on what I had on hand or who I was feeding.
Gluten-Free Version: Use a gluten-free pie crust (there are some good refrigerated ones now) and swap the all-purpose flour in the filling for cornstarch or arrowroot powder. Use 1 tablespoon of cornstarch instead of 2 tablespoons of flour. The texture will be slightly different but still delicious.
Spiced-Up Version: Add 1/4 teaspoon of cardamom and 1/8 teaspoon of cloves along with the cinnamon. This makes it taste like a chai-spiced apple pie and is amazing for fall baking. I made this version for Thanksgiving last year and it was the first pie to disappear.
Caramel Apple Version: Drizzle 1/4 cup of caramel sauce over the apples before adding the lattice top. The caramel gets all bubbly and sticky during baking and mixes with the apple juices. Just make sure your caramel is thick — thin caramel will make the filling too runny.
Apple Pear Version: Swap half the apples for firm pears like Bosc or Anjou. Pears have a softer texture than apples so they break down more during baking, which creates a creamier filling. The combination of apple and pear with cinnamon is honestly underrated.
Individual Hand Pies: Skip the pie dish entirely. Cut the crusts into circles, fill with the apple mixture, fold over, crimp the edges, and bake for 20 to 25 minutes. These are perfect for packing in lunches or serving at parties where people want to grab and go.
I have also made this with a crumb topping instead of lattice when I was short on time. Just mix 1/2 cup flour, 1/2 cup brown sugar, and 1/4 cup cold butter until crumbly, then sprinkle over the filling. It is not as pretty as lattice but it tastes just as good.
Serving and Storage Suggestions
This pie is best served warm but not hot. Let it cool for at least two hours, then warm individual slices in the microwave for about 15 seconds if you want that fresh-from-the-oven feeling. A scoop of vanilla ice cream on top is the classic move, and for good reason — the cold creaminess against the warm spiced apples is perfect. Whipped cream works too, or a drizzle of heavy cream if you want something simpler.
For storing, cover the pie loosely with foil or plastic wrap and keep it at room temperature for up to two days. Do not refrigerate it unless you have to — the fridge makes the crust lose its crispness. If you do refrigerate it, let it come back to room temperature before serving or reheat slices in the oven at 350°F for about 10 minutes.
This pie freezes beautifully. I make two at a time sometimes and freeze one for later. Wrap the completely cooled pie in plastic wrap, then foil, and freeze for up to three months. To serve, thaw it in the fridge overnight and reheat in a 350°F oven for 15 to 20 minutes. The crust stays flaky and the filling tastes just as fresh.
One thing I love about this quick cinnamon apple pie with lattice crust is that the flavors actually get better after a day. The cinnamon and apple have time to really meld together, and the filling sets up into this perfect, sliceable texture. So if you can make it a day ahead, do it. Your future self will thank you.
Nutritional Information and Benefits
Here is the honest truth about this pie — it is dessert, not health food. But it does have some redeeming qualities. Apples are a good source of fiber and vitamin C, especially if you leave the peels on (though I usually peel mine for texture). Cinnamon has anti-inflammatory properties and can help regulate blood sugar. The butter and sugar are there because this is pie, and pie should taste like pie.
Per slice (assuming 8 servings), here are approximate values:
- Calories: 380
- Fat: 16 grams
- Carbohydrates: 58 grams
- Fiber: 4 grams
- Sugar: 32 grams
- Protein: 4 grams
If you are watching your sugar intake, you can reduce the sugar to 1/2 cup and the pie will still be plenty sweet — especially if you use naturally sweet apples like Honeycrisp or Fuji. For a lower-fat version, use a vegan pie crust and skip the butter dots on top. The texture will be a little different but it still works.
This recipe contains gluten (from the crust and flour) and dairy (from the butter and egg wash). For allergen-friendly options, check the variations section above.
Conclusion
This quick cinnamon apple pie with lattice crust is proof that you do not need to spend all day in the kitchen to make something that tastes like you did. Store-bought crust, simple ingredients, and twenty minutes of hands-on time. That is all it takes to get a golden, bubbling, cinnamon-scented pie on your table.
I love this recipe because it meets me where I am. Some nights I have the energy to fuss over pastry. Most nights I do not. And on those nights, this pie saves the day. It tastes homemade because it is homemade — just with a few smart shortcuts that make it actually doable on a regular old Tuesday.
Try it this week. Use whatever apples you have. Do not stress about the lattice looking perfect. And when someone asks for the recipe, feel free to tell them it is your secret family recipe. I will not tell.
If you make this quick cinnamon apple pie with lattice crust, I would love to hear how it turned out. Leave a comment below or tag me in your photos. Happy baking!
Frequently Asked Questions
Can I use homemade pie crust instead of refrigerated?
Absolutely. If you have a favorite homemade pie crust recipe, go for it. Just make sure it is rolled to about 1/8 inch thickness and fits your pie dish. The baking time should stay the same.
What is the best apple for this pie?
Granny Smith is my top choice because it stays firm and balances the sweetness. Honeycrisp, Braeburn, and Jonagold are also great. Avoid Red Delicious — they get mushy and do not have enough flavor.
How do I keep the bottom crust from getting soggy?
Make sure your filling is not too wet by letting the apples sit in the sugar mixture for 5 minutes before filling the crust. Also, bake the pie on the lowest oven rack so the bottom gets more direct heat. Some people brush the bottom crust with egg white before adding the filling, which helps create a barrier.
Can I make this pie ahead of time?
Yes! You can assemble the pie completely (including the lattice) and refrigerate it unbaked for up to 24 hours. Bake directly from the fridge, adding about 5 to 10 extra minutes to the baking time. You can also bake it fully and reheat slices as needed.
Why did my lattice crust crack?
Refrigerated pie crust can crack if it gets too cold or too dry. Let the crust sit at room temperature for about 15 minutes before cutting the strips. If the strips crack while you are weaving them, just press the cracks back together with your fingers — they will seal up during baking.
Pin This Recipe!
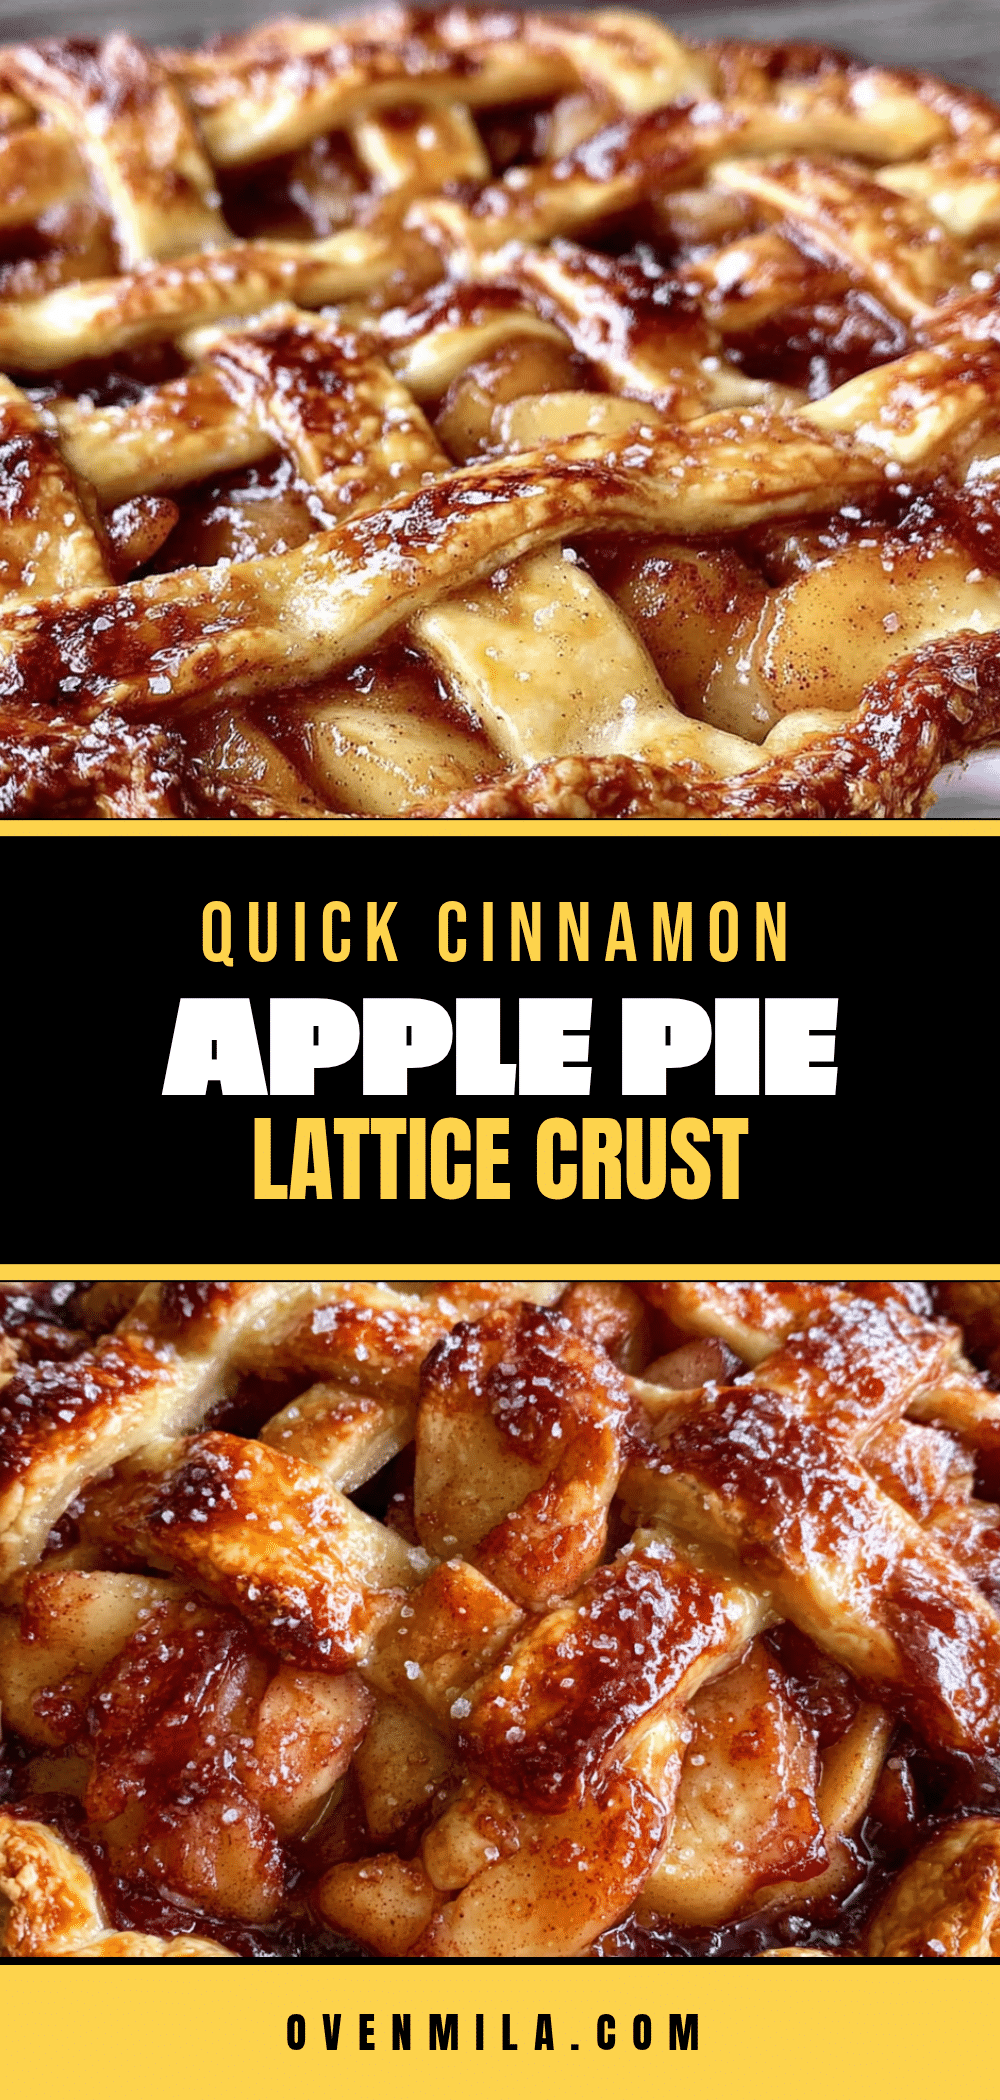
Easy Homemade Cinnamon Apple Pie with Lattice Crust
A quick and easy cinnamon apple pie with a lattice crust that comes together in under 20 minutes using store-bought pie crust. Perfect for weeknights when you want a warm, comforting dessert without the fuss.
- Prep Time: 20 minutes
- Cook Time: 50 minutes
- Total Time: 2 hours 10 minutes (including cooling)
- Yield: 8 servings 1x
- Category: Dessert
- Cuisine: American
Ingredients
- 6 medium apples, peeled and sliced (about 2 pounds or 900 grams)
- 3/4 cup (150 grams) granulated sugar
- 2 tablespoons all-purpose flour
- 1 tablespoon ground cinnamon
- 1/4 teaspoon ground nutmeg (optional)
- 1 tablespoon lemon juice
- 2 tablespoons unsalted butter, cut into small pieces
- 2 refrigerated pie crusts
- 1 egg beaten with 1 tablespoon water (for egg wash)
- 1 tablespoon coarse sugar or turbinado sugar (for sprinkling)
Instructions
- Preheat your oven to 400°F (200°C). Place a baking sheet on the middle rack to catch any drips.
- In a large bowl, combine the sliced apples, sugar, flour, cinnamon, nutmeg, and lemon juice. Toss until evenly coated. Let sit for about 5 minutes.
- Unroll one pie crust and press it into a 9-inch pie dish. Trim the overhang to about 1/2 inch beyond the edge.
- Pour the apple mixture into the prepared crust. Dot the top with the small pieces of butter.
- Unroll the second pie crust on a cutting board. Cut into 8 strips, each about 1 inch wide. Weave the strips into a lattice top over the filling. Press the ends into the edge of the bottom crust and trim excess dough. Crimp the edges to seal.
- Brush the beaten egg mixture over the entire top crust and edges. Sprinkle the coarse sugar all over the top.
- Place the pie on the preheated baking sheet and bake at 400°F for 45 to 55 minutes, until the crust is deep golden brown and the filling is bubbling. If the edges brown too fast, cover them with foil after about 30 minutes.
- Let the pie cool on a wire rack for at least 2 hours before slicing.
Notes
Let the apples sit in the sugar mixture for 5 minutes to draw out liquid. Use cold butter for dotting. Watch the edges and cover with foil if browning too fast. Let the pie cool completely for at least 2 hours before slicing to allow the filling to set. The pie can be stored at room temperature for up to 2 days or frozen for up to 3 months.
Nutrition
- Serving Size: 1 slice
- Calories: 380
- Sugar: 32
- Fat: 16
- Carbohydrates: 58
- Fiber: 4
- Protein: 4
Keywords: apple pie, cinnamon apple pie, lattice crust, easy pie, quick dessert, fall baking, weeknight dessert


