My cousin Marco asked why I couldn’t just chill the dough overnight instead of the two hours I swore by. I started to explain that longer chilling would dry out the cookies, that the texture would suffer, that I’d tested this for years. Then I stopped. Honestly, I had no good reason except stubborn habit. Marco is twelve and has the patience of a saint when it comes to dessert.
So I tried it. I scooped the dough, covered the baking sheets with plastic wrap, and shoved them in the fridge. The next afternoon, I pulled one tray out, baked a test batch, and let me tell you—I stood there in my kitchen, spatula in hand, genuinely annoyed at how perfect they were. The edges had this caramelized crunch, the centers stayed soft and thick, and the flavor? Way deeper. Almost nutty, like the vanilla and brown sugar had gotten married overnight.
That was the Tuesday I learned to shut up and listen to a seventh grader. These chewy bakery-style chocolate chip cookies have been my go-to ever since. They’ve ruined me for any other recipe. You know that feeling when you bite into a cookie from a fancy bakery and wonder how they get that perfect balance of crisp edges and gooey centers? That’s exactly what this recipe delivers. And the secret, as it turns out, was right under my nose the whole time.
Why You’ll Love This Recipe
These aren’t just another chocolate chip cookie. I’ve tested this recipe at least thirty times, and I mean that literally. My neighbors have become very willing taste-testers. What makes these stand out is the combination of browned butter and a full overnight rest. The browned butter adds a toasty, almost butterscotch flavor that you just can’t get from melted butter alone. And the overnight chill? That’s where the magic happens.
- Bakery-Quality Results at Home : Thick centers, crispy edges, and that signature crinkle top you only see in professional bakeries.
- Simple Pantry Ingredients : No weird extracts, no specialty flours. You probably have everything except maybe the good chocolate.
- Perfect for Entertaining : Make the dough a day ahead, and you’re ten minutes away from fresh cookies when guests arrive.
- Crowd-Pleasing Guarantee : I’ve brought these to four potlucks and three dinner parties. Not a single cookie came home.
- Unbelievably Chewy Texture : The bread flour and cornstarch combo gives them that signature chew that lasts for days.
What makes this recipe different from all the others? It’s the technique. Most recipes skip the browned butter step or rush the chilling process. I’ve tried both shortcuts, and honestly, the results are just okay. These cookies are the kind that make you close your eyes after the first bite. They’re comfort food reimagined—familiar but somehow better than you remember. Perfect for impressing guests without stress, or turning a simple Tuesday into something memorable.
What Ingredients You Will Need
This recipe uses simple, wholesome ingredients to deliver bold flavor and satisfying texture without the fuss. Most of these are pantry staples, but a few key choices make all the difference.
- 2 cups (250g) bread flour — Bread flour has higher protein content than all-purpose, which gives these cookies their signature chew. I prefer King Arthur brand for consistent results.
- 1 teaspoon cornstarch — This is the secret to keeping the centers soft and tender. It inhibits gluten formation just enough.
- 1 teaspoon baking soda — Make sure it’s fresh. If your baking soda is more than six months old, your cookies won’t spread properly.
- 1 teaspoon salt — I use fine sea salt. The salt balances the sweetness and enhances the chocolate flavor.
- 1 cup (226g) unsalted butter — You’ll brown this, so don’t use salted butter or the salt concentration gets too high. European-style butter like Plugrà works beautifully here.
- 1 cup (200g) packed dark brown sugar — Dark brown sugar has more molasses, which adds moisture and that deep caramel note. Light brown sugar works, but the cookies won’t be as chewy.
- 1/2 cup (100g) granulated sugar — This helps with spreading and gives the edges that slight crunch.
- 2 large eggs, room temperature — Cold eggs will seize the browned butter. Let them sit on the counter for 30 minutes first.
- 2 teaspoons vanilla extract — Use pure vanilla extract, not imitation. Nielsen-Massey is my go-to, but any pure extract works.
- 2 cups (340g) semi-sweet chocolate chips or chopped chocolate — I prefer Ghirardelli 60% cacao chips, but chopped chocolate bars give you those beautiful pools of chocolate. Use whatever you love.
- Flaky sea salt for finishing — Optional but highly recommended. Maldon salt flakes are perfect. That tiny crunch of salt on top makes the chocolate sing.
For substitutions, you can use all-purpose flour instead of bread flour, but the cookies will be slightly less chewy. If you’re dairy-free, use a high-quality vegan butter stick—not the spreadable kind in a tub. And if you only have light brown sugar, add an extra tablespoon of molasses to mimic the dark stuff.
Equipment Needed
You don’t need a fancy kitchen to make these cookies, but a few tools make the process smoother. Here’s what you’ll need:
- Large mixing bowl — I use a stainless steel bowl because it doesn’t retain heat, which helps when you’re mixing browned butter.
- Whisk — For combining the dry ingredients and mixing the wet ingredients.
- Rubber spatula — A sturdy one for folding in the chocolate chips. I love the GIR brand spatulas—they’re heat-resistant and one piece, so nothing gets trapped.
- Cookie scoop — A 3-tablespoon scoop gives you that perfect bakery-style size. If you don’t have one, use a 1/4 cup measure and level it off.
- Baking sheets — Light-colored aluminum sheets work best. Dark sheets can cause the bottoms to burn before the centers are done.
- Parchment paper — Non-negotiable. Silicone mats work too, but parchment gives slightly crisper bottoms.
- Cooling rack — Letting cookies cool on a rack prevents the bottoms from steaming and getting soggy.
- Small saucepan — For browning the butter. A light-colored pan helps you see when the butter turns amber.
If you don’t have a stand mixer, a hand mixer works fine. You can even mix by hand with a wooden spoon—it just takes a bit more elbow grease. I’ve done it both ways, and honestly, hand-mixed cookies have a slightly more rustic texture that I kind of love.
Preparation Method
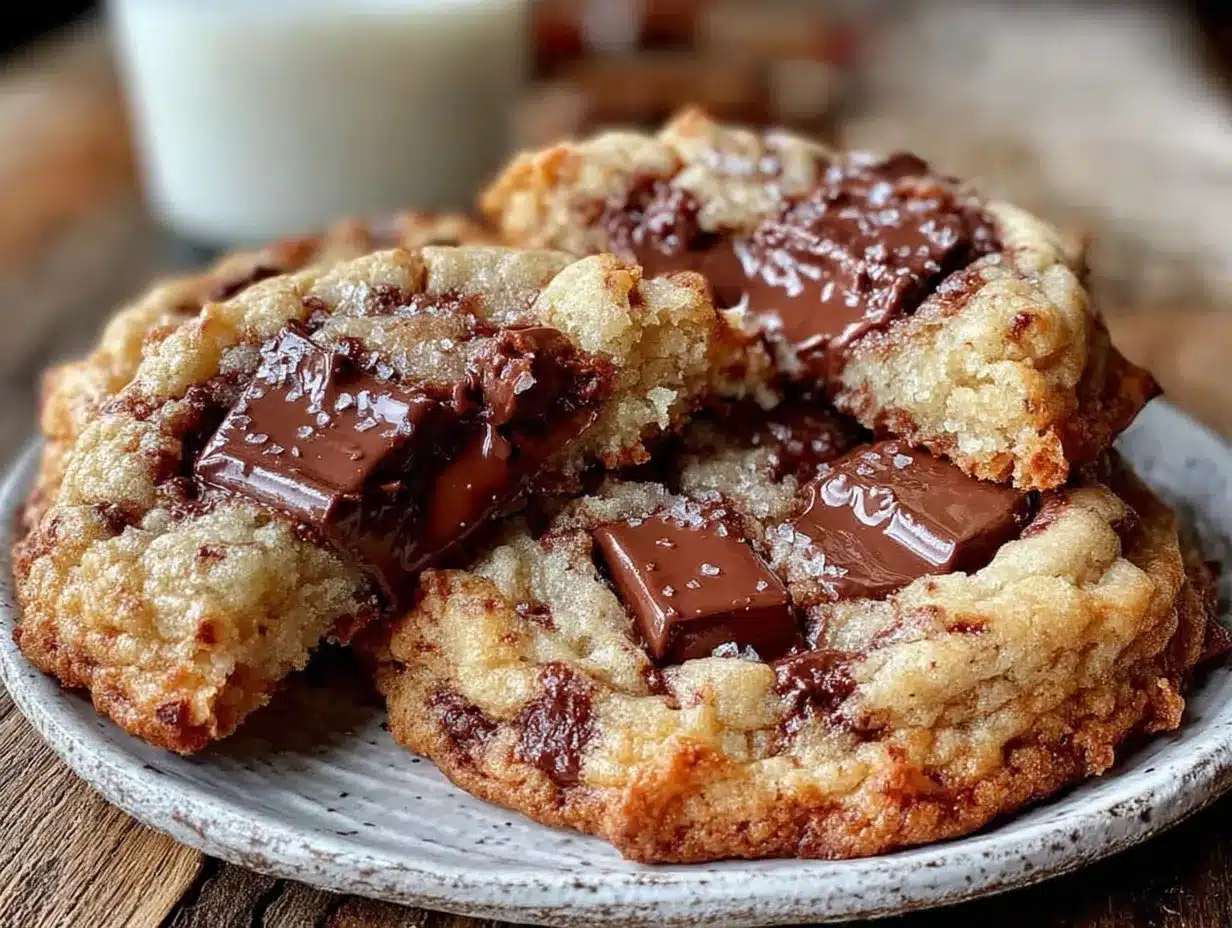
This recipe takes about 20 minutes of active prep time, plus at least 12 hours of chilling. Trust me, the wait is worth it.
- Brown the butter. Place the 1 cup of butter in a small saucepan over medium heat. Stir constantly with a rubber spatula. The butter will melt, then foam, then start to crackle. After about 5-7 minutes, you’ll see brown specks forming at the bottom. The butter will smell nutty and toasty. Once it’s a deep amber color, remove it from the heat immediately. Pour it into a heatproof bowl and let it cool for 15 minutes. Don’t skip the cooling step—hot butter will scramble your eggs.
- Whisk the dry ingredients. In a medium bowl, whisk together the bread flour, cornstarch, baking soda, and salt. Set aside. This ensures the leavening and salt are evenly distributed.
- Mix the sugars and butter. In a large bowl, combine the cooled browned butter with the dark brown sugar and granulated sugar. Whisk vigorously for about 2 minutes until the mixture looks like wet sand and has no lumps. The sugar helps cool the butter further.
- Add the eggs and vanilla. Crack both eggs into the sugar-butter mixture. Add the vanilla extract. Whisk for about 1 minute until the mixture is smooth, glossy, and slightly lighter in color. It should look like caramel sauce.
- Fold in the dry ingredients. Pour the flour mixture into the wet ingredients. Use a rubber spatula to fold gently. Stop as soon as you no longer see streaks of flour. Overmixing develops gluten and makes tough cookies.
- Add the chocolate. Fold in the chocolate chips or chopped chocolate. Reserve about 1/4 cup for topping later. The dough will be thick and slightly greasy—that’s normal.
- Chill the dough. Cover the bowl with plastic wrap and refrigerate for at least 12 hours, up to 72 hours. I know it’s hard to wait, but this step is non-negotiable. The dough needs time to hydrate fully and for the flavors to develop. I usually make the dough the night before I plan to bake.
- Preheat and prepare. When you’re ready to bake, preheat your oven to 375°F (190°C). Line two baking sheets with parchment paper. Let the dough sit at room temperature for 10 minutes—it will be very firm straight from the fridge.
- Scoop and top. Use your cookie scoop to portion the dough into balls, about 3 tablespoons each. Place them 3 inches apart on the prepared baking sheets. Press a few extra chocolate chips on top of each dough ball. This gives you those beautiful chocolate pools on the surface.
- Bake. Bake one sheet at a time for 11-13 minutes. The edges should be golden brown and the centers should look slightly underbaked and puffy. They will continue to set on the baking sheet. If you bake them until they look fully done, they’ll be overbaked.
- Cool and finish. Let the cookies cool on the baking sheet for 5 minutes. Sprinkle with flaky sea salt while they’re still warm. Transfer to a cooling rack and let cool completely, if you can wait that long.
Cooking Tips & Techniques
I’ve made every mistake in the book with these cookies, so you don’t have to. Here are the lessons I learned the hard way.
Don’t skip browning the butter. The first time I tried this recipe, I was in a hurry and just melted the butter. The cookies were fine, but they lacked that deep, nutty flavor that makes these special. Browning the butter adds complexity you can’t get any other way. Just watch it carefully—burnt butter tastes bitter and ruins the whole batch.
Use a kitchen scale if you have one. Measuring flour by volume is notoriously inconsistent. One cup of flour can weigh anywhere from 120 to 150 grams depending on how you scoop it. Too much flour makes dry, cakey cookies. Too little makes flat, greasy ones. A $15 kitchen scale solves this problem forever.
Chill the dough for real. I once tried to rush the chilling to just 4 hours because I wanted cookies for a party. They spread too much and weren’t nearly as chewy. The full 12 hours allows the flour to fully absorb the fat, which concentrates the flavor and prevents excessive spreading. If you can wait 48 hours, even better.
Bake one sheet at a time. I know it’s tempting to cram two sheets in the oven, but they won’t bake evenly. The top sheet will brown faster than the bottom one, and you’ll end up with half a batch of overdone cookies. Just bake one sheet at a time in the center rack. It takes a few extra minutes but the results are worth it.
Watch for the visual cues. Oven temperatures vary wildly. My oven runs hot, so I start checking at 10 minutes. Look for golden brown edges and puffy, slightly wet centers. The cookies should look underdone in the middle—that’s exactly how you want them. They’ll continue cooking from the residual heat of the baking sheet.
Variations & Adaptations
Once you’ve mastered the basic recipe, there are so many ways to make it your own. Here are a few variations I’ve tried and loved.
Double Chocolate Chip Cookies. Replace 1/4 cup of the bread flour with 1/4 cup of unsweetened cocoa powder. Use white chocolate chips instead of semi-sweet. The contrast between the dark cookie and white chocolate is stunning. I made these for a friend’s birthday and they disappeared in minutes.
Nuts and Toffee. Add 1/2 cup of toasted pecans or walnuts and 1/2 cup of toffee bits along with the chocolate chips. The crunch from the nuts and the buttery sweetness of the toffee takes these to another level. Just make sure the nuts are toasted—raw nuts don’t have the same flavor.
Gluten-Free Version. Substitute the bread flour with a high-quality gluten-free flour blend that contains xanthan gum, like Cup4Cup or King Arthur Measure for Measure. The texture will be slightly more tender, but still chewy and delicious. I tested this for a friend with celiac disease and she said they were the best gluten-free cookies she’d ever had.
Spiced Fall Cookies. Add 1 teaspoon of cinnamon, 1/2 teaspoon of nutmeg, and 1/4 teaspoon of cloves to the dry ingredients. Use white chocolate chips and dried cranberries instead of semi-sweet chocolate. These taste like autumn in cookie form. Perfect for Thanksgiving cookie platters.
Mint Chocolate Chip. Substitute 1 teaspoon of the vanilla extract with 1 teaspoon of peppermint extract. Use dark chocolate chips or chopped dark chocolate. The mint and dark chocolate combination is refreshing and rich at the same time. Just be careful with the peppermint extract—a little goes a long way.
Serving & Storage Suggestions
These cookies are best served warm, about 10 minutes after they come out of the oven. The edges are perfectly crisp, the centers are soft and gooey, and the chocolate is still melted. If you’re serving them at a party, bake them just before guests arrive. The smell alone will draw everyone into the kitchen.
For presentation, stack them on a beautiful wooden board or a white platter. Sprinkle a little extra flaky sea salt on top right before serving. They pair beautifully with a cold glass of milk, a hot cup of coffee, or even a scoop of vanilla ice cream for an indulgent dessert.
To store these cookies, place them in an airtight container at room temperature. They’ll stay fresh for up to 5 days, though I doubt they’ll last that long. Layer them with parchment paper between each layer to prevent sticking. If you want to keep them extra soft, add a slice of bread to the container—the cookies will absorb the moisture and stay chewy.
You can also freeze the baked cookies for up to 3 months. Just place them in a freezer-safe bag or container. To reheat, pop them in a 300°F (150°C) oven for 5 minutes, or microwave for 10-15 seconds. They’ll taste almost as good as fresh.
The best storage method, honestly, is to freeze the unbaked dough balls. Scoop the dough, place the balls on a baking sheet, and freeze until solid. Transfer them to a freezer bag. When you want cookies, bake them straight from frozen, adding 2-3 minutes to the baking time. You’ll have fresh cookies in under 15 minutes anytime you want.
Nutritional Information & Benefits
Let’s be honest—these are cookies, not health food. But they do use real, whole ingredients without any preservatives or artificial flavors. Each cookie (based on a 3-tablespoon scoop) contains approximately 220 calories, 12 grams of fat, 28 grams of carbohydrates, and 3 grams of protein.
The dark brown sugar provides a small amount of molasses, which contains iron and calcium. The butter, while high in saturated fat, also provides vitamin A and butyrate, a fatty acid that supports gut health. And dark chocolate is rich in antioxidants called flavonoids, which can help reduce inflammation and improve heart health. So there’s that.
If you’re watching your sugar intake, you can reduce the granulated sugar by 1/4 cup without significantly affecting the texture. The cookies will be slightly less sweet but still delicious. For a lower-fat option, you can substitute half the butter with unsweetened applesauce, but the texture will be more cake-like and less chewy.
These cookies contain gluten, dairy, and eggs, so they’re not suitable for people with allergies to those ingredients. But the gluten-free variation I mentioned earlier works beautifully for those who need it.
Conclusion
These chewy bakery-style chocolate chip cookies have become my signature recipe. Every time I bring them somewhere, someone asks for the recipe. And I always share it, because good food deserves to be passed around. The secret, as my cousin Marco taught me, is patience. Letting the dough rest overnight transforms good cookies into unforgettable ones.
I love that this recipe is forgiving enough for beginners but impressive enough for experienced bakers. You can customize it a hundred different ways, and it always delivers. Whether you’re baking for a holiday party, a potluck, or just because it’s Tuesday, these cookies will make you look like a hero.
So go ahead—brown that butter, chill that dough, and wait. I promise it’s worth it. And when you take that first bite of a warm, chewy, chocolate-studded cookie, you’ll understand why I was so happy to be wrong. If you try this recipe, let me know in the comments how they turned out. I’d love to hear about your variations and discoveries!
Frequently Asked Questions
Can I use all-purpose flour instead of bread flour?
Yes, you can substitute all-purpose flour for bread flour. The cookies will still be delicious, but they won’t be as chewy. Bread flour has higher protein content, which gives the cookies more structure and that signature bakery chew. If you only have all-purpose flour, reduce the amount by 2 tablespoons to compensate for the lower protein.
Why did my cookies spread too much?
Cookies spread too much for a few common reasons. The dough wasn’t chilled long enough—make sure it rests for at least 12 hours. Your butter might have been too warm when you mixed it. Or your baking sheet was too hot from a previous batch. Always let baking sheets cool completely between batches. Also, check that your baking soda is fresh; old baking soda won’t provide enough lift.
Can I freeze the cookie dough?
Absolutely! Freezing the dough is actually my preferred method. Scoop the dough into balls, place them on a baking sheet, and freeze until solid. Transfer the frozen dough balls to a freezer bag. When you’re ready to bake, place them on a parchment-lined baking sheet and bake straight from frozen, adding 2-3 minutes to the baking time. You’ll have fresh cookies anytime you want.
How do I get that crinkly top on my cookies?
The crinkly top comes from the dough being cold when it hits the hot oven. That’s why the overnight chill is so important. The cold dough sets the edges quickly while the center rises and creates those beautiful cracks. Also, using a mix of granulated and brown sugar helps create that texture. Don’t skip the granulated sugar—it’s essential for the crinkly top.
Can I make these cookies dairy-free?
Yes, you can make these dairy-free with a few substitutions. Use a high-quality vegan butter stick, like Miyoko’s or Earth Balance. Make sure it’s the stick form, not the spreadable tub. The water content in tub margarine is too high and will ruin the texture. Also, use dairy-free chocolate chips. Enjoy Life makes excellent semi-sweet chips that are free from dairy and other common allergens.
Pin This Recipe!
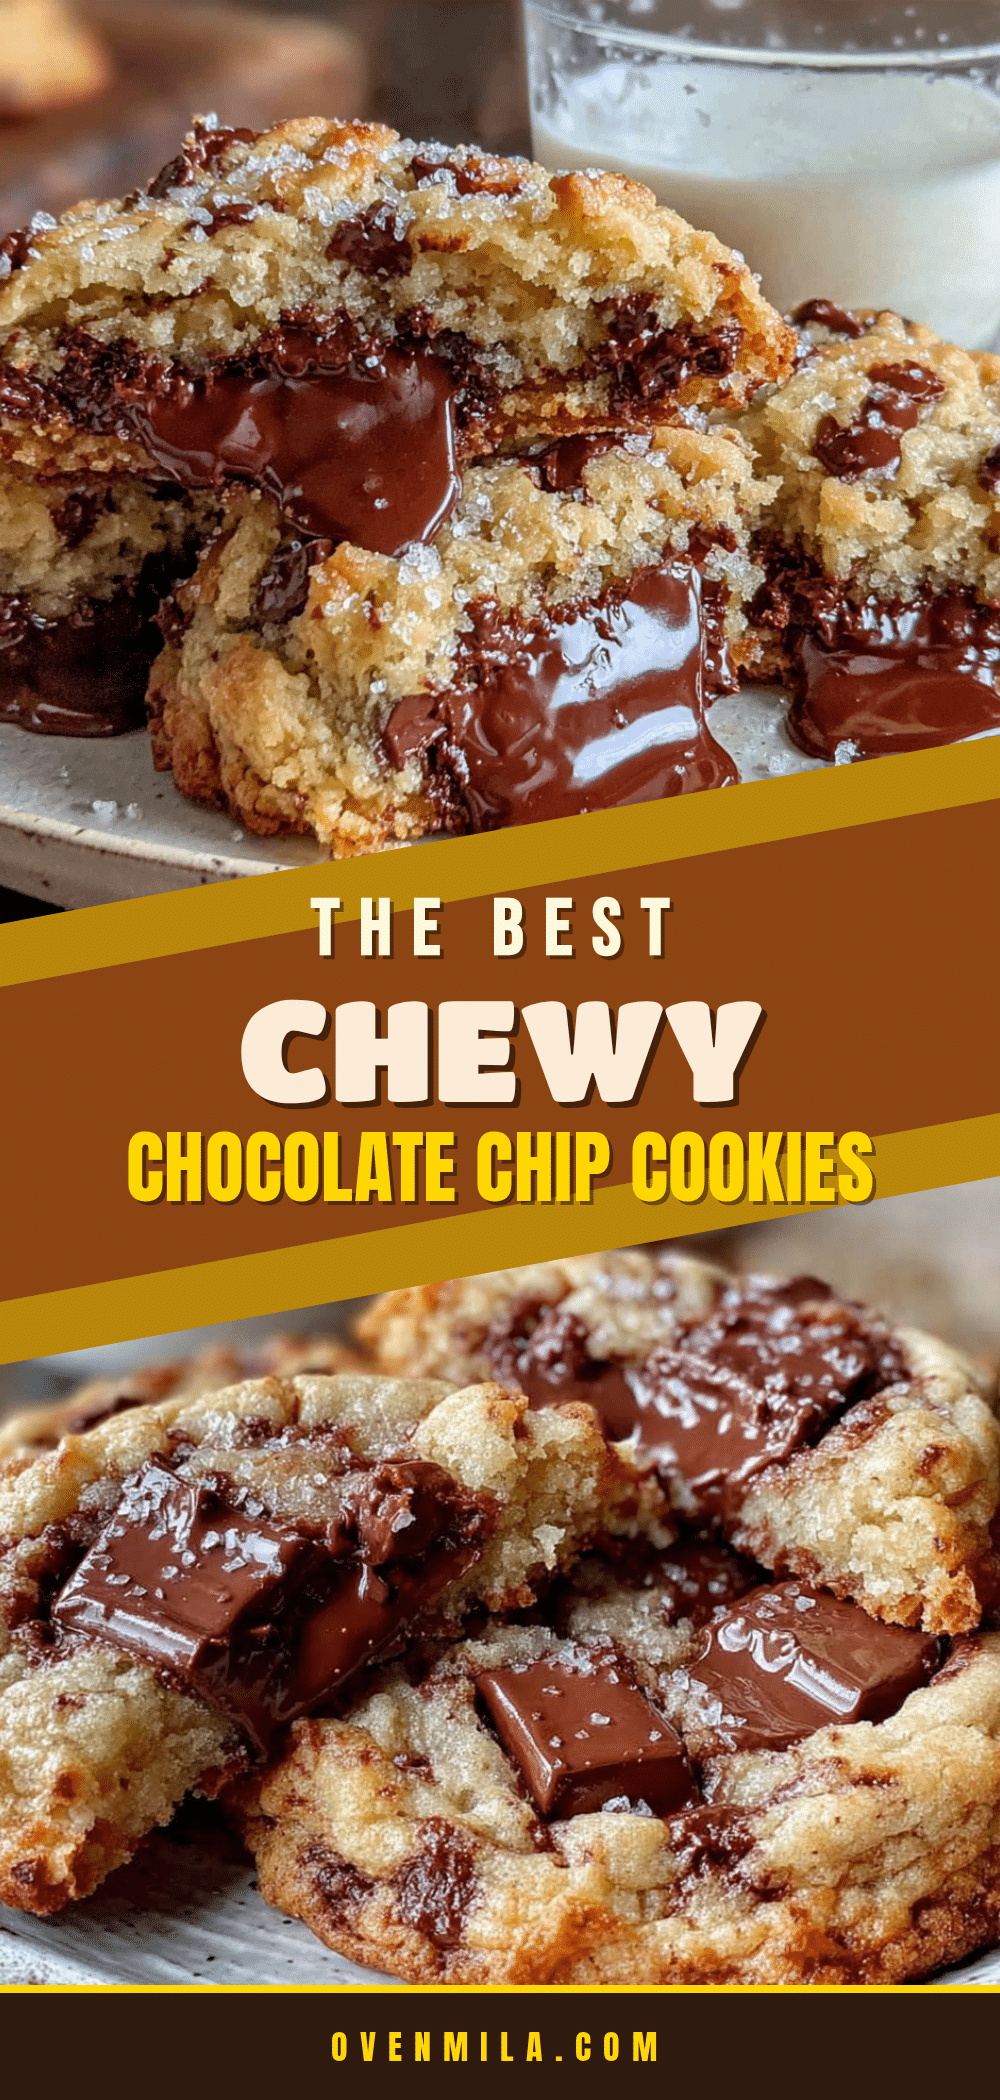
The Best Chewy Bakery-Style Chocolate Chip Cookies Recipe
These chewy bakery-style chocolate chip cookies feature browned butter and an overnight chill for deep flavor, crisp edges, and soft, thick centers. A simple recipe that delivers professional-quality results at home.
- Prep Time: 20 minutes
- Cook Time: 11-13 minutes per batch
- Total Time: 12 hours 31 minutes (includes chilling)
- Yield: 24 servings 1x
- Category: Dessert
- Cuisine: American
Ingredients
- 2 cups (250g) bread flour
- 1 teaspoon cornstarch
- 1 teaspoon baking soda
- 1 teaspoon salt
- 1 cup (226g) unsalted butter
- 1 cup (200g) packed dark brown sugar
- 1/2 cup (100g) granulated sugar
- 2 large eggs, room temperature
- 2 teaspoons vanilla extract
- 2 cups (340g) semi-sweet chocolate chips or chopped chocolate
- Flaky sea salt for finishing (optional)
Instructions
- Brown the butter: Place 1 cup butter in a small saucepan over medium heat. Stir constantly until it melts, foams, and turns deep amber with brown specks (5-7 minutes). Remove from heat, pour into a heatproof bowl, and let cool for 15 minutes.
- Whisk dry ingredients: In a medium bowl, whisk together bread flour, cornstarch, baking soda, and salt. Set aside.
- Mix sugars and butter: In a large bowl, combine cooled browned butter with dark brown sugar and granulated sugar. Whisk vigorously for about 2 minutes until the mixture looks like wet sand and has no lumps.
- Add eggs and vanilla: Crack both eggs into the sugar-butter mixture. Add vanilla extract. Whisk for about 1 minute until smooth, glossy, and slightly lighter in color.
- Fold in dry ingredients: Pour flour mixture into wet ingredients. Use a rubber spatula to fold gently until no streaks of flour remain. Do not overmix.
- Add chocolate: Fold in chocolate chips or chopped chocolate. Reserve about 1/4 cup for topping later.
- Chill dough: Cover bowl with plastic wrap and refrigerate for at least 12 hours, up to 72 hours.
- Preheat and prepare: When ready to bake, preheat oven to 375°F (190°C). Line two baking sheets with parchment paper. Let dough sit at room temperature for 10 minutes.
- Scoop and top: Use a cookie scoop to portion dough into 3-tablespoon balls. Place 3 inches apart on prepared baking sheets. Press a few extra chocolate chips on top of each dough ball.
- Bake: Bake one sheet at a time for 11-13 minutes. Edges should be golden brown and centers should look slightly underbaked and puffy.
- Cool and finish: Let cookies cool on baking sheet for 5 minutes. Sprinkle with flaky sea salt while still warm. Transfer to a cooling rack to cool completely.
Notes
Chilling the dough for at least 12 hours is non-negotiable for best texture and flavor. Use a kitchen scale for accurate flour measurement. Bake one sheet at a time for even results. Cookies will continue to set on the baking sheet after removal from oven.
Nutrition
- Serving Size: 1 cookie
- Calories: 220
- Sugar: 18
- Sodium: 150
- Fat: 12
- Saturated Fat: 7
- Carbohydrates: 28
- Fiber: 1
- Protein: 3
Keywords: chocolate chip cookies, chewy cookies, bakery-style cookies, browned butter cookies, overnight cookies


