My niece Clara asked me last Thanksgiving why I couldn’t just skip the oven and let the cheesecake set in the fridge instead. I started to explain why that wouldn’t work — something about the science of baking and how eggs need heat to set properly. Then I stopped. She had a point, honestly. I mean, I’d been making no-bake desserts for years, but I’d never thought to apply that logic to a holiday cheesecake. The look on her face said she was pretty sure she’d just suggested something brilliant, and I was pretty sure she was wrong. Turns out, she was exactly right.
That conversation stuck with me. Three weeks later, with a carton of eggnog sitting in my fridge and a stack of holiday baking magazines on my counter, I decided to test her theory. I wanted something that felt special — something worthy of a Christmas dessert table — but I also needed it to be easy enough that my kids could help without turning my kitchen into a disaster zone. The first batch came out a little too soft, so I tweaked the ratios. The second batch? Well, let me tell you, that one disappeared before I even got a chance to photograph it. My husband ate three pieces in one sitting, and Clara asked if she could take some to show her friends.
These Cozy No-Bake Eggnog Cheesecake Bars are now my go-to holiday dessert. They’ve got that rich, creamy eggnog flavor you crave during the holidays, but they come together in about twenty minutes of actual work. No water baths, no cracked tops, no hovering over the oven hoping for the best. Just a buttery graham cracker crust, a silky no-bake cheesecake filling, and a sprinkle of nutmeg on top. They’re the kind of dessert that makes you look like you spent hours in the kitchen — when really, you were just smart enough to let the fridge do the heavy lifting.
Why You’ll Love This Recipe
Let me be honest with you. I’ve tested a lot of holiday dessert recipes over the years, and most of them fall into one of two categories: either they’re impressive but exhausting, or they’re easy but kind of boring. These eggnog cheesecake bars break that pattern completely.
- Quick & Easy: Twenty minutes of prep time, and the fridge does the rest. No baking, no complicated techniques, no stress. This is the kind of recipe you can make while your kids are watching a movie or while you’re catching up on holiday phone calls.
- Simple Ingredients: You probably already have most of these in your kitchen. Graham crackers, butter, cream cheese, sugar, and a carton of eggnog. Nothing fancy, nothing hard to find. Even the nutmeg is optional if you’re in a pinch.
- Perfect for the Holidays: These bars are made for Christmas parties, cookie swaps, and family gatherings. They travel well, they slice cleanly, and they look beautiful on a dessert platter with a dusting of nutmeg and maybe a few sugared cranberries on the side.
- Crowd-Pleaser: I’ve served these to kids, grandparents, picky eaters, and dessert snobs. Every single person has asked for the recipe. The eggnog flavor is present but not overwhelming — it’s festive without being too “adult” for little ones.
- Unbelievably Delicious: The texture is what gets people. It’s creamy and rich without being heavy. The crust stays perfectly crunchy, and the filling sets up firm enough to slice but stays silky on your tongue. Honestly, I think it tastes better than most baked cheesecakes I’ve had.
This recipe is different because it actually works for real families. I’m not a professional pastry chef — I’m a mom who loves good food and hates complicated recipes. I developed these bars in my own kitchen, testing them on my own picky eaters, and they passed every test. They’re the kind of dessert that makes you feel like a holiday hero without making you feel like you need a nap afterward.
What Ingredients You Will Need
This recipe uses simple, everyday ingredients to create something that tastes like it came from a fancy bakery. The beauty of these bars is that you don’t need any special equipment or hard-to-find items — just good quality basics and a carton of your favorite eggnog.
For the Crust
- 2 cups graham cracker crumbs (about 14-15 full sheets, crushed finely) — You can buy pre-crushed crumbs, but I prefer to crush my own in a food processor or sealed bag. The texture is more consistent.
- ½ cup unsalted butter, melted — Salted butter works in a pinch, just reduce the added salt. I use Land O’Lakes for consistent results.
- ¼ cup granulated sugar — Adds just enough sweetness to balance the buttery crumbs.
- ¼ teaspoon ground cinnamon — Optional, but it adds a lovely warmth that complements the eggnog.
- Pinch of salt — Only if using unsalted butter.
For the Cheesecake Filling
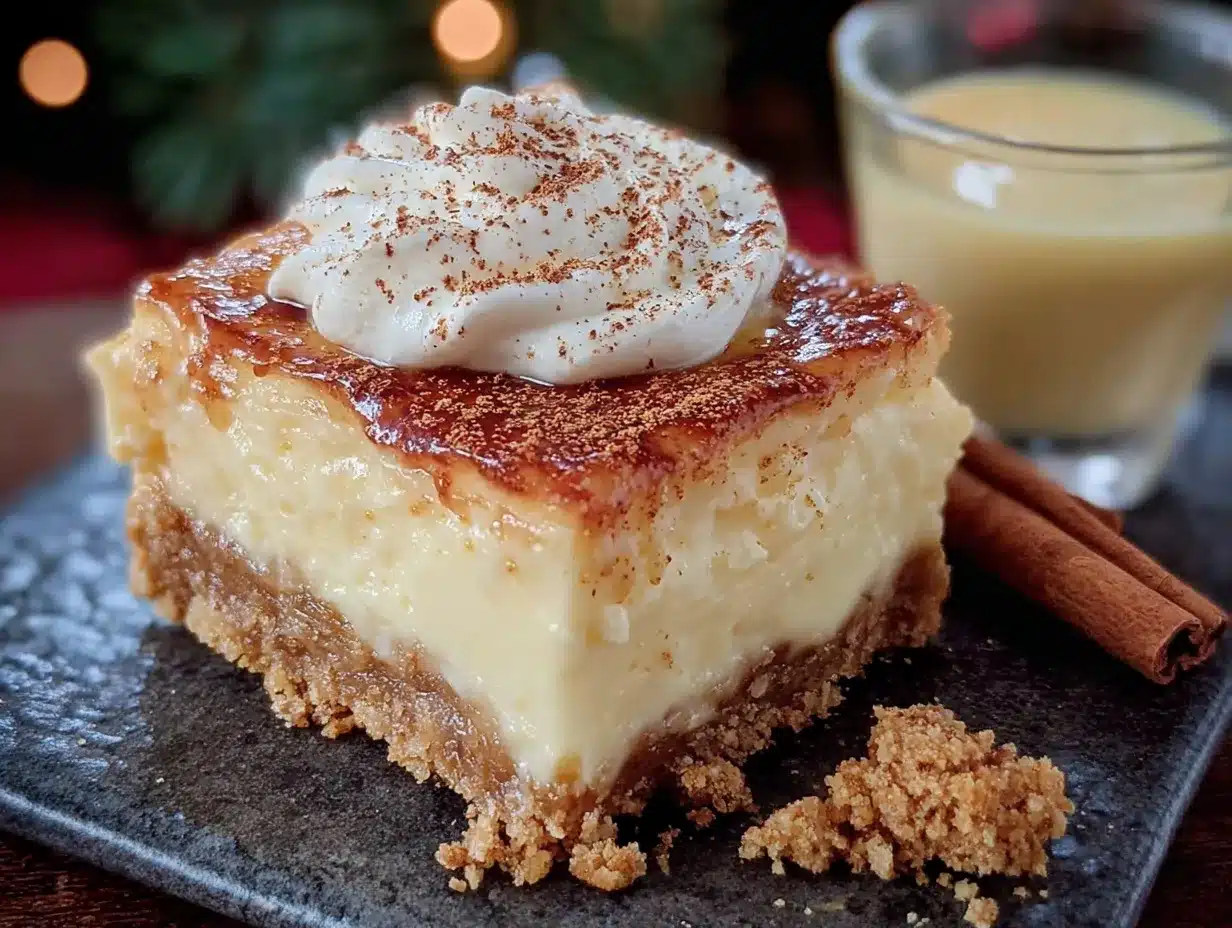
- 16 ounces full-fat cream cheese, softened — This is non-negotiable. Low-fat cream cheese contains more water and won’t set up properly. Let it sit on the counter for at least an hour before starting. Philadelphia cream cheese is my go-to for reliability.
- ½ cup granulated sugar — Just enough to sweeten without overpowering the eggnog flavor.
- 1 cup cold eggnog — Use the full-fat stuff if you can. The thicker the eggnog, the creamier your bars will be. I’ve tested this with both store-brand and name-brand, and they both work fine.
- 1 teaspoon vanilla extract — Pure vanilla extract makes a difference here. The imitation stuff has a chemical aftertaste that doesn’t play well with eggnog.
- ½ teaspoon ground nutmeg, plus more for garnish — Freshly grated nutmeg is incredible if you have it. Pre-ground works perfectly fine too.
- ¼ teaspoon ground cinnamon — Adds warmth and depth. You can skip it if you prefer a pure eggnog flavor.
- 1 package (3.4 ounces) instant vanilla pudding mix — This is the secret ingredient that helps the filling set without baking. Do not use cook-and-serve pudding; it won’t work the same way.
- 1 ½ cups heavy whipping cream — For the whipped cream topping. You can use Cool Whip in a pinch, but homemade whipped cream is so much better and only takes a few minutes.
- 2 tablespoons powdered sugar — For sweetening the whipped cream.
Substitution Notes: If you need a gluten-free option, use gluten-free graham crackers or crushed gluten-free cookies. For a dairy-free version, use dairy-free cream cheese and a plant-based eggnog, but be aware the texture will be slightly softer. I haven’t tested a vegan version extensively, so proceed with caution if you go that route.
Equipment Needed
You don’t need a lot of fancy tools for this recipe, which is exactly how I like it. Here’s what you’ll need:
- 9×9-inch baking pan — An 8×8 works too, but your bars will be slightly thicker. Line it with parchment paper for easy removal.
- Parchment paper — Trust me on this. It makes lifting the bars out of the pan so much easier. Let the edges hang over the sides for handles.
- Food processor or zip-top bag and rolling pin — For crushing graham crackers. I’ve used both methods, and honestly, the bag-and-rolling-pin approach works great and is easier to clean.
- Medium mixing bowl — For the crust ingredients.
- Large mixing bowl — For the cheesecake filling. A stand mixer works beautifully here, but a hand mixer is perfectly fine.
- Hand mixer or stand mixer — You need something to beat the cream cheese until smooth. A whisk will work if you have really strong arms, but I don’t recommend it.
- Measuring cups and spoons — Standard set. Nothing fancy.
- Rubber spatula — For scraping down the bowl and spreading the filling evenly.
- Plastic wrap or aluminum foil — For covering the pan while it chills.
If you don’t have a 9×9 pan, you can use a 9×13 pan for thinner bars — just reduce the chilling time slightly. I’ve also made these in a springform pan for a more traditional cheesecake look, and it works great.
Preparation Method
Let me walk you through this step by step. I’ve made these bars at least a dozen times, so I’ve got all the little tricks figured out.
Step 1: Prepare the Crust
Start by lining your 9×9 baking pan with parchment paper. Leave about two inches of overhang on two opposite sides — these will be your handles for lifting the bars out later. In a medium bowl, combine the graham cracker crumbs, sugar, cinnamon, and salt if using. Pour the melted butter over the top and stir with a fork until every crumb is moistened. The mixture should look like wet sand and hold together when you squeeze it in your fist.
Press the mixture firmly into the bottom of your prepared pan. I use the bottom of a measuring cup to really pack it down — this is important because a loose crust will fall apart when you slice the bars. Pop the pan in the fridge while you make the filling. This gives the crust time to firm up.
Step 2: Make the Cheesecake Filling
In a large mixing bowl, beat the softened cream cheese with an electric mixer until it’s completely smooth and fluffy. This takes about 2-3 minutes on medium speed. Scrape down the sides of the bowl with a rubber spatula at least once. Add the sugar and beat for another minute until well combined.
With the mixer on low speed, slowly pour in the cold eggnog, vanilla extract, nutmeg, and cinnamon. Mix until just combined — don’t overmix or you’ll incorporate too much air, which can cause cracks later. Add the instant vanilla pudding mix and beat on low for about 30 seconds until the mixture starts to thicken. You’ll notice it getting noticeably thicker almost immediately. This is good — it means the pudding is doing its job.
Step 3: Make the Whipped Cream
In a separate clean bowl, pour the heavy whipping cream and powdered sugar. Using clean beaters, whip on medium-high speed until stiff peaks form. This takes about 3-4 minutes with a hand mixer. You’re looking for peaks that stand up straight when you lift the beaters. Be careful not to overwhip, or you’ll end up with butter. I’ve done that before, and it’s not fun to clean up.
Step 4: Combine and Assemble
Fold about half of the whipped cream into the cream cheese mixture using a rubber spatula. Use gentle, sweeping motions — fold, turn the bowl, fold again. Once it’s mostly combined, add the remaining whipped cream and fold until no white streaks remain. The mixture should be light, airy, and incredibly creamy.
Pour the filling over the prepared crust and spread it evenly with your spatula. Give the pan a few gentle taps on the counter to release any air bubbles. Smooth the top as best you can — it doesn’t need to be perfect because you’ll cover it with more whipped cream later.
Step 5: Chill and Set
Cover the pan with plastic wrap and refrigerate for at least 6 hours, but overnight is better. I know that’s a long time to wait, but trust me — the bars need this time to set up properly. The pudding mix needs time to absorb the liquid and create that firm, sliceable texture. If you try to cut them too early, you’ll end up with a delicious mess. I speak from experience.
Step 6: Add the Topping and Serve
Once the bars are fully set, you can add an extra layer of whipped cream on top if you like. I like to save a little whipped cream from earlier and spread it over the bars before slicing. Sprinkle with a generous dusting of nutmeg — fresh grated if you have it. Use the parchment handles to lift the bars out of the pan. Slice into 9 or 16 squares, depending on how generous you want to be. I usually go with 9 for holiday gatherings because people always want seconds.
Cooking Tips & Techniques
I’ve learned a few things the hard way so you don’t have to. Here are my best tips for perfect eggnog cheesecake bars every time.
Room temperature cream cheese is not optional. I know it’s tempting to use cold cream cheese straight from the fridge, but I promise you’ll regret it. Cold cream cheese creates lumps that no amount of mixing will fix. Leave it on the counter for at least an hour. If you forget, you can microwave it in 10-second bursts — just be careful not to melt it.
Don’t skip the parchment paper. I made these once without it, thinking I could just grease the pan and call it good. Big mistake. The bars stuck to the pan, and I ended up serving them in crumbles with a spoon. They tasted great, but they looked terrible. The parchment handles make everything so much easier.
Patience is key with the chilling time. I know six hours feels like forever when you’re craving cheesecake bars. But here’s the thing — if you rush this step, the bars will be too soft to slice cleanly. I’ve made the mistake of pulling them out after four hours because I was impatient, and I ended up with a sloppy mess. Overnight chilling is truly best. Make them the day before you need them, and you’ll be so glad you did.
Watch your eggnog consistency. Different brands of eggnog have different thicknesses. If your eggnog is particularly thin, your filling might be a little softer. If it’s extra thick and creamy, your bars will be firmer. I’ve found that store-brand eggnog tends to be thinner, while name-brand options like Hood or Southern Comfort are thicker. Adjust your expectations accordingly, but honestly, both work fine.
Use a sharp knife for clean slices. When you’re ready to cut the bars, run your knife under hot water, wipe it dry, then make your cut. Repeat this for each slice. It sounds fussy, but it gives you those beautiful, clean edges that look so professional.
Variations & Adaptations
One of the things I love about this recipe is how easy it is to customize. Here are some variations I’ve tried and loved.
Boozy Eggnog Bars: If you’re making these for an adults-only gathering, add 1-2 tablespoons of dark rum or bourbon to the filling along with the eggnog. It adds a lovely warmth that pairs beautifully with the spices. Just don’t add too much, or the bars won’t set properly. I learned this the hard way when I got a little too generous with the rum one year.
Gingerbread Crust: Swap the graham crackers for crushed gingersnap cookies. The spicy ginger flavor is incredible with the creamy eggnog filling. I’ve done this for Christmas parties, and people go crazy for it. Use about 2 cups of gingersnap crumbs and reduce the sugar to 2 tablespoons since the cookies are already sweet.
Chocolate Eggnog Bars: Add ½ cup of melted dark chocolate to the filling for a chocolate-eggnog combination that’s absolutely divine. Drizzle extra melted chocolate over the top before serving. My kids think these are the best thing I’ve ever made.
Pumpkin Eggnog Bars: Replace ½ cup of the eggnog with pumpkin puree and add an extra teaspoon of pumpkin pie spice. This is my favorite fall variation. It’s like pumpkin pie met eggnog cheesecake and decided to get married.
Mini Bars for Cookie Trays: Make these in a mini muffin tin for bite-sized treats. Line the tin with small parchment squares, press in the crust, add the filling, and chill. They’re perfect for holiday cookie exchanges and buffet tables. Just reduce the chilling time to about 4 hours since they’re smaller.
Serving & Storage Suggestions
These bars are incredibly versatile when it comes to serving. I like to take them out of the fridge about 10 minutes before serving so they soften slightly — the texture is even creamier at room temperature. Arrange them on a platter with a light dusting of fresh nutmeg and maybe a few sugared cranberries or mint leaves for color.
They pair beautifully with hot coffee, spiced tea, or a glass of cold milk for the kids. For an extra special presentation, serve each bar with a dollop of fresh whipped cream and a sprinkle of cinnamon. I’ve also been known to drizzle a little caramel sauce over the top when I’m feeling fancy.
For storage, keep the bars in an airtight container in the refrigerator. They’ll stay fresh for up to 5 days, though honestly, they never last that long in my house. The flavor actually improves after the first day as the spices meld together. I’ve found that the texture is best on days 2 and 3.
You can freeze these bars for up to 2 months. Wrap individual slices tightly in plastic wrap, then place them in a freezer-safe bag or container. To thaw, transfer them to the refrigerator overnight. Don’t try to thaw them at room temperature — they’ll get too soft and lose their structure. I’ve frozen these for Christmas in July before, and they came out perfectly.
Nutritional Information & Benefits
Let’s be real — these are a holiday treat, not a health food. But I do appreciate knowing what’s in my food, especially when I’m feeding my family. Here’s the estimated nutritional breakdown per bar (based on 9 servings):
- Calories: Approximately 420-450 per bar
- Fat: 28-30g (mostly from cream cheese and heavy cream)
- Carbohydrates: 38-42g
- Protein: 6-7g
- Sugar: 28-32g
- Calcium: About 8% of daily value (thanks to the cream cheese and eggnog)
Eggnog itself contains some protein and calcium, plus warming spices like nutmeg and cinnamon that have anti-inflammatory properties. The cream cheese provides a small amount of protein and calcium as well. Is this a health food? Absolutely not. But it’s a holiday dessert made with real ingredients, and I think that counts for something.
If you’re watching your sugar intake, you can reduce the sugar in the filling to ⅓ cup and use a sugar-free pudding mix. The texture will be slightly different, but it still works. I’ve tested this for a friend with diabetes, and she was thrilled with the results.
Conclusion
These Cozy No-Bake Eggnog Cheesecake Bars have become a staple in my holiday dessert rotation, and I honestly can’t imagine the season without them now. They’re everything I want in a holiday dessert — rich and creamy, festive without being fussy, and easy enough that I can make them while my kids are decorating the tree or wrapping presents. The fact that they don’t require any oven time means I can save that precious space for the roast turkey and the dinner rolls.
Clara still reminds me every year about our conversation that Thanksgiving. She’s pretty proud of herself, and honestly, she should be. Her simple question led to a recipe that my whole family looks forward to every December. That’s the thing about cooking with kids — sometimes they teach you more than you teach them. And sometimes the best recipes come from being willing to say, “You know what? Let’s try it your way.”
I’d love to hear how these turn out for you. Leave a comment below and let me know if your family loved them as much as mine does. Did you try any fun variations? Did your kids help you make them? Share your photos and tag me — I love seeing these bars on your holiday tables. Happy holidays, and happy no-baking!
Frequently Asked Questions
Can I use low-fat cream cheese or Neufchâtel?
I don’t recommend it. Full-fat cream cheese has less water content, which helps the bars set up properly. Low-fat versions can make the filling too soft and prone to sliding off the crust. If you must use it, expect a softer texture and plan to serve the bars in the pan rather than trying to lift them out.
How do I know when the bars are fully set?
The filling should feel firm to the touch, not jiggly. When you gently shake the pan, the center should move as one solid piece rather than rippling like liquid. If you press lightly with your finger, it should feel springy but not sticky. If it’s still soft, give it another 2-3 hours in the fridge.
Can I make these bars gluten-free?
Absolutely. Use gluten-free graham crackers or crushed gluten-free cookies for the crust. Everything else in the recipe is naturally gluten-free. Just double-check your pudding mix label — most instant pudding mixes are gluten-free, but it’s always worth verifying.
My crust keeps falling apart when I cut the bars. What went wrong?
This usually happens when the crust isn’t packed firmly enough into the pan. Use the bottom of a measuring cup or a flat glass to really press the crumbs down. Also, make sure your butter is fully melted and mixed evenly through the crumbs. If the mixture looks dry, add another tablespoon of melted butter.
Can I use homemade eggnog instead of store-bought?
Yes, but homemade eggnog tends to be thinner than store-bought, so your bars might be a little softer. If you’re using homemade eggnog, consider adding an extra tablespoon of instant pudding mix to help with setting. I’ve tested this with my sister’s homemade eggnog, and it worked fine with that small adjustment.
Pin This Recipe!
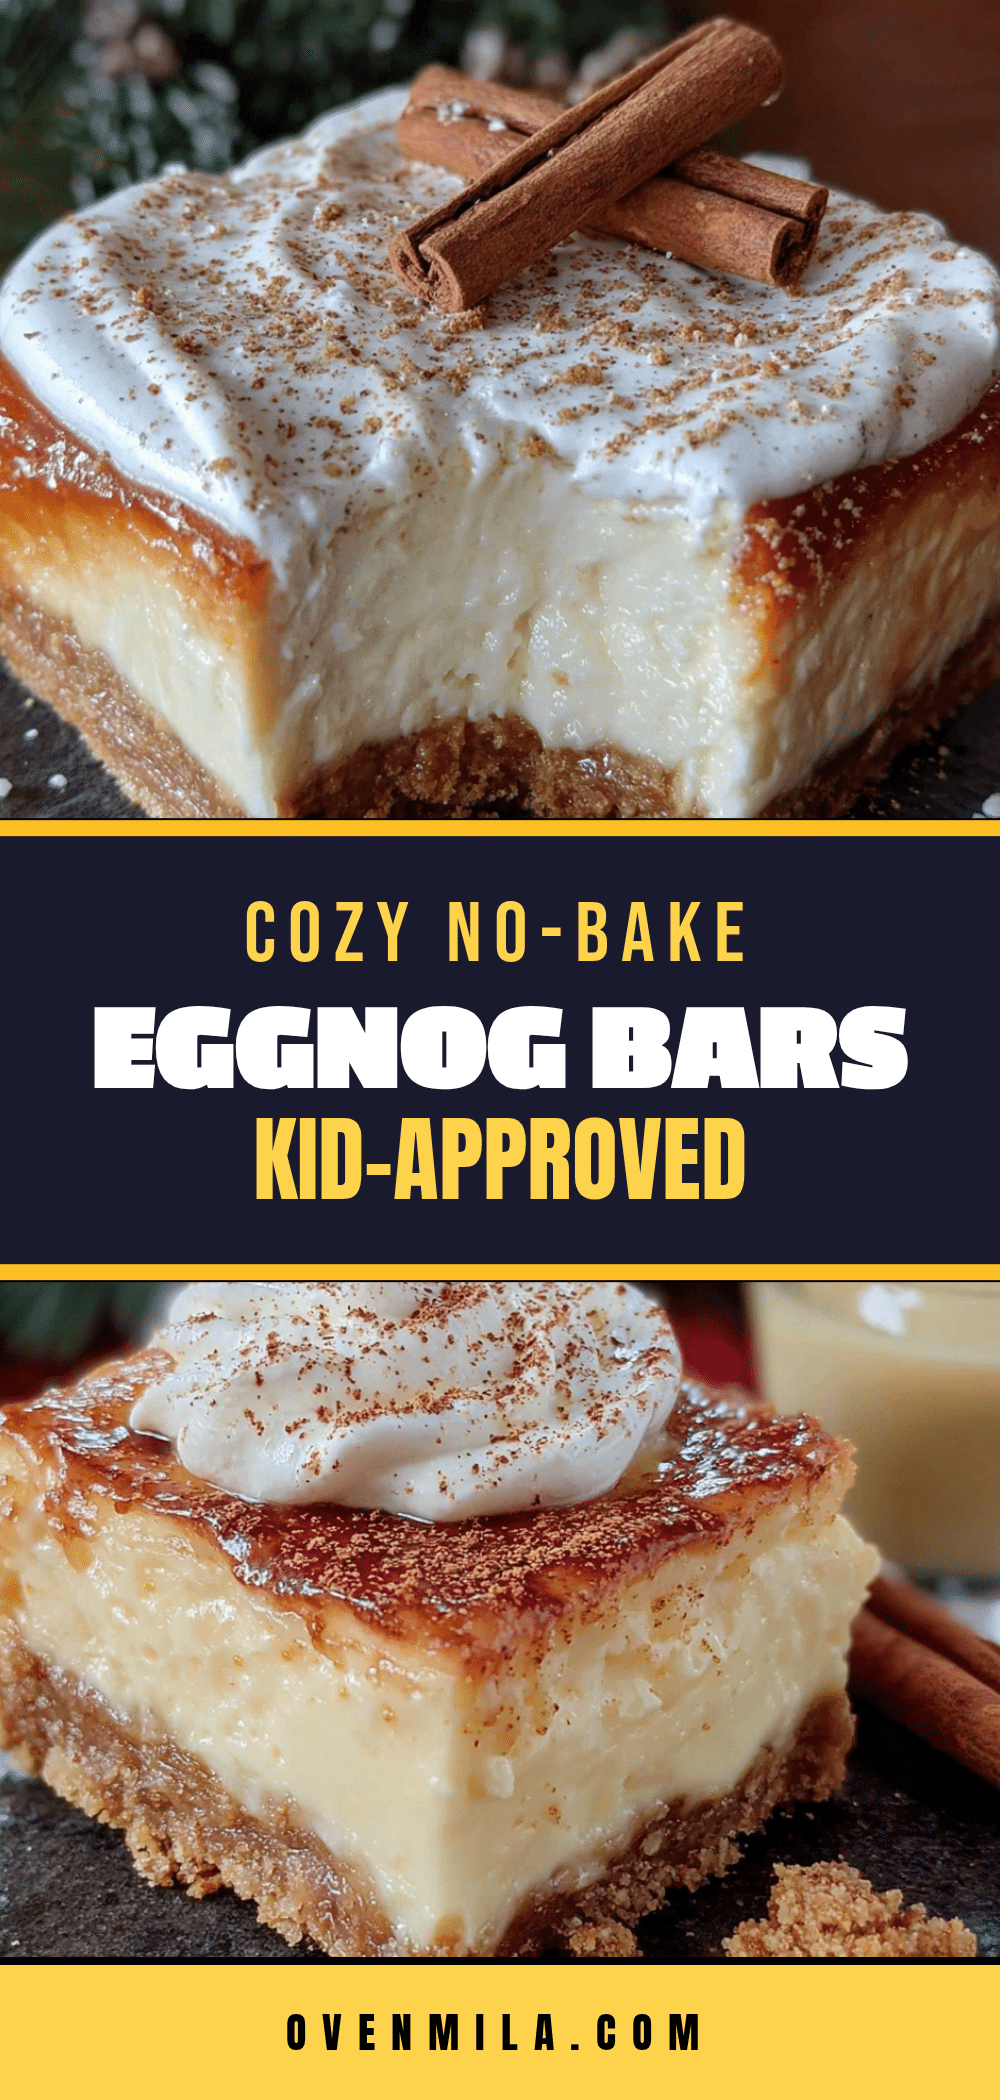
Cozy No-Bake Eggnog Cheesecake Bars: Best Holiday Dessert
These no-bake eggnog cheesecake bars are a rich, creamy holiday dessert with a buttery graham cracker crust and silky cheesecake filling. They come together in just 20 minutes of prep and set in the fridge, making them perfect for stress-free holiday entertaining.
- Prep Time: 20 minutes
- Cook Time: 0 minutes
- Total Time: 6 hours 20 minutes (includes chilling)
- Yield: 9 servings 1x
- Category: Dessert
- Cuisine: American
Ingredients
- 2 cups graham cracker crumbs (about 14–15 full sheets, finely crushed)
- ½ cup unsalted butter, melted
- ¼ cup granulated sugar
- ¼ teaspoon ground cinnamon
- Pinch of salt (if using unsalted butter)
- 16 ounces full-fat cream cheese, softened
- ½ cup granulated sugar
- 1 cup cold eggnog
- 1 teaspoon vanilla extract
- ½ teaspoon ground nutmeg, plus more for garnish
- ¼ teaspoon ground cinnamon
- 1 package (3.4 ounces) instant vanilla pudding mix
- 1 ½ cups heavy whipping cream
- 2 tablespoons powdered sugar
Instructions
- Line a 9×9-inch baking pan with parchment paper, leaving about 2 inches of overhang on two opposite sides.
- In a medium bowl, combine graham cracker crumbs, ¼ cup sugar, ¼ teaspoon cinnamon, and salt (if using). Pour melted butter over the mixture and stir with a fork until every crumb is moistened. The mixture should look like wet sand and hold together when squeezed.
- Press the crust mixture firmly into the bottom of the prepared pan using the bottom of a measuring cup. Refrigerate while making the filling.
- In a large mixing bowl, beat softened cream cheese with an electric mixer on medium speed until smooth and fluffy, about 2-3 minutes. Scrape down the sides of the bowl.
- Add ½ cup sugar and beat for another minute until well combined.
- With the mixer on low speed, slowly pour in cold eggnog, vanilla extract, ½ teaspoon nutmeg, and ¼ teaspoon cinnamon. Mix until just combined.
- Add the instant vanilla pudding mix and beat on low for about 30 seconds until the mixture starts to thicken.
- In a separate clean bowl, whip heavy whipping cream and powdered sugar on medium-high speed until stiff peaks form, about 3-4 minutes.
- Fold about half of the whipped cream into the cream cheese mixture using a rubber spatula. Fold gently until mostly combined, then add the remaining whipped cream and fold until no white streaks remain.
- Pour the filling over the prepared crust and spread evenly. Tap the pan gently on the counter to release air bubbles.
- Cover the pan with plastic wrap and refrigerate for at least 6 hours, preferably overnight.
- Once set, spread remaining whipped cream on top (if desired) and sprinkle with nutmeg. Use parchment handles to lift bars out of the pan. Slice into 9 or 16 squares and serve.
Notes
Room temperature cream cheese is essential for a smooth filling. Do not skip the parchment paper for easy removal. Chilling overnight yields the best texture. For clean slices, run a knife under hot water and wipe dry before each cut.
Nutrition
- Serving Size: 1 bar (based on 9 se
- Calories: 435
- Sugar: 30
- Sodium: 320
- Fat: 29
- Saturated Fat: 17
- Carbohydrates: 40
- Fiber: 1
- Protein: 6.5
Keywords: no-bake cheesecake, eggnog cheesecake bars, holiday dessert, Christmas dessert, easy cheesecake, no-bake dessert


