My friend called just as I was about to dive into a quiet evening, saying she was swinging by with her kids—totally unexpected. The fridge? Practically empty except for a small bag of Hatch green chiles roasting on the counter and some leftover elbow macaroni begging for a purpose. Honestly, I wasn’t set up to impress anyone, just hoping to whip up something quick and satisfying. But roasting those Hatch chiles brought out this smoky aroma that filled the kitchen, and I figured, why not toss them into some mac and cheese? It was a little chaotic, a little last-minute, but the result was comfort food with a spicy twist that felt like a small culinary win on a hectic day.
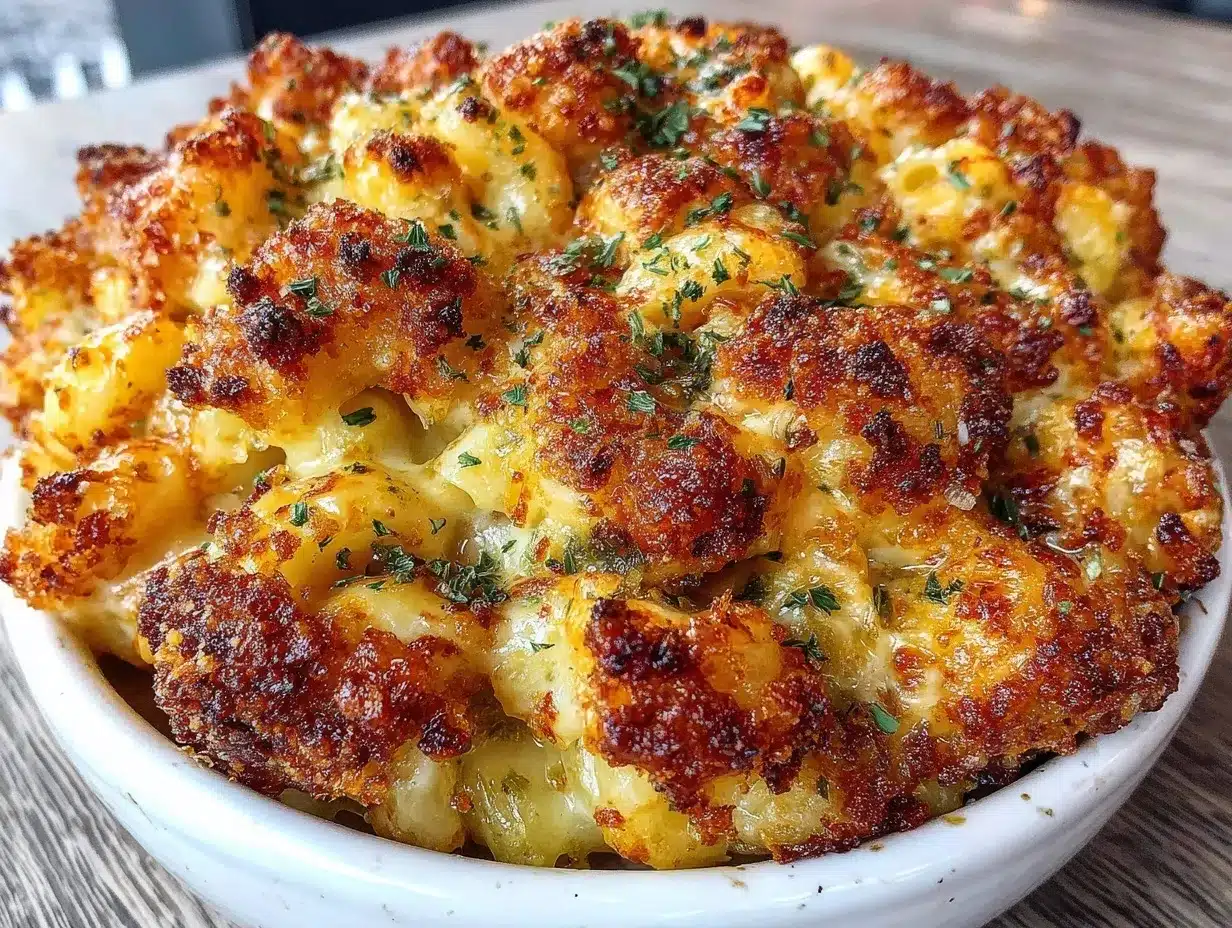
That night, the crispy roasted Hatch green chile mac and cheese came together without much fuss, but it stuck with me. The way the creamy cheese melded with the gentle heat from those chiles, plus that golden, crispy crust on top—there was just something satisfying about it. It wasn’t planned, but it felt like a little celebration of making do with what’s on hand and turning it into something worth savoring. Since then, it’s become my go-to for nights I want a little flavor kick without spending hours in the kitchen.
Maybe it’s the smoky, just-right spice or the crunchy top that gives this mac and cheese its soul. Either way, you know that feeling when you close your eyes after the first bite and think, “Yep, this is exactly what I needed”? That’s what keeps me coming back to this recipe.
Why You’ll Love This Recipe
After testing this recipe a handful of times (some with friends, some solo), I’ve come to trust it for both its simplicity and its boldness. It’s a dish that doesn’t ask for much but gives you plenty in return, especially if you’re craving something cozy with a little heat. Here’s what makes this crispy roasted Hatch green chile mac and cheese a standout:
- Quick & Easy: From chopping to serving, it’s done in under 45 minutes—perfect for last-minute guests or a weeknight treat.
- Simple Ingredients: You likely already have most of these staples, plus that one special ingredient—roasted Hatch chiles—that turns it up a notch.
- Perfect for Cozy Dinners: Ideal when you want something comforting but not boring, especially on cooler nights when you want a little warmth.
- Crowd-Pleaser: Kids and adults alike love the creamy cheese with the gentle smoky kick. It’s not too spicy but definitely interesting.
- Unbelievably Delicious: The crispy top browned with a hint of butter and cheese adds texture that balances the creamy interior beautifully.
What sets this recipe apart is the way it treats the Hatch chile—not just as a flavor add-in but as the star that carries the dish. Roasting those chiles brings out their natural sweetness and smoky notes, which blend perfectly with the sharp cheddar and gooey mozzarella. Plus, I like to use a mix of cheeses for that ultimate creamy stretch and flavor depth.
Honestly, this isn’t just another mac and cheese. It’s the kind of dish that feels like a warm hug with a little kick. If you’re someone who loves comfort food but craves a bit of adventure, this is the recipe that will quietly surprise you. It’s become a reliable favorite that I reach for whether it’s a casual dinner or a way to make a simple meal feel special.
What Ingredients You Will Need
This recipe uses simple, wholesome ingredients to deliver bold flavor and satisfying texture without the fuss. The Hatch green chiles are the game-changer here, bringing smoky warmth without overwhelming the dish. Most other ingredients are pantry staples or easy to find in any grocery store.
- Elbow macaroni: 12 oz (340 g), the classic pasta shape that holds the cheese sauce perfectly.
- Hatch green chiles: About 4 medium-sized, roasted, peeled, and chopped (fresh or frozen works; roasting yourself adds the best flavor).
- Sharp cheddar cheese: 2 cups (about 8 oz or 225 g), shredded (I like Cabot for its rich flavor).
- Mozzarella cheese: 1 cup (about 4 oz or 115 g), shredded (for that creamy melt).
- Unsalted butter: 4 tablespoons (60 g), divided (adds richness and helps the crispy crust).
- All-purpose flour: 3 tablespoons (24 g), to thicken the cheese sauce.
- Whole milk: 3 cups (720 ml), warmed (you can use 2% if needed, but whole milk makes it creamier).
- Garlic powder: 1 teaspoon, for a subtle savory note.
- Onion powder: 1 teaspoon, complements the roasted chile flavor.
- Smoked paprika: 1/2 teaspoon, to enhance the smoky profile.
- Salt and black pepper: To taste.
- Panko breadcrumbs: 1 cup (about 60 g), for the crispy topping (feel free to swap with crushed crackers for a different crunch).
- Optional: A pinch of cayenne pepper if you want extra heat.
If you want a dairy-free version, swap the butter for olive oil and use your favorite plant-based milk and vegan cheese alternatives. For a gluten-free option, use gluten-free pasta and substitute flour with cornstarch or a gluten-free blend.
Equipment Needed
- Large pot for boiling pasta.
- Medium saucepan to make the cheese sauce.
- Wooden spoon or whisk for stirring the sauce (a whisk helps prevent lumps).
- Baking dish (about 8×8 inches or 20×20 cm works well) for roasting the mac and cheese.
- Cheese grater or food processor to shred cheese (freshly shredded melts better).
- Oven mitts for handling hot dishes.
- Optional: A fine mesh strainer to drain pasta efficiently.
I’ve tried this recipe using a regular oven-safe skillet, and while it works, a baking dish makes it easier to get that crispy top. If you don’t have panko breadcrumbs, crushed tortilla chips or even cornflakes can add a nice crunch too. No fancy tools needed—just basics you probably have right now.
Preparation Method
- Roast the Hatch green chiles: If you haven’t done this beforehand, place the chiles on a baking sheet under the broiler or on a gas stove flame, turning until the skin is charred and blistered (about 5-7 minutes). Put them in a bowl covered with plastic wrap or a sealed bag to steam for 10 minutes, then peel off the skins, remove seeds, and chop roughly. (This step can be done a day ahead.)
- Cook the pasta: Bring a large pot of salted water to a boil. Add 12 oz (340 g) elbow macaroni and cook until just al dente, about 7 minutes (check package instructions). Drain and set aside. Avoid overcooking; you want some firmness since it will bake later.
- Make the roux for the cheese sauce: In a medium saucepan, melt 3 tablespoons (45 g) butter over medium heat. Whisk in 3 tablespoons (24 g) flour and cook for 1-2 minutes, stirring constantly, until bubbly and slightly golden. This helps remove the raw flour taste.
- Add the milk: Gradually pour in 3 cups (720 ml) warm whole milk while whisking to keep the sauce smooth. Continue cooking and stirring until the sauce thickens enough to coat the back of a spoon, about 6-8 minutes.
- Season the sauce: Stir in 1 teaspoon garlic powder, 1 teaspoon onion powder, 1/2 teaspoon smoked paprika, salt, and pepper to taste. Add a pinch of cayenne if you want a little extra heat.
- Add the cheese: Remove the sauce from heat and stir in 2 cups (225 g) shredded sharp cheddar and 1 cup (115 g) shredded mozzarella until melted and smooth. Then fold in the chopped roasted Hatch chiles.
- Combine pasta and cheese sauce: Pour the sauce over the cooked pasta and gently stir to coat evenly.
- Prepare the topping: Melt the remaining 1 tablespoon (15 g) butter and mix with 1 cup (60 g) panko breadcrumbs until coated.
- Assemble and bake: Transfer the mac and cheese into a greased 8×8-inch (20×20 cm) baking dish. Sprinkle the breadcrumb mixture evenly on top. Bake in a preheated oven at 375°F (190°C) for 20-25 minutes, or until the topping is golden brown and crispy.
- Rest and serve: Let the dish cool for 5 minutes before serving to allow the cheese sauce to set slightly. Enjoy the combination of creamy, spicy, and crunchy textures.
If the sauce feels too thick before adding cheese, whisk in a splash more milk to loosen it up. Watch the breadcrumbs closely during baking so they don’t burn—if they brown too fast, cover loosely with foil for the last 10 minutes.
Cooking Tips & Techniques
When making this Hatch green chile mac and cheese, a few little tricks can make a big difference. First, roasting the chiles yourself really amps up the flavor. Don’t skip the steaming step after charring—it helps loosen the skins so you can peel them easily without losing the smoky goodness.
For the cheese sauce, patience is key. Cook the roux (flour and butter) long enough to get rid of that raw taste but don’t let it brown too much; you want a smooth base. Adding warm milk gradually while whisking keeps the sauce silky.
Using a blend of cheddar and mozzarella balances sharpness and meltiness. Freshly shredded cheese melts better than pre-shredded, which often contains anti-caking agents.
When baking, the panko breadcrumb topping is your golden ticket to that perfect crunch. Tossing the crumbs in melted butter before sprinkling helps them brown evenly and taste buttery. If you’re pressed for time, broiling the top for the last minute can boost crispiness, but watch closely to avoid burning.
One mistake I made early on was overcooking the pasta initially—trust me, it should be just shy of done since it’ll finish baking. Also, seasoning the sauce generously is important because the pasta soaks up some flavor during baking.
Variations & Adaptations
This recipe is pretty flexible depending on what you like or need:
- Spicy Upgrade: Add diced jalapeños or a dash of chipotle powder for more heat. You could even swap smoked paprika for chipotle powder to deepen the smoky flavor, like in my smoky chipotle beef brisket sliders.
- Veggie Boost: Stir in sautéed mushrooms, corn, or spinach before baking for extra texture and nutrients.
- Gluten-Free: Use gluten-free elbow macaroni and a cornstarch slurry instead of flour for the cheese sauce to keep things smooth.
- Dairy-Free: Swap butter for olive oil, use almond or oat milk, and a vegan cheese blend—though the crispy top might differ slightly.
- Cheese Variations: Try mixing in pepper jack or gouda for a different cheese profile. I once tried smoked gouda, and it added a lovely depth that paired well with the Hatch chiles.
Serving & Storage Suggestions
This mac and cheese is best served warm, right out of the oven, so you get that perfect creamy and crispy combo. It pairs wonderfully with a fresh, tangy salad—something like a cucumber salad with dill or a bright orzo pasta salad, similar to the one in my fresh sun-dried tomato orzo pasta salad, which cuts through the richness nicely.
Leftovers keep well in the fridge for up to 3 days, stored in an airtight container. When reheating, I recommend warming it gently in the oven or air fryer to revive the crispy topping—microwaving tends to make it a bit soggy.
If you want to store it longer, freeze in portions for up to 2 months. Thaw overnight in the fridge and reheat slowly to maintain texture. Flavors actually deepen after a day or two, so sometimes I make it ahead for a fuss-free meal later.
Nutritional Information & Benefits
Each serving of this Hatch green chile mac and cheese offers a comforting balance of carbs, protein, and fats. The pasta provides energy-boosting carbohydrates, while the cheeses deliver calcium and protein. The Hatch chiles contribute vitamin C and antioxidants, adding a subtle health kick.
This recipe isn’t low-calorie by any means, but it’s a satisfying treat that can fit into a balanced diet, especially if paired with veggies or a fresh salad. The moderate spice from the chiles might also promote a slight metabolism boost and adds flavor without extra salt or sugar.
For those watching allergens, it contains dairy and gluten unless adaptations are made. Using gluten-free pasta and dairy-free cheese options can easily tailor it for those needs.
Conclusion
This crispy roasted Hatch green chile mac and cheese is one of those recipes that surprises you with how good it is despite being thrown together on a whim. It’s creamy, smoky, and has just enough crunch to keep every bite interesting. I love how the Hatch chiles bring a regional touch that feels both comforting and adventurous.
Make it your own—add a favorite veggie, swap cheeses, or turn up the heat. I’ve found that this recipe adapts easily to whatever mood I’m in. Plus, it’s a fun way to bring a little southwestern flair to classic comfort food. If you ever want a side with a fresh bite, pairing this with a fresh black bean cowboy caviar balances it beautifully.
Give it a try, and when you do, I’d love to hear how you customize it or what moments you pair it with. There’s something about sharing recipes like this that makes busy nights a little more manageable and a lot more tasty.
FAQs
Can I use canned green chiles instead of fresh Hatch chiles?
You can, but fresh roasted Hatch chiles have a brighter, smokier flavor that really makes this dish special. If using canned, drain well and consider adding a pinch of smoked paprika to boost depth.
How spicy is this mac and cheese?
The spice level is mild to moderate, thanks to the Hatch chiles. It’s warm and smoky rather than fiery, making it kid-friendly but still interesting for adults.
Can I prepare this recipe ahead of time?
Absolutely! You can roast the chiles and make the cheese sauce a day ahead. Assemble the dish and refrigerate, then bake just before serving for best texture.
What’s the best way to get a crispy topping?
Mix panko breadcrumbs with melted butter before sprinkling on top, and bake uncovered at 375°F (190°C) until golden. For extra crunch, broil for 1-2 minutes at the end but watch carefully.
Is it okay to use different pasta shapes?
Yes! Elbow macaroni is traditional, but cavatappi, shells, or penne all work well because they hold the cheese sauce nicely.
Pin This Recipe!
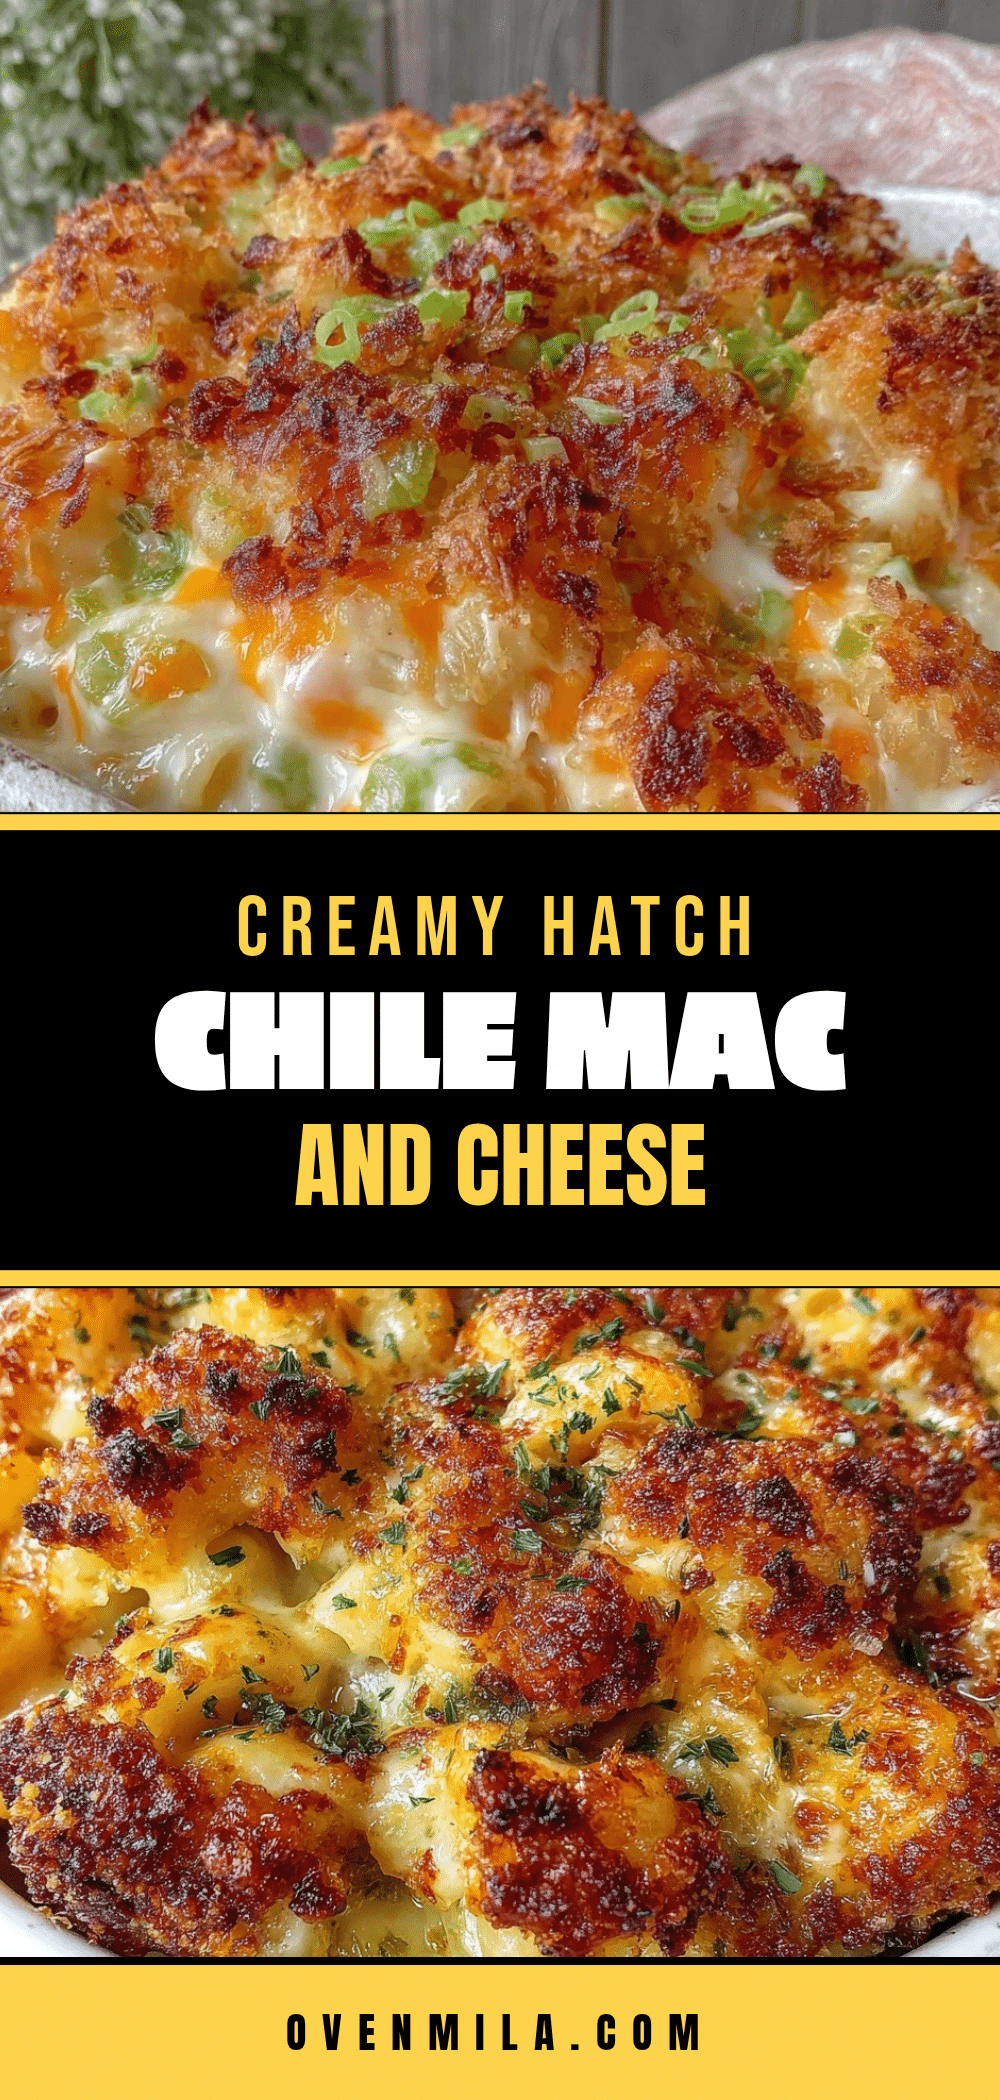
Crispy Roasted Hatch Green Chile Mac and Cheese

A quick and easy mac and cheese recipe featuring smoky roasted Hatch green chiles, creamy cheddar and mozzarella cheese, and a crispy buttery breadcrumb topping. Perfect for cozy dinners with a mild spicy kick.
- Prep Time: 15 minutes
- Cook Time: 30 minutes
- Total Time: 45 minutes
- Yield: 6 servings 1x
- Category: Main Course
- Cuisine: Southwestern American
Ingredients
- 12 oz elbow macaroni
- About 4 medium-sized Hatch green chiles, roasted, peeled, and chopped
- 2 cups sharp cheddar cheese, shredded (about 8 oz)
- 1 cup mozzarella cheese, shredded (about 4 oz)
- 4 tablespoons unsalted butter, divided
- 3 tablespoons all-purpose flour
- 3 cups whole milk, warmed
- 1 teaspoon garlic powder
- 1 teaspoon onion powder
- 1/2 teaspoon smoked paprika
- Salt and black pepper to taste
- 1 cup panko breadcrumbs (about 60 g)
- Optional: pinch of cayenne pepper for extra heat
Instructions
- Roast the Hatch green chiles by charring the skin under a broiler or on a gas stove flame for 5-7 minutes until blistered. Place in a bowl covered with plastic wrap or sealed bag to steam for 10 minutes. Peel off skins, remove seeds, and chop roughly.
- Bring a large pot of salted water to a boil. Add elbow macaroni and cook until just al dente, about 7 minutes. Drain and set aside.
- In a medium saucepan, melt 3 tablespoons butter over medium heat. Whisk in flour and cook for 1-2 minutes until bubbly and slightly golden.
- Gradually pour in warm milk while whisking continuously. Cook and stir until sauce thickens and coats the back of a spoon, about 6-8 minutes.
- Stir in garlic powder, onion powder, smoked paprika, salt, pepper, and optional cayenne pepper.
- Remove sauce from heat and stir in shredded cheddar and mozzarella until melted and smooth. Fold in chopped roasted Hatch chiles.
- Pour cheese sauce over cooked pasta and gently stir to coat evenly.
- Melt remaining 1 tablespoon butter and mix with panko breadcrumbs until coated.
- Transfer mac and cheese to a greased 8×8 inch baking dish. Sprinkle breadcrumb mixture evenly on top.
- Bake in a preheated oven at 375°F (190°C) for 20-25 minutes until topping is golden brown and crispy.
- Let cool for 5 minutes before serving.
Notes
Roasting and steaming the Hatch chiles is key to unlocking their smoky flavor and easy peeling. Use freshly shredded cheese for better melt and texture. Watch the breadcrumb topping closely during baking to avoid burning; cover with foil if browning too fast. For dairy-free or gluten-free versions, substitute ingredients accordingly.
Nutrition
- Serving Size: 1 cup
- Calories: 450
- Sugar: 7
- Sodium: 550
- Fat: 22
- Saturated Fat: 13
- Carbohydrates: 45
- Fiber: 2
- Protein: 18
Keywords: mac and cheese, Hatch green chile, roasted chiles, crispy topping, comfort food, cheesy pasta, easy dinner, spicy mac and cheese


