I pulled the focaccia out of the oven and the rosemary hit me before the heat did. My neighbor, who’d stopped by to borrow a egg, just stood there in the doorway. “What is that smell?” she asked, not even looking at me. She was staring at the pan. I cut her a piece while it was still warm, and she ate it standing up over the kitchen counter, not saying a word. That was the moment I knew this no-knead sourdough focaccia was something special.
I hadn’t planned on making focaccia that day. I had a half-jar of sourdough discard sitting in the fridge, the kind of leftover starter you feel guilty about throwing away but don’t quite know what to do with. I’d seen recipes online, sure, but most of them required kneading, or a stand mixer, or a level of patience I don’t usually have on a Tuesday afternoon. So I decided to try my luck with a no-knead version. Honestly, I expected a dense, flat bread. What I got was a pillowy, golden sheet of carbs with a crackling crust and an interior so light it practically dissolved on my tongue.
This recipe is the one I keep coming back to, not because it’s fancy, but because it works every single time. It’s the kind of bread that makes you look like you spent hours in the kitchen when you really just let time and a little bit of sourdough magic do the heavy lifting. If you’ve been nervous about working with sourdough, or if you just want a focaccia that’s reliably good without the fuss, this is the one to try.
Why You’ll Love This Recipe
This no-knead sourdough focaccia isn’t just another bread recipe. It’s the result of a lot of trial and error, a few burnt pans, and one particularly flat focaccia that I’m still embarrassed about. Here’s why I think you’ll love it as much as I do:
- No Kneading Required: Seriously, zero arm workout. You just mix, fold a few times, and let the sourdough work its magic. It’s perfect for anyone who wants homemade bread without the elbow grease.
- Uses Sourdough Discard: Got leftover starter from your weekly feed? This is the perfect way to use it up. No more guilt about tossing that bubbly gold.
- Simple Pantry Ingredients: Flour, water, salt, olive oil, and your starter. That’s it. You probably have everything right now.
- Incredible Texture: The long, slow fermentation gives you a focaccia that’s crispy on the outside and impossibly airy on the inside. It’s not dense or chewy—it’s light and almost fluffy.
- Perfect for Any Occasion: Slice it for sandwiches, tear it for dipping in soup, or just eat it plain with a little butter. It’s a crowd-pleaser at dinner parties and a lifesaver for busy weeknights.
- Foolproof Method: I’ve tested this recipe more times than I can count. The timing is forgiving, and the dough is incredibly forgiving. Even if you think you’ve messed up, you probably haven’t.
This isn’t just another focaccia recipe you’ll find online. The key here is the no-knead technique combined with a high-hydration dough. It creates steam pockets inside the bread that give you that signature open crumb without any complicated folding schedules. It’s comfort food that feels fancy but is secretly simple.
There’s something deeply satisfying about pulling a golden, rosemary-flecked focaccia out of the oven. It smells like a bakery, tastes like a reward, and makes you feel like you’ve really accomplished something. And the best part? You barely did a thing.
What Ingredients You Will Need
This recipe relies on a handful of humble ingredients that work together to create something truly special. The magic is in the simplicity and the quality of what you use.
- Bread Flour: 500 grams (about 4 cups). Bread flour has a higher protein content than all-purpose flour, which gives the focaccia its chewy structure and helps develop that beautiful open crumb. I prefer King Arthur or Bob’s Red Mill for consistent results.
- Water: 400 grams (about 1 ¾ cups), lukewarm. The water temperature is important—too hot and it’ll kill the yeast in your starter, too cold and it’ll slow down fermentation. Aim for body temperature, about 80-85°F.
- Sourdough Starter: 200 grams (about 1 cup), active or discard. You can use either an active, bubbly starter or unfed discard straight from the fridge. Both work, but an active starter will give you a slightly faster rise and a more pronounced sour flavor.
- Olive Oil: ¼ cup (60 ml) for the dough, plus extra for the pan and drizzling. Use a good quality extra virgin olive oil here—it’s a major flavor component. The oil in the dough keeps it tender, and the oil in the pan creates that crispy, fried bottom crust.
- Salt: 10 grams (about 2 teaspoons), fine sea salt. Salt is crucial for flavor and also helps strengthen the gluten structure. Don’t skip it.
- Fresh Rosemary: 2-3 sprigs, leaves stripped and roughly chopped. Fresh rosemary is non-negotiable here. Dried rosemary just doesn’t have the same punch. You’ll sprinkle it on top before baking for that classic focaccia flavor.
- Flaky Sea Salt: For finishing, like Maldon. A sprinkle right before it goes in the oven adds a delightful crunch and a burst of salty flavor that contrasts beautifully with the olive oil.
Ingredient Tips & Substitutions
- If you don’t have bread flour, you can use all-purpose flour. The texture will be slightly less chewy, but it will still be delicious.
- For a gluten-free option, you can try a 1:1 gluten-free flour blend, but the texture will be denser. I haven’t tested this extensively, so proceed with caution.
- You can substitute dried rosemary in a pinch (use about 1 tablespoon), but fresh really is best. The flavor is brighter and more aromatic.
- If you don’t have a sourdough starter, you can use a small amount of active dry yeast (about 1 teaspoon) mixed with the water and a pinch of sugar. Let it sit for 5 minutes before adding the flour. It won’t have the same tangy flavor, but it will still make a great focaccia.
Equipment Needed
You don’t need a lot of fancy gear for this recipe, which is part of its charm. Here’s what you’ll need:
- Large Mixing Bowl: A 4-quart bowl is perfect. You’ll need room to mix and fold the dough.
- Wooden Spoon or Dough Whisk: For the initial mix. A dough whisk is great for high-hydration doughs, but a sturdy spoon works just fine.
- Digital Kitchen Scale: This is the one tool I really recommend. Measuring flour by weight is so much more accurate than cups, and it makes a real difference in bread baking.
- 9×13-inch Baking Pan: A metal or ceramic baking dish works best. I prefer a dark metal pan because it gives the bottom crust a beautiful golden color. If you use glass, you might need to bake it a few minutes longer.
- Plastic Wrap or a Clean Kitchen Towel: To cover the dough while it rises. A reusable beeswax wrap works great too.
- Bench Scraper or Spatula: For folding the dough and scraping it out of the bowl. A plastic bench scraper is one of my favorite cheap kitchen tools.
- Parchment Paper: Optional, but it makes for easy cleanup. I like to line my pan with parchment for easy lifting.
Budget-Friendly Alternatives: If you don’t have a kitchen scale, use the spoon-and-level method for measuring flour: spoon it into your measuring cup and level it off with a knife. Don’t scoop directly from the bag—you’ll end up with too much flour.
Preparation Method
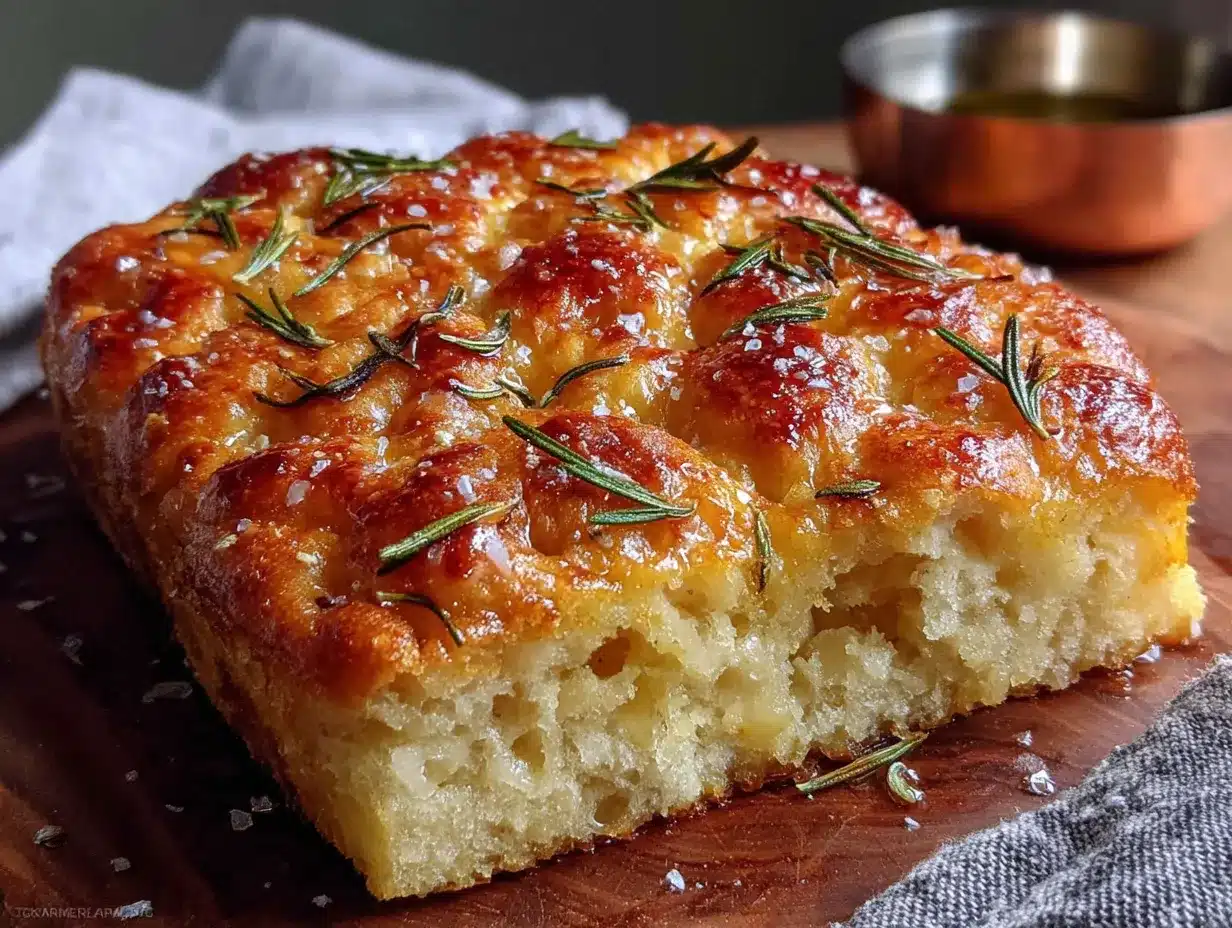
This is where the magic happens. Take your time, and don’t rush the process. The dough is very forgiving, so even if you’re a little off, it’ll probably turn out great.
- Mix the Dough: In your large mixing bowl, combine the 400 grams of lukewarm water and 200 grams of sourdough starter. Stir them together until the starter is mostly dissolved. It doesn’t have to be perfect. Add the 500 grams of bread flour and 10 grams of salt. Use your wooden spoon or dough whisk to mix until a shaggy, sticky dough forms. There should be no dry patches of flour. This will take about 1-2 minutes. The dough will look very wet and messy—that’s exactly what we want.
- Rest and Fold (First Set): Cover the bowl with plastic wrap or a damp towel and let it rest for 30 minutes. This is called the autolyse, and it gives the flour time to absorb the water and start developing gluten. After 30 minutes, wet your hand slightly (to prevent sticking) and perform your first set of folds. Reach down to the bottom of the bowl, grab a portion of the dough, and fold it up and over the top. Rotate the bowl a quarter turn and repeat. Do this 4-6 times, until the dough feels slightly tighter. It will still be sticky. Cover and rest for another 30 minutes.
- Rest and Fold (Second Set): After the second 30-minute rest, perform another set of folds. The dough should feel a bit stronger and less sticky. Fold it 4-6 times again, cover, and let it rest for another 30 minutes. You’ll do this a total of 4 sets over 2 hours. Each set of folds strengthens the gluten without any kneading.
- Bulk Fermentation: After the final set of folds, cover the bowl tightly and let the dough rise at room temperature for 8-12 hours. Yes, that’s a long time. Overnight is perfect—mix it up before bed and it’ll be ready in the morning. The dough should double in size and be bubbly on the surface. If your kitchen is cold, it might take the full 12 hours. If it’s warm, it might be ready in 6-8. Look for the dough to be puffy and jiggly, with a few bubbles visible on the surface.
- Prepare the Pan: Generously coat your 9×13-inch baking pan with olive oil—at least 2-3 tablespoons. Don’t be shy. Pour the oil into the pan and use your fingers to spread it all over the bottom and up the sides. This oil is what gives the focaccia its crispy, fried bottom crust.
- Transfer the Dough: Gently scrape the risen dough out of the bowl and into the oiled pan. It will be very soft and sticky. Don’t try to knead it or deflate it too much. Just coax it into the pan as gently as you can.
- Second Rise (Proofing): Cover the pan with plastic wrap or a damp towel and let the dough rest for another 1-2 hours. It will slowly spread out to fill the pan. After about an hour, you can start gently stretching it to the edges if it hasn’t spread on its own. Be patient—it should be puffy and full of air bubbles by the end.
- Dimple the Dough: Preheat your oven to 425°F (220°C) about 30 minutes before you’re ready to bake. Once the dough has proofed, drizzle another tablespoon of olive oil over the top. Using your fingertips, press straight down into the dough to create deep dimples all over the surface. Don’t be gentle—you want to create those signature focaccia pockets that catch the oil and rosemary.
- Top and Bake: Sprinkle the chopped fresh rosemary and a generous pinch of flaky sea salt evenly over the dimpled dough. Place the pan in the preheated oven and bake for 25-30 minutes, until the top is deep golden brown and the bottom is crispy. If you want an extra-dark crust, you can bake it for a few more minutes, but keep an eye on it so the rosemary doesn’t burn.
- Cool and Serve: Remove the focaccia from the oven and let it cool in the pan for 5 minutes. Then, carefully transfer it to a wire rack to cool completely. The bottom should be crispy and golden. If you try to cut it while it’s too hot, it might be a little gummy inside. Patience, friend.
Sensory Cues: During the bulk fermentation, you’ll know it’s ready when the dough looks puffy, has a few bubbles on the surface, and smells pleasantly sour and yeasty. When you dimple the dough, you should see large air pockets deflate slightly. The dough should feel soft and pliable, almost like a memory foam pillow.
Cooking Tips & Techniques
I’ve made this recipe more times than I can count, and I’ve learned a few things the hard way. Here are my best tips for success:
- Don’t Skip the Folds: I know it seems tedious, but those four sets of folds are what build the gluten structure without kneading. Each set takes less than a minute. Set a timer and just do it.
- Use a Thermometer for Water: If your water is too hot, you’ll kill the yeast in your starter. Too cold, and it’ll take forever to rise. A simple kitchen thermometer is a game-changer.
- Trust the Dough, Not the Clock: Fermentation times are guidelines, not rules. Your dough is ready when it looks and feels right, not when the clock says so. In a warm kitchen, it might be ready in 8 hours. In a cold one, it might take 14.
- Be Generous with the Oil: The olive oil in the pan is not just for flavor—it’s what creates that incredible crispy bottom crust. Don’t skimp. If you’re worried about it being greasy, don’t be. The bread will absorb what it needs.
- Let It Cool: I know it’s tempting to tear into it right away, but letting it cool on a wire rack for at least 20-30 minutes allows the interior to set. Cutting it too early will result in a gummy texture.
Common Mistakes and How to Avoid Them
- Flat Focaccia: This usually happens when the dough is under-proofed. Make sure it has doubled in size during the bulk fermentation. If it’s not rising, your starter might not be active enough.
- Dense Interior: This can happen if you overwork the dough during the transfer to the pan. Be gentle. You want to preserve those air bubbles.
- Burnt Rosemary: Rosemary burns easily. If you’re worried, you can add the rosemary halfway through the baking time, or press it gently into the dough after it’s been in the oven for 10 minutes.
- Sticky Dough: High-hydration dough is sticky by nature. Wet your hands slightly before handling it to prevent sticking. Don’t add extra flour—it will change the texture.
Timing and Multitasking: The best part about this recipe is that it’s mostly hands-off. You can mix the dough in the evening, do the folds while you’re watching TV, and let it rise overnight. The next morning, you just transfer it to the pan, let it proof, and bake. It’s perfect for a lazy weekend brunch.
Variations & Adaptations
Once you’ve mastered the basic recipe, the possibilities are endless. Here are a few of my favorite variations:
- Garlic & Herb Focaccia: Before baking, press 3-4 thinly sliced garlic cloves into the dimples along with the rosemary. The garlic roasts and becomes sweet and mellow. It’s incredible.
- Sun-Dried Tomato & Olive Focaccia: After the second rise, press ½ cup of chopped sun-dried tomatoes and ⅓ cup of pitted Kalamata olives into the dough. The briny, tangy flavors pair beautifully with the olive oil.
- Cheesy Focaccia: Sprinkle ½ cup of freshly grated Parmesan or crumbled feta over the top before baking. The cheese melts and forms a crispy, savory crust.
- Everything Bagel Focaccia: Skip the rosemary and sprinkle the top with everything bagel seasoning (sesame seeds, poppy seeds, dried garlic, dried onion, and salt). It’s a game-changer for sandwiches.
- Sweet Focaccia: For a dessert version, reduce the salt to 5 grams and add 2 tablespoons of honey or maple syrup to the dough. Top with fresh berries and a sprinkle of coarse sugar before baking. Drizzle with a little more honey after it comes out of the oven.
Dietary Adaptations: For a dairy-free version, just use olive oil (which is naturally dairy-free). For a lower-sodium option, reduce the salt in the dough to 7 grams and skip the flaky salt on top. For a whole wheat version, substitute up to 200 grams of the bread flour with whole wheat flour. The texture will be denser and more nutty.
Serving & Storage Suggestions
This focaccia is incredibly versatile. Here’s how I like to serve and store it:
- Serving Temperature: It’s best served warm or at room temperature. If you’re serving it the same day, let it cool completely on a wire rack, then reheat it in a 350°F oven for 5-7 minutes to crisp up the crust.
- Presentation: I love serving it on a wooden board or a large platter, cut into squares or long strips. A drizzle of extra virgin olive oil and a sprinkle of flaky salt right before serving makes it look (and taste) incredible.
- What to Serve With It: This focaccia is perfect for dipping in a bowl of creamy roasted butternut squash soup or alongside a fresh Greek orzo pasta salad. It’s also fantastic for making sandwiches—try it with prosciutto, fresh mozzarella, and arugula.
- Storage: Store leftover focaccia in an airtight container at room temperature for up to 2 days. Do not refrigerate it—the fridge will dry it out and make it stale.
- Freezing: Focaccia freezes beautifully. Wrap it tightly in plastic wrap, then in a layer of foil, and freeze for up to 3 months. To reheat, thaw it at room temperature, then pop it in a 350°F oven for 10 minutes until warm and crispy.
- Flavor Development: Honestly, this focaccia is even better the next day. The flavors meld together, and the crust stays crispy. If you can resist eating it all in one sitting, you’re in for a treat.
Nutritional Information & Benefits
While focaccia is definitely a treat, it does have some redeeming qualities. Here’s a rough breakdown per serving (based on 12 servings):
- Calories: Approximately 220-250 per serving
- Carbohydrates: 35-40 grams
- Protein: 6-8 grams
- Fat: 7-10 grams (mostly from heart-healthy olive oil)
- Fiber: 1-2 grams
Health Benefits: The sourdough fermentation process has some surprising benefits. It breaks down phytic acid in the flour, which makes the minerals more bioavailable. It also creates a more digestible bread for some people who have trouble with commercial yeast. The olive oil is rich in monounsaturated fats and antioxidants.
Dietary Considerations: This recipe is vegetarian, dairy-free, and nut-free. It contains gluten. For a gluten-free version, see the substitutions section above.
Personal Note: I don’t pretend this is health food. It’s bread, and it’s meant to be enjoyed. But I do feel better about eating a slice of homemade sourdough than I do about a store-bought loaf. There’s something wholesome about knowing exactly what’s in it.
Conclusion
This no-knead sourdough focaccia with rosemary has become a staple in my kitchen for a reason. It’s forgiving enough for a beginner, satisfying enough for an experienced baker, and delicious enough to win over anyone who tries it. The combination of the tangy sourdough, the fruity olive oil, and the aromatic rosemary is just perfect.
I love that this recipe gives me the feeling of having baked something truly impressive without the stress of complicated techniques. It’s the kind of bread that makes you feel like a pro, even on a lazy Sunday morning. And honestly, the way my neighbor’s face lit up when she tasted it—that’s the real reward.
I’d love to hear how yours turns out. Did you try a different topping? Did you serve it with something amazing? Leave a comment below and let me know. And if you’re looking for another way to use your sourdough starter, you might enjoy this cozy pumpkin sourdough bread with cinnamon honey butter. Happy baking!
Frequently Asked Questions
Can I use active dry yeast instead of sourdough starter?
Yes, you can. Use about 1 teaspoon of active dry yeast mixed with the lukewarm water and a pinch of sugar. Let it sit for 5 minutes until it’s foamy, then proceed with the recipe. The flavor will be milder, and you won’t get the same tangy sourdough taste, but it will still make a delicious focaccia.
Why is my focaccia dense and not airy?
A dense focaccia is usually a sign of under-proofing. The dough needs enough time to develop those air pockets. Make sure it has doubled in size during the bulk fermentation and is puffy and jiggly before you bake it. Also, be gentle when transferring the dough to the pan—you don’t want to deflate all those precious bubbles.
Can I use all-purpose flour instead of bread flour?
Absolutely. All-purpose flour will work just fine, though the texture will be slightly less chewy and the crumb might be a little tighter. If you use all-purpose, you might need to reduce the water slightly (try 380 grams instead of 400) because it absorbs less liquid than bread flour.
How do I know when my sourdough starter is active enough?
An active starter should be bubbly, doubled in size within 4-6 hours of feeding, and have a pleasant, slightly sour smell. It should float in water. If your starter is sluggish, try feeding it twice a day for a few days to strengthen it before using it in this recipe.
Can I add other toppings besides rosemary?
Definitely! This recipe is a blank canvas. Try caramelized onions, sliced olives, cherry tomatoes, roasted garlic, or even a sprinkle of za’atar. Just be mindful of moisture—wet toppings like fresh tomatoes can make the focaccia soggy if you add too many. Pat them dry first.
Pin This Recipe!
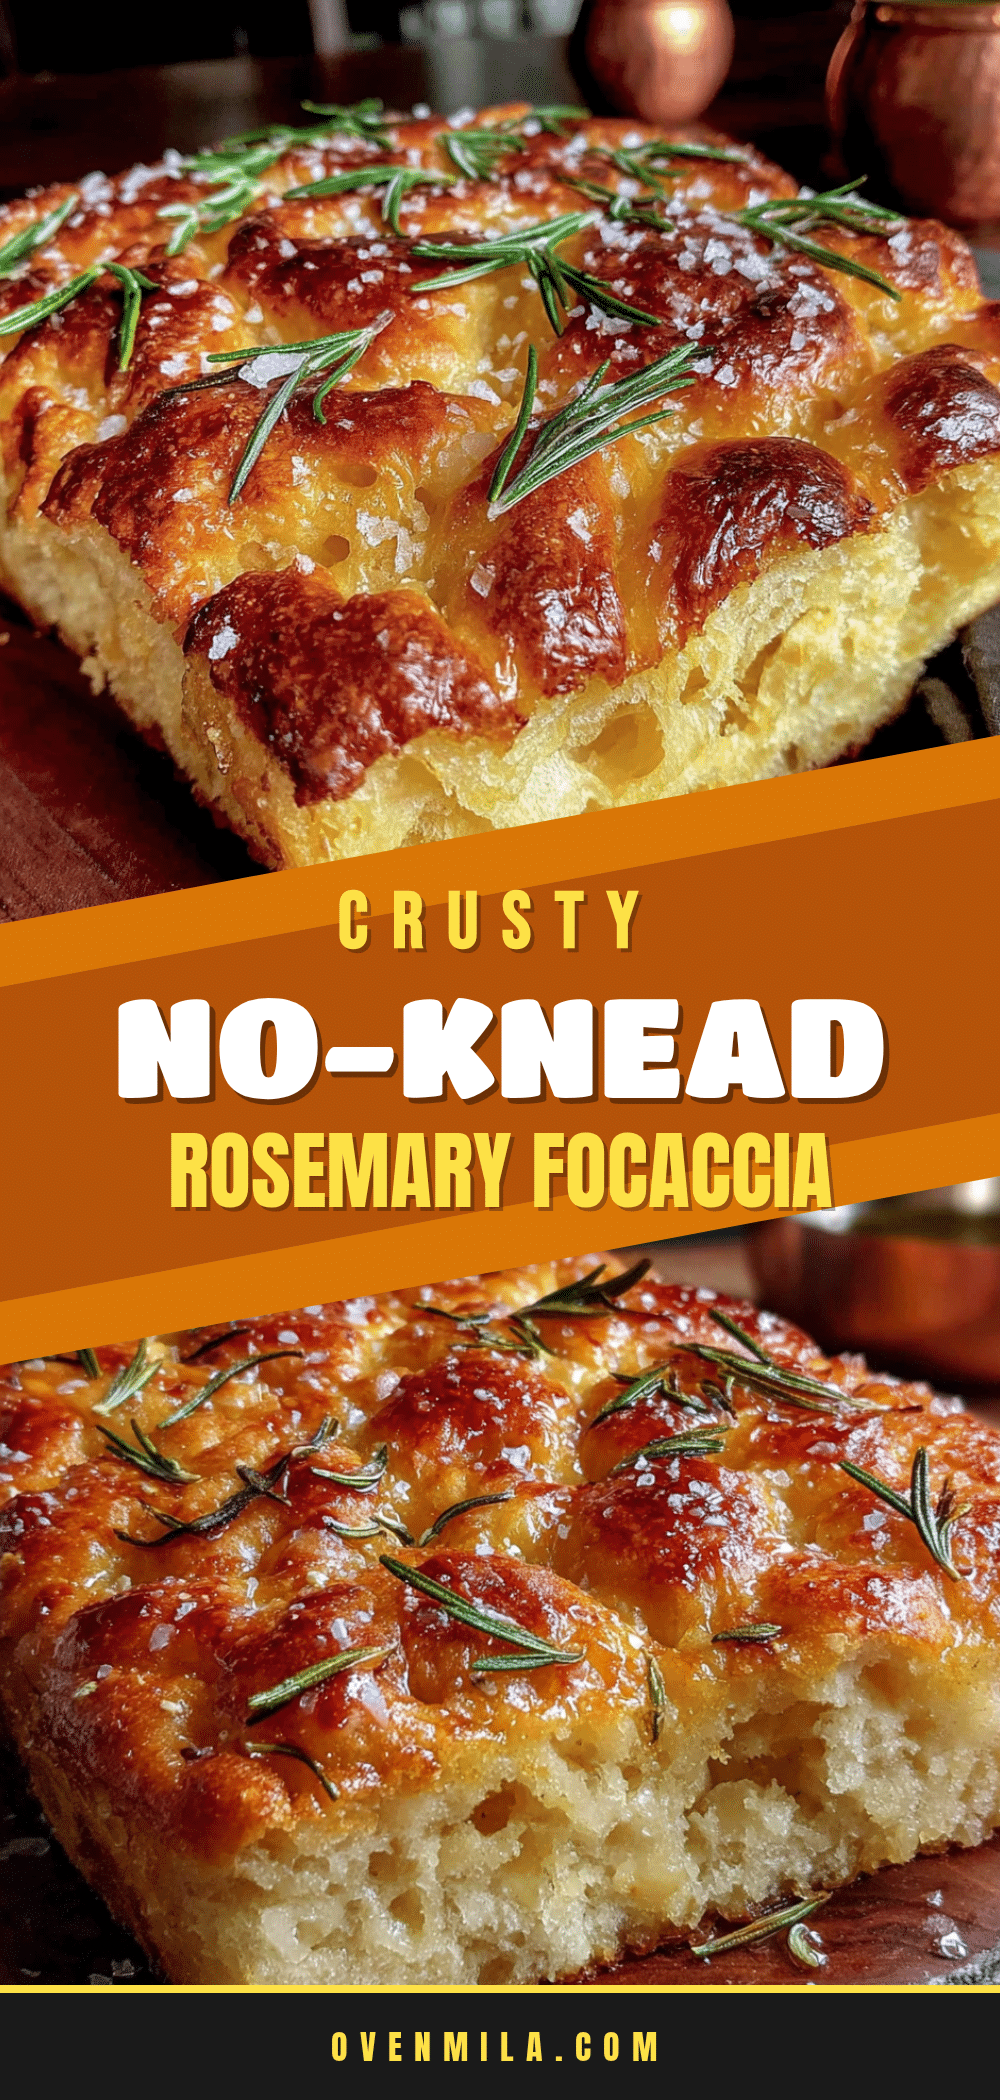
Perfect No-Knead Sourdough Focaccia: Easy Rosemary Recipe

This no-knead sourdough focaccia is a pillowy, golden sheet of carbs with a crackling crust and an interior so light it practically dissolves on your tongue. It’s the kind of bread that makes you look like you spent hours in the kitchen when you really just let time and a little bit of sourdough magic do the heavy lifting.
- Prep Time: 20 minutes
- Cook Time: 30 minutes
- Total Time: 12 hours 50 minutes (includes 12 hours bulk fermentation and 2 hours proofing)
- Yield: 12 servings 1x
- Category: Bread
- Cuisine: Italian
Ingredients
- 500 grams (about 4 cups) bread flour
- 400 grams (about 1 ¾ cups) lukewarm water (80-85°F)
- 200 grams (about 1 cup) sourdough starter (active or discard)
- ¼ cup (60 ml) extra virgin olive oil, plus extra for pan and drizzling
- 10 grams (about 2 teaspoons) fine sea salt
- 2–3 sprigs fresh rosemary, leaves stripped and roughly chopped
- Flaky sea salt (like Maldon) for finishing
Instructions
- Mix the Dough: In a large mixing bowl, combine 400 grams of lukewarm water and 200 grams of sourdough starter. Stir until the starter is mostly dissolved. Add 500 grams of bread flour and 10 grams of salt. Use a wooden spoon or dough whisk to mix until a shaggy, sticky dough forms with no dry patches (about 1-2 minutes). The dough will look very wet and messy.
- Rest and Fold (First Set): Cover the bowl with plastic wrap or a damp towel and let it rest for 30 minutes (autolyse). After 30 minutes, wet your hand slightly and perform your first set of folds: reach to the bottom of the bowl, grab a portion of dough, and fold it up and over the top. Rotate the bowl a quarter turn and repeat. Do this 4-6 times until the dough feels slightly tighter. Cover and rest for another 30 minutes.
- Rest and Fold (Second Set): After the second 30-minute rest, perform another set of folds (4-6 times). Cover and rest for another 30 minutes. Repeat for a total of 4 sets over 2 hours.
- Bulk Fermentation: After the final set of folds, cover the bowl tightly and let the dough rise at room temperature for 8-12 hours (overnight is perfect). The dough should double in size and be bubbly on the surface.
- Prepare the Pan: Generously coat a 9×13-inch baking pan with at least 2-3 tablespoons of olive oil, spreading it all over the bottom and up the sides.
- Transfer the Dough: Gently scrape the risen dough into the oiled pan. Do not knead or deflate it too much. Just coax it into the pan gently.
- Second Rise (Proofing): Cover the pan with plastic wrap or a damp towel and let the dough rest for 1-2 hours. It will slowly spread to fill the pan. After about an hour, gently stretch it to the edges if needed. It should be puffy and full of air bubbles.
- Dimple the Dough: Preheat the oven to 425°F (220°C) about 30 minutes before baking. Drizzle another tablespoon of olive oil over the top. Using your fingertips, press straight down into the dough to create deep dimples all over the surface.
- Top and Bake: Sprinkle the chopped fresh rosemary and a generous pinch of flaky sea salt evenly over the dimpled dough. Bake for 25-30 minutes, until the top is deep golden brown and the bottom is crispy.
- Cool and Serve: Remove from the oven and let cool in the pan for 5 minutes. Carefully transfer to a wire rack to cool completely (at least 20-30 minutes) before cutting.
Notes
The dough is very forgiving. Use a thermometer for water to ensure it’s 80-85°F. Be generous with olive oil in the pan for a crispy bottom crust. Let the focaccia cool completely before cutting to avoid a gummy texture. For a faster rise, use an active starter; discard will work but may take longer.
Nutrition
- Serving Size: 1 square (1/12 of re
- Calories: 235
- Sugar: 0.5
- Sodium: 390
- Fat: 8.5
- Saturated Fat: 1.2
- Carbohydrates: 36
- Fiber: 1.5
- Protein: 7
Keywords: no-knead sourdough focaccia, easy rosemary focaccia, sourdough discard recipe, focaccia bread, homemade focaccia


