I had been looking for a Halloween dessert that actually looked festive without requiring a pastry bag or a steady hand. For a while, I just accepted that store-bought treats were going to be the move—until my nephew asked if we could make something together that didn’t involve carving a pumpkin. He wanted candy corn involved, obviously, and I wanted something that wouldn’t leave my kitchen looking like a flour bomb went off. The first batch came out looking like a sad, melted traffic light. But the second batch? That one worked. These easy candy corn Rice Krispie treats for Halloween are exactly what I needed—simple enough for little hands to help with, but pretty enough to bring to a party without apologizing. They taste like childhood, honestly, and they make people smile before they even take a bite.
Why You’ll Love This Recipe
I’ve tested this recipe more times than I care to admit, and here’s what I’ve learned: it works every single time when you follow a few simple tricks. These treats aren’t just another dessert—they’re the kind that disappears before the Halloween movie even gets to the good part.
- Quick & Easy : You’re looking at about 20 minutes from start to finish. No oven required, no complicated steps.
- Simple Ingredients : You need butter, marshmallows, Rice Krispies cereal, and candy corn. That’s it.
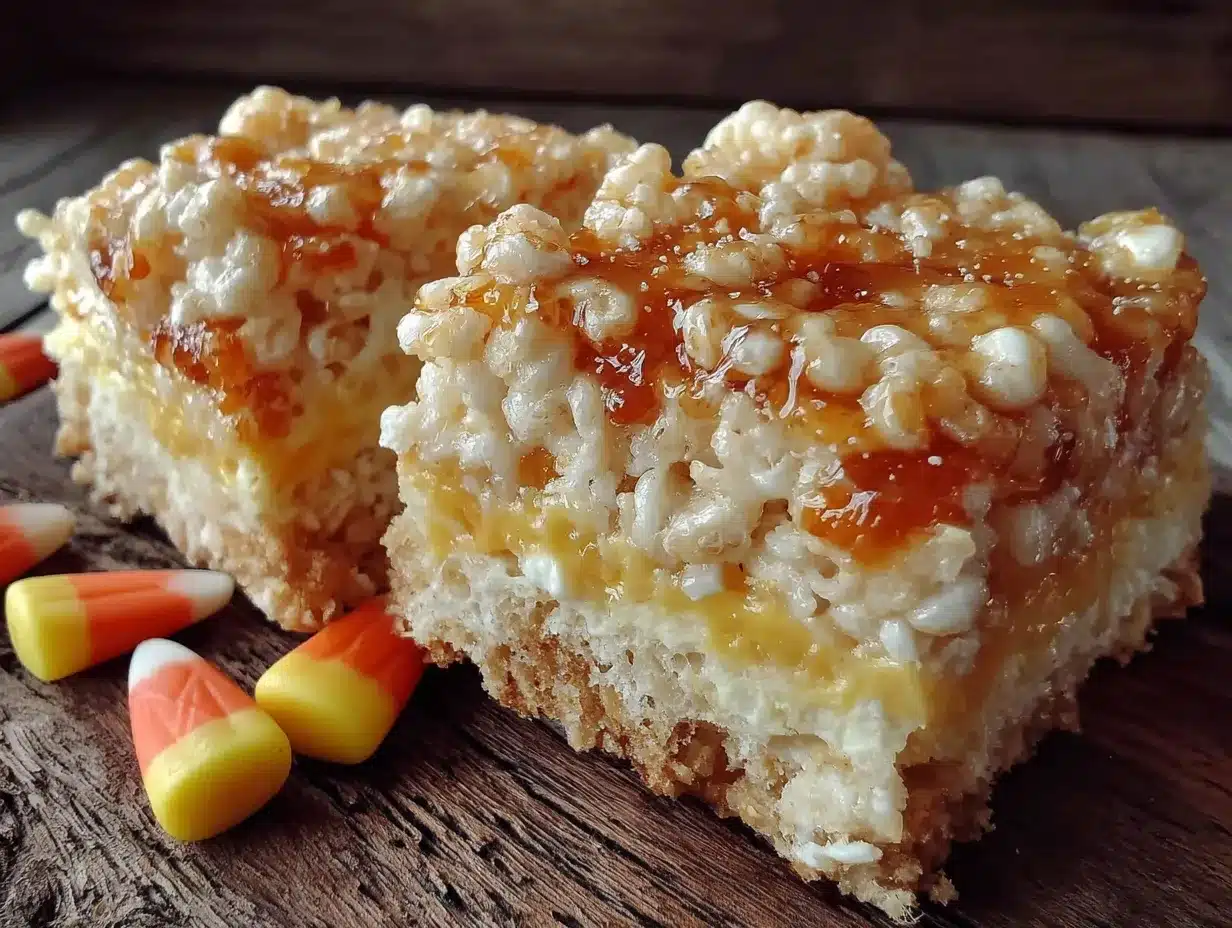
- Perfect for Halloween Parties : These layered bars look like candy corn in bar form, which means they fit right in with all the spooky snack tables.
- Crowd-Pleaser : Kids love them, adults sneak extra pieces, and nobody can eat just one.
- Unbelievably Delicious : The chewy marshmallow base with little bursts of candy corn sweetness is pure comfort food magic.
What makes these different from every other Rice Krispie treat recipe out there? The layering technique. Instead of mixing everything together into one orange blob, we’re creating distinct yellow, orange, and white layers that actually look like candy corn. It’s a small change that makes a huge visual difference. And honestly, this recipe is the kind that makes you feel like you’ve got your act together—even if you’re just barely holding it together like the rest of us. It’s Halloween comfort food at its finest, without the stress.
What Ingredients You Will Need
This recipe uses simple, everyday ingredients that you probably already have in your pantry. The magic is in how you layer them, not in fancy ingredients. Here’s what you’ll need:
For the Yellow Layer
- 3 tablespoons unsalted butter (I use Land O’Lakes for consistent results)
- 4 cups mini marshmallows (Jet-Puffed works great)
- 4 cups Rice Krispies cereal
- 10-12 drops yellow food coloring (gel works better than liquid for vibrant color)
For the Orange Layer
- 3 tablespoons unsalted butter
- 4 cups mini marshmallows
- 4 cups Rice Krispies cereal
- 8-10 drops red food coloring and 6-8 drops yellow food coloring (to make orange)
For the White Layer
- 3 tablespoons unsalted butter
- 4 cups mini marshmallows
- 4 cups Rice Krispies cereal
- No food coloring needed
For Assembly
- 1 cup candy corn (plus extra for decorating the top)
- Non-stick cooking spray (for your hands and the pan)
A quick note on food coloring: gel food coloring gives you much brighter colors without thinning out your marshmallow mixture. Liquid food coloring works too, but you’ll need more drops to get the same intensity. I’ve tried both, and gel wins every time for these candy corn Rice Krispie treats. If you’re avoiding artificial colors, you can use natural food coloring, just know the colors will be more muted—think pastel Halloween instead of neon.
For the candy corn, grab a fresh bag. Stale candy corn gets hard and doesn’t stick as well to the marshmallow mixture. Brach’s is my go-to brand, but store brands work fine too.
Equipment Needed
You don’t need anything fancy for this recipe, which is part of why I love it so much. Here’s what you’ll need:
- 9×13-inch baking pan (for the final assembled treats)
- Three medium saucepans (or one large saucepan if you’re washing between layers)
- Rubber spatula (silicone is best—it won’t scratch your pans)
- Parchment paper (for easy lifting and cutting)
- Measuring cups and spoons
- Sharp knife (for clean cuts through the layers)
If you don’t have three saucepans, don’t worry. You can make the layers one at a time using the same pan—just wash it quickly between layers so the colors don’t mix. I’ve done it both ways, and honestly, using one pan and washing it is totally fine. Just make sure it’s completely dry before you add the butter for the next layer.
A tip for the parchment paper: leave some overhang on two sides of the pan. This creates handles that make lifting the whole block of treats out super easy. It’s one of those little tricks that saves so much frustration.
Preparation Method
This recipe makes about 24 treats, depending on how you cut them. The whole process takes about 20 minutes of active time, plus 30 minutes of chilling. Let’s get started.
Step 1: Prepare Your Pan
Line your 9×13-inch baking pan with parchment paper, leaving overhang on two opposite sides. Spray the parchment lightly with non-stick cooking spray. This step is crucial—without it, your layers will stick and you’ll be scraping marshmallow off the paper. Trust me on this one.
Step 2: Make the Yellow Layer
In a medium saucepan over low heat, melt 3 tablespoons of butter. Once melted, add 4 cups of mini marshmallows and stir constantly until completely melted and smooth. Remove from heat. Add 10-12 drops of yellow food coloring and stir until the color is evenly distributed. The mixture should look like sunshine in a pot. Pour in 4 cups of Rice Krispies cereal and stir gently until all the cereal is coated. Be careful not to crush the cereal—you want those nice puffy shapes.
Press this yellow mixture evenly into the bottom of your prepared pan. Use a spatula sprayed with cooking spray to help spread it out. Let it cool for about 5 minutes while you make the next layer.
Step 3: Make the Orange Layer
In the same saucepan (washed and dried), melt another 3 tablespoons of butter over low heat. Add 4 cups of mini marshmallows and stir until melted and smooth. Remove from heat. Add 8 drops of red food coloring and 6 drops of yellow food coloring. Stir well—you’re looking for a bright, classic Halloween orange. Add 4 cups of Rice Krispies cereal and stir gently to coat.
Carefully spread this orange layer on top of the yellow layer. Use your spatula to gently press it down, being careful not to mix the two colors. Let it cool for 5 minutes.
Step 4: Make the White Layer
Again, wash and dry your saucepan. Melt 3 tablespoons of butter, then add 4 cups of mini marshmallows. Stir until melted and smooth. No food coloring here—we want pure white. Add 4 cups of Rice Krispies cereal and stir gently.
Spread the white layer on top of the orange layer. Press it down gently and evenly.
Step 5: Add the Candy Corn
While the top layer is still warm and slightly sticky, press candy corn pieces gently into the surface. I like to arrange them in rows or a fun pattern, but you can scatter them randomly too. Use about 1 cup of candy corn for the top. Press them in just enough so they stick—don’t push them all the way through to the layer below.
Step 6: Chill and Cut
Let the treats cool at room temperature for about 30 minutes, or pop them in the refrigerator for 15 minutes if you’re impatient like me. Once set, use the parchment paper handles to lift the whole block out of the pan. Place it on a cutting board.
Use a sharp knife to cut the block into rectangles or squares. I like cutting them into 2×3-inch rectangles—they look like candy corn bars that way. Wipe the knife clean between cuts for the neatest edges.
Cooking Tips & Techniques
I’ve made these easy candy corn Rice Krispie treats for Halloween more times than I can count, and I’ve definitely learned a few things the hard way. Here are the tips that make a real difference.
Low heat is your friend. I know it’s tempting to crank up the heat to melt marshmallows faster, but don’t do it. High heat can scorch the marshmallows and give your treats a weird, burnt-sugar taste. Keep it on low and be patient. The marshmallows will melt in about 3-4 minutes.
Don’t overmix. When you add the cereal, fold it gently until just combined. Overmixing crushes the cereal and makes your treats dense and hard instead of light and chewy. You want to see those puffy cereal shapes still intact.
Wet your hands. When pressing the layers into the pan, spray your hands with cooking spray or wet them slightly with water. This prevents the marshmallow mixture from sticking to your fingers like glue. It’s a game-changer.
Work quickly but carefully. The marshmallow mixture sets fast, especially if your kitchen is cold. Have all your ingredients measured and ready before you start melting anything. Once you add the cereal, you’ve got about 2-3 minutes to get it into the pan before it becomes too stiff to spread.
The patience test. Let the treats cool completely before cutting. I know it’s hard to wait, but cutting too early results in sticky, messy edges. If you’re in a rush, the freezer works—just 10 minutes in there will firm things up nicely.
Variations & Adaptations
One of the best things about this recipe is how easy it is to customize. Here are some variations I’ve tried and loved.
Chocolate Drizzle : After the treats have set, melt 1/2 cup of dark chocolate chips with 1 teaspoon of coconut oil. Drizzle it over the top in thin lines. The chocolate pairs beautifully with the sweet marshmallow and candy corn. I did this for a Halloween potluck and people went crazy for it.
Peanut Butter Twist : Add 1/4 cup of creamy peanut butter to the marshmallow mixture when making the white layer. Stir until fully incorporated before adding the cereal. The peanut butter adds a savory note that balances the sweetness perfectly. Just make sure no one has peanut allergies before serving.
Spooky Swirl : Instead of three distinct layers, try swirling the yellow and orange mixtures together before they set. Use a butter knife to create a marbled effect. It looks less like candy corn and more like a sunset, but it’s still gorgeous and festive.
Gluten-Free Option : Rice Krispies are naturally gluten-free, but double-check the box to make sure. Some generic brands add malt flavoring that contains gluten. If you need certified gluten-free, look for the specific gluten-free labeled box.
Vegan Version : Use vegan butter and vegan marshmallows (Dandies brand works great). The texture will be slightly different—a bit firmer—but the taste is still fantastic. I made these for a vegan friend’s Halloween party and they were a hit.
Serving & Storage Suggestions
These treats are best served at room temperature, which means they’re perfect for setting out on a dessert table and letting people grab as they please. The texture is chewy and soft, with just a little crunch from the candy corn on top.
For presentation, I like arranging them on a platter lined with black or orange tissue paper. It makes the colors pop and looks festive without any extra effort. You can also stack them in a clear jar or wrap them individually in cellophane bags tied with orange ribbon for party favors.
They pair beautifully with a cold glass of milk, a warm mug of apple cider, or even a frozen mango chili margarita slushie for the adults. If you’re serving them alongside other Halloween treats, try them with black velvet Halloween cupcakes for a truly spooky spread.
Storage : Store these treats in an airtight container at room temperature for up to 5 days. Do not refrigerate them—the fridge makes Rice Krispie treats hard and stale. If you need to keep them longer, you can freeze them for up to 3 months. Wrap each treat individually in plastic wrap, then place them in a freezer-safe bag. Thaw at room temperature for about 30 minutes before serving.
Make-Ahead Tip : These treats actually taste better the next day. The flavors meld together, and the texture becomes perfectly chewy. Make them a day ahead of your Halloween party and thank me later.
Nutritional Information & Benefits
Let’s be real—these are a treat, not a health food. But here’s what you’re looking at per serving (one 2×3-inch treat):
- Calories: 210
- Total Fat: 6g
- Saturated Fat: 3.5g
- Carbohydrates: 38g
- Sugar: 22g
- Protein: 2g
- Sodium: 180mg
That said, there are a few bright spots. Rice Krispies are fortified with iron and B vitamins, so you’re getting a little bit of nutrition in each bite. The butter adds a small amount of vitamin A. And honestly, sometimes you just need a dessert that makes you happy without overthinking it.
If you’re looking for a slightly lighter option, you can use reduced-fat butter and cut back on the candy corn on top. But in my opinion, Halloween is not the time for dieting. Make the full-fat version and enjoy every bite.
These treats are vegetarian and can easily be made gluten-free or vegan with the substitutions mentioned above. They do contain dairy (butter) and gelatin (marshmallows), so they’re not suitable for vegans unless you use the vegan alternatives.
Conclusion
These easy candy corn Rice Krispie treats for Halloween are the kind of recipe that makes you look like a rockstar with almost no effort. They’re colorful, fun, and absolutely delicious. The layered candy corn effect is so satisfying to pull off, and the taste is pure childhood nostalgia.
I love that this recipe brings people together. My nephew and I made these last Halloween, and watching his face light up when the layers came together was priceless. It’s one of those rare recipes that’s simple enough for kids to help with but impressive enough for adult gatherings. Plus, they’re perfect for Halloween parties, school events, or just a cozy night in watching spooky movies.
If you try these, I’d love to hear how they turn out. Leave a comment below and let me know if you added any fun variations or if your kids helped make them. Don’t forget to share this recipe with your Halloween-loving friends—they’ll thank you for it. Happy Halloween, and happy snacking!
Frequently Asked Questions
Can I use regular-sized marshmallows instead of mini marshmallows?
Yes, you can. Use about 40 regular marshmallows (one 10-ounce bag) for each layer. They take a little longer to melt, so be patient and keep the heat low. Mini marshmallows melt faster and more evenly, which is why I prefer them.
Why are my Rice Krispie treats hard instead of chewy?
This usually happens when the marshmallow mixture is overheated or cooked too long. Keep the heat on low and remove the pan from the stove as soon as the marshmallows are melted. Also, pressing the mixture too firmly into the pan can make the treats dense. Use gentle pressure.
Can I use store-brand cereal instead of Rice Krispies?
Absolutely. Most store brands work fine. Just check the texture—some generic brands are smaller and more dense, which can affect the final texture. If you’re unsure, stick with name-brand Rice Krispies for the most consistent results.
How do I prevent the colors from bleeding into each other?
Let each layer cool for about 5 minutes before adding the next one. This creates a slight barrier that keeps the colors separate. Also, be gentle when spreading the next layer—press down lightly rather than smearing.
Can I freeze these treats for later?
Yes! Wrap each treat individually in plastic wrap, then place them in a freezer-safe bag or container. They’ll keep for up to 3 months. Thaw at room temperature for about 30 minutes before serving. The texture stays perfectly chewy.
Pin This Recipe!
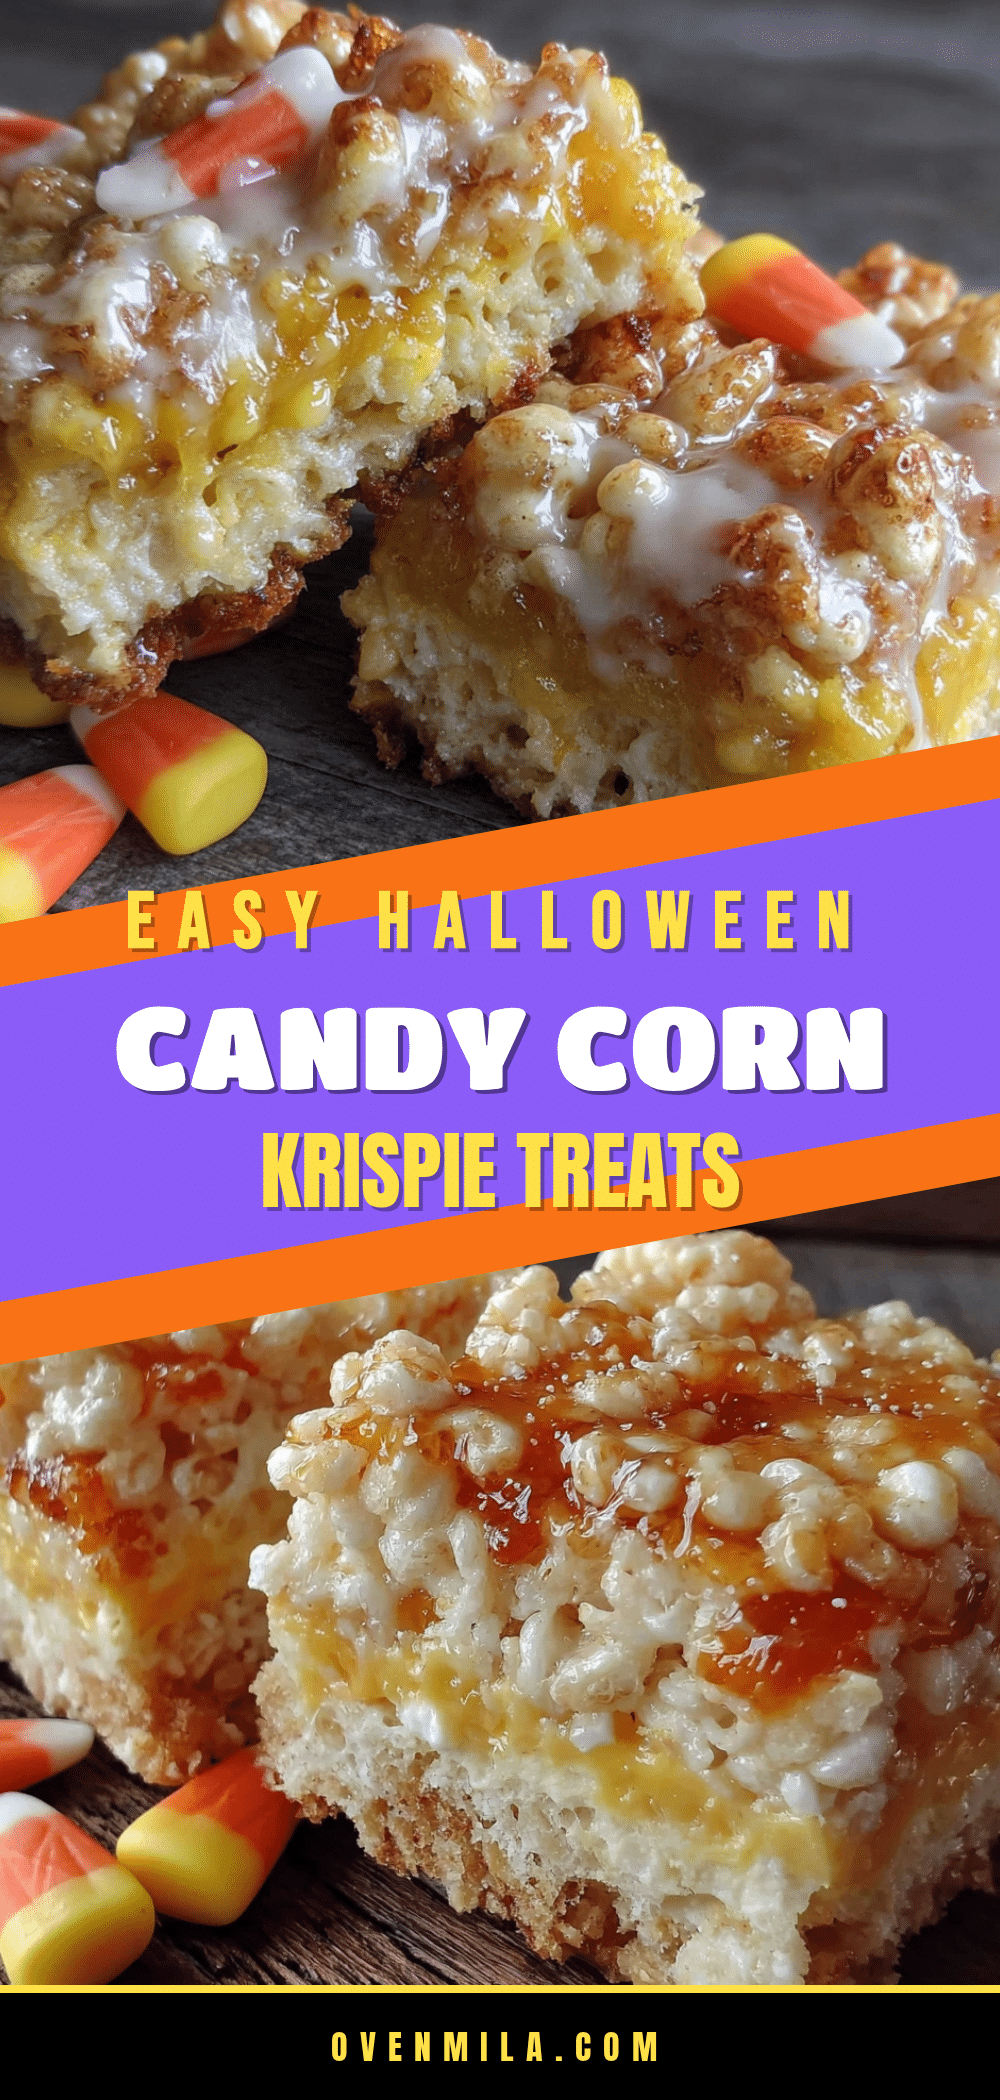
Easy Candy Corn Rice Krispie Treats: Best Halloween Dessert

These easy candy corn Rice Krispie treats for Halloween are simple enough for little hands to help with, but pretty enough to bring to a party without apologizing. They taste like childhood and make people smile before they even take a bite.
- Prep Time: 20 minutes
- Cook Time: 0 minutes
- Total Time: 50 minutes (including 30 minutes chilling)
- Yield: 24 servings 1x
- Category: Dessert
- Cuisine: American
Ingredients
- 3 tablespoons unsalted butter (for yellow layer)
- 4 cups mini marshmallows (for yellow layer)
- 4 cups Rice Krispies cereal (for yellow layer)
- 10–12 drops yellow food coloring (gel preferred)
- 3 tablespoons unsalted butter (for orange layer)
- 4 cups mini marshmallows (for orange layer)
- 4 cups Rice Krispies cereal (for orange layer)
- 8–10 drops red food coloring (for orange layer)
- 6–8 drops yellow food coloring (for orange layer)
- 3 tablespoons unsalted butter (for white layer)
- 4 cups mini marshmallows (for white layer)
- 4 cups Rice Krispies cereal (for white layer)
- 1 cup candy corn (plus extra for decorating)
- Non-stick cooking spray
Instructions
- Line a 9×13-inch baking pan with parchment paper, leaving overhang on two opposite sides. Spray the parchment lightly with non-stick cooking spray.
- Make the yellow layer: In a medium saucepan over low heat, melt 3 tablespoons butter. Add 4 cups mini marshmallows and stir until melted and smooth. Remove from heat. Add 10-12 drops yellow food coloring and stir. Add 4 cups Rice Krispies cereal and stir gently until coated. Press evenly into the bottom of the prepared pan. Let cool for 5 minutes.
- Make the orange layer: In the same saucepan (washed and dried), melt 3 tablespoons butter over low heat. Add 4 cups mini marshmallows and stir until melted and smooth. Remove from heat. Add 8 drops red food coloring and 6 drops yellow food coloring; stir well. Add 4 cups Rice Krispies cereal and stir gently. Spread on top of the yellow layer. Let cool for 5 minutes.
- Make the white layer: Wash and dry the saucepan. Melt 3 tablespoons butter, then add 4 cups mini marshmallows. Stir until melted and smooth. Add 4 cups Rice Krispies cereal and stir gently. Spread on top of the orange layer. Press down gently.
- While the top layer is still warm and slightly sticky, press candy corn pieces gently into the surface in rows or a pattern.
- Let the treats cool at room temperature for 30 minutes (or refrigerate for 15 minutes). Use the parchment paper handles to lift the block out of the pan. Cut into 2×3-inch rectangles with a sharp knife, wiping the knife clean between cuts.
Notes
Use gel food coloring for brighter colors. Let each layer cool for 5 minutes before adding the next to prevent color bleeding. Wet hands or spray with cooking spray when pressing layers to prevent sticking. Store in an airtight container at room temperature for up to 5 days. Do not refrigerate. Can be frozen for up to 3 months.
Nutrition
- Serving Size: 1 treat (2x3-inch re
- Calories: 210
- Sugar: 22
- Sodium: 180
- Fat: 6
- Saturated Fat: 3.5
- Carbohydrates: 38
- Protein: 2
Keywords: candy corn, Rice Krispie treats, Halloween dessert, no-bake, easy, kid-friendly, layered, festive