I did not trust pumpkin cookies. For years, they were the one fall treat I’d pass on without a second thought. Every single one I tried was either cakey in that disappointing way—like someone flattened a muffin and called it a cookie—or so soft they barely held together. You’d pick one up and half of it would stay on the plate. The flavor was usually fine, sure, but the texture? Let’s just say I’d rather eat a snickerdoodle and call it a day.
So when my sister dropped off a batch of these chewy pumpkin sugar cookies last October, I smiled politely and waited until she left before I planned to toss them. But the smell got me. That warm cinnamon-sugar hit mixed with something deeper—almost like brown butter but nuttier. I grabbed one just to be polite (to myself, honestly). And then I grabbed another. These were not those sad, cakey cookies. They had edges that crinkled and cracked, a center that gave just a little when you pressed it, and that sugar coating that stuck to your fingers in the best way. I texted her immediately: “What did you do to these?”
She laughed and said she’d been tweaking the recipe for months—playing with butter ratios, using a trick she learned from making brown butter pumpkin snickerdoodle cookies, and refusing to settle until the chew matched the flavor. That was the moment I realized I’d been wrong about pumpkin cookies my whole life. This recipe is the one that changed my mind, and I think it might change yours too.
Why You’ll Love This Recipe
These chewy pumpkin sugar cookies are not your typical fall cookie. I tested this recipe seven times before I got it right—seven batches of cookies that my neighbors happily ate, by the way—and what I landed on is something genuinely different. Let me tell you why this version works when so many others fall flat.
- Actually Chewy, Not Cakey: The secret is in how we handle the pumpkin puree. Too much moisture turns cookies into little cakes, so we use a specific technique to keep that soft, dense chew you actually want from a sugar cookie.
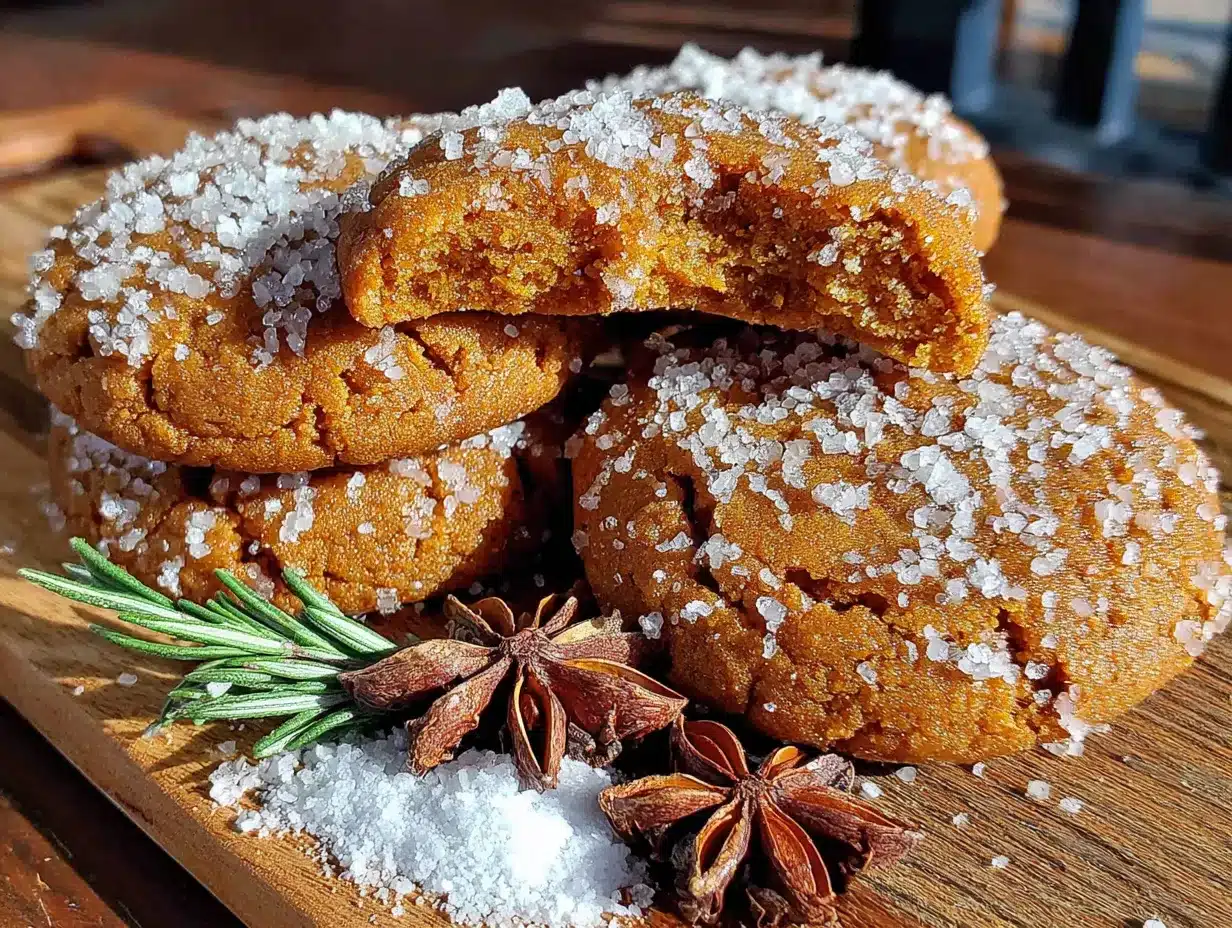
- That Cinnamon Sugar Coating: You roll these in a cinnamon-sugar mixture before baking, and it creates this gorgeous crackled top that shatters slightly when you bite in. It’s like a snickerdoodle met pumpkin bread and decided to become a cookie.
- Simple Pantry Ingredients: No weird specialty flours or hard-to-find extracts. You probably have everything except maybe the pumpkin puree, and that’s a fall staple anyway.
- Perfect for Fall Baking: Whether you’re bringing them to a Friendsgiving, packing them in lunchboxes, or just wanting something cozy with your afternoon coffee, these cookies deliver. I’ve made them for fall gatherings and they disappear faster than anything else on the table.
- Kid-Approved and Adult-Loved: My niece, who refuses to eat anything orange, ate four of these before I could stop her. They’re that good.
Honestly, this is the kind of cookie that makes you close your eyes after the first bite. It’s comfort food in cookie form—familiar but somehow better than you remembered.
What Ingredients You Will Need
This recipe uses simple, wholesome ingredients to deliver that perfect chewy texture and warm spiced flavor. Nothing fancy here, just smart choices that work together.
For the Cookie Dough
- Unsalted butter, 1 cup (2 sticks), softened to room temperature — I use Kerrygold for the richness, but any good unsalted butter works
- Granulated sugar, 1 cup — this gives the cookies structure and sweetness
- Light brown sugar, 1/2 cup, packed — adds moisture and that subtle molasses depth
- Pumpkin puree, 1/2 cup — not pumpkin pie filling, just plain canned pumpkin (I like Libby’s for consistent texture)
- Large egg, 1, at room temperature — helps bind everything together
- Vanilla extract, 2 teaspoons — pure, not imitation, for the best flavor
- All-purpose flour, 2 and 1/4 cups — spooned and leveled, never scooped directly from the bag
- Cornstarch, 2 tablespoons — this is the secret to that soft, chewy texture
- Baking soda, 1 teaspoon — helps with spread and lift
- Baking powder, 1/2 teaspoon — adds a little extra rise
- Salt, 1/2 teaspoon — balances the sweetness
- Pumpkin pie spice, 2 teaspoons — or make your own with cinnamon, nutmeg, ginger, and cloves
- Ground cinnamon, 1 teaspoon — I add extra because I love cinnamon
For the Cinnamon Sugar Coating
- Granulated sugar, 1/4 cup
- Ground cinnamon, 1 tablespoon — use a good quality cinnamon here, it makes a difference
- Pinch of salt — trust me on this, it makes the coating pop
Ingredient Tip: If you’re using a fresh pumpkin, make sure to strain the puree through cheesecloth or a clean kitchen towel to remove excess water. Canned pumpkin is usually thicker and more consistent, which is why I prefer it for baking. Also, make sure your butter is truly softened—not melted, not cold. You should be able to press your finger into it and leave an indent without it sliding around.
Equipment Needed
You don’t need a fancy kitchen to make these cookies, but having the right tools makes everything easier. Here’s what you’ll need:
- Electric mixer — a stand mixer with paddle attachment is ideal, but a hand mixer works perfectly too. I’ve made these with both.
- Large mixing bowls — at least two, one for dry ingredients and one for wet
- Whisk — for combining dry ingredients evenly
- Rubber spatula — for scraping down the bowl and folding in any last bits of flour
- Cookie scoop — a 1.5 tablespoon scoop gives you consistent cookies that bake evenly. I use my OXO scoop and love it.
- Baking sheets — two rimmed baking sheets, preferably light-colored aluminum (dark sheets can cause over-browning)
- Parchment paper or silicone baking mats — non-stick is essential for these cookies
- Cooling rack — wire rack for cooling cookies properly so they don’t steam on the sheet
- Small bowl — for mixing the cinnamon sugar coating
If you don’t have a cookie scoop, you can use two spoons to portion the dough. Just try to make them roughly the same size so they bake evenly. And if you only have one baking sheet, let it cool completely between batches—hot sheets make dough spread too fast.
Preparation Method
Let’s make these cookies. I’ll walk you through every step so you get that perfect chewy texture with the crackled cinnamon sugar top.
- Preheat and prepare. Set your oven to 350°F (175°C). Line two baking sheets with parchment paper or silicone mats. This is non-negotiable—these cookies need that non-stick surface to look their best.
- Mix the dry ingredients. In a medium bowl, whisk together the flour, cornstarch, baking soda, baking powder, salt, pumpkin pie spice, and ground cinnamon. Whisk for about 20 seconds to make sure everything is evenly distributed. Set this aside.
- Cream the butter and sugars. In a large bowl, beat the softened butter with an electric mixer on medium speed for about 1 minute until it’s smooth and creamy. Add the granulated sugar and brown sugar, then beat for another 2-3 minutes until the mixture is light and fluffy. You’ll notice it getting paler in color—that’s the air incorporating. Scrape down the sides of the bowl with your spatula.
- Add the wet ingredients. Beat in the pumpkin puree, egg, and vanilla extract on medium speed until everything is combined. The mixture might look a little separated or curdled at this point—that’s totally normal. Don’t panic. It will come together when you add the flour.
- Combine wet and dry. With the mixer on low speed, gradually add the dry ingredients to the wet mixture. Mix just until the flour disappears. You might see a few streaks of flour still—that’s fine. Stop the mixer and fold the dough a few times with your spatula to finish incorporating everything. Over-mixing will make the cookies tough, so be gentle here.
- Chill the dough. This is the most important step. Cover the bowl with plastic wrap and refrigerate the dough for at least 30 minutes, but 1 hour is better. Chilling solidifies the butter and lets the pumpkin moisture absorb into the flour. I’ve skipped this step before (impatient baker here) and the cookies spread into flat, sad discs. Don’t be like me. Chill the dough.
- Make the coating. While the dough chills, mix the granulated sugar, cinnamon, and pinch of salt in a small shallow bowl. Set aside.
- Shape and coat. Once the dough is chilled, use your cookie scoop to portion out 1.5 tablespoon balls of dough. Roll each ball between your palms until smooth, then roll it in the cinnamon sugar mixture until fully coated. Place the coated dough balls on the prepared baking sheets, spacing them about 2 inches apart. These cookies spread, but not wildly if you chilled the dough.
- Bake. Bake one sheet at a time on the center rack for 10-12 minutes. You want the edges to look set and slightly golden, but the centers should still look soft and slightly puffed. The cookies will continue to bake on the hot sheet after you take them out, so don’t over-bake them. At 10 minutes, mine are perfect—soft centers with slightly crisp edges.
- Cool. Let the cookies rest on the baking sheet for 5 minutes. This is crucial—they’re too fragile to move right away. After 5 minutes, transfer them to a wire cooling rack to cool completely. The tops will crackle beautifully as they cool.
Sensory cue: Your kitchen will smell like a fall candle exploded in the best way. The cinnamon sugar coating will feel slightly crunchy on your fingers when you pick up a cooled cookie, and the center should give just a little when you press it gently.
Cooking Tips & Techniques
I’ve made enough mistakes with pumpkin cookies to fill a small notebook. Here’s what I learned so you don’t have to repeat my failures.
Blot your pumpkin puree. This is the number one tip I can give you. Pumpkin puree is wet—like, really wet. Too much moisture makes cookies cakey. Before you add it to the dough, spread the 1/2 cup of puree on a paper towel-lined plate, top with another paper towel, and press gently. Let it sit for 5 minutes. You’ll be shocked how much liquid comes out. This single step is what gives you that chewy texture instead of a cakey one.
Don’t skip the cornstarch. Cornstarch is the secret weapon for soft, chewy cookies. It inhibits gluten formation just enough to keep the cookies tender without making them fragile. If you’re out of cornstarch, you can substitute 1/4 cup of cake flour for 1/4 cup of the all-purpose flour, but cornstarch works better.
Room temperature ingredients matter. Cold butter won’t cream properly, and cold egg can seize the mixture. Take your butter and egg out of the fridge about 30 minutes before you start baking. If you forgot, you can place the egg in a bowl of warm water for 5 minutes and microwave the butter in 5-second bursts until it’s soft but not melted.
Watch the bake time. I pulled a batch at 11 minutes once and thought they looked underdone. I left the next batch in for 13 minutes and they were dry. The sweet spot is 10-12 minutes, and you want to pull them when the centers still look slightly underdone. They’ll set up as they cool. Trust the process.
Chill between batches. If you’re baking multiple sheets, let the dough sit in the fridge between batches. Warm dough spreads more, and you’ll end up with flat cookies. I keep my dough bowl in the fridge and only take out what I’m scooping.
Variations & Adaptations
These cookies are forgiving, and I’ve played around with them more times than I can count. Here are some variations worth trying.
Gluten-Free Version: Substitute the all-purpose flour with a 1:1 gluten-free baking flour blend that contains xanthan gum. I’ve used King Arthur’s Measure for Measure with great results. The texture is slightly more delicate, so handle them gently when transferring to the cooling rack.
Dairy-Free Option: Use vegan butter sticks (not the spreadable kind in a tub) in place of regular butter. Miyoko’s and Country Crock Plant Butter work best. The flavor is slightly different, but the texture stays remarkably close to the original.
Add-In Variations: Fold in 1/2 cup of white chocolate chips or chopped pecans after you mix the dough. White chocolate and pumpkin are a dream team, and the nuts add a nice crunch against the soft cookie. I made a batch with butterscotch chips once and they were gone in an hour.
Spice It Up: If you want more warmth, add 1/4 teaspoon of ground ginger and a pinch of cloves to the dough. For a savory-sweet twist, try 1/4 teaspoon of black pepper—it sounds weird, but it brings out the pumpkin flavor in a surprising way.
Pumpkin Cream Cheese Version: Make a cream cheese filling by beating 4 ounces of softened cream cheese with 2 tablespoons of sugar and 1/2 teaspoon of vanilla. Chill it, then wrap a small spoonful inside each dough ball before rolling in the cinnamon sugar. Bake as directed. These are dangerously good and perfect for pumpkin cream cheese lovers.
Serving & Storage Suggestions
These cookies are best served slightly warm, when the cinnamon sugar coating is still a little melty and the center is soft. Let them cool on the baking sheet for 5 minutes, then transfer to a plate and serve within 15 minutes for that ideal texture. If you’re serving them later, pop them in a 300°F oven for 3-4 minutes to revive that just-baked feel.
They pair beautifully with a hot cup of coffee, a homemade pumpkin spice latte, or a glass of cold milk. For a dessert spread, arrange them on a platter with apple slices, caramel dip, and maybe some dark chocolate chunks. They’re also fantastic crumbled over vanilla ice cream for an impromptu cookie sundae.
Storage: Keep these cookies in an airtight container at room temperature for up to 4 days. Layer them with parchment paper between each layer to prevent sticking. The cinnamon sugar coating might soften slightly after day one, but they’ll still taste amazing.
Freezing: You can freeze the baked cookies for up to 3 months. Wrap them individually in plastic wrap, then place them in a freezer bag. Thaw at room temperature for about 30 minutes before serving. Better yet, freeze the unbaked dough balls after rolling them in the cinnamon sugar. Place them on a baking sheet and freeze until solid, then transfer to a freezer bag. Bake from frozen, adding 2-3 minutes to the bake time. This way, you can have fresh cookies whenever the craving hits.
Flavor Development: Honestly, these cookies taste even better on day two. The spices mellow and meld together, and the texture evens out. If you can resist eating them all on day one, you’re in for a treat.
Nutritional Information & Benefits
Per cookie (based on 24 cookies), here’s the estimated breakdown:
- Calories: 175
- Total Fat: 8g
- Saturated Fat: 5g
- Carbohydrates: 24g
- Fiber: 1g
- Sugar: 15g
- Protein: 2g
- Vitamin A: 15% of the Daily Value (from the pumpkin)
These numbers are estimates and will vary based on specific brands and any substitutions you make.
Health Benefits: Pumpkin is packed with vitamin A, which supports eye health and immune function. It’s also a good source of fiber and antioxidants. While these are definitely a treat, the pumpkin adds a little nutritional value compared to a standard sugar cookie. Plus, using real pumpkin puree means you’re getting actual vegetable content—even if it is surrounded by butter and sugar.
Dietary Considerations: This recipe contains gluten, dairy, and eggs. For gluten-free and dairy-free options, check the variations section above. These cookies are not low-carb or keto-friendly, but they are nut-free if you skip the pecan variation.
Conclusion
These chewy pumpkin sugar cookies are the fall cookie I never knew I needed. They changed my mind about what pumpkin cookies could be—soft and chewy instead of cakey and dry, with that gorgeous cinnamon sugar coating that makes every bite feel special. They’re simple enough for a Tuesday afternoon bake session but impressive enough to bring to any gathering.
I hope you give them a try and make them your own. Maybe add some white chocolate chips, or double the cinnamon like I do. Maybe you’ll discover your own variation that becomes a family favorite. That’s the beauty of a good recipe—it’s a starting point, not a rulebook.
If you make these cookies, I’d love to hear about it. Leave a comment below and tell me how they turned out, or share a photo of your batch. Did you try a variation? Did your kids love them as much as my niece did? Drop your thoughts below—I read every single comment and I genuinely love hearing from you.
Happy baking, friends. May your cookies be chewy, your kitchen smell like cinnamon, and your fall be full of warm, happy moments.
Frequently Asked Questions
Can I use homemade pumpkin puree instead of canned?
Yes, you can, but you’ll need to strain it first. Homemade pumpkin puree tends to be much wetter than canned. Spread it on a paper towel-lined plate, cover with another paper towel, and press gently. Let it sit for 10-15 minutes before using. You want it to be about the same thickness as canned puree.
Why did my cookies turn out cakey?
This usually happens for one of two reasons: too much moisture in the pumpkin or over-mixing the dough. Make sure you blot your pumpkin puree before adding it, and mix the dough just until the flour disappears. Over-mixing develops gluten, which gives you a tougher, more bread-like texture.
Can I make these cookies without an electric mixer?
Absolutely. You can cream the butter and sugar by hand with a wooden spoon—it just takes a bit more elbow grease and about 5 minutes of vigorous stirring. Make sure your butter is very soft before you start. A whisk works well for the dry ingredients, and a spatula is fine for the final mix.
How do I know when the cookies are done baking?
Look for edges that are set and lightly golden, with centers that still look slightly soft and puffed. The cookies will continue to bake on the hot sheet after you pull them out. If you wait until the centers look fully set, they’ll be over-baked and dry. When in doubt, pull them out a minute early.
Can I double this recipe?
Yes, this recipe doubles beautifully. Just make sure your mixing bowl is large enough to hold everything, and don’t try to cream more than 2 cups of butter at a time if you’re using a hand mixer. The dough will keep in the fridge for up to 3 days, so you can bake a few cookies at a time if you want fresh ones all week.
Pin This Recipe!
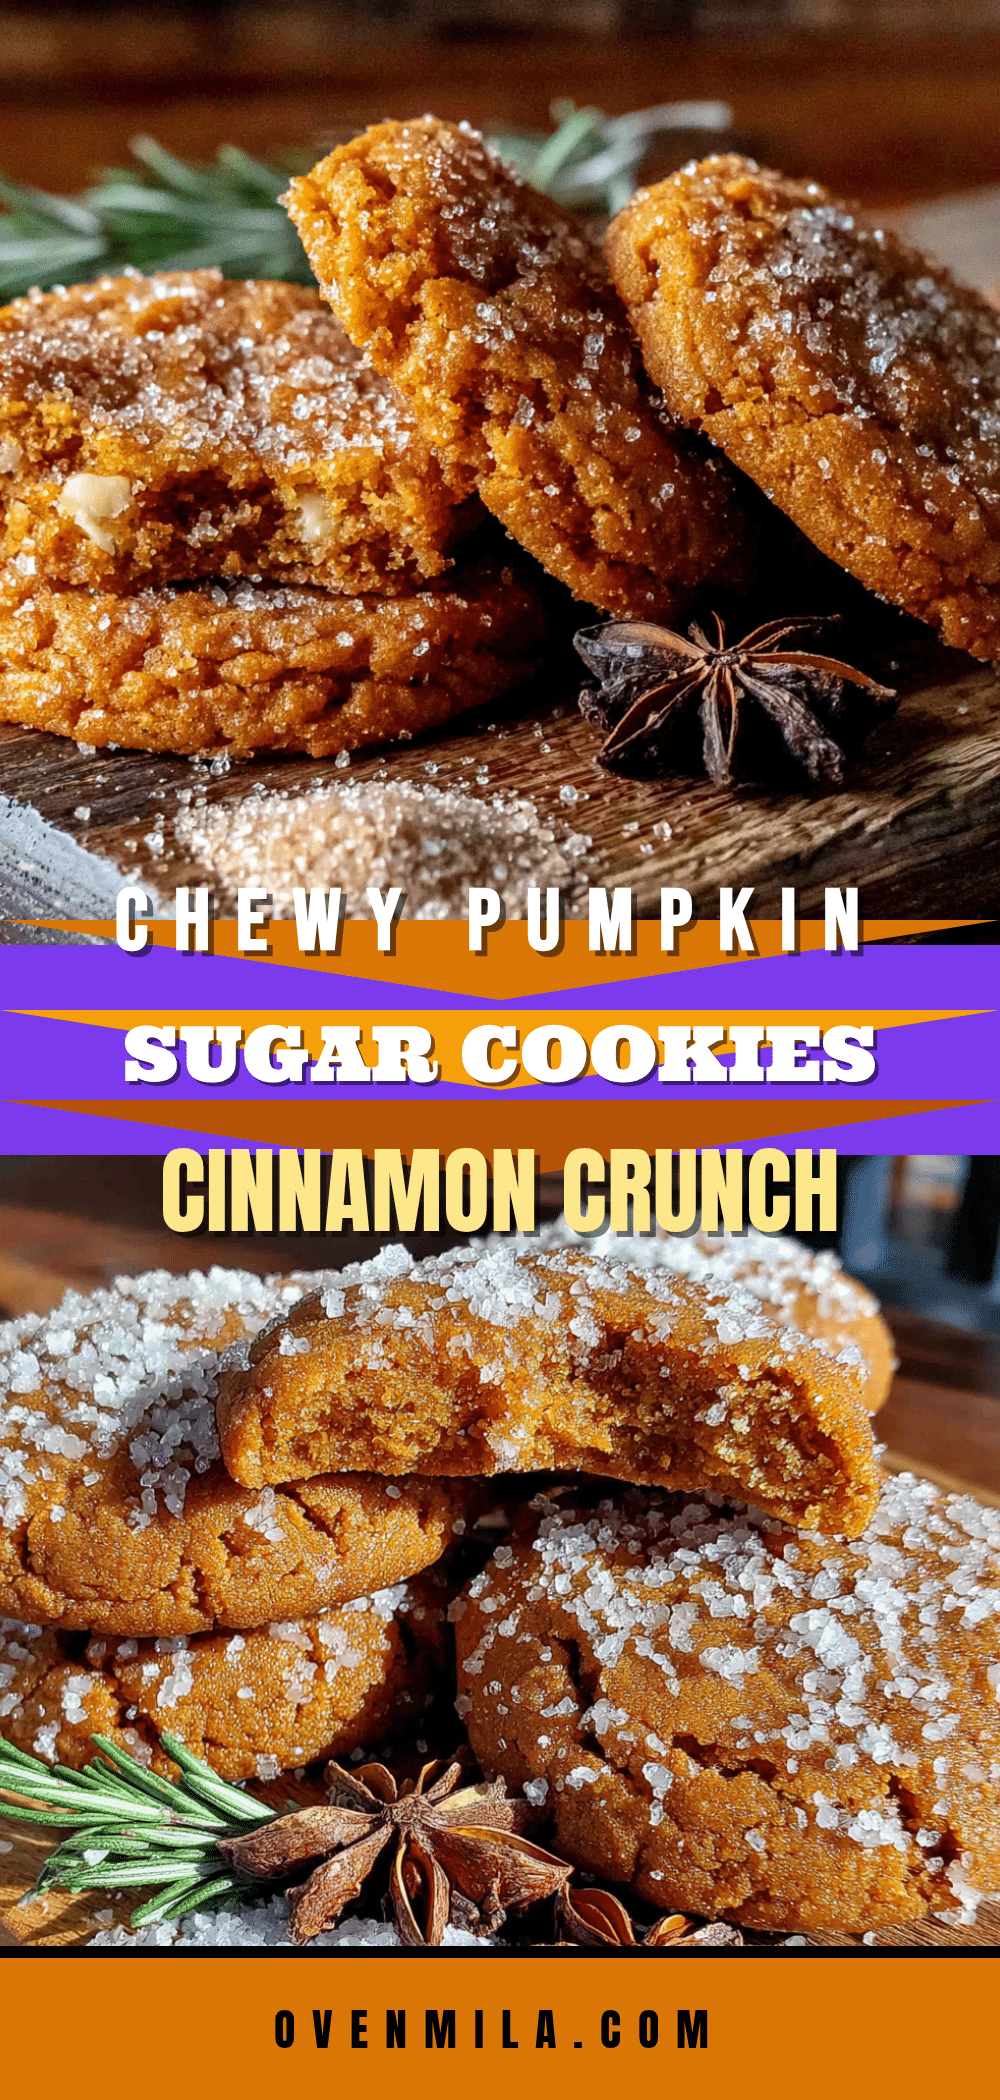
Perfect Chewy Pumpkin Sugar Cookies: Easy Cinnamon Sugar Recipe
These chewy pumpkin sugar cookies are soft, dense, and coated in cinnamon sugar, with a crackled top that shatters slightly when you bite in. They’re the perfect fall treat that will change your mind about pumpkin cookies.
- Prep Time: 15 minutes
- Cook Time: 12 minutes
- Total Time: 1 hour 27 minutes (including chilling)
- Yield: 24 cookies 1x
- Category: Dessert
- Cuisine: American
Ingredients
- 1 cup (2 sticks) unsalted butter, softened to room temperature
- 1 cup granulated sugar
- 1/2 cup light brown sugar, packed
- 1/2 cup pumpkin puree (not pumpkin pie filling)
- 1 large egg, at room temperature
- 2 teaspoons vanilla extract (pure, not imitation)
- 2 and 1/4 cups all-purpose flour, spooned and leveled
- 2 tablespoons cornstarch
- 1 teaspoon baking soda
- 1/2 teaspoon baking powder
- 1/2 teaspoon salt
- 2 teaspoons pumpkin pie spice
- 1 teaspoon ground cinnamon
- 1/4 cup granulated sugar (for coating)
- 1 tablespoon ground cinnamon (for coating)
- Pinch of salt (for coating)
Instructions
- Preheat oven to 350°F (175°C). Line two baking sheets with parchment paper or silicone mats.
- In a medium bowl, whisk together flour, cornstarch, baking soda, baking powder, salt, pumpkin pie spice, and ground cinnamon. Set aside.
- In a large bowl, beat softened butter with an electric mixer on medium speed until smooth and creamy, about 1 minute. Add granulated sugar and brown sugar, then beat for 2-3 minutes until light and fluffy. Scrape down sides of bowl.
- Beat in pumpkin puree, egg, and vanilla extract on medium speed until combined. The mixture may look slightly separated; this is normal.
- With mixer on low speed, gradually add dry ingredients to wet mixture. Mix just until flour disappears. Fold a few times with a spatula to finish incorporating. Do not over-mix.
- Cover bowl with plastic wrap and refrigerate dough for at least 30 minutes (1 hour is better).
- While dough chills, mix 1/4 cup granulated sugar, 1 tablespoon cinnamon, and a pinch of salt in a small shallow bowl.
- Using a cookie scoop (1.5 tablespoons), portion dough into balls. Roll each ball between palms until smooth, then roll in cinnamon sugar mixture until fully coated. Place on prepared baking sheets, spacing 2 inches apart.
- Bake one sheet at a time on center rack for 10-12 minutes. Edges should be set and slightly golden, centers still soft and slightly puffed.
- Let cookies rest on baking sheet for 5 minutes, then transfer to a wire cooling rack to cool completely.
Notes
Blot pumpkin puree on paper towels to remove excess moisture for a chewier texture. Do not skip chilling the dough; it prevents spreading. For best results, pull cookies when centers still look slightly underdone; they will set as they cool. Cookies taste even better on day two.
Nutrition
- Serving Size: 1 cookie
- Calories: 175
- Sugar: 15
- Fat: 8
- Saturated Fat: 5
- Carbohydrates: 24
- Fiber: 1
- Protein: 2
Keywords: pumpkin cookies, chewy pumpkin cookies, sugar cookies, cinnamon sugar cookies, fall cookies, pumpkin dessert, easy pumpkin recipe


