My friend Jenna did not trust black food coloring in a cupcake. She said it looked like something a goth teenager would bring to a potluck and she wasn’t wrong to be suspicious. I had seen those dry, crumbly black cakes before at Halloween parties—the ones that taste like cardboard and leave your teeth looking like you chewed on charcoal. So when I told her I was working on a black velvet cupcake recipe, she just raised an eyebrow and said, “Good luck with that.”
Here’s the thing though. I had been messing around with cocoa powder ratios for weeks, trying to get that deep, dark color without relying on a whole bottle of gel coloring. Because honestly, red velvet gets all the attention, but what if you took that same tender, buttery crumb and made it Halloween-appropriate? What if you paired it with a tangy cream cheese frosting that cuts through the richness and makes you forget you’re eating something that looks like it came out of a haunted bakery?
I brought a test batch to Jenna’s Halloween movie night last October. She took one bite, closed her eyes, and said, “Okay, I was wrong.” That’s the moment I knew these were ready to share. These aren’t just novelty cupcakes that look spooky—they actually taste like something you’d want to eat on a regular Tuesday. And that cream cheese frosting? It’s the kind that makes you scrape the bowl clean with your finger when nobody’s looking.
Why You’ll Love This Recipe
I’ve tested this recipe six times to get it right. The first batch came out too dry. The second batch had that weird chemical aftertaste from too much food coloring. By the fourth batch, I figured out the trick—you need the right balance of cocoa powder and buttermilk to get that velvet texture without relying on artificial stuff to do all the heavy lifting. Here’s what makes these cupcakes worth your time:
- Perfect Texture : The crumb is tender and moist, not dense or gummy. It’s that classic velvet texture that melts in your mouth.
- Real Chocolate Flavor : Despite being black, these actually taste like chocolate. The cocoa powder does the work, not just the coloring.
- Easy to Decorate : The black base makes any Halloween topper pop—orange sprinkles, candy eyeballs, spider rings, you name it.
- Cream Cheese Frosting That Works : It’s stable enough to pipe, but still has that tangy, creamy consistency that makes cream cheese frosting so good.
- No Fancy Equipment Needed : You can make these with a hand mixer and a muffin tin. Nothing complicated.
- Crowd-Pleaser for All Ages : Kids love the spooky look, adults appreciate that they actually taste like a real cupcake and not a gimmick.
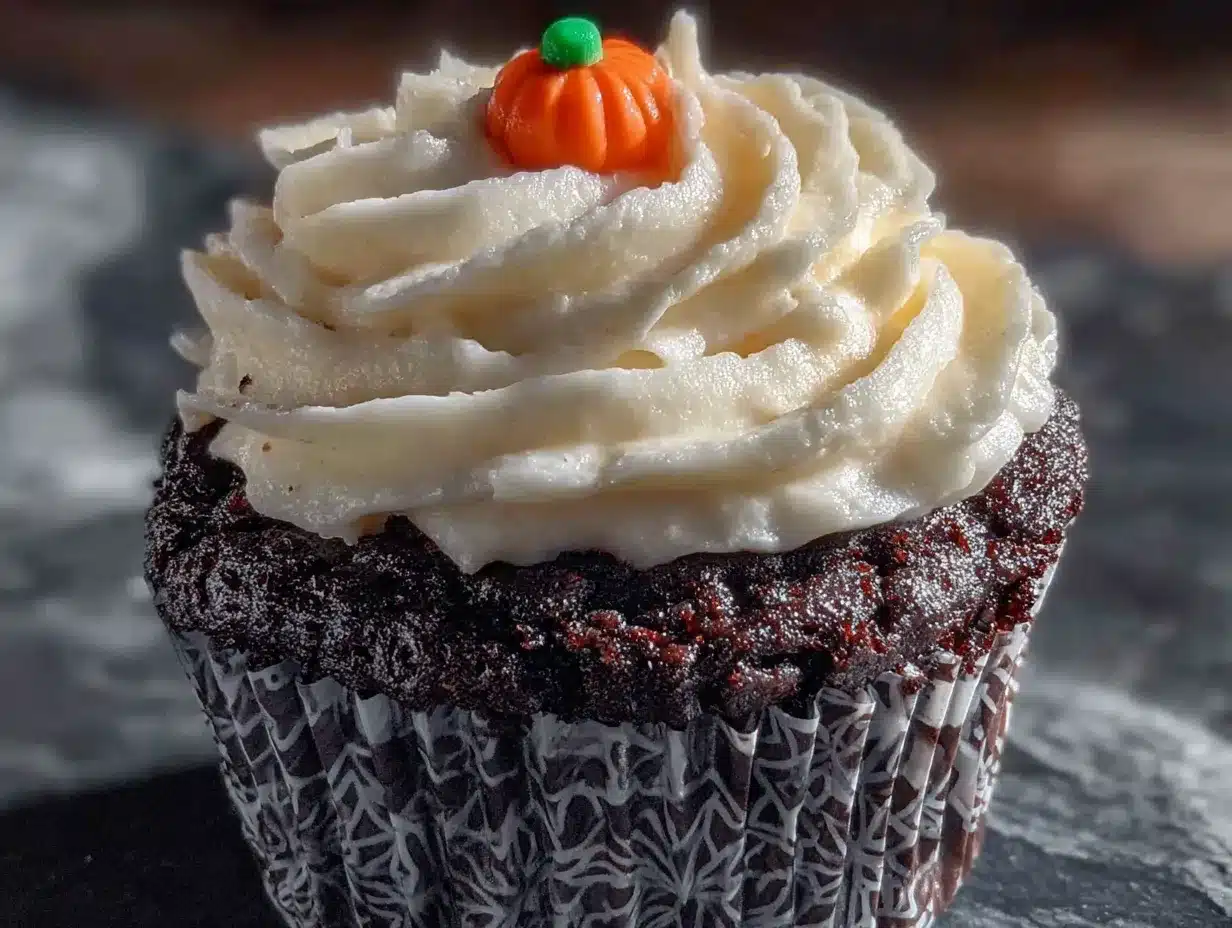
What makes this recipe different from other black cupcakes out there is the technique. Most recipes just dump in black food coloring and hope for the best. I use a combination of dark cocoa powder and just enough gel coloring to get that deep, dramatic black without ruining the flavor. It’s a velvet cake that happens to be black, not a black cake that happens to exist.
These are the cupcakes you bring to the Halloween party and people ask for the recipe before they even finish the first one. And honestly, that’s the best compliment a baker can get.
What Ingredients You Will Need
This recipe uses simple ingredients you probably already have in your pantry, plus a few specialty items for that dramatic black color. The magic happens when you combine them the right way.
For the Cupcakes
- All-purpose flour : 1 and 1/2 cups (180g). Spoon and level it—don’t scoop straight from the bag or you’ll end up with dry cupcakes.
- Unsweetened cocoa powder : 1/4 cup (20g). I use Dutch-processed for a smoother, darker color, but natural works too. I personally prefer Rodelle brand for the best flavor.
- Granulated sugar : 1 cup (200g). Regular white sugar works perfectly here.
- Baking soda : 1 teaspoon. Make sure it’s fresh—test it by dropping a little in vinegar to see if it fizzes.
- Salt : 1/2 teaspoon. Fine sea salt is best; it dissolves more evenly than coarse salt.
- Vegetable oil : 1/2 cup (120ml). Canola or any neutral oil works. Oil keeps these cupcakes moist longer than butter.
- Buttermilk : 1/2 cup (120ml), room temperature. This is crucial for the velvet texture. If you don’t have buttermilk, add 1/2 tablespoon of lemon juice or white vinegar to regular milk and let it sit for 5 minutes.
- Eggs : 2 large, room temperature. Cold eggs can seize the batter and make it lumpy.
- Vanilla extract : 1 teaspoon. Pure vanilla, not imitation, for the best flavor.
- White vinegar : 1 teaspoon. This reacts with the baking soda to give the cupcakes lift and that tender crumb.
- Black gel food coloring : About 1 to 1 and 1/2 tablespoons. I use Americolor Super Black—it’s concentrated so you don’t need as much, and it doesn’t have that bitter aftertaste. Liquid food coloring won’t work here; you’ll need gel or paste.
For the Cream Cheese Frosting
- Cream cheese : 8 ounces (226g), softened. Full-fat brick cream cheese, not the spreadable kind in a tub. Philadelphia is my go-to.
- Unsalted butter : 1/2 cup (113g), softened. Let it sit out for about an hour until it’s soft but not melty.
- Powdered sugar : 3 and 1/2 to 4 cups (420g to 480g). Sifted if it’s lumpy.
- Vanilla extract : 1 teaspoon.
- Pinch of salt : Just a tiny pinch to balance the sweetness.
For Decoration (Optional but Fun)
- Orange and purple sprinkles
- Candy eyeballs
- Edible glitter or luster dust
- Halloween-themed cupcake liners
One thing I learned the hard way—don’t skip the vinegar. I tried a batch without it because I thought it was unnecessary, and the cupcakes came out dense and flat. That little bit of acid makes a big difference in the texture.
Equipment Needed
You don’t need a professional bakery setup for these, but having the right tools makes the process smoother. Here’s what you’ll need:
- Muffin tin : A standard 12-cup muffin tin. I use a non-stick one and it works fine, but if yours tends to stick, use paper liners.
- Cupcake liners : Halloween-themed ones make these extra festive. I found some with little ghosts and pumpkins at the grocery store last year.
- Mixing bowls : At least two medium-sized bowls—one for dry ingredients and one for wet.
- Hand mixer or stand mixer : A hand mixer works perfectly for both the batter and the frosting. If you’re using a stand mixer, use the paddle attachment.
- Rubber spatula : For scraping down the bowl and folding in the food coloring evenly.
- Measuring cups and spoons : Accurate measurements matter here, especially for the cocoa powder and flour.
- Kitchen scale : Not required, but I highly recommend it for the flour. A scale is the best way to get consistent results.
- Cooling rack : Letting the cupcakes cool completely before frosting is non-negotiable. If they’re even slightly warm, the frosting will melt into a puddle.
- Piping bag and tip : A piping bag with a large star tip (like Wilton 1M) gives that classic bakery look. You can also use a zip-top bag with the corner snipped off in a pinch.
- Toothpicks : For testing doneness and for getting those perfect swirls in the frosting.
I’ve made these cupcakes with just a whisk and a bowl before—it’s doable, but the texture isn’t as light. A hand mixer is worth the minimal effort it takes to pull it out of the drawer.
Preparation Method
Let’s get into the actual process. I’ve broken this down into clear steps with all the little details that make the difference between good cupcakes and great ones.
Step 1: Preheat and Prep
Preheat your oven to 350°F (175°C). Line your muffin tin with 12 cupcake liners. Set the tin aside while you make the batter. This is one of those steps that seems obvious, but I’ve definitely forgotten to preheat before and then stood there holding a bowl of batter like an idiot.
Step 2: Mix the Dry Ingredients
In a medium bowl, whisk together the flour, cocoa powder, baking soda, and salt. Whisk for about 20 seconds to make sure everything is evenly distributed. If you skip this and just dump everything in later, you’ll end up with pockets of baking soda that taste metallic. Trust me on this one.
Step 3: Mix the Wet Ingredients
In a larger bowl, beat the sugar and oil together with your hand mixer on medium speed for about 1 minute. It should look like wet sand. Add the eggs one at a time, beating well after each addition. Then add the vanilla extract and beat for another 30 seconds.
Pour in the buttermilk and vinegar, and beat on low speed until combined. The mixture might look a little weird at this point—that’s normal. It’s supposed to be thin and slightly curdled-looking.
Step 4: Combine Wet and Dry
Add the dry ingredients to the wet ingredients in two additions, mixing on low speed after each addition. Don’t overmix here. Stop as soon as you don’t see any more flour streaks. Overmixing develops gluten and makes the cupcakes tough, and nobody wants a tough cupcake.
Step 5: Add the Black Food Coloring
Here’s where the magic happens. Add about 1 tablespoon of black gel food coloring to the batter and mix on low speed until the color is uniform. If the batter looks more dark gray than black, add another 1/2 tablespoon and mix again. You want a deep, dark black—think midnight, not charcoal.
A note here: the color will darken slightly as the cupcakes bake, but not by much. So get it as dark as you want it now. I usually end up using about 1 and 1/2 tablespoons total.
Step 6: Fill the Liners
Divide the batter evenly among the 12 cupcake liners. I use a cookie scoop for this—it’s cleaner and more consistent. Fill each liner about 2/3 full. Don’t overfill or they’ll overflow and make a mess. If you have extra batter, resist the urge to make a 13th cupcake; just bake what you have and save the extra batter for another batch.
Step 7: Bake
Bake for 18 to 22 minutes, or until a toothpick inserted into the center of a cupcake comes out clean or with a few moist crumbs. The tops should spring back when you gently press them. My oven runs hot, so I start checking at 18 minutes.
Let the cupcakes cool in the pan for 5 minutes, then transfer them to a wire rack to cool completely. Do not skip this cooling step. If you try to frost them while they’re warm, the frosting will slide right off and you’ll be left with a sad, melty mess.
Step 8: Make the Cream Cheese Frosting
While the cupcakes are cooling, make the frosting. In a large bowl, beat the softened cream cheese and butter together on medium speed until smooth and creamy—about 2 minutes. Scrape down the sides of the bowl with a rubber spatula.
Add the powdered sugar one cup at a time, beating on low speed after each addition. Once all the sugar is incorporated, add the vanilla extract and the pinch of salt. Beat on medium-high speed for about 2 minutes until the frosting is light, fluffy, and spreadable.
If the frosting seems too soft, pop it in the refrigerator for 15 minutes to firm up. If it’s too stiff, add a teaspoon of milk or cream and beat again.
Step 9: Frost the Cupcakes
Once the cupcakes are completely cool, it’s time to frost. Fit your piping bag with a large star tip and fill it with the cream cheese frosting. Pipe a generous swirl on each cupcake, starting from the outside and working your way in. If you don’t have a piping bag, you can spread the frosting with a knife—it won’t look as fancy, but it’ll taste just as good.
Step 10: Decorate and Serve
Add your Halloween decorations—sprinkles, candy eyeballs, edible glitter, whatever you like. I like to add a few orange sprinkles on top for contrast. Serve immediately or refrigerate until ready to serve.
Cooking Tips & Techniques
I’ve messed up this recipe enough times to know what not to do. Here are the lessons I learned so you don’t have to repeat my mistakes.
Don’t overmix the batter. This is the number one mistake people make with velvet cakes. Mix until just combined, then stop. Overmixing develops gluten and makes the cupcakes dense and rubbery. I once overmixed a batch because I was distracted by my phone, and the cupcakes came out like hockey pucks. Not my finest moment.
Use room temperature ingredients. Cold eggs and cold buttermilk can cause the batter to seize up and create lumps. Take them out of the fridge about 30 minutes before you start baking. If you forget, you can warm the eggs in a bowl of warm water for 5 minutes and microwave the buttermilk for about 15 seconds.
Gel food coloring is non-negotiable. I tried liquid food coloring once because that’s all I had, and the batter turned purple-gray and the cupcakes tasted bitter. Gel coloring is concentrated, so you use less, and it doesn’t mess with the flavor. Americolor Super Black is my favorite—it’s what professional bakers use.
Check your baking soda freshness. Baking soda loses its potency over time. If your baking soda is more than 6 months old, it might not give the cupcakes enough lift. Drop a little in vinegar—if it fizzes vigorously, it’s good. If it barely bubbles, get a new box.
Let the cupcakes cool completely. I know I said this already, but it’s worth repeating. Warm cupcakes + cream cheese frosting = melted disaster. I once frosted a slightly warm cupcake because I was in a hurry, and the frosting slid right off onto the counter. It was heartbreaking.
Multitask strategically. While the cupcakes are baking, wash your mixing bowls and get your frosting ingredients ready. By the time the cupcakes are cool, your frosting will be done and you can assemble everything without a chaotic kitchen.
Variations & Adaptations
One of the best things about this recipe is how flexible it is. Here are some variations I’ve tried and loved.
Gluten-Free Version
Substitute the all-purpose flour with a 1:1 gluten-free baking flour blend. I’ve used King Arthur Measure for Measure and it works perfectly. Add an extra tablespoon of buttermilk to compensate for the drier gluten-free flour. The texture is slightly more delicate, but still delicious.
Dairy-Free Version
Use a plant-based buttermilk substitute—add 1/2 tablespoon of lemon juice to unsweetened almond or oat milk and let it sit for 5 minutes. For the frosting, use dairy-free cream cheese like Kite Hill or Violife and vegan butter. The frosting won’t be as firm, so refrigerate it for 20 minutes before piping.
Spooky Spiderweb Design
Instead of piping a swirl, spread a thin layer of white cream cheese frosting on each cupcake. Then pipe a small amount of black frosting in the center and use a toothpick to drag it outward in a spiral pattern to create a spiderweb. It looks impressive but takes about 30 seconds per cupcake.
Blood Drip Effect
For a gory twist, make a simple red glaze by mixing powdered sugar with a little milk and red food coloring. Drizzle it over the frosted cupcakes so it drips down the sides like blood. Add plastic vampire teeth or candy spiders for extra effect.
Mini Cupcakes
Use a mini muffin tin and bake for 10 to 12 minutes instead of 18 to 22. This is perfect for Halloween parties where people want to sample multiple treats. You’ll get about 36 mini cupcakes from this recipe.
I tried the spiderweb design last Halloween and it was a huge hit. The kids thought I was some kind of baking wizard, and I just smiled and didn’t tell them how easy it was.
Serving & Storage Suggestions
These cupcakes are best served at room temperature, which lets the cream cheese frosting soften to that perfect creamy consistency. If you’ve refrigerated them, take them out about 30 minutes before serving.
For presentation, arrange them on a black or orange platter to make the black color pop. I like to scatter a few candy corn or candy pumpkins around the base of the platter for extra Halloween vibes. If you’re serving them at a party, consider placing them on a tiered stand—it makes even simple decorations look fancy.
These pair beautifully with a warm drink. I love serving them alongside a homemade pumpkin spice latte or a glass of cold milk for the kids. For an adult gathering, they go surprisingly well with a caramel apple cider sangria or a dark stout beer. The bitterness of the stout plays nicely with the sweet, tangy frosting.
Storage: Store unfrosted cupcakes in an airtight container at room temperature for up to 3 days. Frosted cupcakes should be stored in the refrigerator in an airtight container for up to 5 days. The cream cheese frosting needs refrigeration, but the cupcakes themselves will stay moist.
Freezing: You can freeze unfrosted cupcakes for up to 3 months. Wrap each one tightly in plastic wrap, then place them in a freezer bag. Thaw at room temperature before frosting. I don’t recommend freezing frosted cupcakes—the frosting can get grainy and the texture changes.
Reheating: If you want that fresh-from-the-oven taste, microwave an unfrosted cupcake for about 10 seconds. Don’t microwave frosted ones—the frosting will melt. Just let them come to room temperature naturally.
One thing I’ve noticed—these cupcakes actually taste better the next day. The flavors meld together and the texture becomes even more tender. So if you can resist eating them all on day one, you’re in for a treat on day two.
Nutritional Information & Benefits
Let’s be real—these are cupcakes, not health food. But knowing what’s in them can help you make informed choices. Here’s the estimated nutritional breakdown per cupcake (with frosting):
- Calories: Approximately 380
- Total Fat: 22g
- Saturated Fat: 10g
- Carbohydrates: 44g
- Sugar: 32g
- Protein: 4g
- Sodium: 220mg
These values are estimates and will vary based on the specific brands you use and your portion sizes. If you’re watching your sugar intake, you can reduce the powdered sugar in the frosting by about 1/4 cup—it’ll still be sweet, just less so.
On the plus side, cocoa powder contains antioxidants called flavonoids, which are good for heart health. Cream cheese provides some calcium and protein, though it’s also high in fat. The buttermilk adds a little calcium too. So there are tiny nutritional wins hidden in there, even if they’re overshadowed by the sugar and butter.
If you’re looking for a lighter option, you could try making healthy pumpkin oat muffins instead—they’re lower in sugar and fat but still satisfy that fall baking itch. But honestly, sometimes you just need a proper cupcake, and that’s okay.
Frequently Asked Questions
Can I make these cupcakes ahead of time?
Absolutely. You can bake the cupcakes up to 2 days in advance and store them unfrosted in an airtight container at room temperature. Make the frosting the day you plan to serve them for the best texture. If you need to make everything ahead, frost them and refrigerate, but let them sit at room temperature for 30 minutes before serving.
Why did my cupcakes turn out green instead of black?
This happens when you use liquid food coloring instead of gel. Liquid coloring has a green undertone, and it takes a huge amount to get anywhere near black, which ruins the flavor and texture. Stick with gel or paste food coloring. Americolor Super Black or Wilton Color Right in black are both reliable options.
Can I use this recipe to make a cake instead of cupcakes?
Yes! Pour the batter into two greased 8-inch round cake pans and bake at 350°F (175°C) for 25 to 30 minutes. The layering and frosting instructions are the same. You might need to double the frosting recipe if you want to do a fully frosted layer cake.
My cream cheese frosting is too runny. What went wrong?
This usually happens for one of two reasons: either your cream cheese was too soft (almost melted), or you overbeat the frosting. Cream cheese should be softened but still cool to the touch. If the frosting is runny, pop it in the refrigerator for 20 minutes to firm up before piping. You can also add a little more powdered sugar to thicken it.
Do I have to use black food coloring? Can I make these without it?
You can skip the food coloring entirely, and you’ll end up with dark chocolate cupcakes that are still delicious. The cocoa powder gives them a rich brown color. They won’t look spooky, but they’ll taste just as good. If you want a darker color without artificial coloring, try using black cocoa powder—it has a deeper, darker color naturally.
Conclusion
These black velvet Halloween cupcakes are the kind of recipe that makes you look forward to October all year long. They’re dramatic enough for a costume party but simple enough for a Tuesday night baking session with the kids. The tender crumb, the rich chocolate flavor, and that tangy cream cheese frosting come together in a way that feels special without being complicated.
I love that these cupcakes don’t sacrifice taste for looks. They’re not just a novelty—they’re genuinely good baked goods that happen to be black. And that’s the kind of recipe worth keeping in your back pocket.
If you make these, I’d love to hear how they turned out. Leave a comment below and let me know what decorations you used, or tag me in your photos if you share them online. And if you’re looking for more Halloween baking ideas, check out these brown butter pumpkin snickerdoodle cookies or this pumpkin cream cheese roll for more seasonal treats. Happy Halloween, and happy baking!
Pin This Recipe!
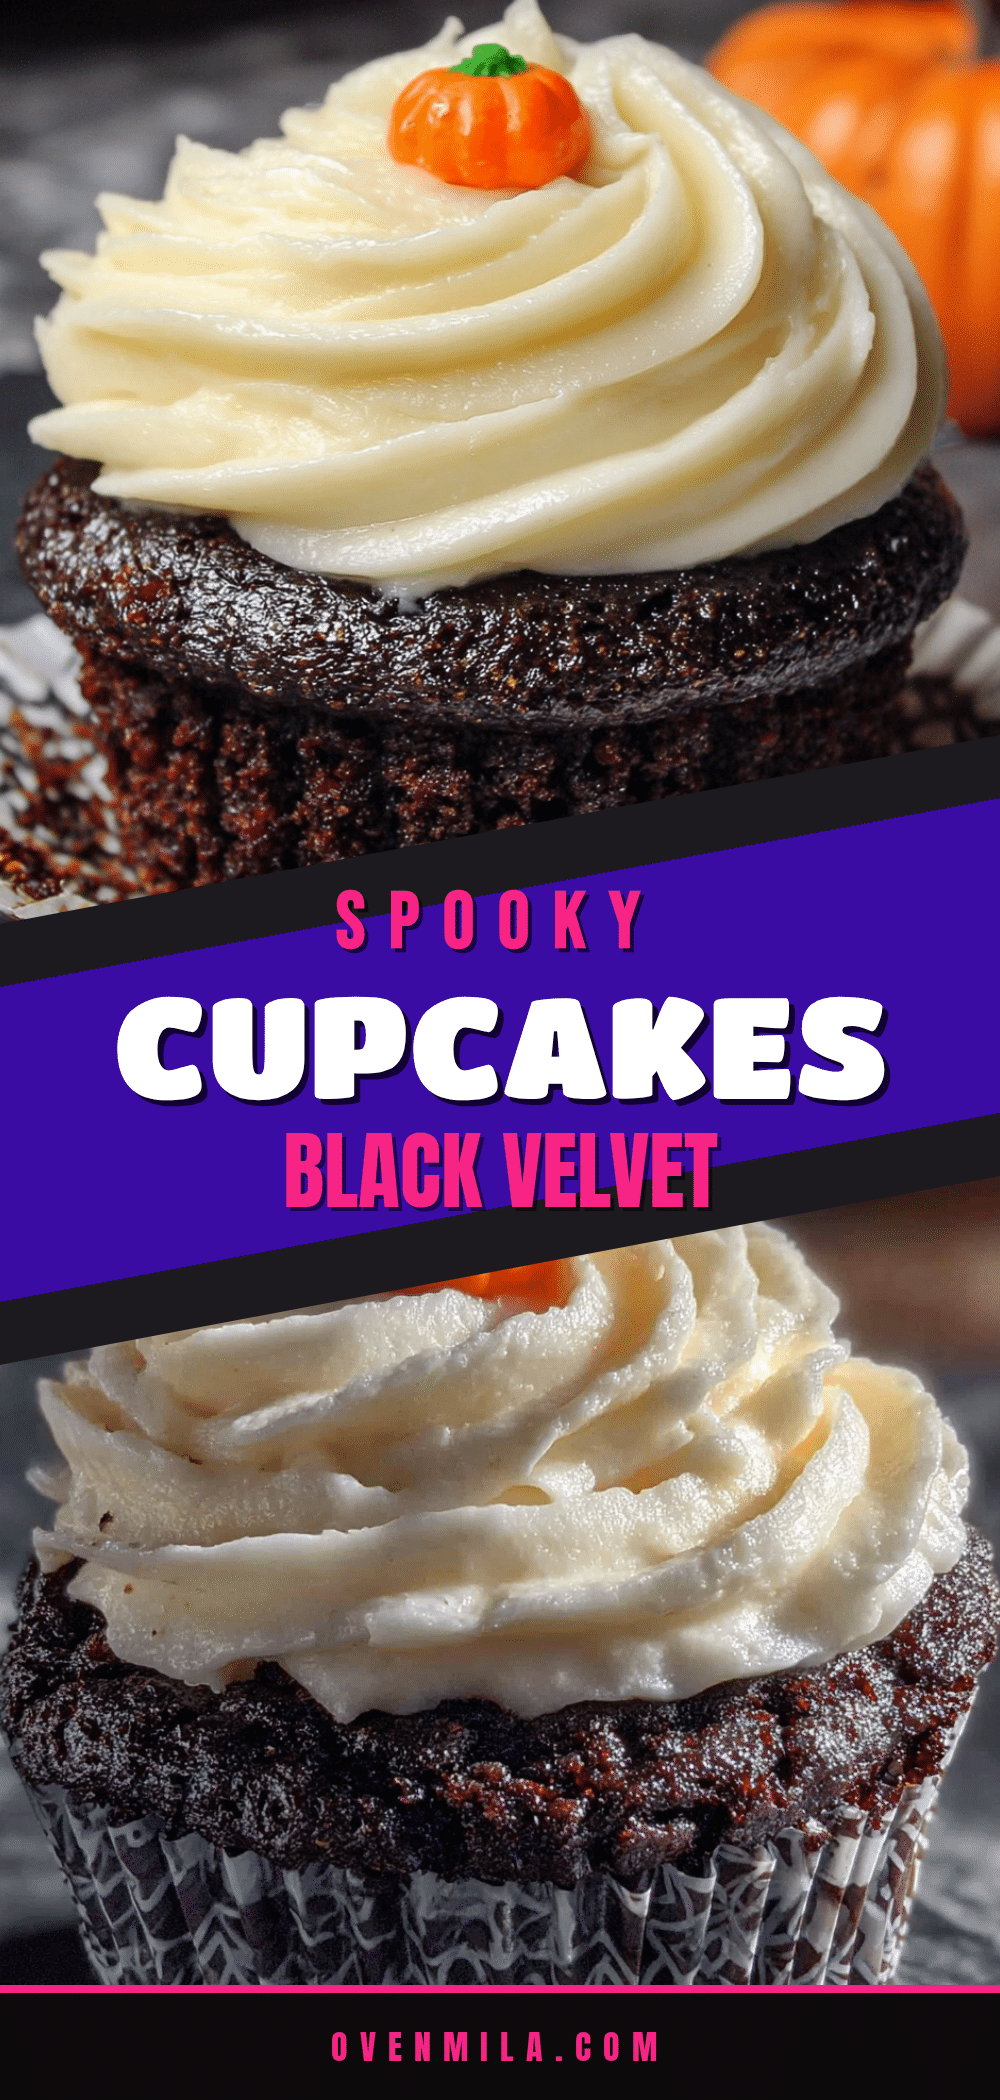
Best Black Velvet Halloween Cupcakes (Easy Recipe)
These black velvet Halloween cupcakes are tender, moist, and rich with chocolate flavor, topped with a tangy cream cheese frosting. They’re spooky enough for a costume party but simple enough for a Tuesday night baking session.
- Prep Time: 20 minutes
- Cook Time: 20 minutes
- Total Time: 40 minutes
- Yield: 12 cupcakes 1x
- Category: Dessert
- Cuisine: American
Ingredients
- 1 and 1/2 cups (180g) all-purpose flour
- 1/4 cup (20g) unsweetened cocoa powder (Dutch-processed preferred)
- 1 cup (200g) granulated sugar
- 1 teaspoon baking soda
- 1/2 teaspoon fine sea salt
- 1/2 cup (120ml) vegetable oil
- 1/2 cup (120ml) buttermilk, room temperature
- 2 large eggs, room temperature
- 1 teaspoon vanilla extract
- 1 teaspoon white vinegar
- 1 to 1 and 1/2 tablespoons black gel food coloring (e.g., Americolor Super Black)
- 8 ounces (226g) cream cheese, softened
- 1/2 cup (113g) unsalted butter, softened
- 3 and 1/2 to 4 cups (420g to 480g) powdered sugar, sifted if lumpy
- 1 teaspoon vanilla extract
- Pinch of salt
- Orange and purple sprinkles (optional)
- Candy eyeballs (optional)
- Edible glitter or luster dust (optional)
- Halloween-themed cupcake liners (optional)
Instructions
- Preheat oven to 350°F (175°C). Line a 12-cup muffin tin with cupcake liners.
- In a medium bowl, whisk together flour, cocoa powder, baking soda, and salt for about 20 seconds.
- In a larger bowl, beat sugar and oil with a hand mixer on medium speed for about 1 minute until it looks like wet sand. Add eggs one at a time, beating well after each addition. Add vanilla extract and beat for 30 seconds.
- Pour in buttermilk and vinegar, beat on low speed until combined. The mixture will be thin and slightly curdled.
- Add dry ingredients to wet ingredients in two additions, mixing on low speed after each addition until just combined. Do not overmix.
- Add about 1 tablespoon of black gel food coloring and mix on low speed until uniform. If batter is dark gray, add another 1/2 tablespoon and mix again until deep black.
- Divide batter evenly among the 12 cupcake liners, filling each about 2/3 full.
- Bake for 18 to 22 minutes, or until a toothpick inserted into the center comes out clean or with a few moist crumbs. Cool in pan for 5 minutes, then transfer to a wire rack to cool completely.
- While cupcakes cool, make frosting: In a large bowl, beat softened cream cheese and butter on medium speed until smooth and creamy, about 2 minutes. Scrape down sides.
- Add powdered sugar one cup at a time, beating on low speed after each addition. Add vanilla extract and pinch of salt. Beat on medium-high speed for about 2 minutes until light, fluffy, and spreadable. If too soft, refrigerate for 15 minutes; if too stiff, add a teaspoon of milk or cream.
- Once cupcakes are completely cool, fit a piping bag with a large star tip and fill with frosting. Pipe a generous swirl on each cupcake, starting from the outside and working inward. Alternatively, spread with a knife.
- Decorate with sprinkles, candy eyeballs, edible glitter, or other Halloween decorations. Serve immediately or refrigerate until ready to serve.
Notes
Don’t overmix the batter; mix until just combined. Use room temperature ingredients. Gel food coloring is essential—liquid won’t work. Check baking soda freshness. Let cupcakes cool completely before frosting. For gluten-free, use a 1:1 gluten-free flour blend and add an extra tablespoon of buttermilk. For dairy-free, use plant-based buttermilk and dairy-free cream cheese/butter. Cupcakes taste even better the next day.
Nutrition
- Serving Size: 1 cupcake
- Calories: 380
- Sugar: 32
- Sodium: 220
- Fat: 22
- Saturated Fat: 10
- Carbohydrates: 44
- Fiber: 1
- Protein: 4
Keywords: black velvet cupcakes, Halloween cupcakes, cream cheese frosting, easy recipe, spooky dessert


