By the third batch in four days, my kitchen looked like a flour bomb had gone off. There was orange zest under my fingernails, a fine dusting of sugar on every surface, and the warm, yeasty smell of something that felt more like ritual than baking. I wasn’t just making bread anymore. I was chasing a memory I didn’t even have.
I’d never actually celebrated Día de Muertos growing up. But the first time I bit into a piece of pan de muerto from a local panadería, something clicked. It wasn’t just sweet bread. It was soft, almost pillowy, with that faint hint of orange blossom that felt like a secret. The little bone-shaped decorations on top weren’t creepy either. They were kind of… beautiful. I knew I had to figure out how to make it at home.
That first attempt? Let’s just say it was dense. Edible, but dense. The second one was better, but the orange flavor was too weak. The third time, I finally got it. The dough rose like a dream. The glaze soaked in just right. And when I pulled it out of the oven, golden and fragrant, I actually teared up a little. It tasted like what I imagined a home altar should smell like. That might sound dramatic, but honestly, that’s what this bread does to you.
This classic pan de muerto recipe is the one I landed on after all that trial and error. It’s the version I make every year now, and it never fails to bring a little bit of that magic into my kitchen.
Why You’ll Love This Recipe
This isn’t just another sweet bread recipe. This is the one that makes you feel like you’ve been transported to a Mexican panadería, without needing a plane ticket or a special trip. I’ve tested this version more times than I care to admit, and it consistently delivers that perfect, soft crumb and delicate orange flavor that makes pan de muerto so special.
- Authentic Flavor: The combination of orange zest, orange blossom water, and a touch of anise seed gives this bread its signature taste. It’s not overpowering, just perfectly floral and citrusy.
- Perfectly Soft Texture: This dough uses a simple technique that yields a bread that stays soft for days. No dry, crumbly mess here.
- Surprisingly Simple: While it looks impressive, the dough is straightforward. If you can make basic yeast bread, you can absolutely nail this.
- Deeply Meaningful: Making pan de muerto for Día de Muertos is a beautiful way to honor loved ones. It connects you to a rich cultural tradition that’s all about remembering with joy, not sadness.
- Customizable: You can shape the bones and skulls however you like, making each loaf unique. It’s a fun, hands-on baking project.
Honestly, this recipe is the kind that makes you feel like a real baker. It’s impressive enough to share at a gathering, but simple enough to make on a quiet Tuesday night when you just need to bake something beautiful. And if you love working with yeasted doughs, you might also enjoy my perfect no-knead sourdough focaccia for another rewarding bread project.
What Ingredients You Will Need
This recipe uses mostly pantry staples, with a few special ingredients that make all the difference. Don’t skip the orange blossom water if you can find it. It’s the secret to that authentic panadería flavor.
For the Dough
- All-purpose flour (4 cups / 500g): Provides the structure. I prefer Gold Medal or King Arthur for consistent results.
- Active dry yeast (2 ¼ teaspoons / 7g): One standard packet. Make sure it’s fresh for a good rise.
- Warm milk (½ cup / 120ml): Whole milk works best for richness. Heat it to about 110°F (43°C) – warm but not hot to the touch.
- Granulated sugar (½ cup / 100g): Adds sweetness and helps feed the yeast.
- Unsalted butter (½ cup / 113g), softened: Adds richness and tenderness. Make sure it’s truly softened, not melted.
- Large eggs (3): At room temperature. Cold eggs can shock the yeast and slow down the rise.
- Orange zest (2 tablespoons): From about 2 large oranges. Use a microplane for the best texture.
- Orange blossom water (1 tablespoon): This is the star. You can find it at Latin markets, Middle Eastern grocers, or online. A little goes a long way.
- Anise seed (1 teaspoon): Optional, but traditional. It adds a subtle licorice note that’s lovely.
- Salt (1 teaspoon): Balances the sweetness and strengthens the gluten.
For the Glaze & Topping
- Unsalted butter (¼ cup / 57g), melted: For brushing the baked bread.
- Granulated sugar (½ cup / 100g): For coating the bread after glazing.
- Orange zest (1 teaspoon): Mixed into the sugar for extra flavor.
That’s it. Simple ingredients that come together to create something unforgettable. If you’re looking for a different kind of fall treat, my cozy sourdough discard pumpkin bread with honey butter is another fantastic option for the season.
Equipment Needed
You don’t need a fancy bakery setup for this. Here’s what you’ll need:
- Large mixing bowl: For mixing and kneading the dough.
- Stand mixer with dough hook (optional but helpful): Makes kneading a breeze. I use my KitchenAid, but you can absolutely knead by hand.
- Measuring cups and spoons: For accurate ingredients.
- Microplane or zester: For getting fine orange zest without the bitter pith.
- Baking sheet: Lined with parchment paper.
- Pastry brush: For applying the butter glaze.
- Clean kitchen towel: For covering the dough while it rises.
- Cooling rack: For cooling the bread completely.
If you don’t have a stand mixer, don’t worry. Kneading by hand takes about 10 minutes of good, steady work. It’s actually kind of therapeutic. Just make sure you have a clean countertop and a little patience.
Preparation Method
Let’s get to the fun part. Take your time with each step, and you’ll be rewarded with beautiful, fragrant bread.
Step 1: Activate the Yeast
In a small bowl, combine the warm milk (110°F / 43°C) with 1 tablespoon of the sugar and the active dry yeast. Stir gently and let it sit for about 5-10 minutes. It should become frothy and bubbly. If it doesn’t, your yeast might be dead. Start over with fresh yeast.
Step 2: Mix the Dough
In the bowl of your stand mixer (or a large mixing bowl), whisk together the flour, the remaining sugar, anise seed, and salt. Add the softened butter, eggs, orange zest, orange blossom water, and the frothy yeast mixture. Mix on low speed with the dough hook until the dough comes together. It will look shaggy at first, but keep going.
Step 3: Knead the Dough
Increase the speed to medium and knead for about 8-10 minutes. The dough should become smooth, elastic, and slightly tacky but not sticky. If it’s too sticky, add a tablespoon of flour at a time. If it’s too dry, add a teaspoon of milk. You know it’s ready when you can stretch a small piece of dough into a thin, translucent windowpane without it tearing.
Step 4: First Rise
Shape the dough into a ball and place it in a lightly oiled bowl. Turn it once to coat the surface. Cover the bowl with a clean kitchen towel or plastic wrap and let it rise in a warm, draft-free place for about 1.5 to 2 hours, or until it has doubled in size. A good spot is inside your oven with the light on (but the oven off).
Step 5: Shape the Dough
Punch the dough down gently to release the air. Turn it out onto a lightly floured surface. Divide the dough into two equal pieces for two loaves, or keep it as one large loaf. For each loaf, set aside a small piece of dough (about the size of a golf ball) for the bone decorations.
Shape the main piece of dough into a round, slightly flattened ball. Place it on your prepared baking sheet. Now, take the reserved dough and roll it into thin ropes. Cut the ropes into small pieces and shape them into little “bones” – think of a rounded knob at each end with a thinner middle. Arrange these bones on top of the loaf in a cross pattern, representing the four cardinal directions. You can also add a small round piece in the center to represent a skull.
Step 6: Second Rise
Cover the shaped loaves loosely with the towel and let them rise again for about 45 minutes to 1 hour. They should look puffy and almost doubled again.
Step 7: Bake the Bread
Preheat your oven to 350°F (175°C). Bake the loaves for 25-30 minutes, or until they are deep golden brown and sound hollow when tapped on the bottom. If the tops are browning too quickly, tent them loosely with aluminum foil for the last 10 minutes.
Step 8: Glaze and Coat
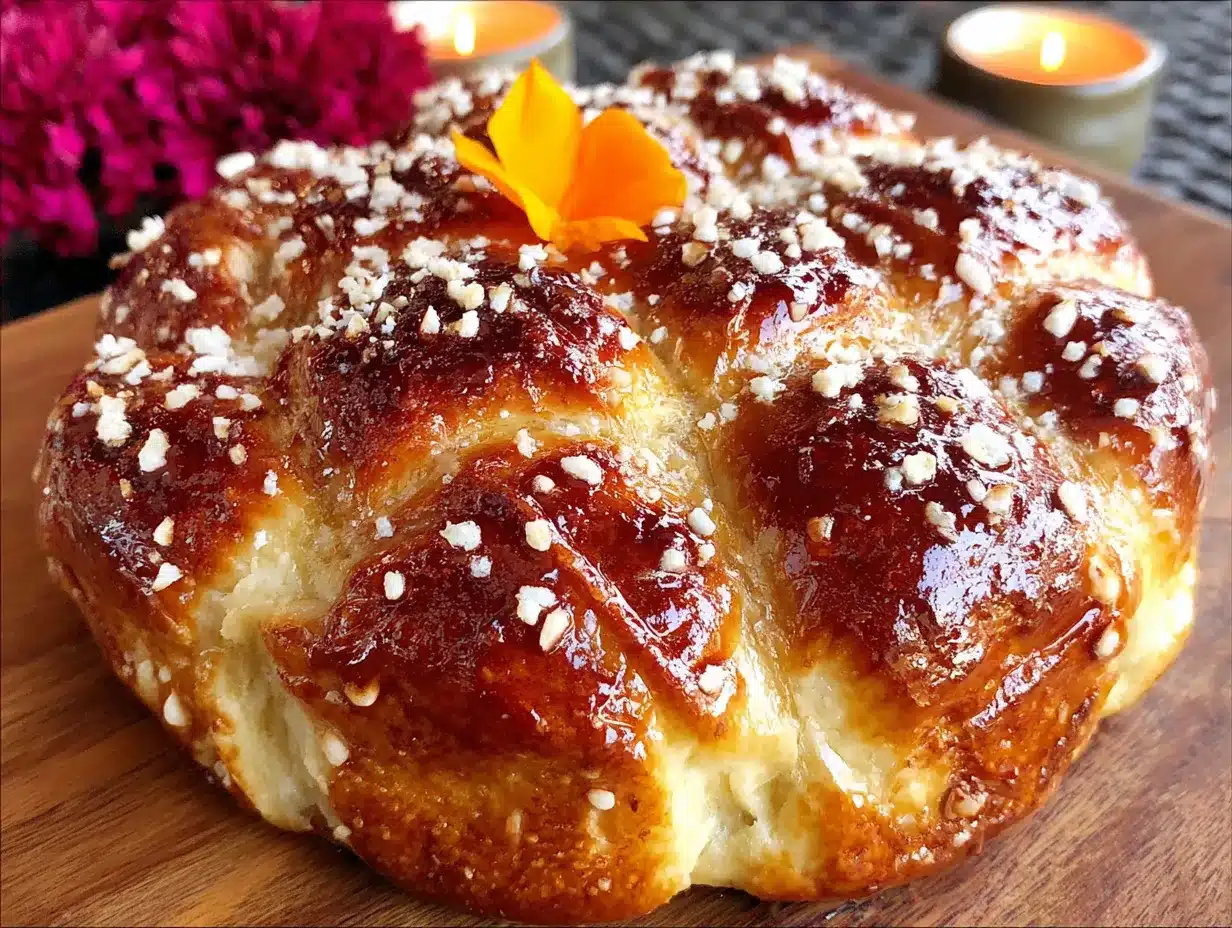
As soon as the bread comes out of the oven, brush the tops generously with the melted butter. In a small bowl, mix the granulated sugar with the remaining orange zest. While the butter is still wet, sprinkle the sugar mixture all over the loaves. Let them cool on a wire rack for at least 20 minutes before slicing.
Cooking Tips & Techniques
I’ve made my share of mistakes with this bread, so let me save you some trouble.
- Don’t skip the windowpane test. Under-kneaded dough won’t rise properly and will be dense. Over-kneaded dough can become tough. The windowpane test is your best friend.
- Temperature matters. If your kitchen is cold, the dough will take longer to rise. Be patient. You can create a warm environment by placing the bowl in a slightly warm oven (turned off) or near a sunny window.
- Use a kitchen scale. Measuring flour by weight is much more accurate than scooping. Too much flour makes dry bread.
- Don’t over-flour your work surface. A light dusting is enough. Too much flour will dry out the dough.
- The butter glaze is non-negotiable. It gives the bread that beautiful, soft crust and helps the sugar stick. Don’t skip it even if you’re trying to be healthy.
- Let it cool completely. I know it’s tempting to slice into warm bread, but it needs to set. The texture is much better after it cools.
I once forgot to add the orange blossom water entirely. The bread was still good, but it was missing that soul. Don’t be like me. Double-check your ingredients.
Variations & Adaptations
This recipe is a great base for experimentation. Here are some ways to make it your own:
- Chocolate Pan de Muerto: Replace ¼ cup of the flour with unsweetened cocoa powder. Add ½ cup of chocolate chips to the dough. It’s rich and decadent.
- Vegan Version: Use a plant-based milk (like oat or almond), vegan butter, and a flax egg (1 tablespoon ground flaxseed mixed with 3 tablespoons water per egg). The texture will be slightly different, but still delicious.
- Filled Pan de Muerto: After the first rise, flatten each piece of dough and place a spoonful of dulce de leche, Nutella, or fruit jam in the center. Seal the dough around the filling before shaping. It’s a wonderful surprise inside.
- Different Citrus: Swap the orange zest for lemon or grapefruit zest. It gives a brighter, more tart flavor profile.
- Spiced Version: Add ½ teaspoon of ground cinnamon or a pinch of ground cloves to the dough for a warmer, more autumnal flavor.
I’ve tried the filled version with a homemade cajeta (goat’s milk caramel), and it was absolutely incredible. It’s a bit more work, but so worth it for a special occasion.
Serving & Storage Suggestions
This bread is best enjoyed the day it’s made, but it keeps surprisingly well.
- Serving: Serve at room temperature with a cup of hot coffee, Mexican hot chocolate, or a warm mug of homemade pumpkin spice latte. It’s also wonderful with a glass of cold milk.
- Presentation: Arrange slices on a beautiful platter. For Día de Muertos, place the bread on your ofrenda (home altar) alongside marigolds, photos of loved ones, and other offerings. It’s a beautiful and meaningful presentation.
- Storage: Store leftover bread in an airtight container at room temperature for up to 3 days. Do not refrigerate, as it will dry out the bread.
- Freezing: You can freeze the baked, unglazed bread for up to 2 months. Wrap it tightly in plastic wrap and then foil. When ready to serve, thaw it at room temperature, then reheat it in a 300°F (150°C) oven for 5-10 minutes. Glaze and coat it after reheating.
- Reheating: For a fresh-from-the-oven experience, warm individual slices in a toaster oven or a low oven for a few minutes. The butter glaze will soften again, and the bread will be wonderfully aromatic.
The flavors actually meld together beautifully on the second day, making it perfect for sharing with friends and family.
Nutritional Information & Benefits
Let’s be honest, this is a treat, not a health food. But it does have some redeeming qualities.
- Estimated per serving (1 slice, based on 16 servings per loaf): Calories: 220, Fat: 9g, Carbohydrates: 32g, Protein: 5g, Fiber: 1g, Sugar: 14g.
- Orange zest: Packed with vitamin C and antioxidants. It’s a small amount, but every bit helps.
- Eggs: Provide protein and healthy fats.
- Butter: Contains fat-soluble vitamins like A, D, and E.
- Dietary Considerations: This recipe contains gluten, dairy, and eggs. For a vegan option, see the variations section above.
I like to think of this bread as soul food. It nourishes more than just the body. It feeds the spirit, especially when shared with loved ones in remembrance.
Conclusion
Making this classic pan de muerto is more than just a baking project. It’s a way to connect with a beautiful tradition, to honor those who came before us, and to create something truly special with our own hands. The scent of orange blossom and anise filling your kitchen is a gift in itself.
I hope you give this recipe a try. Don’t be afraid to make it your own, whether that means shaping the bones a little differently or adding a personal touch to the filling. The most important ingredient is the love and intention you put into it.
If you make this pan de muerto, I’d love to hear about it. Leave a comment below and tell me how it turned out, or share a photo on social media. And if you’re looking for another cozy fall baking project, you might also enjoy my perfect pumpkin cream cheese roll for another seasonal treat. Happy baking, and may your memories be sweet.
Frequently Asked Questions
Can I use bread flour instead of all-purpose flour?
Yes, you can. Bread flour has a higher protein content, which will give your pan de muerto a slightly chewier texture. It will still be delicious, just a little different from the traditional version. If you use bread flour, you might need to add an extra tablespoon or two of milk, as it absorbs more liquid.
What can I substitute for orange blossom water?
If you can’t find orange blossom water, you can substitute it with an additional tablespoon of fresh orange juice and a teaspoon of orange extract. It won’t be exactly the same, but it will still give you a lovely orange flavor. Vanilla extract is another option, though it will change the flavor profile significantly.
My dough isn’t rising. What went wrong?
There are a few common culprits. First, your yeast might be expired or killed by milk that was too hot. Always check the temperature of your liquid (110°F / 43°C is ideal). Second, your kitchen might be too cold. Try placing the dough in a slightly warm oven (turned off) or near a sunny window. Third, you might have added too much salt, which can inhibit yeast activity.
Can I make the dough ahead of time?
Absolutely. After the first rise, punch down the dough, wrap it tightly in plastic wrap, and refrigerate it for up to 24 hours. When you’re ready to bake, let it sit at room temperature for about 30 minutes, then proceed with shaping and the second rise. The cold fermentation actually develops more flavor.
How do I get the bone decorations to stick properly?
The key is to attach them to the dough before the second rise. Press them gently but firmly into the surface of the shaped loaf. As the dough rises, it will expand around the decorations, securing them in place. If they still seem loose, you can brush a tiny bit of water under them to act as glue.
Pin This Recipe!
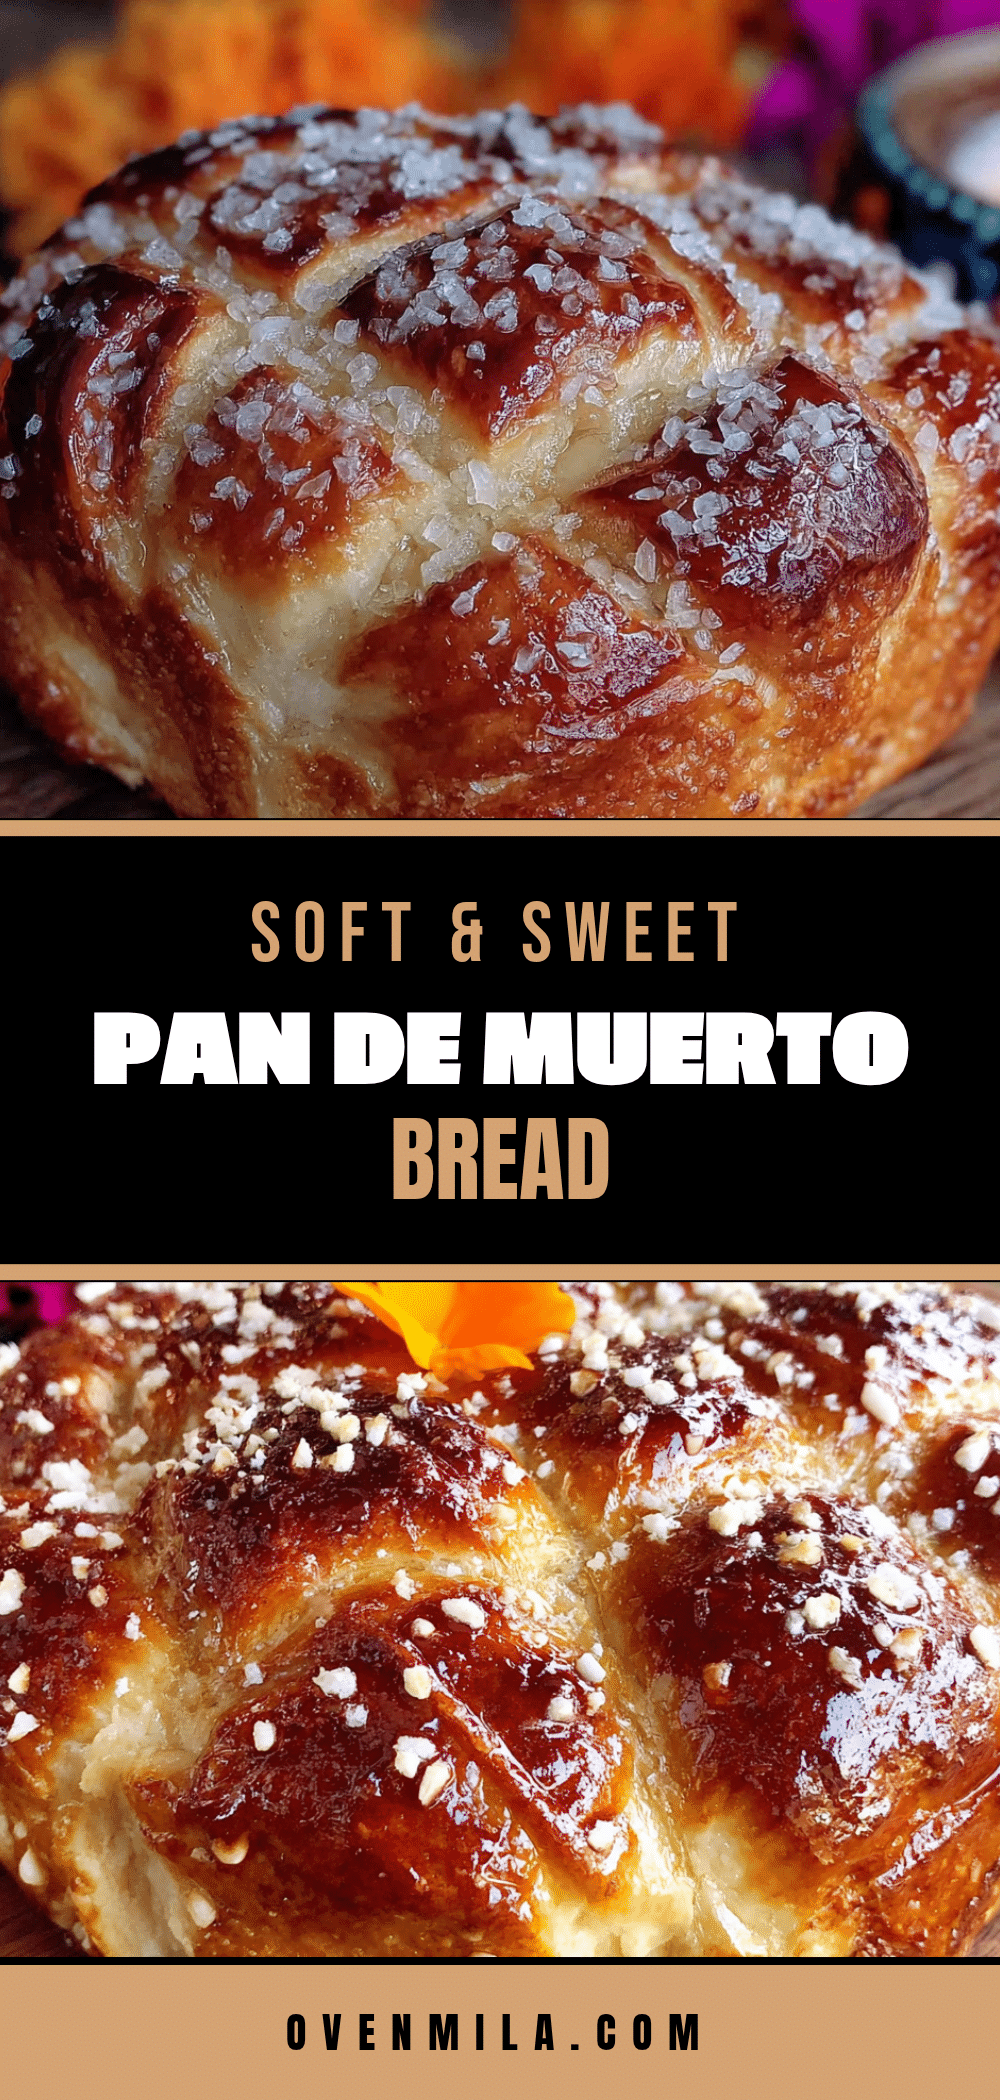
Best Classic Pan de Muerto Recipe for Day of the Dead

This classic pan de muerto recipe yields a soft, pillowy sweet bread with delicate orange blossom and anise flavor. Perfect for Día de Muertos, it’s an authentic and meaningful baking project that honors loved ones.
- Prep Time: 30 minutes
- Cook Time: 30 minutes
- Total Time: 3 hours 30 minutes
- Yield: 16 servings 1x
- Category: Bread
- Cuisine: Mexican
Ingredients
- 4 cups all-purpose flour (500g)
- 2 ¼ teaspoons active dry yeast (7g)
- ½ cup warm milk (120ml), whole milk preferred
- ½ cup granulated sugar (100g)
- ½ cup unsalted butter (113g), softened
- 3 large eggs, at room temperature
- 2 tablespoons orange zest
- 1 tablespoon orange blossom water
- 1 teaspoon anise seed (optional)
- 1 teaspoon salt
- ¼ cup unsalted butter (57g), melted (for glaze)
- ½ cup granulated sugar (100g) (for topping)
- 1 teaspoon orange zest (for topping)
Instructions
- Activate the yeast: In a small bowl, combine warm milk (110°F/43°C) with 1 tablespoon of sugar and the active dry yeast. Stir gently and let sit for 5-10 minutes until frothy and bubbly.
- Mix the dough: In the bowl of a stand mixer (or large mixing bowl), whisk together flour, remaining sugar, anise seed, and salt. Add softened butter, eggs, orange zest, orange blossom water, and the frothy yeast mixture. Mix on low speed with the dough hook until the dough comes together (it will look shaggy at first).
- Knead the dough: Increase speed to medium and knead for 8-10 minutes until smooth, elastic, and slightly tacky but not sticky. If too sticky, add a tablespoon of flour at a time; if too dry, add a teaspoon of milk. The dough is ready when you can stretch a small piece into a thin, translucent windowpane without tearing.
- First rise: Shape the dough into a ball and place in a lightly oiled bowl, turning once to coat. Cover with a clean kitchen towel or plastic wrap and let rise in a warm, draft-free place for 1.5 to 2 hours, or until doubled in size.
- Shape the dough: Punch down the dough gently. Turn out onto a lightly floured surface. Divide into two equal pieces for two loaves, or keep as one large loaf. For each loaf, set aside a small piece (about golf ball size) for bone decorations. Shape the main piece into a round, slightly flattened ball and place on a parchment-lined baking sheet. Roll the reserved dough into thin ropes, cut into small pieces, and shape into ‘bones’ (rounded knobs at each end with a thinner middle). Arrange the bon…
- Second rise: Cover the shaped loaves loosely with a towel and let rise for 45 minutes to 1 hour, until puffy and almost doubled.
- Bake: Preheat oven to 350°F (175°C). Bake loaves for 25-30 minutes, until deep golden brown and hollow when tapped on the bottom. If tops brown too quickly, tent loosely with aluminum foil for the last 10 minutes.
- Glaze and coat: As soon as the bread comes out of the oven, brush tops generously with melted butter. In a small bowl, mix granulated sugar with remaining orange zest. While the butter is still wet, sprinkle the sugar mixture all over the loaves. Let cool on a wire rack for at least 20 minutes before slicing.
Notes
Don’t skip the windowpane test; under-kneaded dough won’t rise properly. Temperature matters: if your kitchen is cold, the dough will take longer to rise. Use a kitchen scale for accurate flour measurement. Don’t over-flour your work surface. The butter glaze is non-negotiable for a soft crust. Let the bread cool completely before slicing for best texture. If you forget the orange blossom water, the bread will be missing its signature flavor.
Nutrition
- Serving Size: 1 slice
- Calories: 220
- Sugar: 14
- Sodium: 150
- Fat: 9
- Saturated Fat: 5
- Carbohydrates: 32
- Fiber: 1
- Protein: 5
Keywords: pan de muerto, Day of the Dead bread, Mexican sweet bread, orange blossom bread, Día de Muertos recipe, traditional pan de muerto


