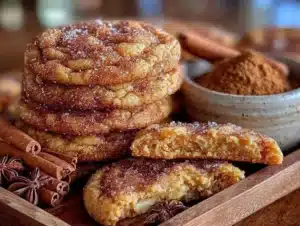
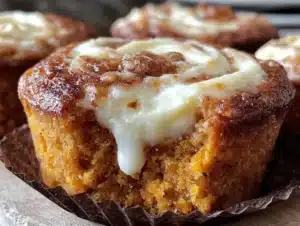
My sister asked why I couldn’t just skip the step of browning the butter. We were standing in my kitchen, a bag of flour between us, and she was watching me hover over a saucepan like it might explode. I started to explain why that wouldn’t work—then stopped. Honestly, I had no good reason. I had just always done it that way because some recipe blog told me to ten years ago. So I let her talk me into it. We made a batch of snickerdoodles with melted butter. No browning. Just melted, cooled, and creamed.
They were terrible. Flat, greasy, and sad. She took one bite, looked at me, and said, “Okay, you were right about that one.” But here’s the thing—that failed experiment made me curious. What if I browned the butter but went lighter on the sugar? What if I added pumpkin for moisture and that earthy sweetness? What if I made a cookie that actually tasted like fall but didn’t require a whole afternoon of effort?
That kitchen moment—standing there with a spatula in one hand and a half-eaten flat cookie in the other—is exactly where this Easy Brown Butter Pumpkin Snickerdoodle Cookie Recipe was born. It’s the kind of recipe that came from actually messing up first, then fixing it. And honestly, that’s how most of my best recipes happen. You know that feeling when you’re cooking and something goes sideways, but instead of giving up, you pivot? That’s this cookie.
Three batches later, I had it. A cookie that’s soft in the middle, slightly crisp on the edges, and absolutely drowning in that nutty brown butter flavor. The pumpkin keeps it tender without making it cakey. The cinnamon-sugar coating gives it that classic snickerdoodle crackle. And the whole thing comes together in about 30 minutes. Maybe you’ve been there—standing in your kitchen on a Tuesday night, craving something sweet but not wanting to commit to a whole production. This cookie is for that exact moment.
Why You’ll Love This Recipe
I’ve tested this recipe more times than I care to admit. My kitchen counter has seen flour dust in places I didn’t know existed. But every single batch was worth it because these cookies are genuinely different from anything else out there. Here’s why you’ll reach for this recipe again and again:
- Quick & Easy: From start to finish, these cookies are on your table in about 30 minutes. The brown butter takes five minutes, the dough comes together in one bowl, and the baking time is just 10 to 12 minutes. Perfect for those evenings when you need a treat without the production.
- Simple Ingredients: You likely have most of these in your pantry right now. Butter, sugar, flour, eggs, pumpkin puree, and cinnamon. No weird extracts or specialty flours. The only “extra” is pumpkin, and that’s probably in your cupboard from last week’s baking spree.
- Perfect for Fall Weeknights: These cookies are made for exactly those busy autumn evenings. After school, after work, after everything—they come together fast and fill your kitchen with that warm, spiced smell that says “everything is going to be okay.”
- Crowd-Pleaser: I brought a batch to my neighbor’s book club last week, and three people asked for the recipe before I even sat down. Kids love them, adults love them, and they disappear faster than any pumpkin treat I’ve ever made.
- Unbelievably Delicious: The brown butter changes everything. It adds this deep, nutty, almost caramel-like flavor that regular butter just can’t touch. Combined with the pumpkin and cinnamon-sugar coating, you get a cookie that’s complex but comforting. It’s the kind that makes you close your eyes after the first bite.
What makes this recipe different from the dozens of pumpkin snickerdoodle recipes out there? It’s the technique. Most recipes skip the brown butter step because it’s seen as extra work. But that five minutes of browning is what transforms a good cookie into a memorable one. Plus, I’ve dialed in the perfect pumpkin-to-flour ratio so the cookies stay soft without becoming gummy. This isn’t just another version—it’s the best version.
What Ingredients You Will Need
This recipe uses simple, wholesome ingredients to deliver that deep brown butter flavor and soft, tender texture. Most of these are pantry staples, and the few extras are easy to find year-round. Let me walk you through each one and why it matters.
For the Cookies
- Unsalted butter, 1 cup (2 sticks or 226 grams): This is the star of the show. Use unsalted so you control the salt level. I recommend Kerrygold or Land O’Lakes for consistent results. You’ll brown this butter until it smells nutty and turns golden amber—don’t skip this step.
- Granulated sugar, ¾ cup (150 grams): Regular white sugar adds sweetness and helps with that slight crispness on the edges. It also helps the cookies spread just enough without going flat.
- Light brown sugar, ½ cup (100 grams), packed: Brown sugar adds moisture and a hint of molasses flavor that pairs beautifully with the brown butter and pumpkin. Pack it firmly into your measuring cup for accuracy.
- Pumpkin puree, ½ cup (120 grams): Use 100% pure pumpkin puree, not pumpkin pie filling. Libby’s is my go-to brand because it’s consistently thick and not watery. If your pumpkin puree looks runny, blot it with a paper towel before adding it to the dough.
- Large egg, 1, at room temperature: The egg binds everything together and adds structure. Room temperature egg incorporates more easily into the brown butter. If you forgot to take it out ahead of time, place it in a bowl of warm water for five minutes.
- Vanilla extract, 2 teaspoons: Pure vanilla extract adds warmth and depth. Imitation vanilla works in a pinch, but pure vanilla really shines here. I use Nielsen-Massey or simply organic store brand.
- All-purpose flour, 2 cups (250 grams): Standard all-purpose flour gives these cookies the perfect texture—soft in the middle, slightly firm on the edges. Spoon and level your flour for accuracy. Scooping directly from the bag can pack in too much flour and make the cookies dry.
- Baking soda, 1 teaspoon: This helps the cookies spread and rise just a little. Make sure your baking soda is fresh—test it by dropping a pinch into vinegar; it should bubble immediately.
- Cream of tartar, 1½ teaspoons: This is the secret to that classic snickerdoodle tang and chewy texture. It reacts with the baking soda to create a soft, tender crumb. Don’t skip it—it’s what makes a snickerdoodle a snickerdoodle.
- Salt, ½ teaspoon: Salt balances the sweetness and enhances the brown butter flavor. I use fine sea salt for baking because it dissolves evenly.
- Ground cinnamon, 1½ teaspoons: Cinnamon is the backbone of this cookie’s flavor. It warms everything up and pairs perfectly with the pumpkin and brown butter.
- Ground nutmeg, ¼ teaspoon: Just a pinch adds that cozy fall spice without overpowering the cinnamon. Freshly grated nutmeg is amazing if you have it.
- Ground cloves, ⅛ teaspoon: A tiny amount adds depth and complexity. Go easy—cloves are strong and can easily take over.
For the Cinnamon-Sugar Coating
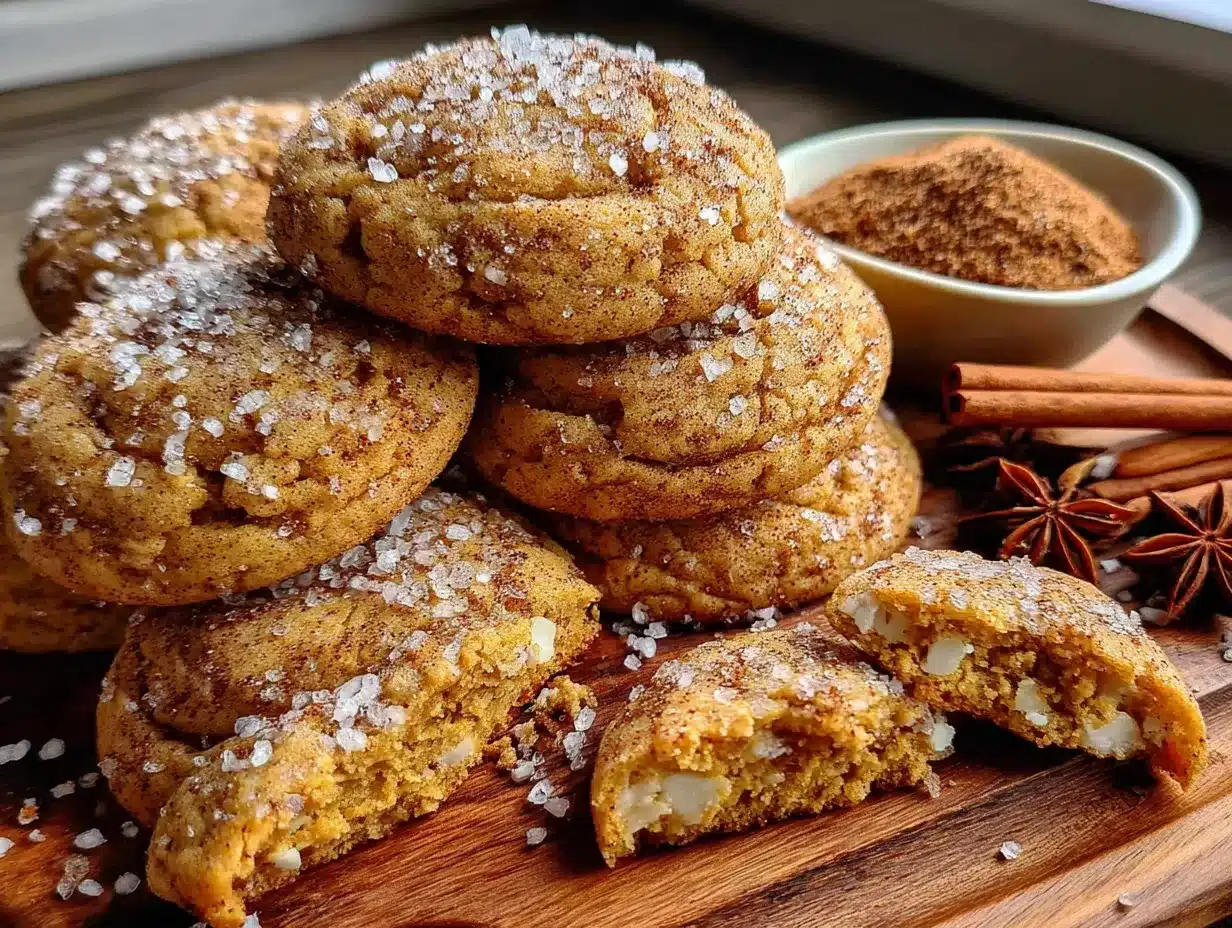
- Granulated sugar, ¼ cup (50 grams): This creates the crunchy, sparkly coating that snickerdoodles are famous for.
- Ground cinnamon, 1 tablespoon: Use a generous amount here—this is where the cinnamon flavor really shines. I like to use Saigon cinnamon for its bold, sweet flavor.
Substitution Guidance: For a dairy-free version, use vegan butter sticks (like Earth Balance) and brown them the same way. For a gluten-free option, swap the all-purpose flour with a 1:1 gluten-free baking flour blend that contains xanthan gum. Cup4Cup and King Arthur’s measure-for-measure blends work well. The texture will be slightly more delicate, but the flavor is still incredible.
Equipment Needed
You don’t need any fancy gadgets for these cookies. Here’s what you’ll need and a few tips from my own kitchen:
- Light-colored saucepan or skillet: Use a light-colored pan for browning the butter so you can see the color change clearly. Dark pans make it hard to tell when the butter is properly browned. A stainless steel saucepan works perfectly.
- Large mixing bowl: Any large bowl works. I use a glass bowl because it doesn’t retain heat, which helps the dough cool faster.
- Whisk: For mixing the dry ingredients and combining the wet ingredients. A balloon whisk works best.
- Rubber spatula: For scraping every last bit of that glorious brown butter out of the pan. Don’t waste a drop.
- Measuring cups and spoons: Use dry measuring cups for flour and sugar, and liquid measuring cups for the pumpkin puree. It makes a difference in accuracy.
- Kitchen scale (optional but recommended): Weighing your ingredients gives the most consistent results. I resisted using a scale for years, but now I swear by it. A simple digital scale costs about $15 and will improve all your baking.
- Baking sheets: Two large baking sheets work best so you can bake all the cookies at once. Light-colored, rimmed baking sheets prevent over-browning on the bottom.
- Parchment paper or silicone baking mats: Parchment paper makes cleanup a breeze and prevents sticking. Silicone mats work great too, but they can make cookies spread a tiny bit more. I prefer parchment for snickerdoodles.
- Cookie scoop (about 1.5 tablespoons): A scoop ensures all your cookies are the same size, so they bake evenly. If you don’t have one, use two spoons to portion the dough.
- Cooling rack: Letting the cookies cool on a rack prevents soggy bottoms. If you don’t have one, transfer the cookies to a plate after five minutes on the baking sheet.
Preparation Method
Let’s get baking. This recipe moves fast, so read through all the steps before you start. Trust me, I learned the hard way that reading ahead saves you from scrambling mid-recipe.
- Brown the butter. Cut the 1 cup of unsalted butter into pieces and place them in a light-colored saucepan over medium heat. Stir occasionally with a rubber spatula as the butter melts. It will start to foam and bubble—that’s normal. Keep stirring and watch closely. After about 4 to 5 minutes, the foam will subside and you’ll see golden brown specks forming at the bottom of the pan. The butter will smell nutty and delicious. As soon as it turns a deep amber color, remove it from the heat immediately. Pour it into a large mixing bowl to stop the cooking process. Let it cool for 10 minutes. Don’t rush this—hot butter will cook the egg later.
- Preheat the oven. While the butter cools, preheat your oven to 350°F (175°C). Line two baking sheets with parchment paper.
- Mix the wet ingredients. To the cooled brown butter, add ¾ cup granulated sugar and ½ cup packed light brown sugar. Whisk until combined—it will look a little grainy, and that’s okay. Add ½ cup pumpkin puree, 1 large egg, and 2 teaspoons vanilla extract. Whisk until the mixture is smooth and well combined. It will be slightly thick and glossy.
- Mix the dry ingredients. In a separate medium bowl, whisk together 2 cups all-purpose flour, 1 teaspoon baking soda, 1½ teaspoons cream of tartar, ½ teaspoon salt, 1½ teaspoons ground cinnamon, ¼ teaspoon ground nutmeg, and ⅛ teaspoon ground cloves. Whisk thoroughly to distribute the leavening agents and spices evenly.
- Combine wet and dry. Pour the dry ingredients into the wet ingredients. Fold together with a rubber spatula until just combined. Do not overmix—stop as soon as you no longer see streaks of flour. Overmixing will make the cookies tough. The dough will be soft and slightly sticky. That’s exactly what you want.
- Chill the dough (optional but helpful). If you have time, cover the bowl and refrigerate the dough for 20 minutes. This makes the dough easier to handle and helps the cookies hold their shape better. If you’re in a hurry, you can skip this step—the cookies will just spread a tiny bit more. I often skip it on busy nights, and they still turn out fantastic.
- Prepare the cinnamon-sugar coating. In a small bowl, mix together ¼ cup granulated sugar and 1 tablespoon ground cinnamon. Stir until evenly combined.
- Shape the cookies. Using a 1.5-tablespoon cookie scoop or two spoons, portion the dough into balls about 1.5 inches in diameter. Roll each ball between your palms until smooth. Then roll each ball in the cinnamon-sugar mixture until fully coated. Place the coated dough balls on the prepared baking sheets, spacing them about 2 inches apart. They will spread slightly during baking.
- Bake. Bake one sheet at a time in the preheated oven for 10 to 12 minutes. The cookies should look puffed and set around the edges but still soft and slightly underdone in the center. Do not overbake—they will continue to set on the baking sheet as they cool. The tops should have that classic snickerdoodle crackle pattern.
- Cool. Let the cookies cool on the baking sheet for 5 minutes. This allows them to firm up without sticking. Then transfer them to a wire cooling rack to cool completely. If you try to move them too soon, they’ll fall apart—trust me, I’ve made that mistake more than once.
Sensory cues: When the cookies are done, the kitchen will smell like a fall bakery. The edges will be lightly golden, and the centers will look slightly puffed and soft. If you gently press the center with your finger, it should feel firm but give slightly. The cinnamon-sugar coating will be cracked and crinkled on top.
Cooking Tips & Techniques
After making these cookies about a dozen times, I’ve collected a few tips that make a real difference. Here are the things I wish someone had told me before my first batch:
Don’t walk away from the browning butter. I know it sounds dramatic, but butter can go from perfectly browned to burnt in about 30 seconds. The first time I made these, I got distracted by my phone and ended up with black butter that smelled like burnt popcorn. Start over if that happens—there’s no saving burnt butter. Keep your eyes on the pan and trust your nose. When it smells nutty and looks like liquid gold, you’re done.
Let the brown butter cool properly. If you add the egg and pumpkin to hot butter, you’ll end up with scrambled eggs in your cookie dough. I learned this the hard way on a particularly rushed evening. Let the butter cool for at least 10 minutes after pouring it into the mixing bowl. If it’s still warm to the touch, wait another 5 minutes. Better safe than sorry.
Use a cookie scoop for even sizing. I used to eyeball my cookie portions, and my batches were always a mess—some cookies burnt, some underdone. A simple cookie scoop changed everything. It costs about $8 and ensures every cookie is exactly the same size, so they all bake evenly. Plus, it makes the process faster and less messy.
Chill the dough if you want thicker cookies. The 20-minute chill step is optional, but it makes a noticeable difference in thickness. If you prefer cookies that are thicker and softer, definitely chill the dough. If you like them slightly thinner and crispier around the edges, skip the chill and bake right away. I usually compromise—I chill half the batch and bake the other half immediately, then compare.
Don’t overbake. This is the most common mistake with snickerdoodles. When the cookies come out of the oven, they should look slightly underdone in the center. They will continue to cook on the hot baking sheet for the next 5 minutes. If you wait until they look fully done in the oven, they’ll be overbaked and dry. Pull them out when the edges are set and the centers are still soft.
Variations & Adaptations
One of the best things about this recipe is how flexible it is. Here are a few variations I’ve tried that turned out great:
Gluten-Free Version: I swapped the all-purpose flour with King Arthur’s measure-for-measure gluten-free flour blend, and the cookies came out nearly identical to the original. The texture was slightly more tender, but the flavor was spot-on. If you’re gluten-sensitive, this is an easy swap that works beautifully. Just make sure your blend contains xanthan gum for structure.
Vegan Version: For a plant-based version, use vegan butter sticks (I like Earth Balance) and brown them exactly as you would regular butter. Replace the egg with a flax egg—mix 1 tablespoon ground flaxseed with 3 tablespoons water, let it sit for 5 minutes until gelled. The cookies will be slightly less tender but still delicious. I made these for a friend’s vegan birthday party, and no one knew the difference.
Spiced Pumpkin Version: If you love bold fall flavors, increase the cinnamon to 2 teaspoons and add ½ teaspoon ground ginger and ¼ teaspoon ground allspice. This creates a more complex spice profile that tastes like pumpkin pie in cookie form. I tried this variation last Thanksgiving, and it was a huge hit with my family.
Chocolate-Dipped Version: After the cookies have cooled completely, dip half of each cookie in melted dark chocolate and let it set on parchment paper. The combination of brown butter, pumpkin, and dark chocolate is absolutely incredible. I did this on a whim one afternoon, and now I can’t go back to plain snickerdoodles.
Nutty Version: Add ½ cup of toasted pecans or walnuts to the dough along with the dry ingredients. Toast the nuts in a dry skillet for 3 to 4 minutes until fragrant, then chop them roughly. The crunch adds a lovely texture contrast to the soft cookie. My neighbor swears this is the best version, and she’s made it three times already.
Serving & Storage Suggestions
These cookies are best enjoyed slightly warm, when the brown butter flavor is at its peak and the centers are still soft. But they’re pretty fantastic at room temperature too—if they last that long.
Serving: Serve these cookies with a cold glass of milk, a warm cup of coffee, or a mug of spiced chai tea. They’re also wonderful crumbled over vanilla ice cream for a quick dessert. For a fall-themed dessert board, arrange them alongside apple slices, caramel dip, and a handful of toasted nuts.
Storage: Store the cookies in an airtight container at room temperature for up to 5 days. Place a slice of bread in the container to keep them soft—the bread absorbs excess moisture and releases it slowly, keeping the cookies fresh. Change the bread slice every other day if the cookies last that long.
Freezing: These cookies freeze beautifully. You can freeze the baked cookies in a freezer-safe bag for up to 3 months. Thaw them at room temperature for about 30 minutes before serving. Even better, freeze the unbaked dough balls. Roll them in the cinnamon-sugar mixture, place them on a baking sheet, and freeze until solid. Then transfer the frozen dough balls to a freezer bag. When you’re ready to bake, place them directly on a parchment-lined baking sheet and add 2 to 3 minutes to the baking time. This is my favorite trick for having fresh cookies on demand.
Reheating: To revive day-old cookies, pop them in a 300°F (150°C) oven for 3 to 5 minutes. They’ll taste almost as good as fresh. You can also microwave them for 10 to 15 seconds, but they won’t be as crisp on the edges.
Nutritional Information & Benefits
Let’s be real—these are cookies, not health food. But they do have a few redeeming qualities worth mentioning.
Estimated nutrition per cookie (based on 24 cookies):
- Calories: 155
- Fat: 8g
- Saturated Fat: 5g
- Carbohydrates: 20g
- Sugar: 12g
- Fiber: 1g
- Protein: 2g
- Sodium: 95mg
Health highlights: Pumpkin puree is packed with vitamin A, which supports eye health and immune function. It also adds moisture and natural sweetness, allowing us to use slightly less sugar than traditional snickerdoodle recipes. The cinnamon in the coating has anti-inflammatory properties and may help regulate blood sugar levels. The brown butter adds a touch of healthy fats, which help you feel satisfied with just one or two cookies.
Dietary considerations: This recipe contains dairy (butter), eggs, and gluten (flour). For dairy-free, gluten-free, or vegan options, see the variations section above. The cookies are nut-free as written, making them safe for school lunches and nut-free households.
My personal take? I believe in balance. These cookies are a treat, and there’s nothing wrong with enjoying a treat now and then. The key is savoring them—sitting down, taking a bite, and actually enjoying it instead of eating mindlessly. That’s where the real wellness comes from.
Conclusion
These Easy Brown Butter Pumpkin Snickerdoodle Cookies are the kind of recipe that makes you feel like a hero in your own kitchen. They’re quick enough for a Tuesday night, impressive enough for a holiday cookie swap, and comforting enough to become a family favorite. The brown butter adds a depth of flavor that feels fancy without any extra effort, and the pumpkin keeps the cookies soft and tender for days.
What I love most about this recipe is how forgiving it is. You can chill the dough or skip it. You can add nuts or dip them in chocolate. You can make them gluten-free or vegan. The core recipe is solid, and it welcomes your personal touch. That’s the kind of recipe I want to cook—and the kind I hope you’ll cook too.
So here’s my challenge to you: Make a batch this week. Invite someone into your kitchen while you do it. Let them help roll the dough balls. Let them taste-test the first cookie straight off the baking sheet. And when they ask for the recipe, send them my way. I’d love to hear how yours turn out—drop a comment below and let me know what variations you tried. Happy baking, friend!
Frequently Asked Questions
Can I use pumpkin pie filling instead of pumpkin puree?
No, please don’t. Pumpkin pie filling is pre-sweetened and spiced, which will throw off the sugar and spice balance in this recipe. Stick with 100% pure pumpkin puree for the best results. If you only have pie filling, you can try it, but reduce the sugar and spices significantly—just know the texture might be different.
Why did my cookies turn out flat?
Flat cookies usually mean one of three things: the butter was too warm when you mixed the dough, you skipped the cream of tartar, or you overmixed the dough. Make sure your brown butter has cooled for at least 10 minutes before adding the egg. And always use cream of tartar—it’s not optional in snickerdoodles. If your dough was very soft, try chilling it for 20 minutes before baking.
Can I make the dough ahead of time?
Absolutely. You can make the dough up to 3 days in advance and keep it covered in the refrigerator. When you’re ready to bake, let the dough sit at room temperature for 10 to 15 minutes to soften slightly, then roll it into balls and coat with cinnamon sugar. You may need to add 1 to 2 minutes to the baking time since the dough will be cold.
How do I know when the brown butter is done?
Watch for three signs: color, smell, and sound. The butter will turn from yellow to golden to a deep amber color. You’ll smell a nutty, toasty aroma that’s unmistakable. And you’ll hear the sizzling and popping subside as the water cooks off. As soon as you see golden brown specks forming at the bottom of the pan and smell that nutty fragrance, remove it from the heat immediately. Don’t wait for it to look dark brown—it will continue to cook from the residual heat.
Can I double this recipe?
Yes, this recipe doubles beautifully. Just use two saucepans to brown the butter so you don’t overcrowd the pan, and mix the dough in a very large bowl. You’ll need to bake in batches, but the dough can sit at room temperature while the first batch bakes. I’ve made a double batch for holiday parties multiple times, and it’s always worked perfectly.
Pin This Recipe!
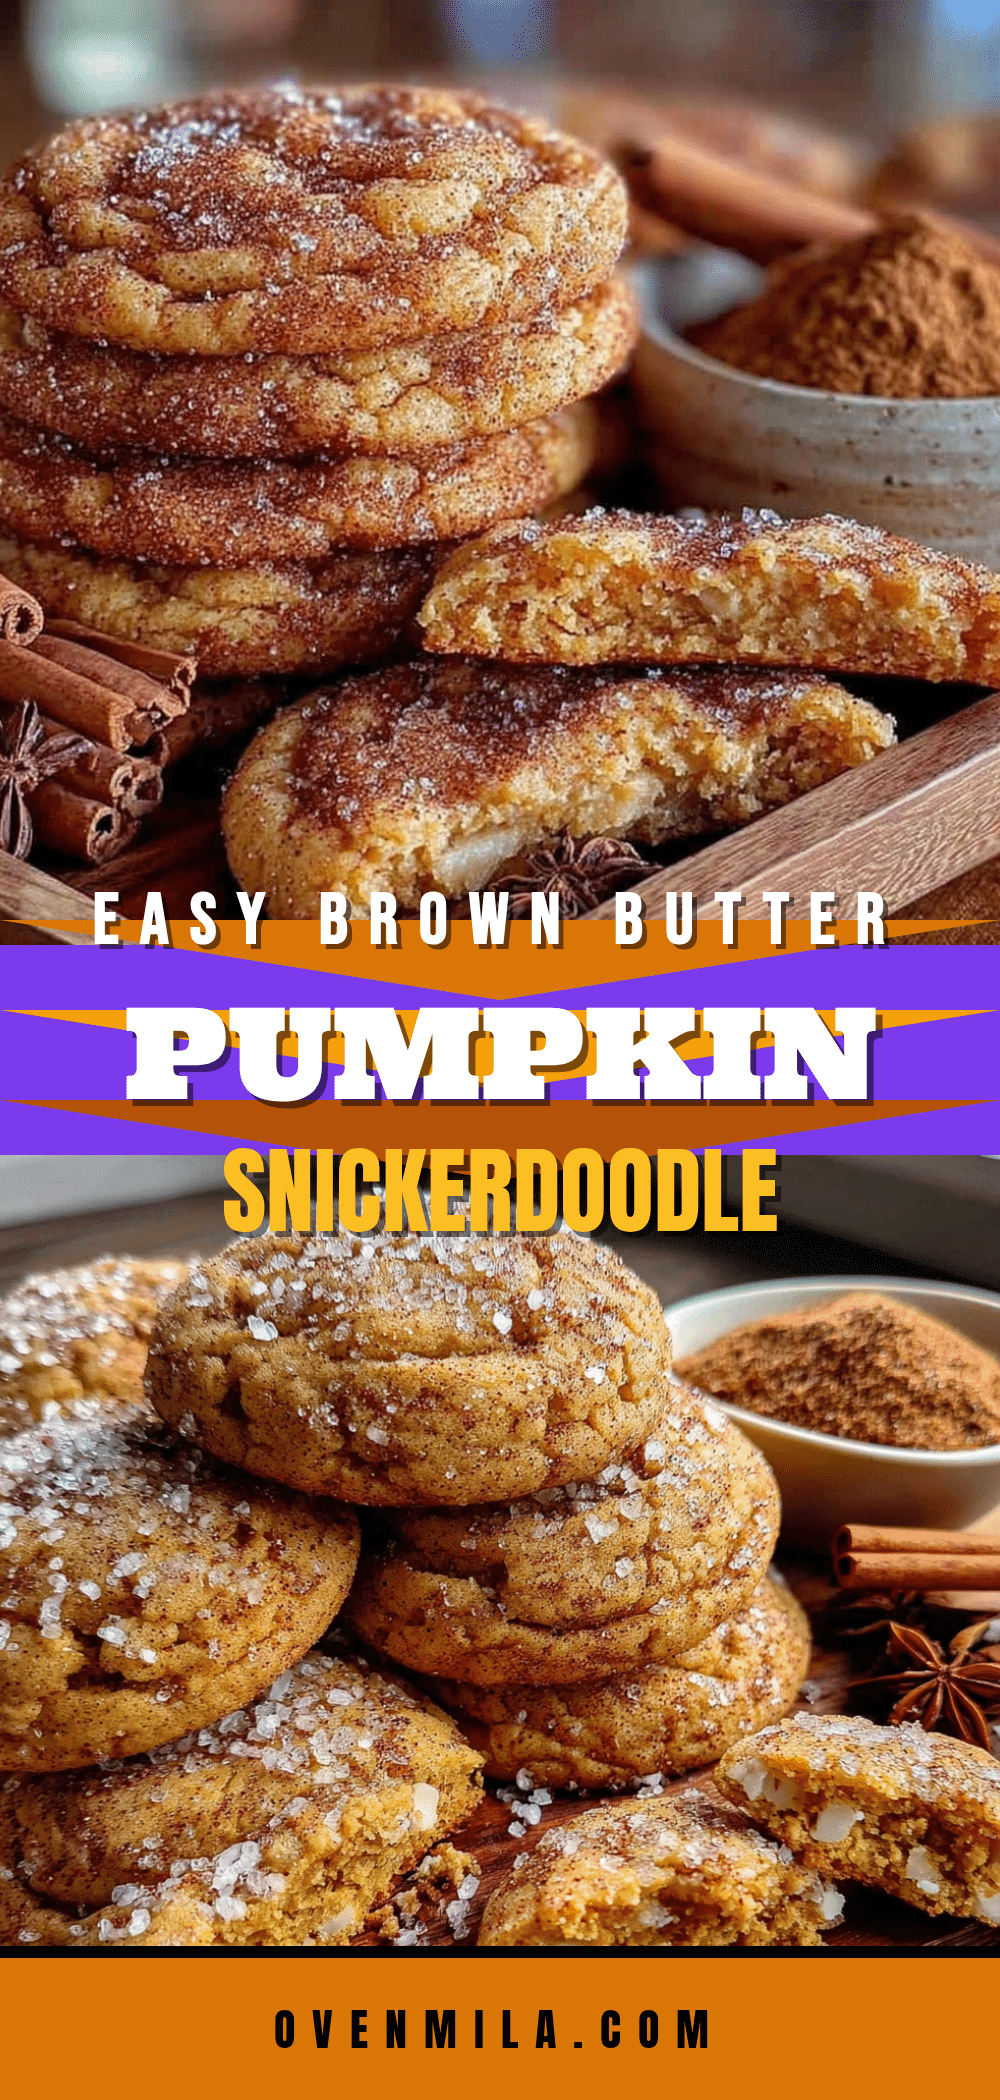
Easy Brown Butter Pumpkin Snickerdoodle Cookie Recipe
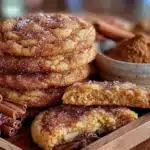
These soft and chewy snickerdoodles are made with nutty brown butter and pumpkin puree for a tender, flavorful fall cookie. Ready in about 30 minutes, they’re perfect for busy weeknights and holiday cookie swaps alike.
- Prep Time: 15 minutes
- Cook Time: 12 minutes
- Total Time: 27 minutes
- Yield: 24 cookies 1x
- Category: Dessert
- Cuisine: American
Ingredients
- 1 cup (2 sticks or 226 grams) unsalted butter
- ¾ cup (150 grams) granulated sugar
- ½ cup (100 grams) packed light brown sugar
- ½ cup (120 grams) pumpkin puree (100% pure, not pie filling)
- 1 large egg, at room temperature
- 2 teaspoons vanilla extract
- 2 cups (250 grams) all-purpose flour
- 1 teaspoon baking soda
- 1½ teaspoons cream of tartar
- ½ teaspoon salt
- 1½ teaspoons ground cinnamon
- ¼ teaspoon ground nutmeg
- ⅛ teaspoon ground cloves
- ¼ cup (50 grams) granulated sugar (for coating)
- 1 tablespoon ground cinnamon (for coating)
Instructions
- Brown the butter: Cut 1 cup unsalted butter into pieces and place in a light-colored saucepan over medium heat. Stir occasionally with a rubber spatula. After about 4–5 minutes, the butter will foam, then subside, and golden brown specks will form at the bottom. When it smells nutty and turns deep amber, remove from heat immediately. Pour into a large mixing bowl and let cool for 10 minutes.
- Preheat oven to 350°F (175°C). Line two baking sheets with parchment paper.
- Mix wet ingredients: To the cooled brown butter, add ¾ cup granulated sugar and ½ cup packed light brown sugar. Whisk until combined. Add ½ cup pumpkin puree, 1 large egg, and 2 teaspoons vanilla extract. Whisk until smooth and glossy.
- Mix dry ingredients: In a separate medium bowl, whisk together 2 cups all-purpose flour, 1 teaspoon baking soda, 1½ teaspoons cream of tartar, ½ teaspoon salt, 1½ teaspoons ground cinnamon, ¼ teaspoon ground nutmeg, and ⅛ teaspoon ground cloves.
- Combine wet and dry: Pour dry ingredients into wet ingredients. Fold with a rubber spatula until just combined. Do not overmix. Dough will be soft and slightly sticky.
- Chill dough (optional but helpful): Cover bowl and refrigerate for 20 minutes for easier handling and thicker cookies. Can skip if short on time.
- Prepare cinnamon-sugar coating: In a small bowl, mix ¼ cup granulated sugar and 1 tablespoon ground cinnamon.
- Shape cookies: Using a 1.5-tablespoon cookie scoop or two spoons, portion dough into 1.5-inch balls. Roll each ball between palms until smooth, then roll in cinnamon-sugar mixture until fully coated. Place on prepared baking sheets, spacing 2 inches apart.
- Bake: Bake one sheet at a time for 10–12 minutes. Cookies should look puffed and set around edges but still soft in center. Do not overbake.
- Cool: Let cookies cool on baking sheet for 5 minutes, then transfer to a wire rack to cool completely.
Notes
Don’t walk away from browning butter—it can burn quickly. Let brown butter cool at least 10 minutes before adding egg to avoid scrambling. For thicker cookies, chill dough 20 minutes. Do not overbake; cookies continue to set on hot baking sheet. Store in airtight container at room temperature up to 5 days. Freeze baked cookies up to 3 months, or freeze unbaked dough balls for fresh cookies on demand.
Nutrition
- Serving Size: 1 cookie
- Calories: 155
- Sugar: 12
- Sodium: 95
- Fat: 8
- Saturated Fat: 5
- Carbohydrates: 20
- Fiber: 1
- Protein: 2
Keywords: brown butter, pumpkin, snickerdoodle, cookie, fall, easy, quick