I swore I hated themed cookies. For years. The kind with the royal icing and the tiny piping bags and the painstaking assembly that takes three hours and leaves your kitchen looking like a powdered sugar crime scene. Not my thing. I said it loudly and often, usually while biting into a perfectly plain chocolate chip cookie. Then last October, my niece handed me a misshapen black cat cookie at her school Halloween party. It had one eye. The whiskers were crooked. And honestly? It was the best sugar cookie I’d ever eaten. I asked her mom for the recipe, and she laughed. “It’s just a cutout cookie,” she said. But it wasn’t. It was the right cutout cookie—the one that stays soft, holds its shape, and actually tastes like something. I spent the next week testing batches in my own kitchen, trying to crack the code. And somewhere between the third failed batch of puffy, blob-shaped cats and the fourth, I realized I was having fun. Maybe you’ve been there—dismissing an entire category of baking only to find yourself elbow-deep in flour, proving yourself wrong. These spooky black cat spider sugar cookies are the result of that obsession. They’re the cookie that turned me into a believer.
Why You’ll Love This Recipe
Let me tell you why these cookies are different from every other Halloween sugar cookie recipe you’ve seen. I tested six versions before landing on this one. The first batch spread into unrecognizable blobs. The second tasted like plain flour with a little sugar. The third? Well, let’s just say my smoke alarm got a workout. But this version—this is the one.
- Quick & Easy: From start to finish, you’re looking at about 45 minutes of active time. The dough comes together in one bowl, no electric mixer required if you’ve got a strong arm and a wooden spoon.
- Simple Ingredients: Butter, sugar, flour, an egg, vanilla, cocoa powder, baking powder, salt. That’s it. No corn syrup, no cream of tartar, no weird stabilizers you have to hunt down at a specialty store.
- Perfect for Halloween Parties: These cookies are built for potlucks, classroom treats, and spooky movie nights. They travel well and stay fresh for days.
- Crowd-Pleaser: Kids love the spider design. Adults love that they actually taste like a real sugar cookie—not a cardboard cutout with frosting.
- Unbelievably Delicious: The texture is the star here. A crisp, clean edge with a soft, almost tender center. The cocoa adds depth without making them taste like a brownie. It’s the kind of cookie that makes you close your eyes after the first bite.
What makes this recipe different from the rest? It’s the technique. Most cutout cookie recipes use too much flour, which makes the dough tough and the cookies dry. I use a higher ratio of butter to flour and chill the dough for exactly 30 minutes—no more, no less. That sweet spot gives you a dough that’s easy to roll, holds sharp edges, and bakes up tender. Plus, the spider design is deceptively simple. You don’t need a spider-shaped cookie cutter. A basic cat cutter does the job, and the legs are made with pretzel sticks. It’s a clever shortcut that looks way more impressive than it is.
This recipe isn’t just good—it’s the kind that makes you want to text a photo to your mom immediately. It’s comfort food reimagined for Halloween: spooky, fun, and totally satisfying.
What Ingredients You Will Need
This recipe uses simple, pantry-friendly ingredients to deliver bold chocolate flavor and a tender crumb. Here’s what you’ll need, along with a few notes on what to look for.
For the Cookies
- Unsalted butter, 1 cup (226g), softened — I prefer Kerrygold for its rich flavor, but any good-quality unsalted butter works. Make sure it’s truly softened, not melted. Leave it on the counter for about an hour before you start.
- Granulated sugar, 1 cup (200g) — Standard white sugar. No need for superfine or caster sugar here.
- Large egg, 1, room temperature — Cold eggs can seize the butter, so let yours sit out for 15 minutes.
- Vanilla extract, 1 teaspoon — Pure vanilla makes a difference. Imitation works in a pinch, but the flavor won’t be as warm.
- All-purpose flour, 2 ½ cups (312g) — Spoon and level your flour. Scooping directly from the bag packs in too much and makes dry cookies.
- Unsweetened cocoa powder, ½ cup (50g) — I use Dutch-processed cocoa for a darker color and smoother taste. Natural cocoa works too, but the cookies will be slightly lighter and more acidic.
- Baking powder, 1 teaspoon — This gives the cookies a gentle lift without spreading. Don’t substitute baking soda.
- Salt, ½ teaspoon — Fine sea salt or table salt. It balances the sweetness and deepens the chocolate flavor.
For the Spider Decoration
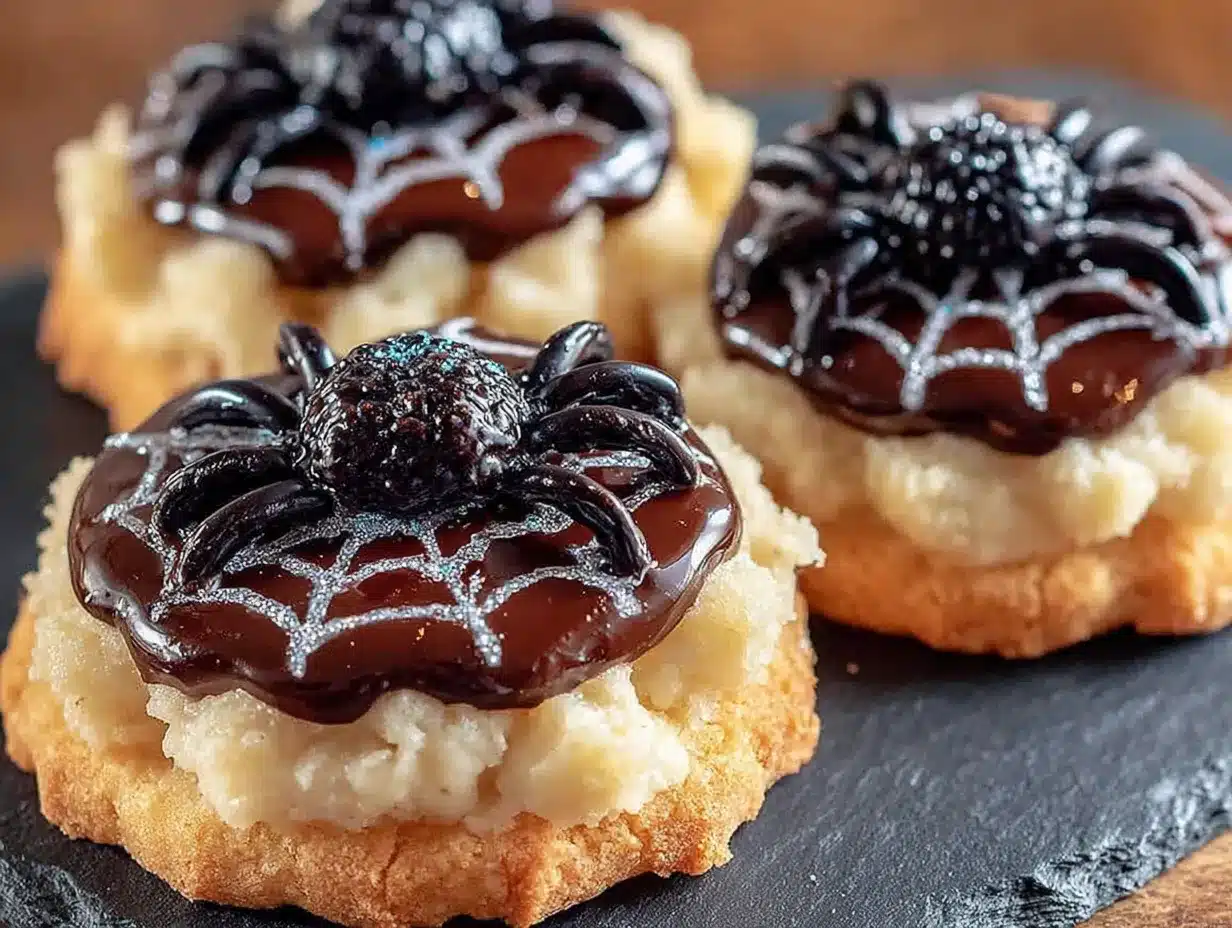
- Pretzel sticks, 48 (about 2 cups) — Standard thin pretzel sticks. Break them in half for the spider legs. I use Rold Gold or Snyder’s.
- Black decorating icing, 1 tube — The kind with a fine tip. Wilton’s black icing pen works great. You’ll use this for the eyes and to attach the legs.
- Candy eyes, 24 small (about 1 tablespoon) — You can find these at any craft store or online. If you can’t find small ones, use white icing dots instead.
Substitution Notes
For a dairy-free version, swap the butter with a high-quality vegan butter stick. I’ve used Earth Balance with good results. The texture will be slightly less tender but still delicious. For a gluten-free option, use a 1:1 gluten-free flour blend that contains xanthan gum. Bob’s Red Mill works well. Avoid coconut flour or almond flour—they change the texture completely.
Equipment Needed
- Large mixing bowl — Any bowl works. I use a ceramic one because it doesn’t slide around on the counter.
- Electric hand mixer or stand mixer — A hand mixer is fine. A stand mixer with the paddle attachment makes creaming butter and sugar easier.
- Rolling pin — A standard rolling pin. If you don’t have one, a clean wine bottle works in a pinch. I’ve done it.
- Cat-shaped cookie cutter — Look for one that’s about 3 inches tall. I found mine at a thrift store for a dollar.
- Baking sheets, 2 — Rimmed baking sheets are best. Line them with parchment paper or silicone baking mats.
- Cooling rack — Wire racks let air circulate so cookies cool evenly. If you don’t have one, a clean dish towel works.
- Small offset spatula — Not essential, but helpful for moving fragile cookies. A butter knife works too.
Preparation Method
- Cream the butter and sugar. In a large mixing bowl, beat the softened butter and granulated sugar together on medium speed until light and fluffy, about 3 minutes. Scrape down the sides of the bowl halfway through. You want the mixture to look pale and airy. If it looks greasy, you’ve overmixed—stop now.
- Add the egg and vanilla. Crack the egg into the bowl and add the vanilla extract. Beat on low speed until just combined, about 30 seconds. Don’t overmix here, or the dough will be tough. The mixture might look slightly curdled at this point—that’s okay.
- Whisk the dry ingredients. In a separate small bowl, whisk together the flour, cocoa powder, baking powder, and salt. This ensures the baking powder is evenly distributed. I’ve skipped this step before and ended up with one cookie that tasted like a salt lick. Don’t skip it.
- Combine wet and dry. Gradually add the dry ingredients to the wet mixture, mixing on low speed or stirring with a wooden spoon. Stop as soon as the flour disappears. The dough will be stiff but pliable. If it feels sticky, add an extra tablespoon of flour.
- Chill the dough. Flatten the dough into a disk about 1 inch thick, wrap it tightly in plastic wrap, and refrigerate for exactly 30 minutes. This is non-negotiable. Chilling firms the butter, which prevents the cookies from spreading. If you chill longer than an hour, let the dough sit at room temperature for 10 minutes before rolling.
- Preheat and prep. Preheat your oven to 350°F (175°C). Line two baking sheets with parchment paper. While the oven heats, lightly flour your work surface and rolling pin.
- Roll and cut. Roll the chilled dough to ¼-inch thickness. I use two wooden dowels as guides to keep it even. Cut out cat shapes and transfer them to the prepared baking sheets, spacing them about 2 inches apart. Gather the scraps, reroll once, and cut more cookies. Discard the remaining scraps—rerolling more than once makes tough cookies.
- Bake. Bake for 8 to 10 minutes. The edges should look set and the tops should be slightly firm to the touch. Don’t overbake—cookies continue to firm up as they cool. Let them rest on the baking sheet for 5 minutes, then transfer to a cooling rack.
- Cool completely. Let the cookies cool completely before decorating. Warm cookies will melt the icing and make the pretzel legs slide off. I learned this the hard way after a batch of sad, legless spiders.
- Assemble the spiders. Break each pretzel stick in half to create two legs. Working with one cookie at a time, pipe a small dot of black icing on each side of the cookie where the legs should go. Press two pretzel halves into the icing on each side, angling them slightly outward. Pipe two small dots for eyes near the top of the cookie, and press a candy eye into each dot. Let the icing set for 15 minutes before serving or storing.
Cooking Tips & Techniques
I’ve made these cookies about a dozen times now, and I’ve learned a few things the hard way. Here’s what I wish someone had told me.
Don’t skip the chill. I know it’s tempting to skip the chilling step when you’re in a hurry. I tried it once. The cookies spread into flat, shapeless blobs that looked more like melted chocolate puddles than cats. The 30-minute chill is what gives you those clean, sharp edges. Set a timer.
Use a light hand with flour. When rolling out the dough, dust your surface and rolling pin lightly. Too much flour makes the cookies dry and crackly. I use a small sieve to dust the surface evenly. It sounds fussy, but it works.
Watch the oven like a hawk. Every oven runs differently. My old oven baked these cookies in exactly 8 minutes. My new one takes 10. Start checking at the 7-minute mark. The cookies are done when the edges look set and the tops are just barely firm. If they look dry, they’re overdone.
Let cookies cool completely. I cannot stress this enough. If you try to attach the pretzel legs while the cookies are still warm, the icing will melt and the legs will slide right off. I once lost an entire batch to warm-cookie chaos. Wait the full 15 minutes on the cooling rack.
Work in batches. Don’t try to decorate all the cookies at once. Work with one cookie at a time, attaching the legs and eyes before moving to the next. The icing sets quickly, so you need to move fast. I usually decorate 5 cookies at a time, then take a break.
Variations & Adaptations
One of the best things about this recipe is how adaptable it is. Here are a few ways to make it your own.
Gluten-Free Version: Substitute the all-purpose flour with a 1:1 gluten-free flour blend that contains xanthan gum. I’ve tested this with Bob’s Red Mill 1:1 Baking Flour, and the texture is remarkably close to the original. The cookies are slightly more crumbly, so handle them gently when decorating.
Vegan Version: Use vegan butter sticks and a flax egg (1 tablespoon ground flaxseed mixed with 3 tablespoons water, let sit for 5 minutes). The cookies will be a little less tender, but they still hold their shape and taste great. I made this version for a friend’s Halloween party, and no one guessed they were vegan.
Different Shapes: You’re not limited to cats. Use any Halloween-shaped cookie cutter—pumpkins, ghosts, bats. The pretzel legs work with any shape, but they look best on animals or creatures. I’ve made spider pumpkins before, and they were a hit.
Flavor Variations: Add ½ teaspoon of cinnamon or espresso powder to the dry ingredients for a deeper flavor. I tried a batch with orange zest once, and it was surprisingly good—like a chocolate orange Halloween cookie.
No-Pretzel Option: If you don’t have pretzel sticks, use black licorice strings cut into 2-inch pieces. They’re chewier than pretzels, but they look just as spooky. My niece actually prefers the licorice version.
Serving & Storage Suggestions
These cookies are best served at room temperature, ideally within a few hours of decorating. The pretzel legs stay crunchy for about 24 hours before they start to soften from the icing. If you’re serving them at a party, decorate them the morning of the event.
For storage: Place the decorated cookies in a single layer in an airtight container. Separate layers with parchment paper. They’ll stay fresh for up to 5 days at room temperature. Don’t refrigerate them—the cold makes the cookies dry and the pretzels go stale faster.
For freezing: You can freeze the undecorated baked cookies for up to 3 months. Wrap them tightly in plastic wrap and place them in a freezer bag. When you’re ready to decorate, thaw them at room temperature for about an hour, then proceed with the icing and pretzels. I do this every year—bake a big batch in September and decorate them throughout October.
Flavor development: These cookies actually taste better the day after baking. The flavors meld together, and the texture softens slightly. If you can resist eating them all on day one, you’ll be rewarded on day two.
Serving suggestions: Pair these cookies with a glass of cold milk, a mug of hot chocolate, or a scoop of vanilla ice cream. For a Halloween party, arrange them on a platter with candy corn and caramel apples. They also make great gifts—pack them in a treat box with a ribbon and a spooky tag.
Nutritional Information & Benefits
Per cookie (based on 24 cookies): approximately 180 calories, 9g fat, 24g carbohydrates, 2g protein, 1g fiber, 12g sugar. These numbers are estimates and will vary based on your specific ingredients and decorations.
While these are definitely a treat, they’re not without some redeeming qualities. The cocoa powder is rich in antioxidants called flavonoids, which have been linked to heart health. The butter provides a small amount of vitamin A, and the pretzels offer a tiny bit of iron. Plus, the act of baking itself can be a stress reliever—there’s something meditative about rolling dough and cutting shapes.
If you’re watching your sugar intake, you can reduce the sugar to ¾ cup without affecting the texture too much. The cookies will be slightly less sweet, but they’ll still taste good. For a lower-fat option, substitute half the butter with unsweetened applesauce. The texture will be more cake-like, but it works in a pinch.
Potential allergens: These cookies contain wheat, dairy, and eggs. The pretzels may contain gluten. The candy eyes may contain traces of soy or corn. Always check labels if you’re serving guests with allergies.
Conclusion
These spooky black cat spider sugar cookies are the Halloween treat you didn’t know you needed. They’re fun to make, even more fun to decorate, and delicious enough to win over even the most skeptical cookie critic—trust me, I know. The combination of a tender chocolate cookie, crunchy pretzel legs, and googly eyes is pure Halloween magic. Whether you’re making them for a classroom party, a spooky movie night, or just because you want to eat something cute, these cookies deliver.
I love this recipe because it reminds me that baking doesn’t have to be serious. It can be silly and imperfect and still taste amazing. My niece’s one-eyed cat cookie from that school party was nowhere near perfect, but it was made with love—and that’s what made it the best cookie I’d ever eaten.
Now it’s your turn. Make these cookies, get creative with the decorations, and don’t worry if your cats end up looking a little lopsided. That’s part of the charm. Tag me in your photos—I want to see your spooky creations! And if you come up with a fun variation, drop it in the comments below. Happy Halloween, and happy baking!
Frequently Asked Questions
Can I use a different cookie cutter shape?
Absolutely. Any Halloween shape works—pumpkins, ghosts, bats, even circles. The pretzel legs look best on shapes that resemble animals or creatures, but don’t let that stop you from experimenting. I’ve made spider pumpkins before, and they were adorable.
How do I keep the cookies from spreading?
The most important step is chilling the dough for exactly 30 minutes. This firms the butter, which prevents spreading. Also, make sure your baking powder isn’t expired—old baking powder can cause cookies to spread unpredictably.
Can I make the dough ahead of time?
Yes! You can refrigerate the dough for up to 3 days. Wrap it tightly in plastic wrap and let it sit at room temperature for 10 minutes before rolling. You can also freeze the dough for up to 3 months. Thaw it overnight in the refrigerator before using.
My pretzel legs keep falling off. What am I doing wrong?
The most common issue is decorating cookies that are still warm. Make sure the cookies are completely cool before you start. Also, use enough icing to create a strong bond. If the icing is too thin, let it sit for a minute to thicken slightly before applying.
Can I use royal icing instead of the black decorating icing?
You can, but royal icing takes longer to set and can be messy. The tube icing is much easier for beginners and sets in about 15 minutes. If you prefer royal icing, make a small batch and pipe it through a fine tip.
Pin This Recipe!
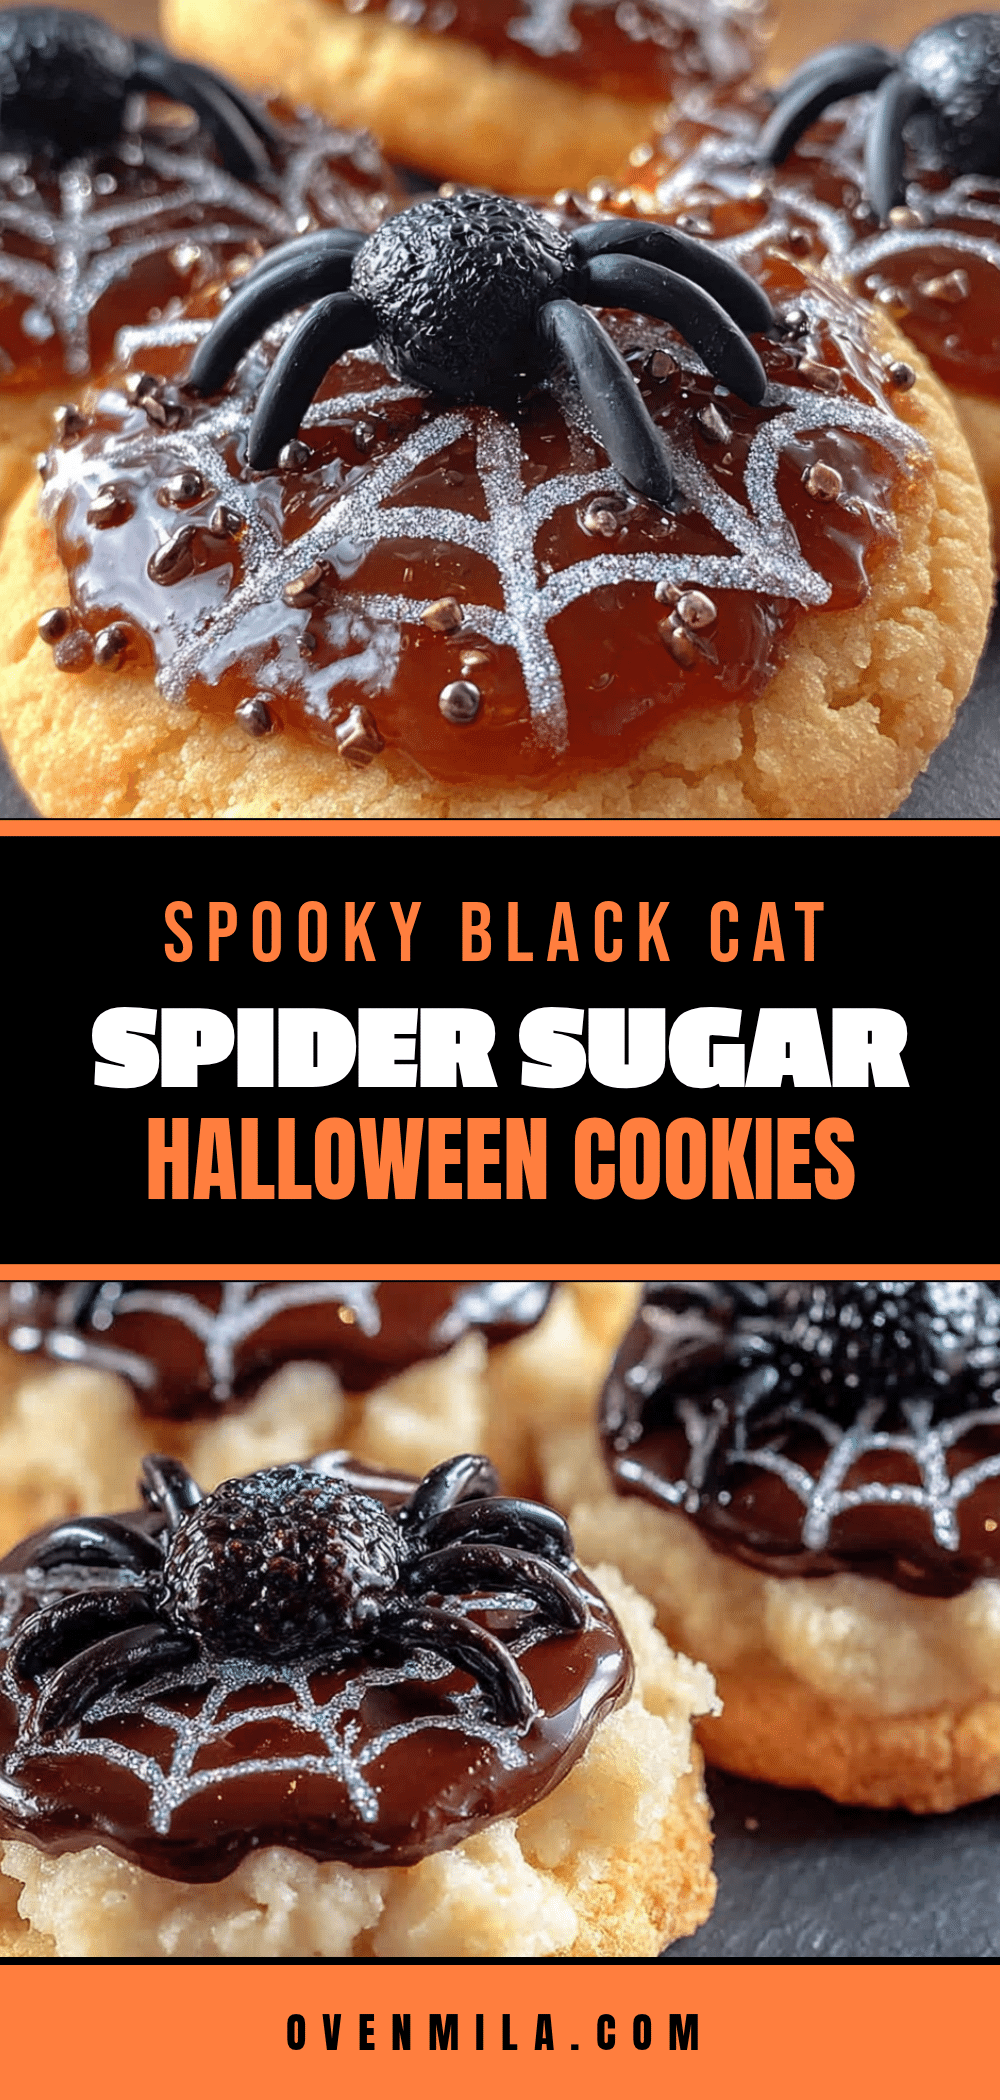
Easy Black Cat Spider Sugar Cookies for Halloween
These spooky black cat spider sugar cookies are the Halloween treat you didn’t know you needed. They’re fun to make, even more fun to decorate, and delicious enough to win over even the most skeptical cookie critic.
- Prep Time: 45 minutes
- Cook Time: 10 minutes
- Total Time: 1 hour 10 minutes
- Yield: 24 cookies 1x
- Category: Dessert
- Cuisine: American
Ingredients
- 1 cup (226g) unsalted butter, softened
- 1 cup (200g) granulated sugar
- 1 large egg, room temperature
- 1 teaspoon vanilla extract
- 2 ½ cups (312g) all-purpose flour
- ½ cup (50g) unsweetened cocoa powder (Dutch-processed preferred)
- 1 teaspoon baking powder
- ½ teaspoon salt
- 48 pretzel sticks (about 2 cups), broken in half
- 1 tube black decorating icing
- 24 small candy eyes (about 1 tablespoon)
Instructions
- Cream the butter and sugar. In a large mixing bowl, beat the softened butter and granulated sugar together on medium speed until light and fluffy, about 3 minutes. Scrape down the sides of the bowl halfway through.
- Add the egg and vanilla. Crack the egg into the bowl and add the vanilla extract. Beat on low speed until just combined, about 30 seconds.
- Whisk the dry ingredients. In a separate small bowl, whisk together the flour, cocoa powder, baking powder, and salt.
- Combine wet and dry. Gradually add the dry ingredients to the wet mixture, mixing on low speed or stirring with a wooden spoon. Stop as soon as the flour disappears.
- Chill the dough. Flatten the dough into a disk about 1 inch thick, wrap it tightly in plastic wrap, and refrigerate for exactly 30 minutes.
- Preheat and prep. Preheat your oven to 350°F (175°C). Line two baking sheets with parchment paper. Lightly flour your work surface and rolling pin.
- Roll and cut. Roll the chilled dough to ¼-inch thickness. Cut out cat shapes and transfer them to the prepared baking sheets, spacing them about 2 inches apart. Gather the scraps, reroll once, and cut more cookies.
- Bake. Bake for 8 to 10 minutes. The edges should look set and the tops should be slightly firm to the touch. Let them rest on the baking sheet for 5 minutes, then transfer to a cooling rack.
- Cool completely. Let the cookies cool completely before decorating.
- Assemble the spiders. Break each pretzel stick in half to create two legs. Working with one cookie at a time, pipe a small dot of black icing on each side of the cookie where the legs should go. Press two pretzel halves into the icing on each side, angling them slightly outward. Pipe two small dots for eyes near the top of the cookie, and press a candy eye into each dot. Let the icing set for 15 minutes before serving or storing.
Notes
Don’t skip the 30-minute chill—it prevents spreading. Use a light hand with flour when rolling. Watch the oven closely; start checking at 7 minutes. Let cookies cool completely before decorating to prevent icing from melting. Work with one cookie at a time when attaching legs and eyes. Cookies taste even better the day after baking.
Nutrition
- Serving Size: 1 cookie
- Calories: 180
- Sugar: 12
- Sodium: 120
- Fat: 9
- Saturated Fat: 5
- Carbohydrates: 24
- Fiber: 1
- Protein: 2
Keywords: Halloween cookies, sugar cookies, black cat cookies, spider cookies, chocolate sugar cookies, cutout cookies, easy Halloween treats


