Let me tell you why these spooky mummy pigs in a blanket are about to become your new Halloween MVP. I’ve tested this recipe about seven times now—my neighbors have become very familiar with my last-minute “treat deliveries.” Honestly, the first batch I made looked more like sad, lumpy caterpillars than mummies. But after a few tweaks and a lot of trial and error, I finally cracked the code.
Here’s what makes these little guys so special:
- Unbelievably Easy: We’re talking 15 minutes of prep work, tops. The crescent dough does all the heavy lifting for you.
- Kid-Approved Magic: My friend’s six-year-old, Leo, helped me wrap the last batch. He called them “boo-tiful,” and honestly, that’s the highest praise I’ve ever gotten.
- Perfect for Halloween Parties: They disappear faster than candy corn at a dentist’s office. I brought them to a neighborhood potluck last weekend, and they were gone in ten minutes.
- Customizable Creepiness: You can make the eyes as googly or as menacing as you want. I’ve done everything from sweet honey mustard to spicy sriracha eyes.
- No Fancy Equipment Needed: You probably already have everything in your kitchen. I made my first batch with a butter knife and a cookie sheet.
What makes this recipe different from the dozens of other versions out there? It’s the mustard eyes, honestly. Most recipes use candy eyes that melt or slide off. Mustard stays put, adds this perfect tangy kick, and makes the mummies look genuinely expressive. I mean, you can almost see them winking at you.
This is the kind of recipe that makes you feel like a Halloween hero without breaking a sweat. Perfect for when you want to impress the kids but still have time to finish carving that pumpkin.
What Ingredients You Will Need
This recipe uses simple, pantry-friendly ingredients to create something that looks way more complicated than it actually is. I grabbed most of these from my regular grocery run, no specialty store required.
For the Mummies:
- 1 can (8 oz) refrigerated crescent roll dough (I prefer Pillsbury for consistent texture, but store brands work fine too)
- 12 mini smoked sausages or cocktail wieners (Hillshire Farm is my go-to, but any brand with a firm texture holds up well)
- 1 large egg, beaten (for the wash that gives them that golden, wrapped-up glow)
- 1 tablespoon milk or water (to thin the egg wash if needed)
For the Mustard Eyes:
- 2 tablespoons yellow mustard (French’s is classic, but I’ve used spicy brown for a grown-up kick)
- 1 teaspoon honey (optional, but it balances the tang and makes the eyes look glossier)
- A pinch of paprika or turmeric (for color depth—trust me, it makes the eyes pop)
For Serving (Optional but Recommended):
- Marinara sauce or ketchup (for dipping, because these little guys love a bath)
- Sriracha or hot sauce (if you want to give your mummies some fire)
Ingredient Selection Tips:
Look for crescent dough that’s cold but not frozen solid. Cold dough is easier to cut into strips without getting sticky. For the sausages, I’ve found that the mini ones work best because they’re bite-sized and cook evenly. If you can only find full-size hot dogs, just cut them into thirds—I’ve done that plenty of times when the store was out of the mini ones.
Substitution Guidance:
You can swap the crescent dough for puff pastry if you want a flakier texture, just know it’ll be a bit more work to cut. For a gluten-free version, use gluten-free crescent dough (I’ve tried the brand from Whole Foods, and it works surprisingly well). The mustard eyes can be made with Dijon or whole grain mustard if you want a fancier look. I once used sriracha mixed with a little mayo for the eyes, and they looked like angry little mummies—my nephew loved it.
Equipment Needed
- Baking sheet (I use a half-sheet pan, but any rimmed baking sheet works)
- Parchment paper or silicone baking mat (non-stick is your friend here—I learned the hard way with the first batch)
- Sharp knife or pizza cutter (for cutting the dough into strips; a pizza cutter makes it so much faster)
- Small bowl (for the egg wash)
- Pastry brush (or just use a clean finger—I’ve done both)
- Toothpick or small skewer (for dotting on the mustard eyes with precision)
- Cooling rack (optional, but it keeps the bottoms from getting soggy)
Preparation Method
Alright, let’s get our hands a little messy. I’ve broken this down so even if you’ve never made pigs in a blanket before, you’ll feel like a pro by the end.
- Preheat your oven to 375°F (190°C). Line your baking sheet with parchment paper. I cannot stress this enough—parchment paper saves you from scrubbing later. Trust me, I’ve been there.
- Unroll the crescent dough onto a clean cutting board. You’ll notice it’s perforated into triangles. Don’t separate them yet. Instead, press the seams together gently with your fingers to create one solid sheet of dough. If the dough cracks a little, just pinch it back together—it’s forgiving, like a good friend.
- Cut the dough into thin strips. Using your sharp knife or pizza cutter, slice the dough lengthwise into strips about 1/4-inch wide. You want them thin because that’s what makes the mummy wrappings look authentic. I usually get about 12 to 15 strips from one can of dough. If some strips break, don’t panic—you can piece them together around the sausage.
- Wrap each sausage like a mummy. Take one strip of dough and start wrapping it around a mini sausage at a slight angle. Leave a small gap about 1/3 of the way down for the eyes. Don’t wrap too tightly or the dough will tear as it bakes. I like to leave a little space between the wraps so the sausage peeks through—gives it that “I’ve been in a tomb for centuries” look.
- Place the wrapped sausages on the prepared baking sheet, spacing them about 1 inch apart. They’ll expand a little, so give them room to breathe. If you’re making a big batch, use two baking sheets instead of crowding them.
- Make the egg wash. In your small bowl, whisk together the beaten egg with the tablespoon of milk or water. Brush this mixture lightly over each mummy. This is what gives them that gorgeous golden-brown color. Don’t skip this step—I did once, and they came out looking pale and sad, like mummies who forgot their tan.
- Bake for 10 to 12 minutes, or until the dough is golden brown and puffed. The sausages should be heated through. Keep an eye on them after the 10-minute mark—ovens vary, and you don’t want burnt mummies. They should smell like buttery, savory goodness.
- Let them cool for 2 minutes on the baking sheet, then transfer to a cooling rack. This is important because if you try to add the mustard eyes while they’re too hot, the mustard will just slide right off. I learned this the messy way.
- Make the mustard eyes. In a small bowl, mix the yellow mustard with the honey and a pinch of paprika. The honey adds a subtle sweetness and makes the eyes look glossy. The paprika gives them a slightly sinister orange tint—perfect for Halloween.
- Add the eyes. Using a toothpick or small skewer, dot two small mustard eyes onto each mummy in the gap you left earlier. You can make them round, oval, or even a little wonky—wonky eyes give them personality. I made one with crossed eyes, and my daughter called it “the confused mummy.”
- Serve immediately. These are best enjoyed warm, when the dough is still flaky and the sausages are juicy. Set them out with a bowl of marinara or ketchup for dipping.
Cooking Tips & Techniques
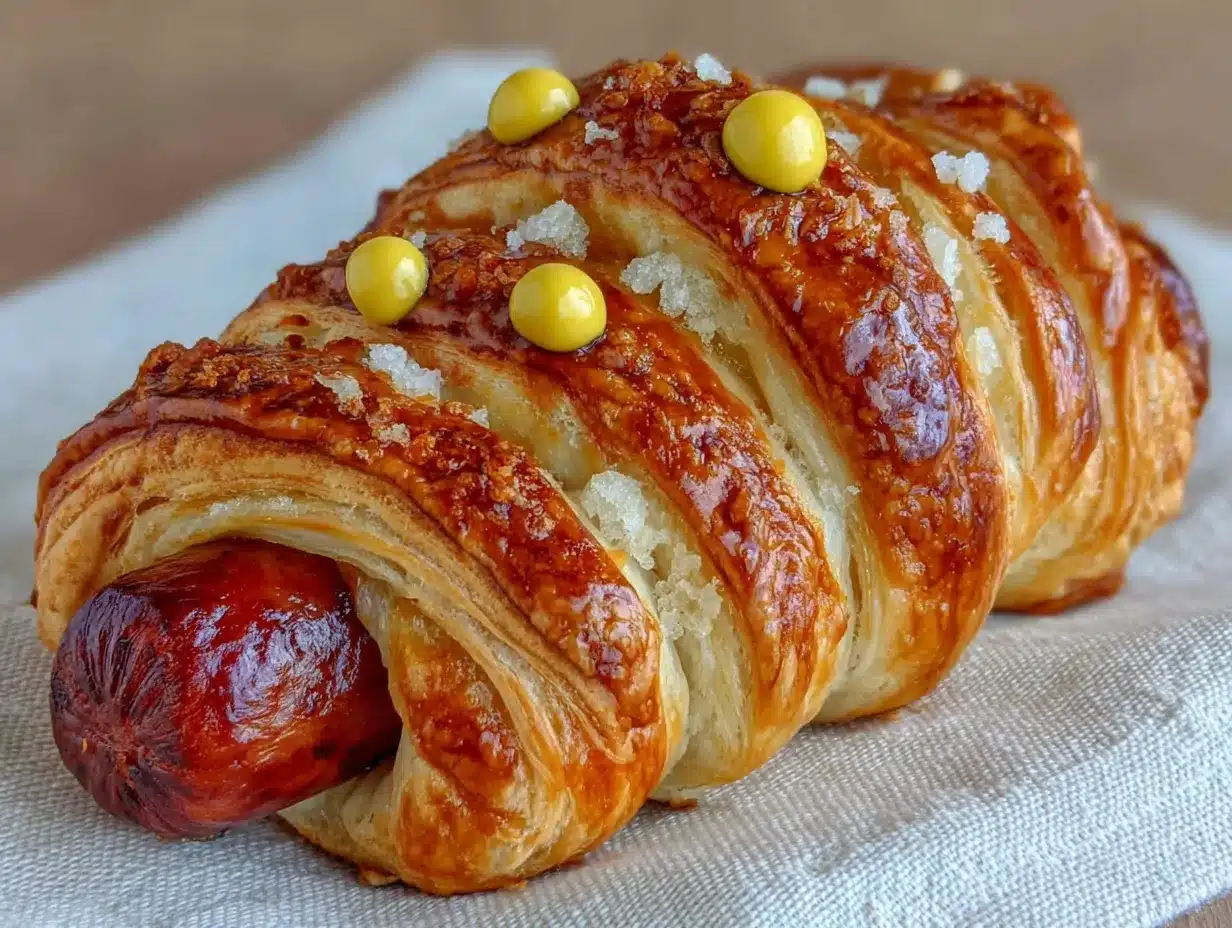
I’ve made this recipe enough times to know exactly where things can go wrong. Here’s what I’ve learned the hard way so you don’t have to.
Don’t overwork the dough. The first time I made these, I kept rerolling the scraps and the dough got tough. Crescent dough is delicate—handle it gently and it’ll reward you with flaky, tender mummies.
Cold dough is your friend. If the dough gets too warm and sticky while you’re wrapping, pop the wrapped mummies in the fridge for 5 minutes. This makes the dough easier to handle and helps the stripes stay defined during baking.
Watch the spacing. I once crowded a baking sheet with 18 mummies, and they all baked into one giant blob. It looked like a mummy orgy. Give them space—about an inch apart is perfect.
Egg wash twice for extra shine. If you want that professional bakery look, brush on a thin layer of egg wash, let it sit for a minute, then brush on a second layer. This gives them a deep golden color that looks amazing in photos.
Mustard consistency matters. If your mustard is too runny, it’ll drip down the mummy’s face. If it’s too thick, it won’t dot easily. The honey helps balance the texture. If it’s still too thick, add a drop of water. If it’s too thin, add a pinch more mustard powder.
Variations & Adaptations
One of the best things about this recipe is how flexible it is. I’ve experimented with all sorts of twists, and here are my favorites.
Spicy Mummies: Brush the sausages with sriracha or hot sauce before wrapping them. The heat cuts through the buttery dough beautifully. I brought these to a game night, and they were gone before the first quarter ended.
Cheesy Mummies: Before wrapping, cut a slit in each sausage and stuff it with a small piece of cheddar or mozzarella. The cheese oozes out during baking like mummy guts. My kids thought this was hilarious.
Veggie Mummies: Swap the sausages for vegetarian hot dogs or even carrot sticks (blanched first for tenderness). The dough wrapping works just as well, and the mustard eyes make them look just as spooky.
Sweet Mummies: Use the same technique but wrap the dough around mini cinnamon rolls instead of sausages. Bake as directed, then drizzle with a powdered sugar glaze instead of mustard. They look like dessert mummies—perfect for a Halloween brunch.
Gluten-Free Adaptation: Use gluten-free crescent dough (I like the brand from Schär) and double-check your sausages are gluten-free. The texture will be slightly different, but the spooky factor remains intact.
Serving & Storage Suggestions
These mummies are best served warm, right out of the oven, when the dough is at its flakiest and the sausages are perfectly juicy. Arrange them on a platter with a small bowl of marinara sauce or ketchup in the center for dipping. I like to scatter a few black olives around the platter to make it look extra Halloween-y.
For a full Halloween spread, pair them with:
- Spiderweb guacamole (just swirl sour cream on top)
- Ghost-shaped cheese slices
- Pumpkin punch (orange juice with ginger ale and a scoop of vanilla ice cream)
Storage: If you have leftovers (unlikely, but possible), store them in an airtight container in the refrigerator for up to 3 days. The mustard eyes might smudge a little, but they’ll still taste great.
Reheating: Pop them in a 350°F oven for 5 minutes to crisp the dough back up. The microwave works in a pinch, but the dough will be softer. I’ve also reheated them in an air fryer at 350°F for 3 minutes—they come out almost as good as fresh.
Make-Ahead Tip: You can assemble the mummies (without the egg wash) up to 24 hours in advance. Keep them covered in the fridge, then brush with egg wash and bake just before serving. This is a lifesaver for Halloween parties when you’re juggling a million things.
Nutritional Information & Benefits
Let’s be real—these are a treat, not a health food. But here’s what you’re looking at per serving (2 mummies):
| Nutrient | Amount |
|---|---|
| Calories | 210 |
| Total Fat | 14g |
| Saturated Fat | 5g |
| Carbohydrates | 16g |
| Protein | 6g |
| Sodium | 480mg |
The sausages provide a decent hit of protein, and the mustard contains turmeric, which has anti-inflammatory properties. The crescent dough isn’t exactly a health food, but hey—it’s Halloween. Everything in moderation, right?
If you’re watching your sodium, look for low-sodium sausages. For a lower-carb option, you can use cheese wraps or lettuce leaves instead of dough, though they won’t look quite as mummy-like.
Conclusion
These spooky mummy pigs in a blanket with mustard eyes are everything I love about Halloween cooking—fun, a little silly, and genuinely delicious. They’re the kind of recipe that makes people smile before they even take a bite, and that’s a rare gift.
I’ve made these for kids’ parties, adult gatherings, and even a Halloween Zoom party where everyone made them together. Every single time, they’ve been the first thing to disappear. There’s something about those little mustard eyes that just gets people.
So go ahead—give these a try. Make them your own. Add extra mustard eyes, stuff them with cheese, or make a batch of sweet mummies for dessert. Whatever you do, just have fun with it. That’s what Halloween is all about.
I’d love to hear how yours turn out! Drop a comment below and tell me about your mummy creations. Did you add googly eyes? Make them spicy? Share your photos and tag me—I can’t wait to see what you come up with.
Happy Halloween, and happy snacking! 🎃
Frequently Asked Questions
Can I make these ahead of time for a party?
Absolutely! Assemble the mummies up to 24 hours in advance, keep them covered in the fridge, then brush with egg wash and bake just before serving. The mustard eyes should be added after baking, though, or they’ll melt into the dough.
Can I use hot dogs instead of mini sausages?
Yes, just cut full-size hot dogs into thirds. You’ll need to adjust the baking time slightly—add an extra 2 to 3 minutes since the pieces are bigger. Keep an eye on them to make sure the dough doesn’t burn.
What if I don’t have crescent dough?
You can use puff pastry or even homemade pizza dough. Puff pastry gives a flakier texture, while pizza dough makes them more bread-like. Just roll the dough thin before cutting into strips.
How do I keep the mustard eyes from smudging?
Let the mummies cool completely before adding the eyes. The mustard will set better on a cool surface. If you’re transporting them, add the eyes right before serving to keep them looking fresh.
Can I freeze these?
Yes! Freeze the baked, cooled mummies in an airtight container for up to 2 months. Reheat in a 350°F oven for 8 to 10 minutes. Add fresh mustard eyes after reheating for the best appearance.
Pin This Recipe!
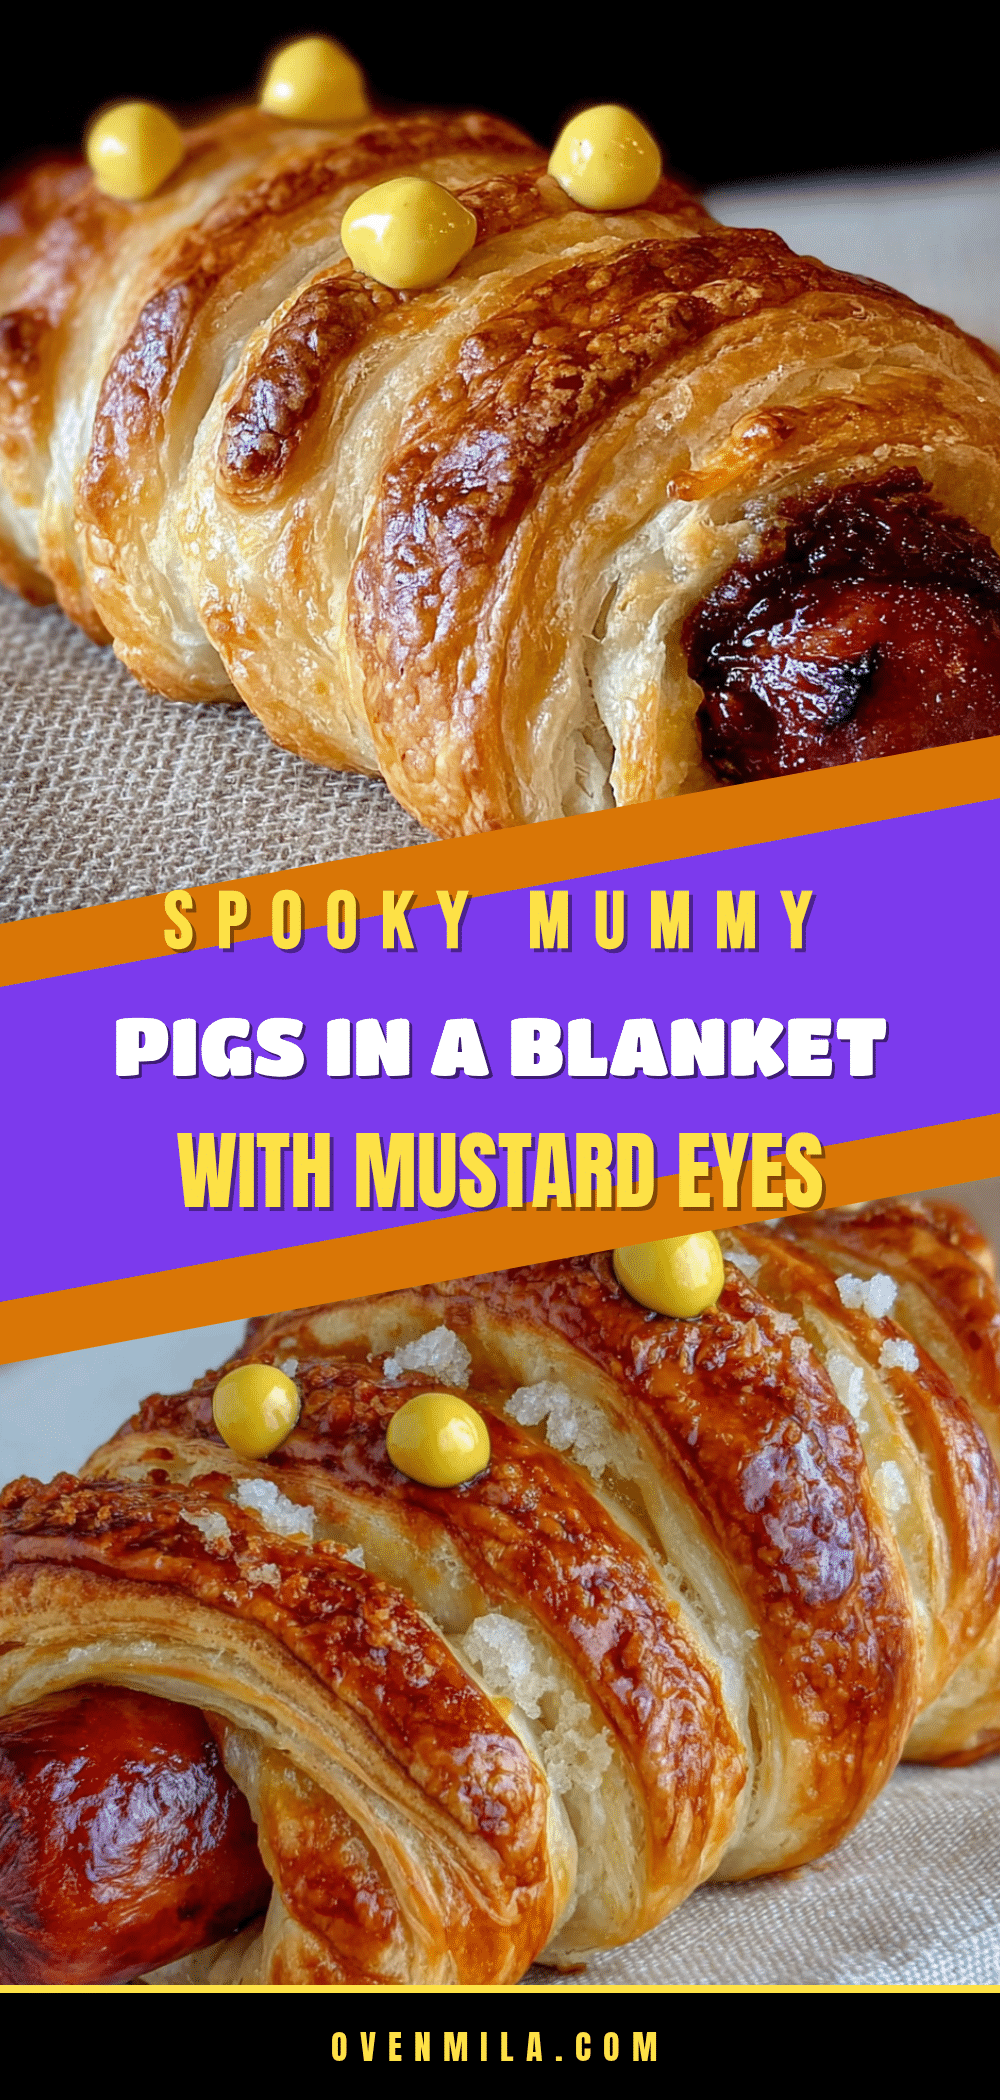
Spooky Mummy Pigs in a Blanket: Easy Halloween Mustard Eyes
These spooky mummy pigs in a blanket are unbelievably easy to make with just 15 minutes of prep. Featuring clever mustard eyes that stay put and add a tangy kick, they’re the perfect kid-approved Halloween party snack that disappears faster than candy corn.
- Prep Time: 15 minutes
- Cook Time: 12 minutes
- Total Time: 27 minutes
- Yield: 6 servings (2 mummies per serving) 1x
- Category: Appetizer
- Cuisine: American
Ingredients
- 1 can (8 oz) refrigerated crescent roll dough (Pillsbury preferred)
- 12 mini smoked sausages or cocktail wieners (Hillshire Farm recommended)
- 1 large egg, beaten
- 1 tablespoon milk or water
- 2 tablespoons yellow mustard (French’s classic)
- 1 teaspoon honey (optional)
- A pinch of paprika or turmeric
- Marinara sauce or ketchup (for dipping, optional)
- Sriracha or hot sauce (optional)
Instructions
- Preheat your oven to 375°F (190°C). Line your baking sheet with parchment paper.
- Unroll the crescent dough onto a clean cutting board. Press the seams together gently with your fingers to create one solid sheet of dough.
- Cut the dough into thin strips about 1/4-inch wide using a sharp knife or pizza cutter. You should get about 12 to 15 strips.
- Wrap each sausage like a mummy: take one strip of dough and wrap it around a mini sausage at a slight angle, leaving a small gap about 1/3 of the way down for the eyes. Don’t wrap too tightly.
- Place the wrapped sausages on the prepared baking sheet, spacing them about 1 inch apart.
- Make the egg wash: whisk together the beaten egg with the tablespoon of milk or water. Brush this mixture lightly over each mummy.
- Bake for 10 to 12 minutes, or until the dough is golden brown and puffed.
- Let them cool for 2 minutes on the baking sheet, then transfer to a cooling rack.
- Make the mustard eyes: in a small bowl, mix the yellow mustard with the honey and a pinch of paprika.
- Using a toothpick or small skewer, dot two small mustard eyes onto each mummy in the gap you left earlier.
- Serve immediately with marinara sauce or ketchup for dipping.
Notes
Cold dough is easier to cut into strips without getting sticky. If the dough gets too warm while wrapping, pop the wrapped mummies in the fridge for 5 minutes. For extra shine, brush on a thin layer of egg wash, let it sit for a minute, then brush on a second layer. Add mustard eyes after cooling slightly to prevent them from sliding off. Can be assembled (without egg wash) up to 24 hours in advance and kept covered in the fridge.
Nutrition
- Serving Size: 2 mummies
- Calories: 210
- Sugar: 3
- Sodium: 480
- Fat: 14
- Saturated Fat: 5
- Carbohydrates: 16
- Protein: 6
Keywords: Halloween appetizer, pigs in a blanket, mummy recipe, easy Halloween snack, kid-friendly, party food, crescent roll recipe, mustard eyes


