I was standing in line at the hardware store, of all places, holding a bag of soil and feeling completely defeated by my coffee budget. The woman ahead of me turned around, noticed me staring blankly at the display of holiday-themed mugs, and just laughed. “You’re doing the math on how many lattes you’ve bought this month, aren’t you?” she said. I hadn’t even met her before, but there I was, in the plumbing aisle, listening to a complete stranger describe exactly how to make this homemade peppermint mocha syrup. She was a retired baker who now spent her mornings tinkering with coffee recipes instead of cakes, and she told me the secret was simpler than I ever imagined. I scribbled her instructions on the back of a receipt while my soil bag dripped onto my shoes. Honestly, that moment changed how I approach my morning coffee forever. Maybe you’ve been there too—staring at the $6 price tag on a holiday drink and wondering if there’s a better way. There is, and it starts with this syrup.
This quick homemade peppermint mocha syrup for coffee has become my weeknight savior. I mean, who has time to blend fancy syrups after a long day? Not me. But this one comes together in about ten minutes, and the payoff is ridiculous. Every time I pour that rich, chocolatey-peppermint goodness into my mug, I think about that woman in the hardware store and how the best recipes come from the most unexpected places. Let me tell you, once you make this, you’ll never go back to store-bought.
Why You’ll Love This Recipe
This isn’t just another flavored syrup recipe. I’ve tested this one about a dozen times to get the balance just right. The chocolate needs to be rich but not bitter, and the peppermint should whisper, not shout. Here’s why this recipe earns a permanent spot in your fridge:
- Quick & Easy: Comes together in under 10 minutes on the stove. No candy thermometers, no complicated steps.
- Simple Ingredients: You probably have everything except the peppermint extract already in your pantry.
- Perfect for Busy Mornings: Make it once on Sunday, and you’ve got holiday coffee vibes all week long.
- Crowd-Pleaser: I’ve served this to coffee snobs and casual drinkers alike—everyone asks for the recipe.
- Unbelievably Delicious: The combination of rich cocoa and cool peppermint is pure comfort in a mug.
What makes this different from other versions? Most recipes use too much sugar or rely on artificial flavorings. This one uses real cocoa powder and pure peppermint extract for an authentic taste that actually complements your coffee instead of masking it. Plus, you control the sweetness—add more or less sugar depending on your mood.
This syrup is the kind of thing that makes you close your eyes after that first sip. It’s comfort food reimagined—faster, simpler, but with the same soul-soothing satisfaction. Perfect for turning a rushed Tuesday morning into something special without any extra stress.
What Ingredients You Will Need
This recipe uses simple, wholesome ingredients to deliver bold flavor and satisfying texture without the fuss. Most of these are pantry staples, which makes this perfect for those evenings when you’re craving something special but don’t want to run to the store.
- Granulated sugar, 1 cup (200g) — regular white sugar works best here. It dissolves cleanly and gives the syrup that perfect consistency. I’ve tried using coconut sugar, and it works, but the color turns darker and the flavor changes slightly.
- Unsweetened cocoa powder, ½ cup (50g) — use a good quality brand like Ghirardelli or Hershey’s Special Dark. The cocoa is the backbone of this syrup, so don’t skimp here. Natural cocoa powder gives a brighter chocolate flavor, while Dutch-processed makes it deeper and more mellow. Both work, just pick your preference.
- Water, 1 cup (240ml) — tap water is fine, but filtered water gives a cleaner taste if you have it.
- Pure peppermint extract, 1 teaspoon (5ml) — this is where quality matters. Use pure extract, not peppermint oil or artificial flavoring. Pure extract gives that clean, refreshing mint taste without any weird aftertaste. I recommend Nielsen-Massey or Simply Organic brands.
- Vanilla extract, ½ teaspoon (2.5ml) — adds depth and rounds out the chocolate flavor. Pure vanilla is worth the splurge here.
- Salt, a pinch — just a tiny amount. It sounds weird, but salt makes chocolate taste more chocolatey. Trust me on this one.
For a dairy-free version, you’re already set—this recipe contains no milk or cream. If you want to make it sugar-free, substitute the granulated sugar with an equal amount of monk fruit sweetener or allulose. The texture might be slightly thinner, but the flavor will still be fantastic.
One thing I learned the hard way: don’t skip the salt. The first batch I made without it tasted flat and one-dimensional. That tiny pinch makes all the difference in bringing out the cocoa’s natural richness.
Equipment Needed
You don’t need a fancy kitchen setup for this. Here’s what you’ll need:
- Small saucepan — a 2-quart saucepan works perfectly. I use my old Farberware one that’s been through countless batches.
- Whisk — a wire whisk helps prevent lumps. A fork works in a pinch, but whisking is easier.
- Measuring cups and spoons — precise measurements matter for syrup consistency.
- Glass jar or bottle — for storage. A 16-ounce mason jar is ideal. Make sure it’s heat-safe if you’re pouring hot syrup directly in.
- Funnel (optional) — makes transferring the syrup much less messy. I always spill without one.
If you don’t have a whisk, just use a fork and stir vigorously. The cocoa powder can be stubborn, but it will eventually incorporate. I’ve also used a small immersion blender to smooth out any lumps, though that’s definitely not necessary.
For storage, I recommend a glass bottle with a pour spout—it makes adding the syrup to your coffee so much easier. I found mine at a thrift store for a dollar, and it’s perfect.
Preparation Method
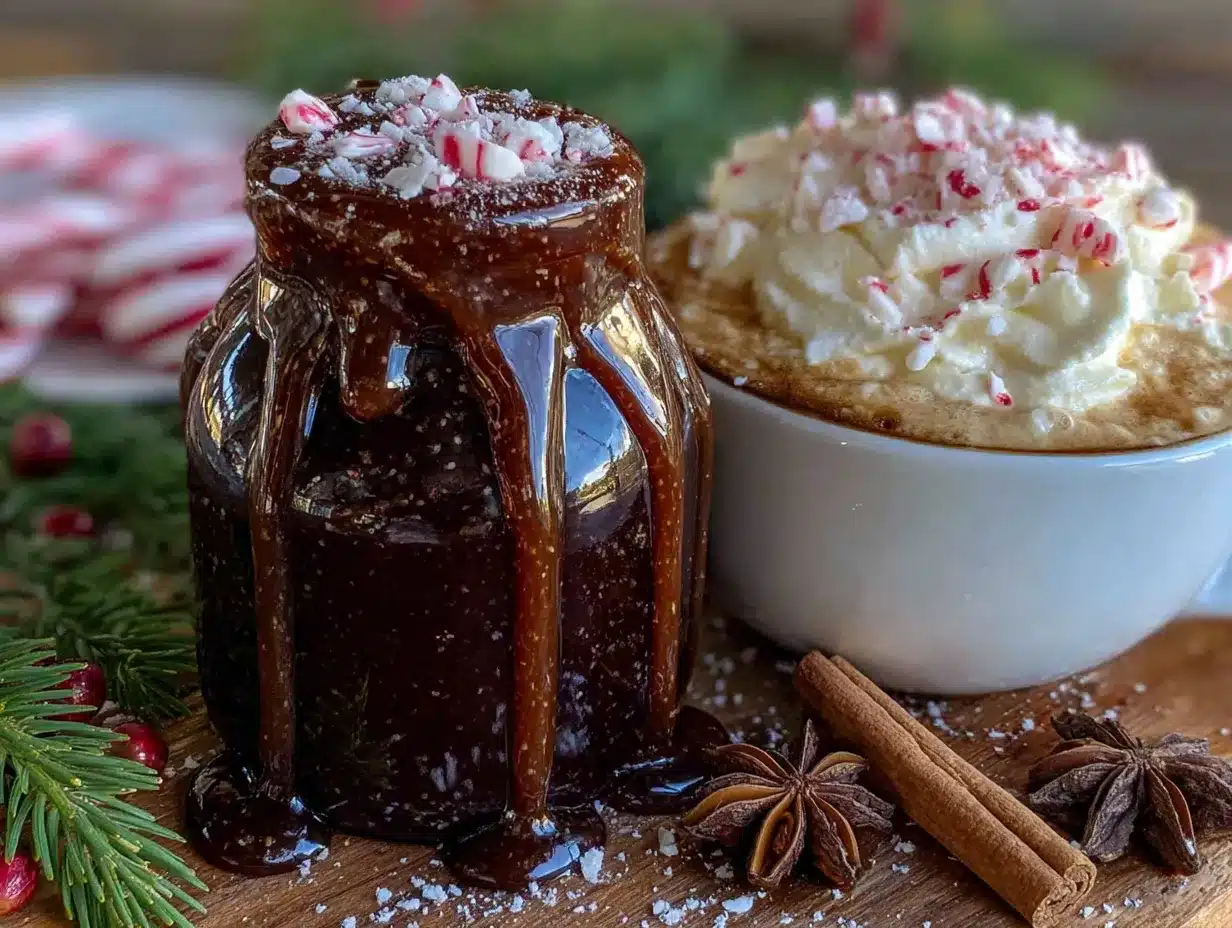
- Combine the dry ingredients. In your small saucepan, whisk together the granulated sugar, cocoa powder, and salt. Make sure there are no visible lumps of cocoa powder—this will save you frustration later. I usually spend about 30 seconds on this step.
- Add the water. Pour in the water and whisk everything together until it forms a smooth, dark liquid. Don’t worry if it looks thin at this point—it will thicken as it cooks. The mixture should be a uniform brown color with no dry spots.
- Heat the mixture. Place the saucepan over medium heat. Bring it to a gentle simmer, not a rolling boil. You’ll see small bubbles forming around the edges of the pan. This usually takes about 3-4 minutes. Stir occasionally with your whisk to prevent anything from sticking to the bottom.
- Simmer gently. Once it reaches a simmer, reduce the heat to low. Let it cook for exactly 5 minutes, stirring every minute or so. The syrup will thicken slightly and become glossy. Don’t walk away during this step—I learned that the hard way when I almost scorched a batch while checking my phone.
- Remove from heat. Take the saucepan off the burner. Let it cool for about 2 minutes. You’ll notice the syrup thickening more as it cools—that’s normal.
- Add the extracts. Stir in the peppermint extract and vanilla extract. The kitchen will smell amazing at this point. Give it a good stir to distribute the flavors evenly. Taste it carefully (it’s hot!) and adjust if needed. Want more peppermint? Add another ¼ teaspoon. Prefer a stronger chocolate flavor? Add an extra tablespoon of cocoa powder next time.
- Cool and store. Let the syrup cool completely in the saucepan, about 20-30 minutes. Once it’s room temperature, pour it into your glass jar or bottle using a funnel if you have one. Seal it tightly and store it in the refrigerator.
A few sensory cues to watch for: the syrup should look dark and glossy, like thin chocolate sauce. When you stir it, it should coat the back of a spoon lightly. If it seems too thin, don’t worry—it will thicken more as it cools. If it’s too thick after cooling, you can thin it with a tablespoon of warm water.
One personal tip: I always make a double batch now. The single batch disappears too quickly, and making it twice a week gets old fast.
Cooking Tips & Techniques
Here’s what I’ve learned from my syrup-making adventures, including the mistakes:
Low and slow is your friend. The first time I made this, I cranked the heat to high because I was impatient. Big mistake. The sugar started to caramelize unevenly, and I ended up with grainy, slightly burnt syrup. Keep the heat at medium or medium-low, and be patient. That 10-minute investment is worth it.
Watch for the simmer. You want gentle bubbles, not a vigorous boil. A rolling boil can cause the syrup to reduce too much, making it overly thick and concentrated. If you see big, aggressive bubbles, turn the heat down immediately.
Don’t skip the cooling time. I know it’s tempting to pour the syrup directly into your coffee right away, but hot syrup can make your coffee taste flat. Let it cool to room temperature first. Plus, the flavors continue to develop as it cools.
Lumps happen—here’s how to fix them. If you end up with lumps of cocoa powder in your syrup, don’t panic. Just whisk vigorously while the syrup is still warm, or use a small immersion blender to smooth it out. I’ve also strained lumpy syrup through a fine-mesh sieve with good results.
Timing strategy for busy mornings: Make this syrup on Sunday evening while you’re meal-prepping for the week. It takes less than 15 minutes of active time, and then you have holiday coffee vibes ready to go every morning. I store mine in a squeeze bottle for easy dispensing.
Variations & Adaptations
This recipe is incredibly flexible. Here are some variations I’ve tried and loved:
Dark Chocolate Peppermint Syrup
Swap the regular cocoa powder for dark cocoa powder. The result is a deeper, more intense chocolate flavor that pairs beautifully with the peppermint. I use this version when I want a more sophisticated coffee experience.
Spicy Mexican Mocha Syrup
Add ½ teaspoon of cinnamon and a pinch of cayenne pepper along with the dry ingredients. The warmth of the spices complements the chocolate and peppermint in a surprising way. This one’s for adventurous coffee drinkers.
White Chocolate Peppermint Syrup
Replace the cocoa powder with ½ cup of white chocolate chips. Add them after removing the syrup from heat, stirring until they melt completely. This creates a creamy, sweet syrup that’s perfect for vanilla lattes.
Dairy-Free Creamy Version
After removing the syrup from heat, stir in ¼ cup of full-fat coconut milk. This adds a luscious creaminess without any dairy. It’s my go-to for weekend treat coffees.
For a sugar-free adaptation, use allulose or monk fruit sweetener in place of granulated sugar. The texture will be slightly thinner, but the flavor remains excellent. I’ve tested this for a friend with diabetes, and she said it was the best sugar-free syrup she’d ever tried.
Serving & Storage Suggestions
This syrup is incredibly versatile. Here’s how to use it:
For hot coffee: Add 1-2 tablespoons of syrup to a freshly brewed cup of coffee. Stir well and top with whipped cream and crushed candy canes for the full holiday experience. The syrup dissolves best in hot coffee, so add it while the coffee is still steaming.
For iced coffee: Add the syrup to cold milk or creamer first, then pour over ice and add your coffee. This helps distribute the flavor evenly. I use about 2 tablespoons for a tall iced latte.
For milkshakes: Drizzle the syrup over vanilla ice cream or blend it into a coffee milkshake. It’s also amazing drizzled over brownies or ice cream sundaes.
Storage: Keep the syrup in an airtight container in the refrigerator. It will stay fresh for up to 3 weeks. I’ve kept batches for a month with no issues, but the flavor is best within the first two weeks.
Reheating: If the syrup thickens too much in the fridge, just microwave it for 10-15 seconds or place the jar in a bowl of warm water. Stir well before using. Don’t microwave it in a plastic container—always transfer to a microwave-safe glass or ceramic cup first.
The flavors actually deepen after a day or two in the fridge. The peppermint and chocolate meld together into something even more harmonious. So don’t worry if it tastes slightly different on day one—it gets better.
Nutritional Information & Benefits
Here’s the approximate nutritional breakdown for one serving (2 tablespoons of syrup):
- Calories: 80
- Total Fat: 0.5g
- Carbohydrates: 19g
- Sugar: 18g
- Protein: 1g
- Sodium: 15mg
The cocoa powder in this syrup is rich in antioxidants called flavonoids, which can help reduce inflammation and support heart health. Peppermint extract has natural digestive benefits and can help soothe an upset stomach. While this syrup is definitely a treat, it’s made with real ingredients rather than artificial flavors and preservatives.
For those watching their sugar intake, this recipe is easily adaptable with sugar substitutes as mentioned earlier. It’s naturally dairy-free, gluten-free, and vegan, making it accessible for various dietary needs. Just be aware that the sugar content is significant if you’re monitoring your carbohydrate intake.
I personally love that I can control exactly what goes into this syrup. No high-fructose corn syrup, no artificial colors, no mysterious preservatives. It’s just real food ingredients that I can feel good about—even if I’m having it every morning during December.
Conclusion
This quick homemade peppermint mocha syrup for coffee has genuinely changed my morning routine. What started as a random encounter in a hardware store has become one of my most-used recipes, and I think it will become one of yours too. It’s fast, forgiving, and endlessly customizable—exactly what a busy weeknight recipe should be.
I encourage you to make this your own. Add more peppermint if you love that cooling kick. Use dark cocoa for a more intense chocolate experience. Drizzle it over pancakes or stir it into hot chocolate. The possibilities are endless, and that’s the beauty of making things from scratch.
If you try this recipe, I’d love to hear about it. Leave a comment below and tell me how you used your syrup—did you add it to coffee, hot chocolate, or something completely unexpected? Share your variations and adaptations so we can all learn from each other. And if you’re feeling generous, share this recipe with a friend who needs a little holiday cheer in their morning cup.
Here’s to better coffee, simpler recipes, and the unexpected moments that bring them into our lives. Happy brewing!
Frequently Asked Questions
Can I use this syrup in cold coffee drinks?
Absolutely! The syrup dissolves well in cold beverages, especially if you stir it into a small amount of warm milk or creamer first before adding it to your iced coffee. The flavor is just as bright and delicious in cold drinks.
How long does homemade peppermint mocha syrup last?
Stored in an airtight container in the refrigerator, this syrup stays fresh for up to 3 weeks. The flavor is best within the first two weeks, but it remains safe to use for the full three weeks as long as it’s kept properly sealed.
Can I double or triple this recipe?
Yes, this recipe scales beautifully. Simply multiply all ingredients by the desired amount. Just make sure your saucepan is large enough to accommodate the increased volume. A double batch works perfectly in a 3-quart saucepan.
What if my syrup crystallizes in the fridge?
If you notice sugar crystals forming, don’t worry. Simply warm the syrup gently in the microwave or on the stovetop, stirring until the crystals dissolve. Add a tablespoon of water if needed to help re-dissolve the sugar. This usually happens if the syrup wasn’t stirred enough during cooking.
Can I use this syrup in baking?
You can! This syrup works wonderfully in recipes where you want a peppermint mocha flavor. Try swirling it into brownie batter, drizzling it over cheesecake, or using it to flavor buttercream frosting. Just reduce the liquid in your recipe slightly to account for the added moisture.
Pin This Recipe!
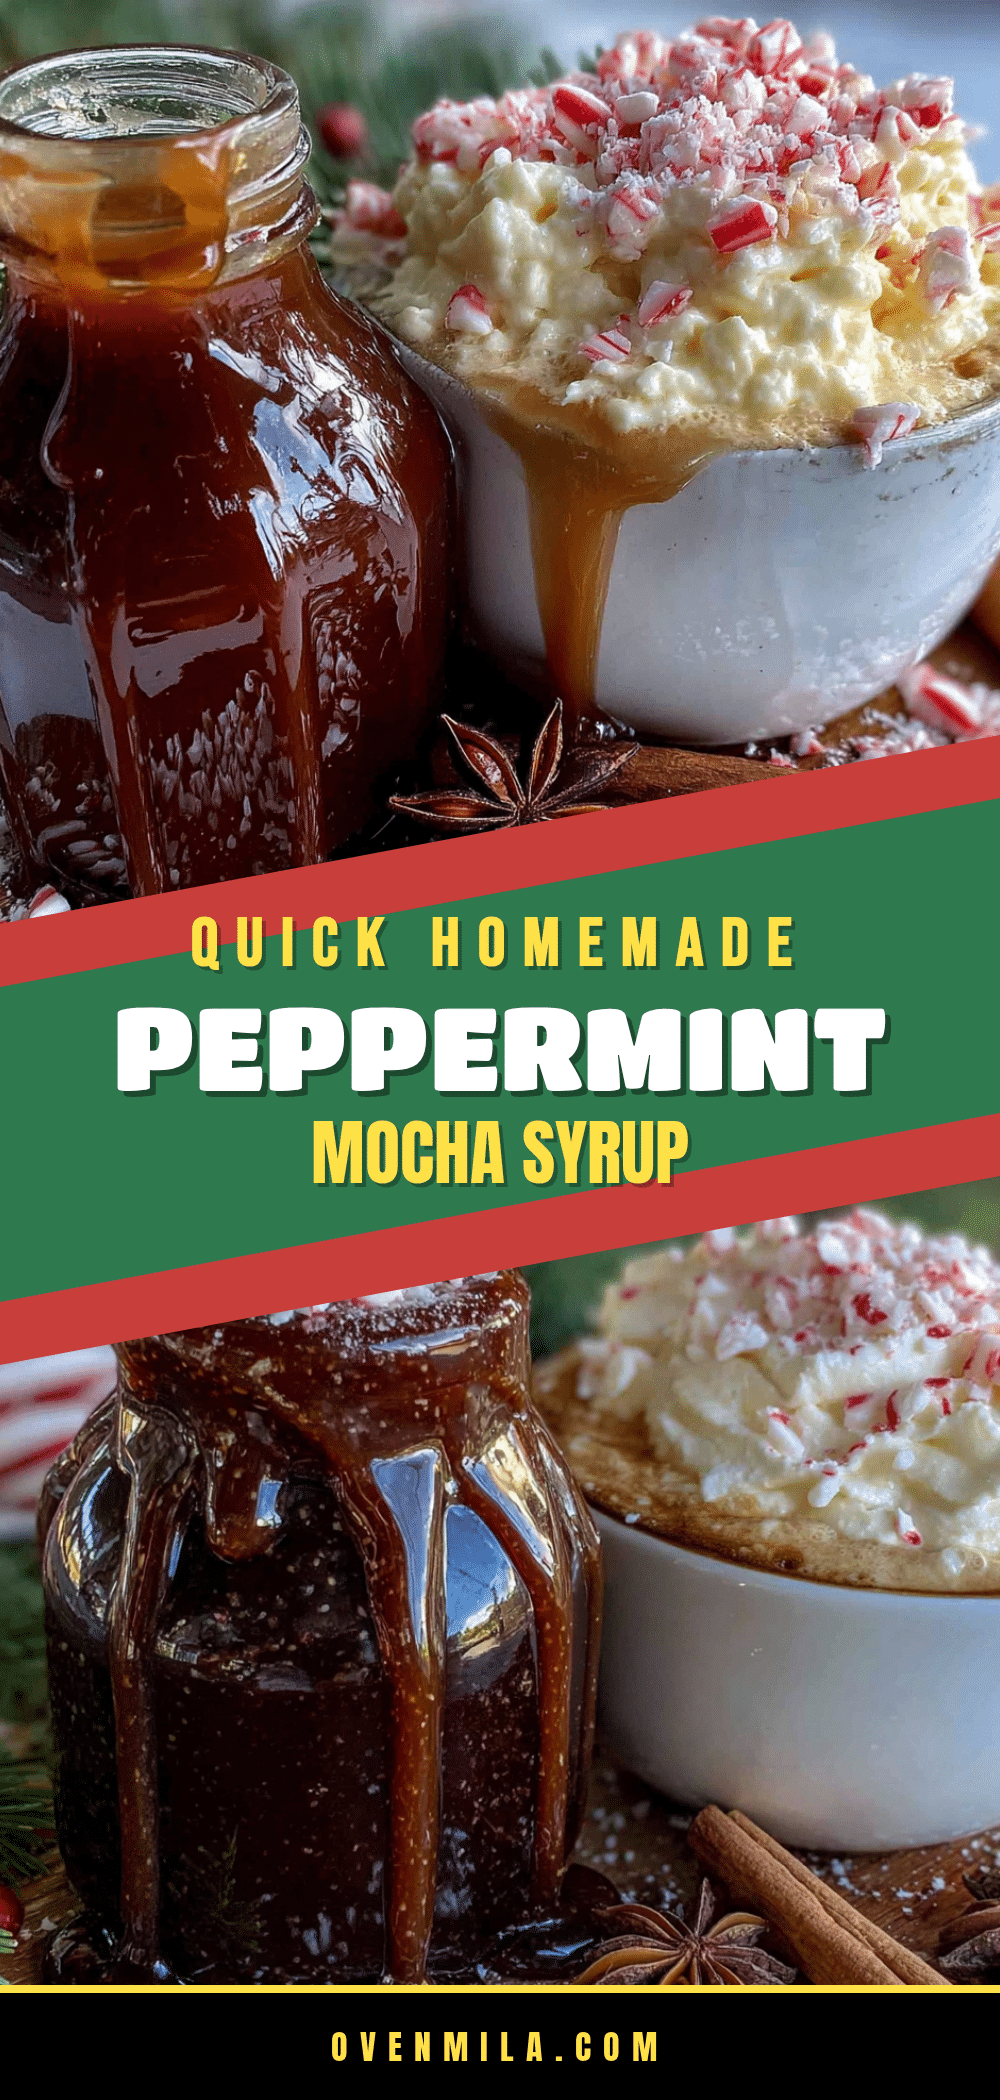
Perfect Homemade Peppermint Mocha Syrup for Easy Coffee
This quick homemade peppermint mocha syrup for coffee comes together in about ten minutes and uses simple ingredients. It’s perfect for busy mornings, turning a rushed Tuesday into something special without any extra stress.
- Prep Time: 5 minutes
- Cook Time: 10 minutes
- Total Time: 15 minutes
- Yield: 16 servings 1x
- Category: Condiment
- Cuisine: American
Ingredients
- 1 cup (200g) granulated sugar
- ½ cup (50g) unsweetened cocoa powder
- 1 cup (240ml) water
- 1 teaspoon (5ml) pure peppermint extract
- ½ teaspoon (2.5ml) vanilla extract
- a pinch of salt
Instructions
- In a small saucepan, whisk together the granulated sugar, cocoa powder, and salt until no lumps remain.
- Pour in the water and whisk until smooth and uniform in color.
- Place the saucepan over medium heat and bring to a gentle simmer (small bubbles around the edges), about 3-4 minutes, stirring occasionally.
- Reduce heat to low and simmer gently for exactly 5 minutes, stirring every minute, until the syrup thickens slightly and becomes glossy.
- Remove from heat and let cool for about 2 minutes.
- Stir in the peppermint extract and vanilla extract. Taste and adjust if desired.
- Let the syrup cool completely in the saucepan (about 20-30 minutes), then pour into a glass jar or bottle. Seal tightly and store in the refrigerator.
Notes
For a sugar-free version, substitute granulated sugar with monk fruit sweetener or allulose. The syrup will be slightly thinner. For a dairy-free creamy version, stir in ¼ cup full-fat coconut milk after removing from heat. The syrup keeps in the refrigerator for up to 3 weeks. If it thickens too much, microwave for 10-15 seconds or place the jar in warm water. The flavors deepen after a day or two.
Nutrition
- Serving Size: 2 tablespoons
- Calories: 80
- Sugar: 18
- Sodium: 15
- Fat: 0.5
- Carbohydrates: 19
- Fiber: 1
- Protein: 1
Keywords: peppermint mocha syrup, homemade coffee syrup, holiday coffee, peppermint mocha, easy syrup recipe


