It was 10:47 PM on a random Tuesday in mid-October, and I had a very specific, kind of ridiculous craving. I wanted pizza, obviously, but I also wanted it to look like a little ghost or mummy—something festive but not overly complicated. I didn’t have any fancy cookie cutters or themed baking pans, but I had a tube of refrigerated pizza dough, some string cheese, and a jar of marinara that was about to expire. The idea just arrived, fully formed, like a little culinary ghost whispering in my ear: wrap the cheese in the dough, add eyes, call it a mummy. I honestly thought it was going to be a disaster—a sticky, cheesy mess that would make me regret not just ordering a normal pepperoni. But I was tired, and the kitchen was quiet, and something about that late-night looseness made me just go for it.
I remember dropping the first little dough square on the floor—classic me—and having to start over with a sticky, slightly cat-hair-contaminated piece. But the second attempt? That one worked. The way the dough puffed up around the cheese, the way the little “eyes” (just dots of black olive) stared back at me from the baking sheet… it was honestly a little magical. Maybe you’ve been there, standing in your kitchen at an unreasonable hour, making something that feels both silly and deeply satisfying. That’s this recipe. It’s not gourmet. It’s not even particularly grown-up. But it is fun, and it works, and I have been making them every Halloween since. They’re the kind of snack that makes people smile before they even take a bite—and then they take a bite and smile even bigger because, well, it’s pizza. I mean, come on.
Why You’ll Love This Recipe
Let me tell you, after years of testing (and burning, and dropping on the floor), I have perfected these little guys. They are the ultimate Halloween snack, and here is why you are going to absolutely love them.
- Quick & Easy: From start to finish, you are looking at about 25 minutes. Seriously. Perfect for those “I need a Halloween treat right now” moments, or for a busy weeknight when the kids are bouncing off the walls.
- Simple Ingredients: You probably have most of this stuff in your fridge and pantry right now. No weird specialty items, no trips to three different stores. Just pizza dough, cheese, and a few pantry staples.
- Perfect for Halloween Parties: Whether it is a classroom party, a spooky movie night, or just a fun dinner before trick-or-treating, these mummies are the star of the show. They are cute, they are themed, and they disappear fast.
- Crowd-Pleaser: I have served these to kids, adults, and picky eaters. Everyone loves them. It is pizza in a fun costume—what is not to love?
- Unbelievably Delicious: The texture is what gets me. The dough gets golden and slightly crisp on the outside, while the cheese inside gets all gooey and stretchy. It’s next-level comfort food in a tiny, adorable package.
What makes this recipe different from all the other Halloween snacks out there? It is the perfect balance of fun and flavor. I tested a version with pre-made biscuit dough, and it was just too dense. Another version with puff pastry was too greasy. This version, using refrigerated pizza dough, is just right. It is light, it is crispy, and it wraps around the cheese like a dream. This isn’t just another Halloween recipe—it is my best version, tested and approved by a very picky panel of neighborhood kids.
This recipe is the kind that makes you close your eyes after the first bite. It is comfort food reimagined for a spooky season—faster, easier, but with the same soul-soothing satisfaction. Perfect for impressing guests without any stress, or turning a simple Tuesday night into something a little more memorable.
What Ingredients You Will Need
This recipe uses simple, wholesome ingredients to deliver big flavor and that perfect cheesy pull. No fancy stuff here—just pantry staples that come together to make something really special.
- Pizza Dough: 1 can (13.8 oz) refrigerated pizza dough (I prefer Pillsbury brand for its consistent texture, but any brand works). You can also use homemade pizza dough if you have it—just roll it out to about 1/4-inch thickness.
- String Cheese: 6 sticks of mozzarella string cheese, each cut into 4 pieces (so you have 24 little cheese logs). This is the “mummy body” and the key to that perfect stretchy cheese pull.
- Pizza Sauce: 1/2 cup of your favorite pizza sauce or marinara (for dipping). I like Rao’s Homemade for its rich flavor, but any jarred sauce works in a pinch.
- Butter: 2 tablespoons of unsalted butter, melted (for brushing on top to get that golden, crispy finish).
- Garlic Powder: 1/2 teaspoon (mixed with the melted butter for extra flavor).
- Dried Oregano: 1/2 teaspoon (for sprinkling—it adds that classic pizza parlor vibe).
- Black Olives: 12 black olives, sliced (these are for the “eyes”—you need 2 per mummy). You can also use black sesame seeds or small dots of balsamic glaze.
Ingredient Selection Tips: Look for string cheese that is firm and not too soft—it holds its shape better when baked. For the pizza dough, if you can find the thin crust version, it works beautifully because it gets extra crispy. In a pinch, you can also use crescent roll dough, but the texture will be flakier and less “pizza-like.”
Substitution Guidance: For a gluten-free option, use a gluten-free pizza dough (check the refrigerated section). For a dairy-free version, use dairy-free cheese sticks and a dairy-free butter alternative. You can also swap the pizza sauce for pesto or even a garlic butter dip for a different flavor profile.
Equipment Needed
You don’t need a lot of fancy tools for this one, which is part of the beauty. Here is what you will need:
- Baking Sheet: A standard 13×18 inch baking sheet (line it with parchment paper for easy cleanup—trust me on this one).
- Parchment Paper: Seriously, do not skip this. The cheese can leak out a little, and parchment makes cleanup a breeze.
- Sharp Knife or Pizza Cutter: For cutting the string cheese into pieces and slicing the olives. A pizza cutter works great for cutting the dough into strips.
- Pastry Brush: For brushing the melted butter mixture onto the dough. If you don’t have one, you can use a spoon or even your fingers (just wash your hands first!).
- Small Bowl: For mixing the melted butter and garlic powder.
- Cutting Board: A clean surface for rolling and cutting the dough.
I have made these with just a butter knife and my hands before, and they turned out fine. So don’t stress about the equipment. But I will say, a good pastry brush makes the buttering step so much easier and less messy. I got mine for like three dollars at the grocery store, and it has lasted for years.
Preparation Method
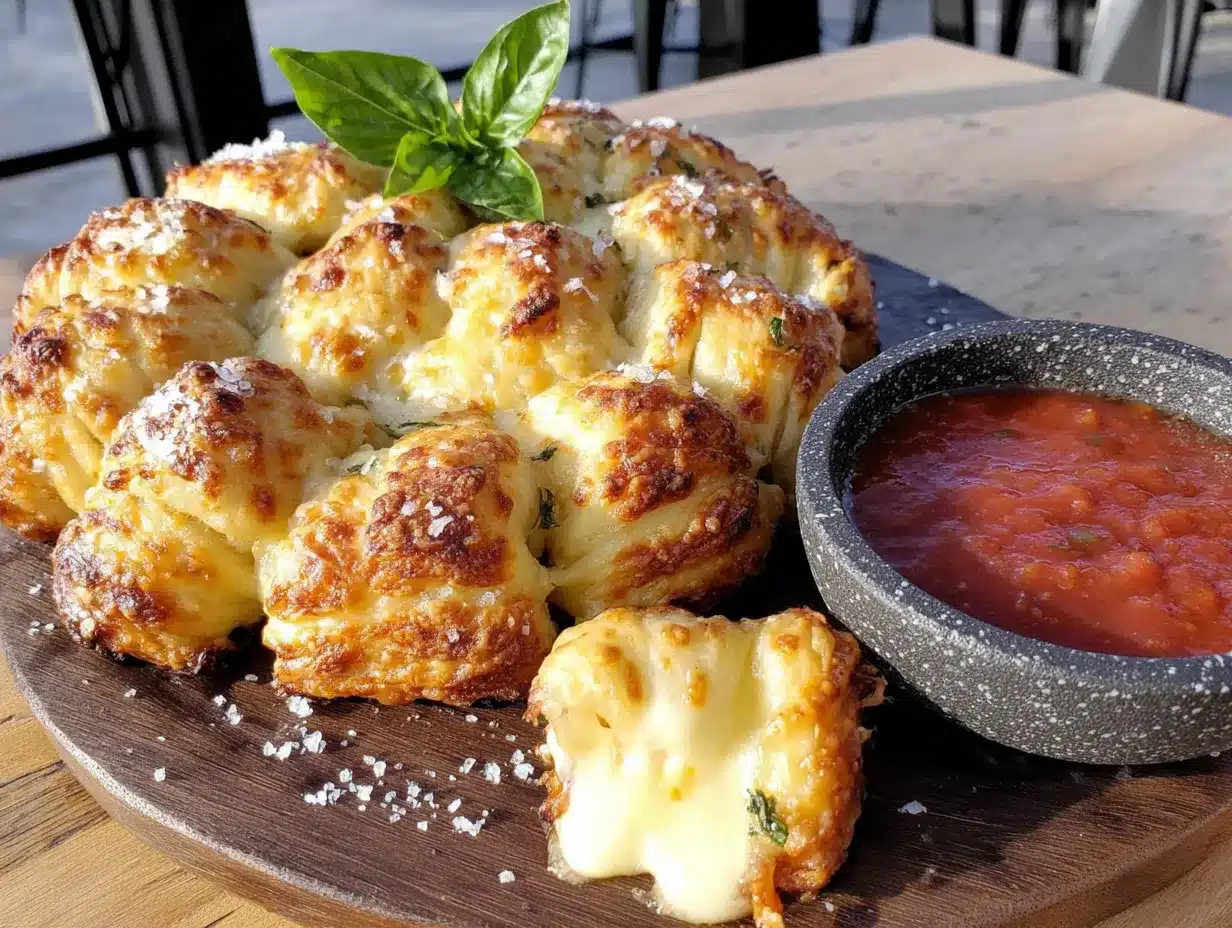
Alright, let’s get to the fun part. Here is how to make these little mummies come to life. I have broken it down into clear steps so you can follow along easily.
- Preheat your oven to 400°F (200°C). Line your baking sheet with parchment paper. This is a good time to take a deep breath and get organized. I like to set out all my ingredients so I am not scrambling later.
- Prepare the cheese. Take your 6 string cheese sticks and cut each one into 4 equal pieces. You should have 24 little cheese logs. Set them aside. If the cheese feels too soft, pop them in the freezer for 5 minutes—it makes them easier to wrap.
- Prepare the dough. Unroll the refrigerated pizza dough onto a clean cutting board or counter. Using a sharp knife or pizza cutter, cut the dough into 24 strips. They don’t have to be perfect—about 1/2 inch wide and 4-5 inches long is ideal. Honestly, some of mine are a little wonky, and they still look great.
- Wrap the mummies. Take one piece of cheese and wrap a strip of dough around it, starting at one end and working your way to the other. Leave a small gap near the top for the “eyes.” The dough should overlap slightly. Place the wrapped mummy onto the prepared baking sheet, seam side down. Repeat with all 24 pieces. This is the most time-consuming step, but it goes fast once you get into a rhythm. (I once made these while watching a movie, and before I knew it, I had a whole army of mummies.)
- Make the butter wash. In a small bowl, mix the 2 tablespoons of melted butter with the 1/2 teaspoon of garlic powder. Brush this mixture over the tops of all the mummies. This is what gives them that beautiful golden color and adds a ton of flavor.
- Sprinkle with oregano. Sprinkle the dried oregano evenly over the mummies. Don’t be shy—it adds that classic pizza flavor and makes the kitchen smell amazing.
- Bake. Place the baking sheet in the preheated oven and bake for 10-12 minutes, or until the dough is golden brown and the cheese is melted and bubbly. Keep an eye on them—ovens can vary. You want them golden, not burnt. (I learned this the hard way when I got distracted by a phone call and ended up with charcoal mummies. Not cute.)
- Add the eyes. While the mummies are still warm (but not too hot to handle), press two olive slices onto each mummy to create the eyes. The cheese will be soft enough to hold them in place. If you are using black sesame seeds, just press them in gently.
- Serve immediately. Arrange your mummy pizza bites on a platter with a small bowl of warm pizza sauce for dipping. Watch them disappear.
Sensory Cues: When the dough is wrapped around the cheese, it should feel snug but not tight. When you brush on the butter, you should see the dough glisten. When they come out of the oven, the kitchen will smell like a pizzeria, and the bottoms of the mummies should be a deep, even gold.
Cooking Tips & Techniques
I have made these mummy pizza bites more times than I care to count, and I have definitely made some mistakes along the way. Here are my best tips to help you nail it on the first try.
Don’t overwork the dough. Pizza dough is forgiving, but if you handle it too much, it can get tough. Just unroll it, cut it, and wrap it. No kneading, no fussing. I learned this after a batch that came out like little bread sticks instead of light, airy mummies.
Leave the gap for the eyes. This is the one thing that makes them look like mummies instead of cheesy breadsticks. When you wrap the dough, stop about half an inch from the top. That little exposed spot is where the eyes go. I forgot to do this once and ended up with a bunch of little dough blobs with olives stuck on top. They still tasted good, but they were not as cute.
Use cold cheese. If your cheese is too warm, it will start to melt before the dough is fully cooked, and you will end up with a gooey mess. Keep the string cheese in the fridge until the last minute. If your kitchen is warm, you can even pop the wrapped mummies in the fridge for 10 minutes before baking.
Space them out. Give each mummy a little breathing room on the baking sheet. They will puff up as they bake, and if they are too close together, they will merge into one giant mummy blob. Which, honestly, could be kind of fun for a monster-themed party, but not what we are going for here.
Multitasking strategy: While the mummies are baking, warm up the pizza sauce in a small saucepan or in the microwave. That way, everything is ready at the same time. I like to set out the serving platter and napkins too—makes the final step feel effortless.
Variations & Adaptations
One of the best things about this recipe is how easy it is to customize. Here are a few variations I have tried and loved.
Spicy Mummies: Add a pinch of red pepper flakes to the melted butter mixture before brushing it on. It gives the mummies a little kick without being overwhelming. I did this for a grown-up Halloween party, and they were a huge hit.
Pepperoni Mummies: Before wrapping the cheese, place a small piece of pepperoni on top of the cheese log. Wrap the dough around both. It adds a salty, savory flavor that takes these to the next level. My neighbor Karen tried this version and now refuses to make them any other way.
Veggie Mummies: For a slightly healthier version, add a thin strip of roasted red pepper or a small piece of sun-dried tomato under the dough wrap. It adds color and a little sweetness.
Gluten-Free Version: Use a gluten-free pizza dough (the kind in the refrigerated section works great). The texture will be a little different—slightly more crumbly—but the flavor is still fantastic. Just be gentle when wrapping to avoid tearing the dough.
Air Fryer Adaptation: You can absolutely make these in an air fryer. Preheat the air fryer to 375°F (190°C). Place the mummies in the basket in a single layer (you may need to work in batches). Cook for 6-8 minutes, until golden and crispy. The air fryer version is actually my favorite—they come out extra crispy on the outside and perfectly gooey on the inside.
Serving & Storage Suggestions
These mummy pizza bites are best served warm, right out of the oven. The cheese is stretchy, the dough is crispy, and the eyes are staring at you. It is a beautiful moment.
Serving Temperature: Serve them warm, with a side of warm pizza sauce for dipping. You can also serve them with ranch dressing or garlic butter if you want to mix it up. I like to arrange them on a black platter for Halloween—it makes the golden color pop.
Complementary Dishes: These are great as a snack on their own, but they also pair well with a simple green salad or a bowl of tomato soup for a full meal. For a Halloween party, serve them alongside other spooky snacks like “witch finger” breadsticks or “ghost” fruit cups.
Storage Instructions: If you have leftovers (unlikely, but possible), store them in an airtight container in the refrigerator for up to 3 days. The dough will soften a bit, but they will still taste great.
Reheating Methods: To reheat, pop them in a 350°F (175°C) oven for 5-7 minutes, or until warmed through. You can also reheat them in the air fryer at 350°F for 3-4 minutes. Avoid the microwave if you can—it makes the dough soggy. I speak from sad, soggy experience.
Flavor Development: Honestly, these are best fresh. The magic is in that first bite when the cheese is still stretchy and the dough is crisp. But if you do have leftovers, the flavors meld together nicely overnight, and they make a great cold snack straight from the fridge the next day.
Nutritional Information & Benefits
Let’s be real—these are a fun, indulgent treat. But that doesn’t mean they can’t fit into a balanced diet. Here is a rough estimate of the nutritional breakdown per serving (about 4 mummy bites).
| Nutrient | Amount per Serving |
|---|---|
| Calories | 280 |
| Total Fat | 12g |
| Saturated Fat | 6g |
| Cholesterol | 30mg |
| Sodium | 620mg |
| Total Carbohydrates | 30g |
| Dietary Fiber | 1g |
| Sugars | 4g |
| Protein | 12g |
Health Benefits of Key Ingredients: Mozzarella cheese is a good source of calcium and protein, which are important for bone health and muscle function. The olive oil in the pizza dough provides healthy monounsaturated fats. And the garlic powder? It has been linked to immune-boosting properties. So, you know, it is practically health food. (I am kidding. Mostly.)
Dietary Considerations: This recipe is vegetarian. For a gluten-free version, use gluten-free pizza dough. For a lower-carb version, you can try using a low-carb tortilla as the wrap, but the texture will be different. The main allergens are wheat (gluten) and dairy (milk).
Conclusion
So there you have it—my little late-night kitchen experiment that turned into a Halloween tradition. These Easy Cheesy Mummy Pizza Bites are proof that you don’t need fancy ingredients or hours of prep to make something fun and delicious. They are simple, they are silly, and they taste amazing. That is a winning combination in my book.
I really hope you give these a try. Customize them however you like—add pepperoni, make them spicy, or keep them classic. The beauty of this recipe is that it is a canvas for your own creativity. And honestly, they are so much fun to make. I still smile every time I pull a tray of these little guys out of the oven.
If you make them, I would love to hear about it. Leave a comment below and tell me how they turned out. Did you add any fun variations? Did your kids love them? Did you accidentally burn a batch like I did? Share your stories! And if you have a favorite Halloween snack, I am always looking for new ideas. Happy Halloween, and happy snacking!
Frequently Asked Questions
Can I make these ahead of time?
You can assemble the mummies up to a day ahead of time. Just wrap the cheese in the dough, place them on the baking sheet, and cover with plastic wrap. Keep them in the refrigerator until you are ready to bake. Add the butter wash and oregano right before baking for the best results.
Can I freeze these?
Yes! You can freeze the unbaked mummies. Place them on a baking sheet in the freezer until they are solid (about 1-2 hours), then transfer them to a freezer-safe bag. When you are ready to bake, add a few extra minutes to the baking time. You can also freeze baked mummies—just reheat them in the oven or air fryer.
What if I don’t have string cheese?
No problem! You can use any mozzarella cheese cut into small logs. Fresh mozzarella works, but it will be softer and may melt more quickly. If using fresh mozzarella, pat it dry with paper towels before wrapping to remove excess moisture.
Can I use homemade pizza dough?
Absolutely. Just roll it out to about 1/4-inch thickness and cut it into strips. Homemade dough might be a little more elastic, so let it rest for a few minutes if it keeps springing back. The flavor will be even better!
My dough keeps tearing when I wrap the cheese. What am I doing wrong?
The dough might be too cold, or you might be pulling it too tight. Let the dough sit at room temperature for about 10 minutes before cutting and wrapping. If it is still tearing, your strips might be too thin—try cutting them a little wider. And remember, they don’t have to be perfect. Even torn mummies taste great!
Pin This Recipe!
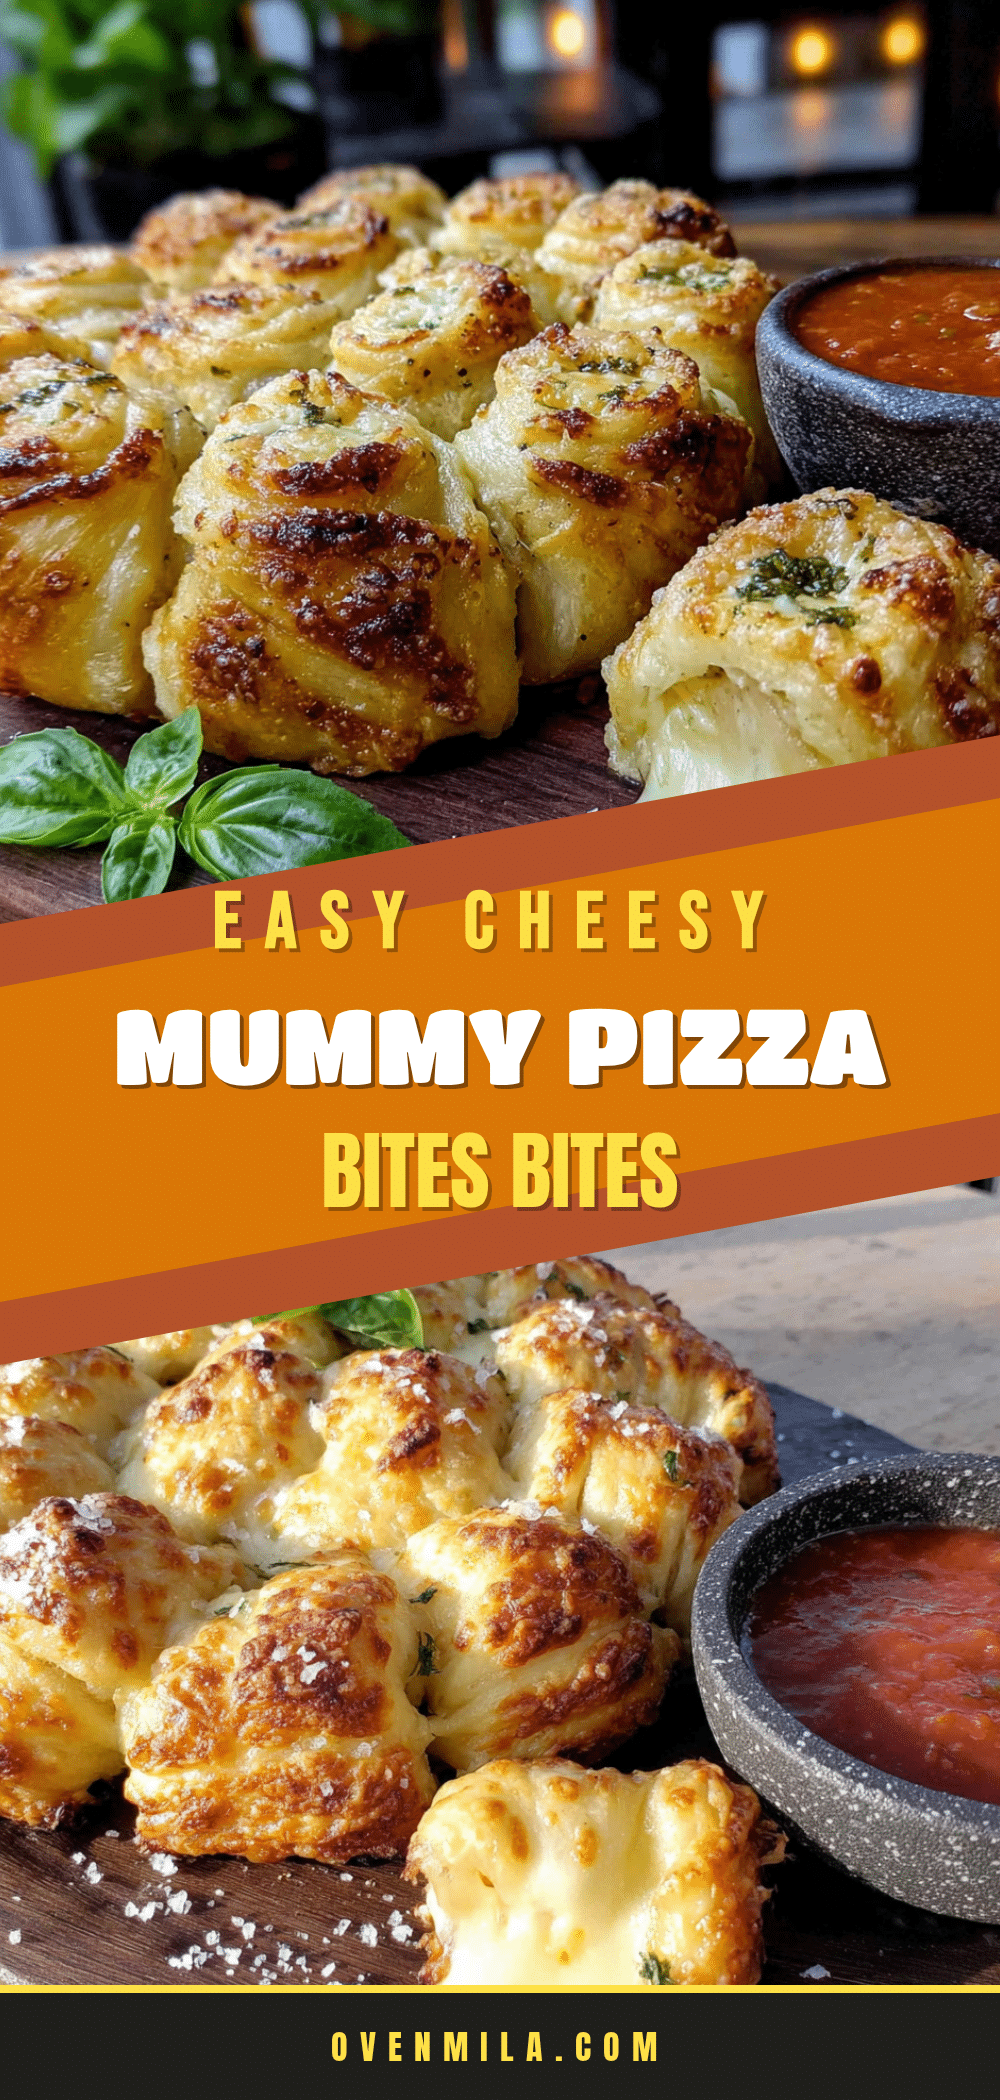
Easy Cheesy Mummy Pizza Bites: Perfect Halloween Snack
These adorable mummy pizza bites are made with refrigerated pizza dough, string cheese, and black olive eyes. They are quick, easy, and perfect for Halloween parties or a fun weeknight dinner.
- Prep Time: 15 minutes
- Cook Time: 12 minutes
- Total Time: 27 minutes
- Yield: 6 servings (4 mummy bites per serving) 1x
- Category: Appetizer
- Cuisine: American
Ingredients
- 1 can (13.8 oz) refrigerated pizza dough (e.g., Pillsbury)
- 6 sticks mozzarella string cheese, each cut into 4 pieces
- 1/2 cup pizza sauce or marinara (for dipping)
- 2 tablespoons unsalted butter, melted
- 1/2 teaspoon garlic powder
- 1/2 teaspoon dried oregano
- 12 black olives, sliced (for eyes)
Instructions
- Preheat oven to 400°F (200°C). Line a baking sheet with parchment paper.
- Cut each string cheese stick into 4 equal pieces to make 24 cheese logs.
- Unroll pizza dough onto a cutting board. Cut into 24 strips, about 1/2 inch wide and 4-5 inches long.
- Wrap one strip of dough around each cheese log, starting at one end and leaving a small gap near the top for eyes. Place seam-side down on the prepared baking sheet.
- In a small bowl, mix melted butter with garlic powder. Brush mixture over the tops of all mummies.
- Sprinkle dried oregano evenly over the mummies.
- Bake for 10-12 minutes, until dough is golden brown and cheese is melted.
- While still warm, press two olive slices onto each mummy for eyes.
- Serve immediately with warm pizza sauce for dipping.
Notes
For best results, keep string cheese cold until ready to use. If dough tears, let it sit at room temperature for 10 minutes before wrapping. For air fryer: cook at 375°F (190°C) for 6-8 minutes. Can be assembled up to a day ahead and refrigerated unbaked.
Nutrition
- Serving Size: 4 mummy bites
- Calories: 280
- Sugar: 4
- Sodium: 620
- Fat: 12
- Saturated Fat: 6
- Carbohydrates: 30
- Fiber: 1
- Protein: 12
Keywords: Halloween, mummy, pizza bites, snack, easy, cheesy, string cheese, party food


