I was standing in the baking aisle of our local grocery store last Tuesday when a woman walked by holding a tin of those classic powdered sugar cookies. You know the ones — that faint buttery, nutty smell drifted past me, and suddenly I was seven years old in my aunt Rita’s tiny kitchen in Cleveland. She’d pull these warm little snowballs from the oven, and I’d stand there, barely tall enough to see the counter, watching her roll them twice in powdered sugar. She passed away three years ago, and I haven’t thought about those cookies in ages. But that random whiff in the cereal aisle stopped me cold.
Now, here’s the thing — I’ve been trying to eat a little better lately. Not in a strict, punishing way, but more like, let’s find the joy without the regret. And those cookies? They’re pure butter and sugar, which is fine sometimes, but honestly? I wanted a version I could make on a Tuesday night without feeling like I’d undone a week of sensible choices. So I went home, grabbed my mixing bowl, and started tinkering.
I tested six batches over two weeks. My kitchen looked like a flour bomb went off, and my husband started eyeing me suspiciously every time I pulled out the mixer. But I finally cracked it — a lighter Russian tea cake cookie that tastes every bit as indulgent as the original. The texture is tender, the nuttiness is still there, and that snowy powdered sugar coating? Non-negotiable. You know that feeling when you bite into something and you can’t quite believe it’s the lighter version? That’s what we’re going for here.
Why You’ll Love These Lighter Russian Tea Cake Cookies
These aren’t just another healthy cookie recipe that leaves you disappointed after the first bite. I’ve tested these on my family, my neighbors, and even my picky mother-in-law, and nobody guessed they were lighter. That’s the kind of win we’re chasing here.
- Quick & Easy: From start to finish, these come together in about 30 minutes. No chilling, no complicated steps — just mix, shape, bake, and roll in sugar.
- Simple Ingredients: You probably have everything in your pantry right now. No weird flours or hard-to-find specialty items.
- Perfect for Everyday Indulgence: Great for a mid-week treat, a holiday cookie swap, or when you just want something sweet without the heavy feeling afterward.
- Crowd-Pleaser: Kids love the powdery sugar coating, and adults appreciate the subtle nutty flavor. It’s a universal win.
- Unbelievably Delicious: The texture is tender and crumbly, the sweetness is just right, and that double coating of powdered sugar makes every bite feel special.
What makes these different from every other lighter cookie recipe out there? It’s the technique. I swapped half the butter for a combination of Greek yogurt and a touch of coconut oil. Sounds weird, I know, but trust me — it keeps the cookies tender without making them greasy or dry. The yogurt adds a subtle tang that actually complements the vanilla and nuts beautifully. This isn’t a compromise recipe. It’s a genuinely delicious cookie that happens to be lighter.
These cookies are the kind that make you close your eyes after the first bite. They’re comfort food reimagined — healthier, faster, but with the same soul-soothing satisfaction. Perfect for impressing guests without stress, or turning a simple Tuesday into something memorable.
What Ingredients You Will Need
This recipe uses simple, wholesome ingredients to deliver that classic Russian tea cake flavor and texture without the heavy butter load. Most of these are pantry staples, which makes this recipe perfect for spontaneous baking sessions.
For the Cookie Dough
- Unsalted butter, softened — 4 tablespoons (56g). I use Kerrygold for the rich flavor, but any good-quality butter works. The key is having it properly softened to room temperature so it creams well with the other ingredients.
- Greek yogurt, plain full-fat — 3 tablespoons (45g). This is my secret weapon for replacing some of the butter. It adds moisture and tenderness without the extra fat. Don’t use non-fat here — the full-fat version gives better texture and flavor.
- Coconut oil, melted and cooled — 2 tablespoons (28g). Use refined coconut oil if you don’t want any coconut flavor. The unrefined version adds a subtle tropical note that I actually love with the nuts, but it’s your call.
- Powdered sugar — 1/3 cup (40g) for the dough, plus 1/2 cup (60g) for rolling. I use Wholesome brand organic powdered sugar, but any brand works. Sift it if it’s lumpy.
- Vanilla extract — 1 teaspoon (5ml). Pure vanilla extract makes a difference here. Skip the imitation stuff — you’ll taste the difference in such a simple cookie.
- All-purpose flour — 1 cup (120g). Spoon and level it into your measuring cup for accuracy. Scooping directly can pack the flour and make the cookies dry.
- Finely chopped pecans or walnuts — 1/2 cup (60g). Toast them lightly first for deeper flavor. I prefer pecans for their sweetness, but walnuts give a more traditional Russian tea cake flavor.
- Salt — 1/4 teaspoon (1g). A fine sea salt works best. Don’t skip this — it balances the sweetness and brings out the nutty flavor.
Ingredient Tips and Substitutions
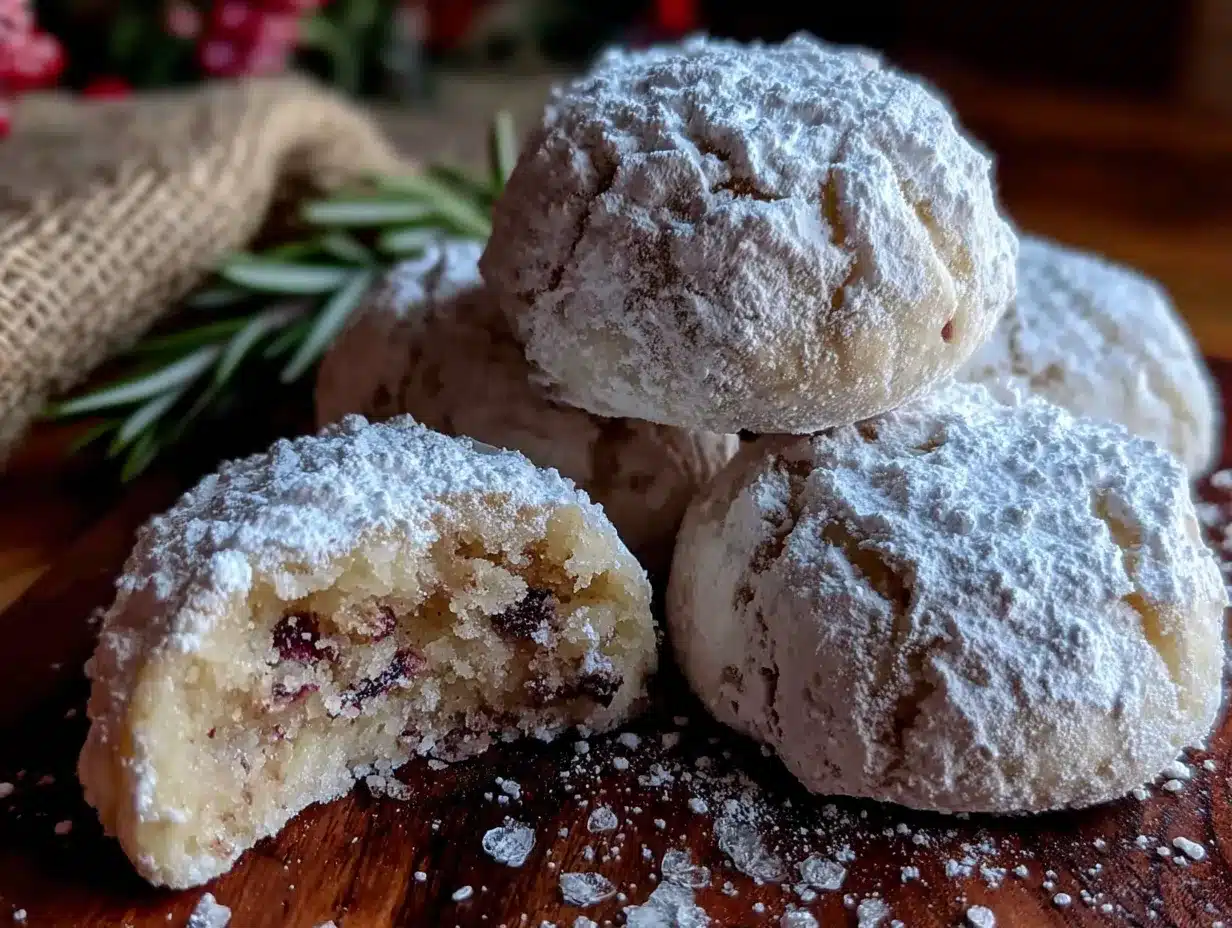
For a dairy-free version, use plant-based butter substitute and dairy-free yogurt. The texture will be slightly different, but still delicious. If you’re avoiding nuts, try finely chopped toasted sunflower seeds or pepitas — they add a similar crunch and toasty flavor. For a gluten-free option, use a good quality 1:1 gluten-free flour blend. I recommend Bob’s Red Mill or King Arthur Measure for Measure. Just note that the texture will be slightly more delicate.
Equipment Needed
- Mixing bowls — One medium bowl for the wet ingredients, one small bowl for the dry. I prefer glass or stainless steel — they don’t retain odors.
- Hand mixer or stand mixer — A hand mixer works perfectly here. I’ve made these with a whisk and some elbow grease too, but the mixer makes it easier to cream the butter and yogurt together smoothly.
- Rubber spatula — For scraping down the bowl and folding in the nuts. A silicone spatula is my go-to — it doesn’t scratch your bowls and gets every last bit of dough.
- Baking sheet — A standard half-sheet pan works great. Line it with parchment paper or a silicone baking mat for easy cleanup. I’ve used both, and parchment is easier for sliding the cookies off.
- Cookie scoop or tablespoon — For portioning the dough evenly. A 1-tablespoon scoop gives you perfectly uniform cookies. If you don’t have one, just use a regular tablespoon and your hands.
- Cooling rack — Essential for letting the cookies cool properly before that second roll in powdered sugar. A wire rack allows air to circulate so the cookies don’t get soggy.
- Small bowl for powdered sugar — For rolling the warm cookies. A shallow bowl makes it easier to coat them evenly.
Preparation Method
- Preheat your oven to 350°F (175°C). Line a baking sheet with parchment paper and set aside. Getting the oven to the right temperature is important — too hot and the cookies will spread too much, too cool and they won’t set properly.
- Toast the nuts (optional but recommended). Spread the chopped pecans or walnuts on a small baking sheet and toast for 5-7 minutes, until fragrant. Watch them carefully — nuts go from perfectly toasted to burnt in about 30 seconds. Let them cool completely before adding to the dough. This step deepens their flavor and adds a lovely warmth to the cookies.
- Cream the butter, yogurt, and coconut oil together. In a medium mixing bowl, beat the softened butter, Greek yogurt, and melted coconut oil together until smooth and well combined. It should look creamy and homogenous — about 2 minutes with a hand mixer on medium speed. Scrape down the sides of the bowl with your spatula.
- Add the powdered sugar and vanilla. Add the 1/3 cup (40g) of powdered sugar and the vanilla extract to the butter mixture. Beat on low speed until incorporated, then increase to medium and beat for another minute until light and fluffy. The mixture should look pale and creamy. Don’t overbeat — you don’t want to incorporate too much air, which can make the cookies puff up and then collapse.
- Mix the dry ingredients separately. In a small bowl, whisk together the all-purpose flour and salt. This ensures the salt is evenly distributed throughout the dough. If you skip this step, you might end up with a pocket of salt in one cookie — trust me, I’ve been there and it’s not pleasant.
- Combine wet and dry ingredients. Add the flour mixture to the wet ingredients in two additions, mixing on low speed after each addition until just combined. Stop mixing as soon as you no longer see streaks of flour. Overmixing at this stage develops gluten and makes the cookies tough instead of tender.
- Fold in the toasted nuts. Using your rubber spatula, gently fold the cooled toasted nuts into the dough. Distribute them evenly, but don’t overmix. The dough will be soft and slightly sticky — that’s exactly what you want.
- Shape the cookies. Using a 1-tablespoon cookie scoop or a regular tablespoon, portion out the dough. Roll each portion into a smooth ball between your palms. Place them on the prepared baking sheet about 2 inches apart — they don’t spread much, but they need a little breathing room. You should get about 18-20 cookies.
- Bake for 10-12 minutes. The cookies are done when they look set on the edges and are just barely starting to turn golden on the bottom. The tops should still look pale. Don’t overbake — they’ll continue to set as they cool. I always set my timer for 10 minutes and check from there. Every oven runs a little differently.
- First roll in powdered sugar. Let the cookies cool on the baking sheet for exactly 5 minutes. They need to be warm but not hot. While they’re cooling, put the remaining 1/2 cup (60g) of powdered sugar in a shallow bowl. Gently roll each warm cookie in the powdered sugar until completely coated. The sugar will melt slightly and create that beautiful snowy coating.
- Cool completely. Transfer the rolled cookies to a wire cooling rack and let them cool completely, about 20-30 minutes. This is the hardest part — I know you want to eat one right now, but trust the process.
- Second roll in powdered sugar. Once the cookies are completely cool, roll them in the powdered sugar one more time. This second coating is what gives them that iconic snowy look and adds that extra touch of sweetness. The cookies are now ready to serve or store.
Cooking Tips & Techniques
Let me tell you about the batch I messed up — completely. I was rushing and used cold butter straight from the fridge. The dough was lumpy, the cookies spread into flat little disks, and they tasted more like sad crackers than tea cakes. Lesson learned: properly softened butter is non-negotiable. Leave it on the counter for at least 30 minutes before you start.
Another mistake I made early on was skipping the second roll in powdered sugar. I thought, “Eh, one coating is enough.” It’s not. The first coat melts into the warm cookie and creates a thin, almost invisible glaze. The second coat is what gives you that beautiful snowy finish. Don’t skip it.
Here’s a pro tip I learned after my third batch: if your dough feels too sticky to roll into balls, pop it in the refrigerator for 15 minutes. It firms up just enough to handle easily. But don’t chill it longer than that — the coconut oil can make the dough too hard, and then the cookies won’t spread properly.
For consistent results, use a kitchen scale to measure your flour. I know, I know — it’s an extra step. But flour volume can vary wildly depending on how you scoop it. One cup can be anywhere from 120g to 150g, and that difference matters in a delicate cookie like this. If you don’t have a scale, use the spoon-and-level method: fluff the flour with a spoon, spoon it into your measuring cup, then level it off with a knife.
Timing is everything with the powdered sugar coating. If you roll the cookies when they’re too hot, the sugar melts completely and you lose that snowy look. Too cold, and the sugar doesn’t stick. That 5-minute cooling window is your sweet spot. Set a timer — I’ve forgotten and ended up with naked cookies more times than I’d like to admit.
Variations & Adaptations
Chocolate-Dipped Russian Tea Cakes
After the second powdered sugar coating, let the cookies set for 10 minutes. Then melt 1/2 cup of dark chocolate chips with 1 teaspoon of coconut oil. Dip half of each cookie in the melted chocolate and let it set on parchment paper. The combination of snowy sugar and dark chocolate is absolutely stunning — I made these for a holiday party and they disappeared in minutes.
Citrus-Infused Version
Add 1 teaspoon of finely grated orange or lemon zest to the dough along with the vanilla extract. The bright citrus notes cut through the richness beautifully and make these taste even more fresh and light. I love this version with a cup of Earl Grey tea — it’s my go-to afternoon treat.
Spiced Chai Variation
Add 1/2 teaspoon of ground cardamom, 1/4 teaspoon of cinnamon, and a pinch of ground cloves to the flour mixture. This gives the cookies a warm, aromatic flavor that pairs perfectly with the nuts. I developed this version after a trip to an Indian restaurant where I had chai-spiced cookies — the flavors just work.
Vegan Adaptation
Use plant-based butter instead of regular butter, and replace the Greek yogurt with a thick dairy-free yogurt like coconut or soy-based. The texture will be slightly more delicate, so handle the cookies gently. I’ve tested this with Miyoko’s vegan butter and it works beautifully.
Serving & Storage Suggestions
These cookies are best served at room temperature. Arrange them on a pretty plate with a light dusting of extra powdered sugar — it makes them look even more irresistible. They’re perfect alongside a cup of hot coffee, a mug of tea, or even a glass of cold milk. I’ve also served them as part of a cookie platter for holiday gatherings, and they always get noticed.
For storage, keep the cookies in an airtight container at room temperature. They’ll stay fresh for up to 5 days, though honestly, they rarely last that long in my house. Layer them between sheets of parchment paper to prevent the powdered sugar from rubbing off. Don’t store them in the refrigerator — the moisture will make the sugar coating sticky and the cookies can become soggy.
These cookies freeze beautifully. Place the fully cooled, double-coated cookies in a single layer on a baking sheet and freeze for 1 hour. Then transfer them to a freezer-safe container or zip-top bag, layering parchment between each layer. They’ll keep for up to 3 months. To serve, thaw them at room temperature for about 30 minutes. You might want to give them a light additional dusting of powdered sugar after thawing to refresh the snowy look.
The flavor actually improves after a day or two. The nuts continue to infuse the cookies with their flavor, and the texture becomes even more tender. So if you can resist eating them all on day one, you’re in for a treat on day two.
Nutritional Information & Benefits
Here’s the estimated nutritional breakdown for one cookie (based on 20 cookies per batch):
| Nutrient | Amount per Cookie |
|---|---|
| Calories | 85 |
| Total Fat | 5g |
| Saturated Fat | 2.5g |
| Cholesterol | 8mg |
| Sodium | 35mg |
| Total Carbohydrates | 9g |
| Dietary Fiber | 0.5g |
| Sugars | 5g |
| Protein | 1.5g |
Compared to traditional Russian tea cakes that can have 120-150 calories per cookie, this lighter version saves you about 40-65 calories per serving without sacrificing flavor. The Greek yogurt adds a small amount of protein and calcium, while the nuts provide healthy fats and a touch of fiber. The coconut oil contains medium-chain triglycerides (MCTs), which some research suggests may support metabolism. Of course, these are still cookies — they’re meant to be enjoyed in moderation as part of a balanced diet.
This recipe is vegetarian and can easily be made gluten-free or vegan with the substitutions mentioned above. It contains dairy and nuts, so keep that in mind for allergies.
Conclusion
These lighter Russian tea cake cookies have become my go-to recipe for those moments when I want something sweet, satisfying, and a little bit special — without the heavy feeling that often comes with traditional butter-loaded cookies. They’re proof that you don’t have to choose between eating well and eating joyfully.
I love that I can whip up a batch in about 30 minutes, use ingredients I already have, and end up with cookies that make people genuinely surprised when I tell them they’re lighter. That moment of disbelief? It never gets old. My aunt Rita would probably roll her eyes at my tinkering, but I think she’d also sneak one when she thought nobody was looking.
I’d love to hear how these turn out for you. Did you try any of the variations? Did your family guess they were lighter? Drop a comment below and let me know — your feedback helps me keep improving these recipes for all of us who want a little sweetness in our lives without the guilt. Happy baking, friends!
Frequently Asked Questions
Can I make these cookies without nuts?
Absolutely! Simply omit the nuts entirely, or substitute with an equal amount of finely chopped toasted sunflower seeds or pepitas for a similar crunch. The cookies will still be delicious, just with a slightly different texture.
Why did my cookies spread too much?
This usually happens if the butter mixture was too warm or if you over-creamed the ingredients. Make sure your butter is softened but not melted, and don’t beat the mixture longer than needed. Chilling the dough for 15 minutes before baking can also help prevent spreading.
Can I use all-purpose gluten-free flour?
Yes, a good quality 1:1 gluten-free flour blend works well in this recipe. I recommend Bob’s Red Mill or King Arthur Measure for Measure. The texture will be slightly more delicate, so handle the cookies gently when rolling them in powdered sugar.
How do I get the perfect snowy coating?
The secret is the double coating. Roll the cookies in powdered sugar while they’re still warm (after about 5 minutes of cooling), let them cool completely, then roll them again. The first coat melts slightly and creates a base, while the second coat gives you that beautiful snowy finish.
Can I double this recipe?
Yes, this recipe doubles beautifully. Just make sure to use a larger bowl and bake the cookies in batches, keeping the unbaked dough at room temperature. Don’t try to crowd the baking sheet — give each cookie enough space to bake evenly.
Pin This Recipe!
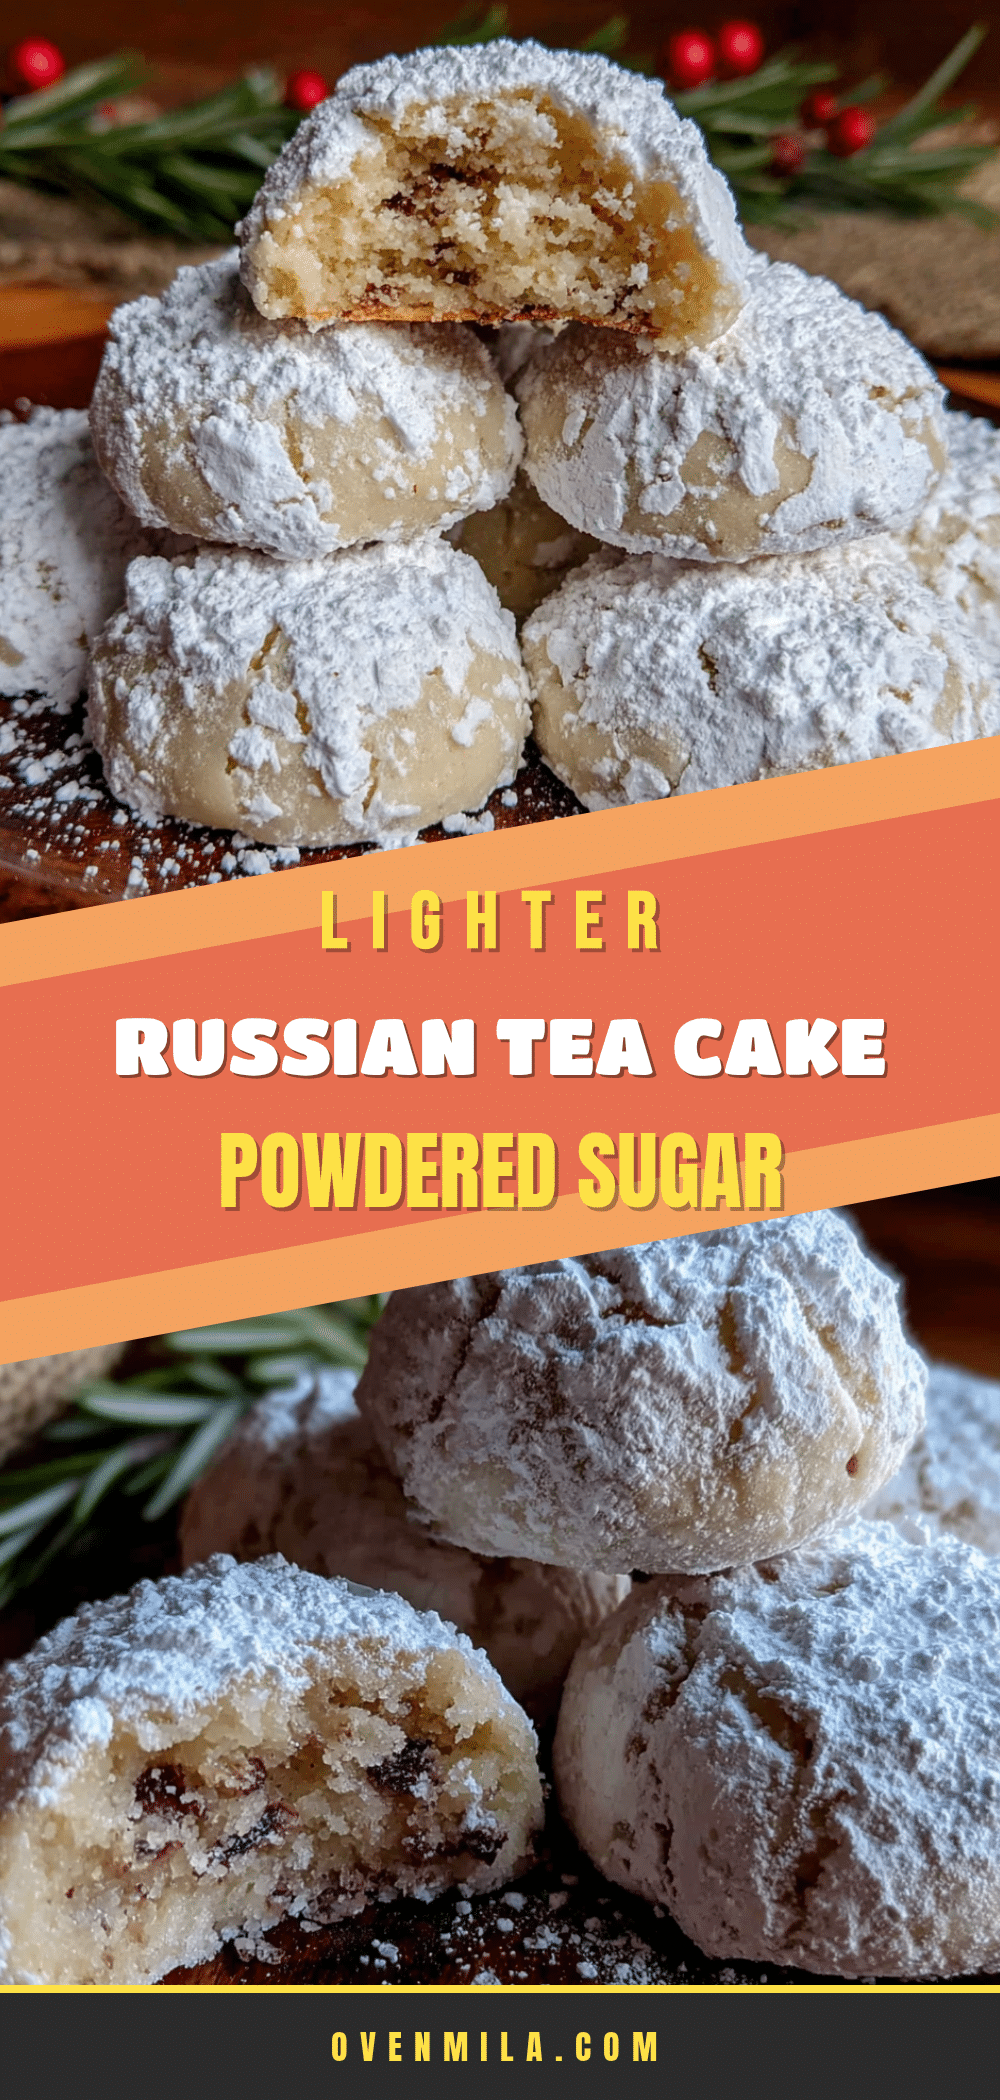
30-Minute Lighter Russian Tea Cake Cookies with Powdered Sugar
A lighter version of classic Russian tea cake cookies that are tender, nutty, and coated in powdered sugar. Made with Greek yogurt and coconut oil to reduce butter, these cookies come together in about 30 minutes and taste every bit as indulgent as the original.
- Prep Time: 15 minutes
- Cook Time: 12 minutes
- Total Time: 27 minutes
- Yield: 20 cookies 1x
- Category: Dessert
- Cuisine: Russian
Ingredients
- 4 tablespoons (56g) unsalted butter, softened
- 3 tablespoons (45g) plain full-fat Greek yogurt
- 2 tablespoons (28g) coconut oil, melted and cooled
- 1/3 cup (40g) powdered sugar (for dough), plus 1/2 cup (60g) for rolling
- 1 teaspoon (5ml) pure vanilla extract
- 1 cup (120g) all-purpose flour, spooned and leveled
- 1/2 cup (60g) finely chopped pecans or walnuts, toasted
- 1/4 teaspoon (1g) fine sea salt
Instructions
- Preheat oven to 350°F (175°C). Line a baking sheet with parchment paper.
- Toast the nuts (optional): Spread chopped nuts on a small baking sheet and toast for 5-7 minutes until fragrant. Let cool completely.
- In a medium mixing bowl, beat softened butter, Greek yogurt, and melted coconut oil together until smooth and creamy, about 2 minutes with a hand mixer on medium speed.
- Add 1/3 cup powdered sugar and vanilla extract. Beat on low until incorporated, then increase to medium and beat for another minute until light and fluffy.
- In a small bowl, whisk together flour and salt.
- Add flour mixture to wet ingredients in two additions, mixing on low after each until just combined. Do not overmix.
- Gently fold in toasted nuts with a rubber spatula until evenly distributed.
- Using a 1-tablespoon cookie scoop or tablespoon, portion dough and roll into smooth balls. Place on prepared baking sheet about 2 inches apart. You should get 18-20 cookies.
- Bake for 10-12 minutes, until edges are set and bottoms are just barely golden. Tops should still be pale.
- Let cookies cool on baking sheet for exactly 5 minutes. Place remaining 1/2 cup powdered sugar in a shallow bowl. Roll each warm cookie in powdered sugar until completely coated.
- Transfer rolled cookies to a wire cooling rack and cool completely, about 20-30 minutes.
- Once completely cool, roll cookies in powdered sugar one more time for a snowy finish.
Notes
For best results, use properly softened butter. The double coating of powdered sugar is essential for the classic snowy look. If dough is too sticky, refrigerate for 15 minutes. For consistent results, use a kitchen scale to measure flour. Store in an airtight container at room temperature for up to 5 days. Freeze for up to 3 months.
Nutrition
- Serving Size: 1 cookie
- Calories: 85
- Sugar: 5
- Sodium: 35
- Fat: 5
- Saturated Fat: 2.5
- Carbohydrates: 9
- Fiber: 0.5
- Protein: 1.5
Keywords: Russian tea cake cookies, lighter cookies, powdered sugar cookies, healthy cookies, 30-minute cookies, Greek yogurt cookies, nut cookies


