Marta, the baker at the corner market, watched me pick up a box of store-bought cupcakes for the third time in a month. She didn’t say anything at first. Then she just shook her head, wiped her hands on her apron, and motioned for me to follow her into the tiny kitchen behind the bakery counter.
“You’re doing Valentine’s Day wrong,” she said, pulling a bag of cocoa powder from the shelf. “Store-bought says you remembered. Homemade says you cared.”
I laughed, but she was right. I’d been so busy that year that I’d defaulted to convenience over intention. Marta didn’t hand me a written recipe—she just started measuring things into a bowl and talking. She told me about her grandmother in Portugal who made a version of these for every celebration, not just the romantic ones. “Love isn’t just for couples,” she said, handing me the whisk. “It’s for anyone you want to feel special.”
These red velvet heart cupcakes are the result of that afternoon. They’re not fussy or complicated, but honest to goodness, every time I make them—whether for my kids on a random Tuesday or for a friend who needs cheering up—I think of Marta’s flour-dusted hands and her no-nonsense wisdom. The deep cocoa flavor, the tangy cream cheese frosting, the little heart shape that makes people smile before they even take a bite. It’s the kind of recipe that becomes yours the first time you bake it.
Maybe you’ve been there—standing in a store aisle, grabbing something that feels like a compromise. I get it. But let me tell you, spending an hour in the kitchen making these is worth every second. The batter comes together in one bowl, the frosting is practically foolproof, and the look on someone’s face when you hand them a homemade heart-shaped cupcake? That’s the whole point.
Why You’ll Love This Recipe
I’ve tested this recipe more times than I care to count—once with too much cocoa (dry, sad little pucks), once with not enough vinegar (flat and flavorless), and once when I forgot the buttermilk entirely (don’t ask). Each failure taught me something, and this version is the one that works every single time.
- Quick & Easy: From start to finish, you’re looking at about 45 minutes. The batter comes together in a single bowl with no electric mixer needed. Perfect for a last-minute Valentine’s Day treat.
- Simple Ingredients: No weird specialty items. Cocoa powder, flour, sugar, eggs, buttermilk—all pantry staples. The red food coloring is the only “special” thing, and you can find it at any grocery store.
- Perfect for Valentine’s Day: The heart shape is the star here. It transforms an already delicious cupcake into something that feels genuinely thoughtful. Great for classroom parties, date night desserts, or Galentine’s gatherings.
- Crowd-Pleaser: Kids love the color and the shape. Adults love the sophisticated cocoa flavor balanced by tangy cream cheese frosting. I’ve brought these to three different parties now, and they disappear faster than anything else on the dessert table.
- Unbelievably Delicious: Here’s the thing about red velvet—it’s not just chocolate cake dyed red. The combination of cocoa, buttermilk, and a tiny bit of vinegar creates a tender crumb with a subtle tang that plays perfectly against the sweet, rich frosting. It’s next-level comfort food in cupcake form.
What makes this recipe different from the dozens of other red velvet recipes out there? It’s the ratio. I spent weeks tweaking the balance of cocoa to flour, the amount of buttermilk, and the precise moment to add the vinegar. The result is a cupcake that’s moist without being heavy, flavorful without being overly sweet, and sturdy enough to hold that perfect heart shape without crumbling.
This isn’t just another red velvet cupcake recipe. It’s the one you’ll bookmark, the one you’ll text to your sister, the one that becomes your go-to for every occasion that calls for something special. Honestly, it’s the kind of recipe that makes you close your eyes after the first bite.
Ingredients Needed
This recipe uses simple, wholesome ingredients to deliver that classic red velvet flavor and tender texture. Most of these are pantry staples, which means you’re probably already halfway there.
For the Cupcakes
- 1 ½ cups (190g) all-purpose flour – Spoon and level for accuracy. Too much flour makes dense cupcakes.
- 1 cup (200g) granulated sugar – Adds sweetness and helps with browning.
- 1 tablespoon (8g) unsweetened cocoa powder – Use natural cocoa powder, not Dutch-processed. I prefer Hershey’s for consistent results.
- ½ teaspoon baking soda – Helps the cupcakes rise.
- ½ teaspoon salt – Balances sweetness and enhances flavor.
- 1 large egg, room temperature – Cold eggs can seize the batter. Let yours sit out for 20 minutes.
- ½ cup (120ml) buttermilk, room temperature – This is non-negotiable for that tender crumb. If you don’t have buttermilk, add 1 tablespoon of lemon juice to regular milk and let it sit for 5 minutes.
- ½ cup (120ml) vegetable oil – Keeps the cupcakes moist for days. Canola or avocado oil works too.
- 1 teaspoon white vinegar – Reacts with the baking soda for lift and enhances the tangy flavor.
- 1 teaspoon vanilla extract – Pure vanilla, not imitation, for the best flavor.
- 1 tablespoon (15ml) red food coloring – Liquid or gel works. Gel gives a more vibrant color with less liquid.
For the Cream Cheese Frosting
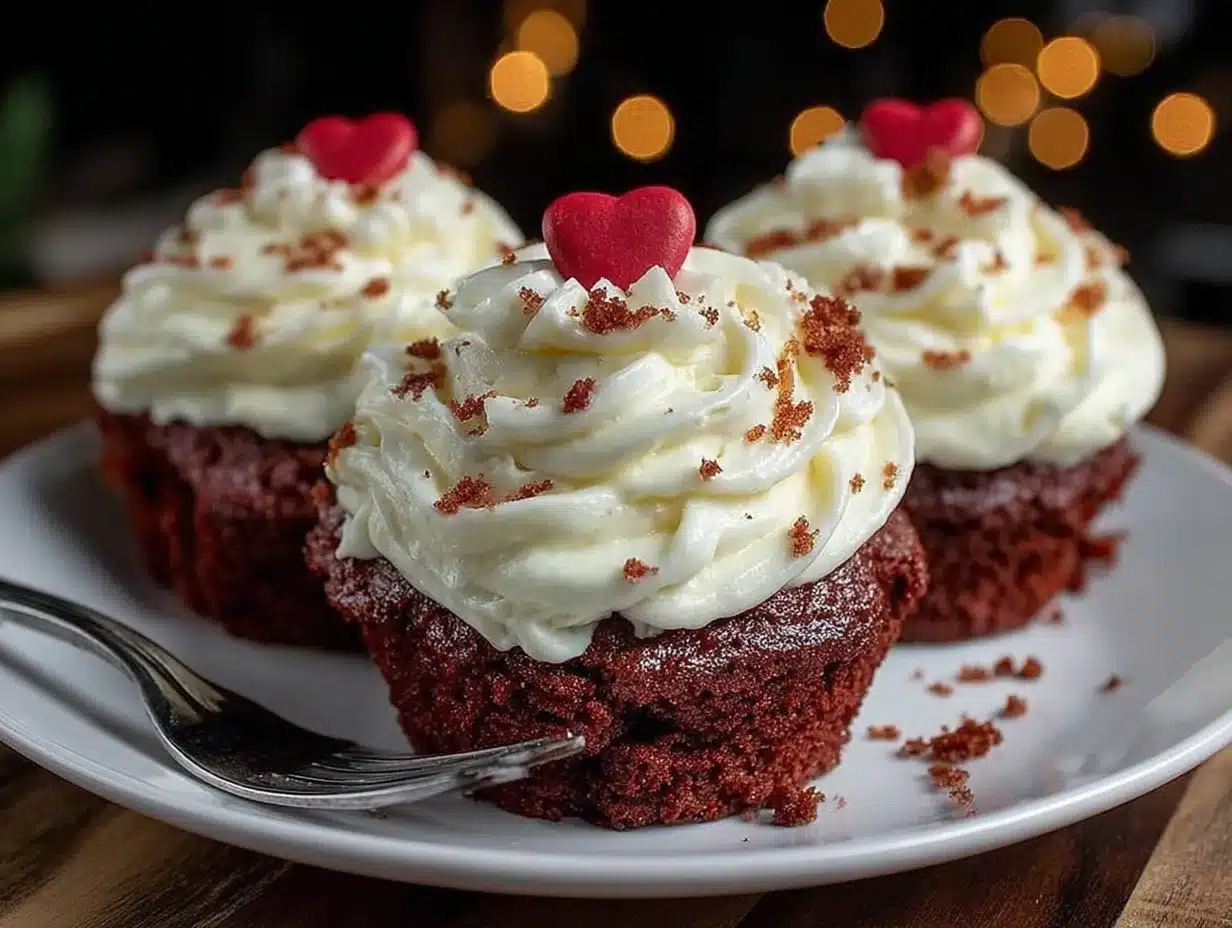
- 8 oz (226g) cream cheese, softened – Full-fat is best for stability. Low-fat can make the frosting runny.
- ½ cup (113g) unsalted butter, softened – Let it sit out for an hour before starting.
- 3 cups (360g) powdered sugar, sifted – Sifting prevents lumps. I know it’s annoying, but it matters.
- 1 teaspoon vanilla extract – Adds warmth and depth.
- Pinch of salt – Cuts the sweetness.
For Decoration (Optional)
- Red sanding sugar or sprinkles – Adds sparkle for Valentine’s Day.
- Heart-shaped candy melts or chocolate hearts – A fun topping.
Ingredient Tip: Look for a cream cheese brand like Philadelphia for the most reliable frosting texture. Cheaper brands have more water content and can make your frosting too soft.
Substitution Guidance: For a dairy-free version, use vegan cream cheese and plant-based butter. The texture will be slightly different, but the flavor is still fantastic. For a gluten-free option, swap the all-purpose flour with a 1:1 gluten-free baking blend.
Equipment Needed
You don’t need a professional bakery setup for these. Here’s what you’ll need:
- 12-cup muffin tin – Standard size works best.
- Cupcake liners – White or red liners look great. Avoid dark colors if you want to see the red velvet contrast.
- Heart-shaped cookie cutter – About 2 inches wide. You’ll use this to cut the heart shape from the center of each cupcake.
- Mixing bowls – One large, one medium.
- Whisk – For the batter. No electric mixer needed.
- Electric hand mixer or stand mixer – For the frosting. You can whisk by hand, but your arm will thank you for using a mixer.
- Rubber spatula – For scraping down the bowl.
- Cooling rack – Essential for even cooling. Stacking hot cupcakes makes them soggy.
- Piping bag with star tip – For a professional-looking swirl. A zip-top bag with the corner snipped off works in a pinch.
- Small offset spatula – Helpful for smoothing frosting if you’re not piping.
Budget Tip: If you don’t have a heart-shaped cookie cutter, use a small knife to carefully cut the heart shape freehand. It doesn’t have to be perfect—imperfect hearts have their own charm. I’ve also used the top of a plastic bottle cap to trace a circle and then shaped it into a heart with a knife.
Preparation Method
Let’s get baking. I’ll walk you through every step, including the little things I’ve learned from making these dozens of times.
Step 1: Preheat and Prep
Preheat your oven to 350°F (175°C). Line your muffin tin with cupcake liners. This recipe makes exactly 12 standard cupcakes, so no guessing on portion sizes.
Step 2: Mix Dry Ingredients
In a large mixing bowl, whisk together the flour, sugar, cocoa powder, baking soda, and salt. Whisk for about 30 seconds to aerate the flour and break up any clumps. Pro tip: If you see little brown specks of cocoa that won’t break up, sift the dry ingredients. I’ve skipped this before and ended up with bitter cocoa pockets in some cupcakes.
Step 3: Combine Wet Ingredients
In a separate medium bowl, whisk together the egg, buttermilk, vegetable oil, vinegar, vanilla extract, and red food coloring. Whisk until the mixture is a uniform, vibrant red. Don’t worry if it looks a little thin—it’s supposed to.
Step 4: Combine Wet and Dry
Pour the wet ingredients into the dry ingredients. Use a rubber spatula or wooden spoon to fold everything together. Mix only until the flour streaks disappear—about 20 to 30 seconds. Warning: Overmixing develops gluten and makes tough cupcakes. A few small lumps are perfectly fine.
Step 5: Fill the Liners
Divide the batter evenly among the 12 cupcake liners. Fill each about ⅔ full. An ice cream scoop or a ¼-cup measure makes this easy. Tap the pan gently on the counter to release any air bubbles.
Step 6: Bake
Bake for 18 to 22 minutes. At 18 minutes, insert a toothpick into the center of a cupcake. If it comes out clean or with just a few moist crumbs, they’re done. If it’s wet batter, give them another 2 minutes. Sensory cue: The tops should spring back when lightly touched, and the kitchen should smell like cocoa and vanilla.
Step 7: Cool Completely
Let the cupcakes cool in the pan for 5 minutes, then transfer them to a wire cooling rack. Critical step: Let them cool completely before cutting the heart shape. Warm cupcakes crumble. I learned this the hard way and ended up with a pile of red crumbs.
Step 8: Cut the Hearts
Once the cupcakes are completely cool, use your heart-shaped cookie cutter to press into the center of each cupcake. Push straight down, then lift straight up. Gently push the heart-shaped piece out of the cutter. Set these aside—you’ll use them later.
Step 9: Make the Frosting
In a large bowl, beat the softened cream cheese and butter together with an electric mixer on medium speed until smooth and creamy, about 2 minutes. Scrape down the sides. Add the sifted powdered sugar, vanilla extract, and pinch of salt. Start on low speed to avoid a sugar cloud, then increase to medium-high and beat for 3 minutes until light and fluffy. Texture check: The frosting should hold a stiff peak when you lift the beaters.
Step 10: Fill and Frost
Spoon or pipe a small amount of frosting into the hole left by the heart cutter. Then insert the heart-shaped cupcake piece back into the hole at a slight angle so the top of the heart peeks out. It should look like a little red heart nestled inside the cupcake. Pipe a swirl of frosting on top to cover the heart completely, or leave it partially visible for a cute peek-a-boo effect.
Step 11: Decorate
Sprinkle with red sanding sugar or place a chocolate heart on top of each frosted cupcake. Refrigerate for 15 minutes to set the frosting before serving.
Cooking Tips & Techniques
I’ve made every mistake in the book with these cupcakes. Here’s what I’ve learned so you don’t have to repeat my failures.
Room temperature ingredients matter. Cold buttermilk and cold eggs can make your batter seize up, resulting in dense, heavy cupcakes. Take them out of the fridge 30 minutes before you start baking. I set a timer on my phone because I always forget.
Don’t overmix the batter. I cannot stress this enough. Red velvet is supposed to be tender and delicate. Overmixing activates the gluten in the flour and turns your cupcakes into rubber pucks. Mix just until combined—a few streaks of flour are okay.
The vinegar is not optional. I know it seems weird to add vinegar to a sweet cupcake, but it reacts with the baking soda to create lift and enhances the tangy flavor that makes red velvet unique. Leave it out, and your cupcakes will be flat and one-dimensional.
Cool before cutting. I was impatient once and tried to cut the hearts while the cupcakes were still warm. The crumb tore, the shape was ragged, and I ended up with a mess. Patience is not my strong suit, but for this recipe, it’s non-negotiable.
Frosting consistency is key. If your frosting is too soft, pop it in the fridge for 15 minutes before piping. If it’s too stiff, add a teaspoon of milk. The perfect consistency holds its shape but spreads smoothly.
Multitasking tip: While the cupcakes are baking, make the frosting. While the frosting chills, clean up your workspace. This recipe moves fast, so having everything prepped helps you stay calm.
Variations & Adaptations
One of the things I love about this recipe is how flexible it is. Here are some ways to make it your own.
Chocolate Lover’s Version: Double the cocoa powder to 2 tablespoons. The color will be darker, but the chocolate flavor will be more pronounced. You may need to add an extra tablespoon of buttermilk to balance the dryness.
Vegan Adaptation: Replace the egg with a flax egg (1 tablespoon ground flaxseed + 3 tablespoons water, let sit for 5 minutes). Use vegan cream cheese and plant-based butter for the frosting. The texture is slightly denser but still delicious.
Gluten-Free Option: Substitute the all-purpose flour with a 1:1 gluten-free baking blend that contains xanthan gum. I’ve used King Arthur Measure for Measure with great results. No other adjustments needed.
Mini Cupcake Version: Use a mini muffin tin and bake for 10 to 12 minutes. Cut the hearts with a tiny heart cutter. These are perfect for kids’ parties or dessert tables.
Flavor Twist: Add ½ teaspoon of almond extract to the batter along with the vanilla. It adds a subtle nutty, floral note that pairs beautifully with the cocoa and cream cheese.
Personal Variation: Last Christmas, I made these with peppermint extract instead of vanilla in the frosting and crushed candy canes on top. It was a total accident—I grabbed the wrong bottle—but it was so good that it’s now my holiday version.
Serving & Storage Suggestions
These cupcakes are best served at room temperature. The cream cheese frosting softens slightly, and the crumb becomes perfectly tender. If you’ve refrigerated them, let them sit out for 20 minutes before serving.
Presentation Idea: Arrange the cupcakes on a white cake stand or a wooden board. Sprinkle a few extra red heart sprinkles around the base. For a Valentine’s Day party, place them next to a vase of red roses or pink tulips.
What to serve with them: A glass of cold milk is the classic pairing, but a cup of black coffee or a hot latte works beautifully. For a grown-up dessert, try them with a glass of ruby port or a sparkling rosé. The tangy cream cheese frosting contrasts nicely with the sweetness of the wine.
Storage: Store the cupcakes in an airtight container in the refrigerator for up to 5 days. The cream cheese frosting requires refrigeration. Bring to room temperature before serving for the best texture.
Freezing: You can freeze the unfrosted cupcakes for up to 3 months. Wrap each one tightly in plastic wrap, then place them in a freezer bag. Thaw at room temperature, then cut the hearts and frost as directed. The frosting can also be frozen in a piping bag for up to 2 months—just thaw in the fridge overnight.
Flavor Development: Honestly, these cupcakes taste even better the day after baking. The flavors meld together, and the crumb becomes even more moist. If you have the time, bake them a day ahead and frost them the morning you plan to serve them.
Nutritional Information & Benefits
Let’s be real—these are a treat, not a health food. But here’s what you’re looking at per cupcake (with frosting):
| Nutrient | Amount |
|---|---|
| Calories | 385 |
| Total Fat | 22g |
| Saturated Fat | 10g |
| Carbohydrates | 44g |
| Sugar | 34g |
| Protein | 4g |
Health Highlights: The cocoa powder contains antioxidants called flavonoids that can support heart health. The cream cheese provides a small amount of calcium and protein. And honestly, there’s something to be said for the mental health benefits of baking—the process itself can be meditative and stress-relieving.
Dietary Considerations: This recipe contains wheat, dairy, and eggs. For a dairy-free version, use vegan cream cheese and plant-based butter. For a gluten-free version, use a 1:1 gluten-free flour blend. The recipe is not suitable for a low-carb or keto diet due to the sugar content.
My Wellness Perspective: I believe in balance. These cupcakes are a celebration food—they’re not meant to be an everyday snack. When you do indulge, make it worth it. Use good ingredients, bake with love, and share them with people who make you happy. That’s the healthiest approach to dessert, in my opinion.
Conclusion
These red velvet heart cupcakes are more than just a Valentine’s Day dessert. They’re a way to say “I care” without words. Every time I make them, I think of Marta’s flour-dusted hands and her reminder that love shows up in small, intentional acts.
The deep cocoa flavor, the tangy cream cheese frosting, the hidden heart inside each cupcake—it all comes together to create something that feels genuinely special. Whether you’re making them for a partner, a friend, a child, or just for yourself (no judgment here), these cupcakes deliver joy in every bite.
I’d love to hear how yours turn out. Did you try a variation? Did you surprise someone with a batch? Leave a comment below and share your experience. And if you’re looking for more Valentine’s Day baking inspiration, don’t miss my classic vanilla bean cupcakes or my rich chocolate ganache tart for another show-stopping dessert.
Happy baking, and remember—the best ingredient is always the love you bake with.
Frequently Asked Questions
Can I make these cupcakes without a heart-shaped cookie cutter?
Absolutely. Use a small knife to carefully cut a heart shape freehand. It doesn’t need to be perfect. You can also use a small round cutter and then pinch one side to form the heart shape. The beauty of homemade is the imperfection.
Why did my cupcakes turn out dry?
Dry cupcakes usually mean overbaking or overmixing. Check your oven temperature with an oven thermometer—many run hot. Also, make sure you’re measuring your flour correctly by spooning it into the measuring cup and leveling it off. Scooping directly from the bag packs in too much flour.
Can I use gel food coloring instead of liquid?
Yes, and I actually prefer gel. It gives a more vibrant red color without adding extra liquid to the batter. Use about 1 teaspoon of gel food coloring instead of 1 tablespoon of liquid. Start with less and add more until you reach your desired shade.
How far in advance can I make these cupcakes?
You can bake the cupcakes up to 2 days ahead and store them unfrosted in an airtight container at room temperature. Cut the hearts and frost them the day you plan to serve. The frosting can be made up to 3 days ahead and stored in the refrigerator—just let it soften slightly before piping.
Can I skip the heart shape and just make regular red velvet cupcakes?
Of course. Simply omit the heart-cutting step and pipe the frosting directly onto the cooled cupcakes. They’ll still be delicious. But honestly, the heart shape is what makes these special for Valentine’s Day. It takes an extra 10 minutes and turns a great cupcake into a memorable one.
Pin This Recipe!
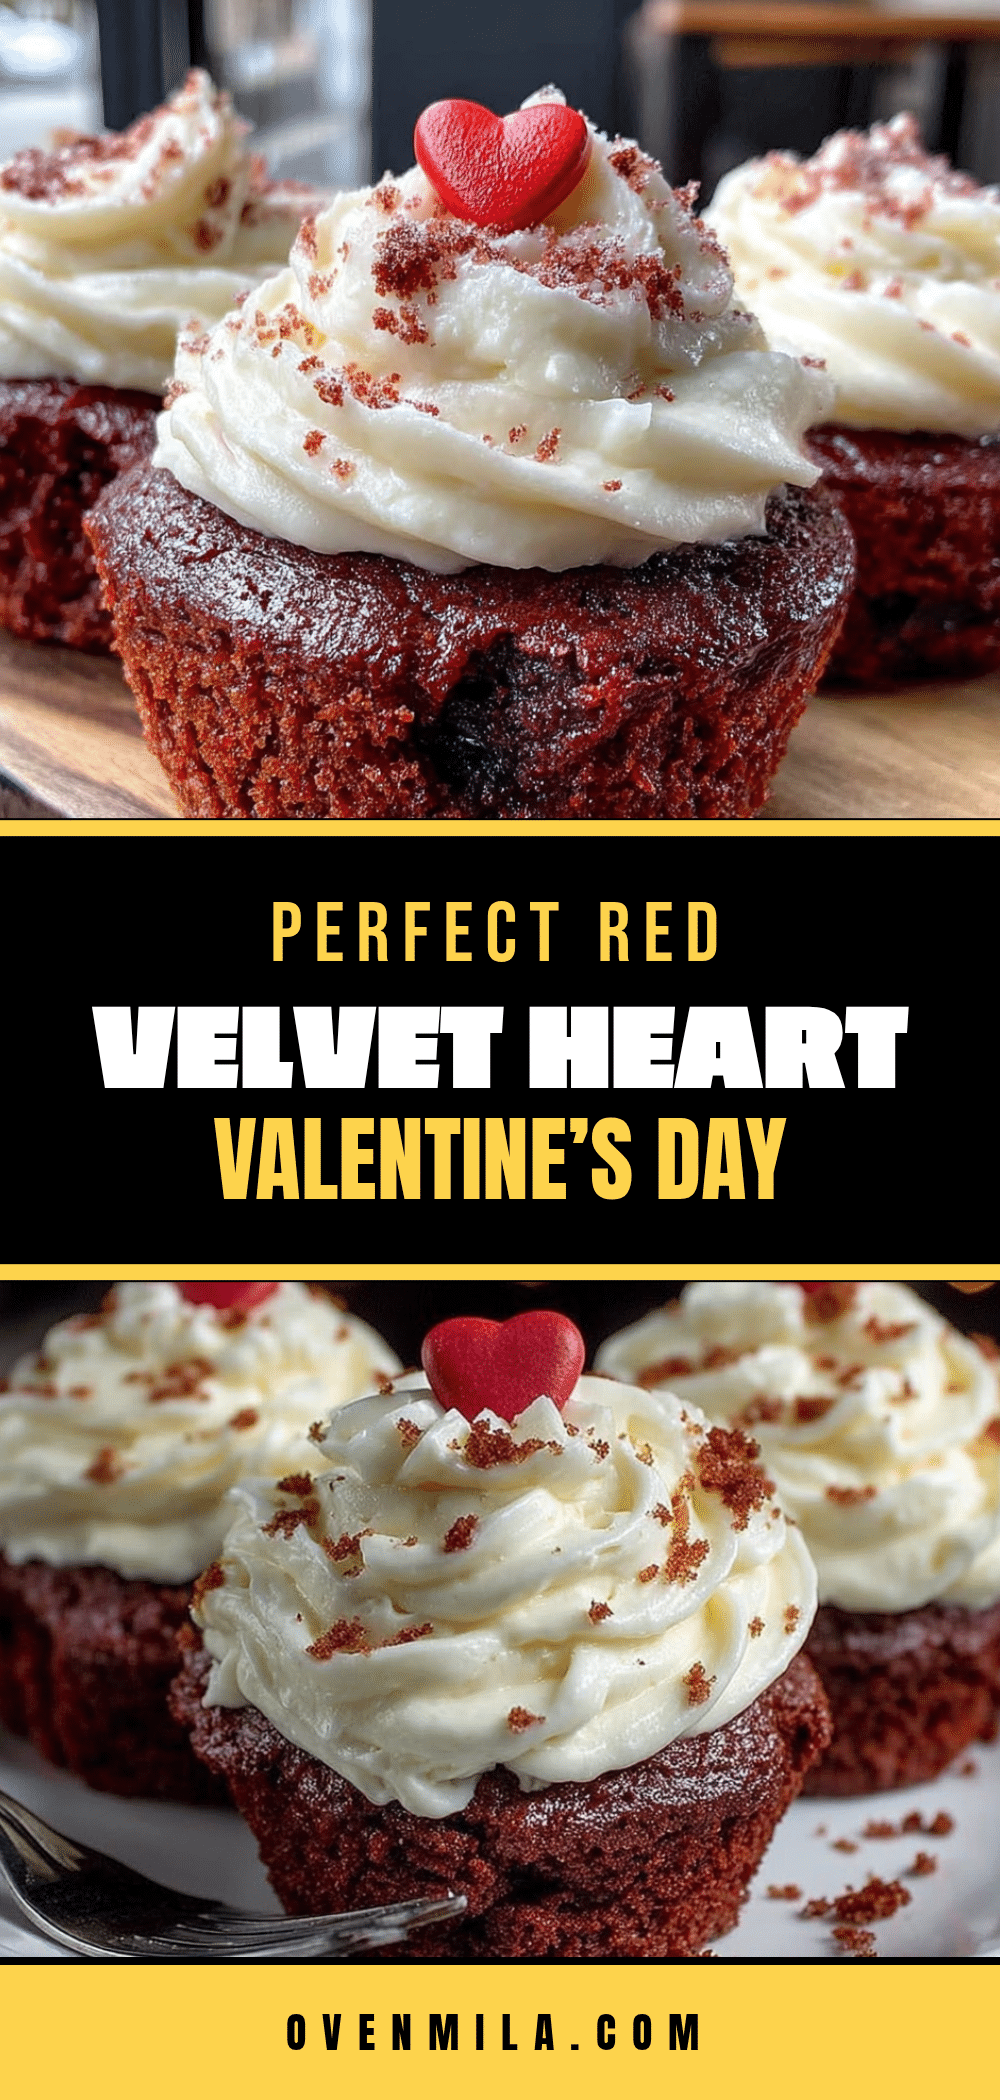
Best Red Velvet Heart Cupcakes for Valentine’s Day
These red velvet heart cupcakes are a heartfelt homemade treat perfect for Valentine’s Day. With a tender, tangy crumb and creamy cream cheese frosting, they’re a delicious way to show you care.
- Prep Time: 15 minutes
- Cook Time: 20 minutes
- Total Time: 45 minutes
- Yield: 12 servings 1x
- Category: Dessert
- Cuisine: American
Ingredients
- 1 ½ cups (190g) all-purpose flour
- 1 cup (200g) granulated sugar
- 1 tablespoon (8g) unsweetened cocoa powder
- ½ teaspoon baking soda
- ½ teaspoon salt
- 1 large egg, room temperature
- ½ cup (120ml) buttermilk, room temperature
- ½ cup (120ml) vegetable oil
- 1 teaspoon white vinegar
- 1 teaspoon vanilla extract
- 1 tablespoon (15ml) red food coloring
- 8 oz (226g) cream cheese, softened
- ½ cup (113g) unsalted butter, softened
- 3 cups (360g) powdered sugar, sifted
- 1 teaspoon vanilla extract
- Pinch of salt
- Red sanding sugar or sprinkles (optional)
- Heart-shaped candy melts or chocolate hearts (optional)
Instructions
- Preheat oven to 350°F (175°C). Line a 12-cup muffin tin with cupcake liners.
- In a large bowl, whisk together flour, sugar, cocoa powder, baking soda, and salt for 30 seconds.
- In a separate medium bowl, whisk together egg, buttermilk, vegetable oil, vinegar, vanilla extract, and red food coloring until uniform.
- Pour wet ingredients into dry ingredients. Fold with a rubber spatula until just combined (20-30 seconds). Do not overmix.
- Divide batter evenly among liners, filling each about ⅔ full. Tap pan gently to release air bubbles.
- Bake for 18-22 minutes, until a toothpick inserted in center comes out clean or with a few moist crumbs. Cool in pan 5 minutes, then transfer to a wire rack to cool completely.
- Once cool, use a heart-shaped cookie cutter (about 2 inches) to press into the center of each cupcake. Push straight down and lift straight up. Gently push the heart piece out and set aside.
- Make frosting: In a large bowl, beat cream cheese and butter with an electric mixer on medium speed until smooth (2 minutes). Add sifted powdered sugar, vanilla, and salt. Beat on low, then medium-high for 3 minutes until light and fluffy.
- Spoon or pipe a small amount of frosting into the hole left by the heart cutter. Insert the heart-shaped piece back at a slight angle so the top peeks out.
- Pipe a swirl of frosting on top to cover the heart completely or leave partially visible. Decorate with red sanding sugar or chocolate hearts if desired.
- Refrigerate for 15 minutes to set frosting before serving.
Notes
Room temperature ingredients are crucial for best texture. Do not overmix batter. Vinegar is not optional—it reacts with baking soda for lift. Cool cupcakes completely before cutting hearts to prevent crumbling. Frosting can be refrigerated if too soft. Cupcakes taste even better the next day.
Nutrition
- Serving Size: 1 cupcake
- Calories: 385
- Sugar: 34
- Sodium: 220
- Fat: 22
- Saturated Fat: 10
- Carbohydrates: 44
- Fiber: 1
- Protein: 4
Keywords: red velvet cupcakes, heart cupcakes, Valentine's Day cupcakes, cream cheese frosting, homemade cupcakes


