There used to be this little Southern café on a side street in Durham called The Front Porch that made the most incredible green bean casserole. When they closed their doors back in 2019, I honestly felt like I’d lost a friend. Their version wasn’t anything like the gloopy, canned-soup mess I grew up with at holiday tables. No, theirs had brown butter running through it like liquid gold, and these impossibly crispy shallots scattered on top that shattered when you bit into them. After twelve tries—twelve, let me tell you, my family was getting pretty tired of green beans—I finally got it.
The thing that made their version so special was how they treated every ingredient with respect. The green beans were always bright and snappy, never mushy. The sauce was rich but not heavy, and that brown butter brought this nutty, almost caramelized depth that made you want to eat it straight from the dish. I remember sitting at their worn wooden counter, watching the cook through the open kitchen window, trying to figure out what they were doing differently. It drove me crazy for months after they closed.
This recipe is my love letter to that little café and those perfect, crispy-edged casseroles. It’s quick enough for a Tuesday night when you’re craving comfort food but don’t have two hours to spend in the kitchen. And honestly? It might even be better than the original. Maybe you’ve been there—that feeling of chasing a food memory so hard you think you’ll never catch it. Well, this time, I caught it. And I’m pretty sure you will too.
Why You’ll Love This Recipe
Let me be real with you—I’ve tested this recipe more times than I’d like to admit. I’ve burned the butter, I’ve over-baked the casserole, and I’ve definitely cried over a sink full of shallot skins. But every single failure taught me something, and this final version is the one I’d serve to anyone who walked through my door. Here’s why it works so well for busy weeknights:
- Quick & Easy: From start to finish, this comes together in about 35 minutes. No pre-cooking the green beans, no complicated steps. Just one skillet and a baking dish.
- Simple Ingredients: You probably already have most of this stuff in your kitchen. Fresh green beans, butter, shallots, cream, and a few pantry staples. No canned cream of mushroom soup here.
- Perfect for Weeknights: This isn’t just a holiday side dish anymore. It’s hearty enough to be a main course with some crusty bread, or the perfect side to a quick roasted chicken.
- Crowd-Pleaser: I’ve served this to picky kids, vegetable-hating friends, and serious food snobs. Every single person went back for seconds. The crispy shallots are like crack—fair warning.
- Unbelievably Delicious: That brown butter sauce is pure magic. It’s nutty, rich, and coats every single green bean like a warm blanket. The shallots add this crunchy, savory pop that makes every bite interesting.
What makes this recipe different from all the other green bean casseroles out there? It’s the technique. Browning the butter first changes everything. It adds a depth of flavor you just can’t get from regular melted butter or canned soup. And frying the shallots separately means they stay crispy instead of getting soggy in the sauce. This isn’t just another version—it’s your new favorite way to eat green beans.
What Ingredients You Will Need
This recipe uses simple, wholesome ingredients that work together to create something truly special. Most of these are pantry staples, but a few key players make all the difference. Let me walk you through what you’ll need and why each one matters.
For the Casserole
- 1 ½ pounds fresh green beans, trimmed and cut into 2-inch pieces (look for bright, firm beans that snap when you bend them—no limp ones!)
- 4 tablespoons unsalted butter (I prefer Kerrygold for its higher fat content, which browns more evenly)
- 8 ounces cremini mushrooms, sliced (baby bellas work great too; they have more flavor than white button mushrooms)
- 3 cloves garlic, minced (fresh only—please don’t use the jarred stuff here)
- 1 ½ cups heavy cream (you can substitute half-and-half for a lighter version, but the sauce won’t be as thick)
- ½ cup chicken or vegetable broth (low-sodium is best so you can control the salt)
- 1 tablespoon all-purpose flour (for thickening the sauce)
- ½ teaspoon salt, plus more for the cooking water
- ¼ teaspoon black pepper
- ¼ teaspoon nutmeg, freshly grated if possible (trust me on this—it’s subtle but essential)
For the Crispy Shallots
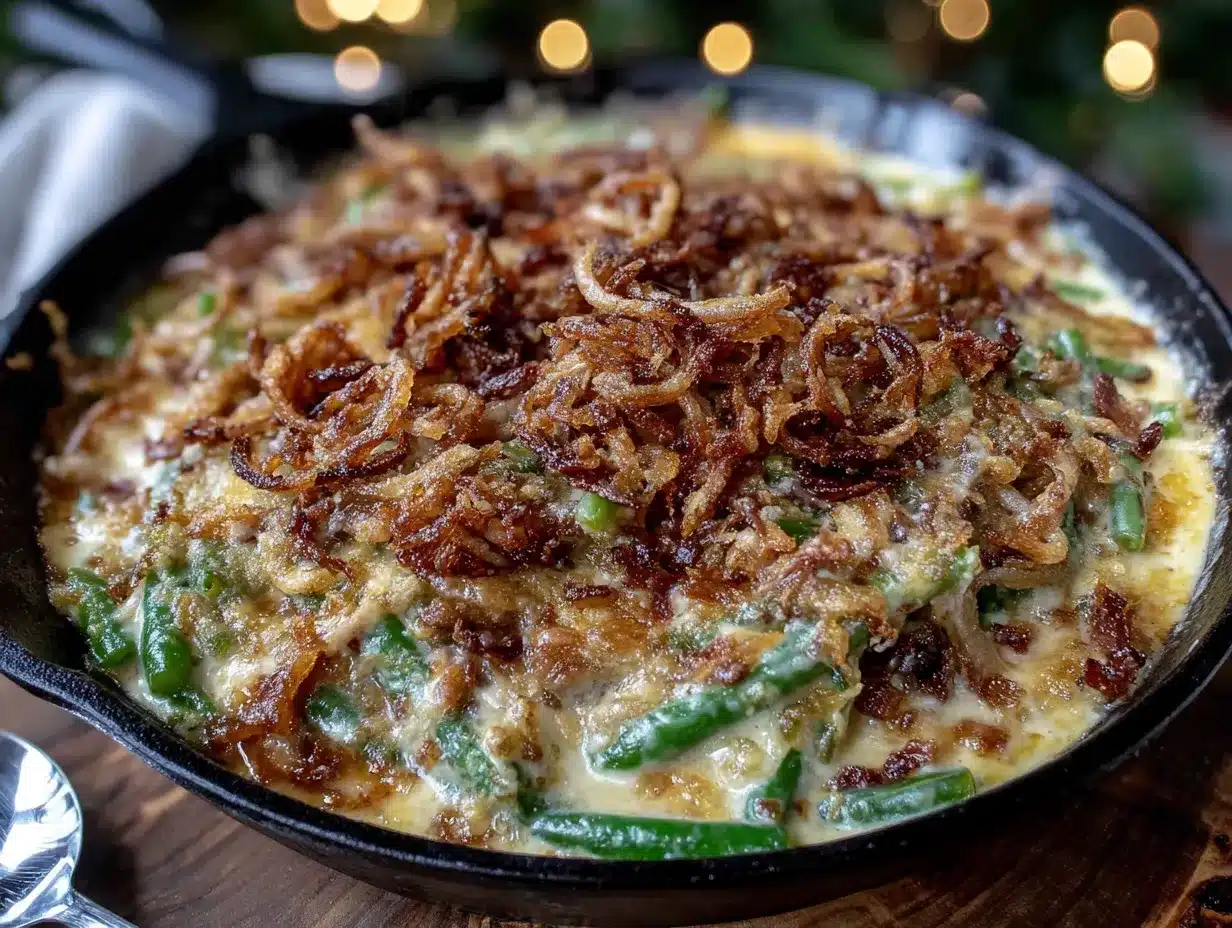
- 3 large shallots, thinly sliced into rings (about 1 cup sliced)
- ¼ cup all-purpose flour
- ½ teaspoon salt
- ¼ teaspoon black pepper
- ½ cup vegetable or canola oil, for frying (use a neutral oil with a high smoke point)
A few notes on substitutions: If you’re gluten-free, swap the all-purpose flour for a 1:1 gluten-free flour blend in both the sauce and the shallot coating. For a dairy-free version, use a high-quality vegan butter and full-fat coconut cream—it won’t taste exactly the same, but it’s still delicious. And if you can’t find fresh green beans, frozen work in a pinch; just thaw them first and pat them really dry.
Equipment Needed
You don’t need a fancy kitchen to pull this off. Here’s what you’ll actually use:
- Large skillet or sauté pan (12-inch is ideal—you need room for the green beans to cook evenly)
- Small saucepan (for frying the shallots, unless you want to do it in the same skillet)
- 9×13-inch baking dish (or any similar-sized casserole dish)
- Sharp knife (a dull knife will crush the shallots instead of slicing them cleanly)
- Cutting board
- Slotted spoon or spider strainer (for removing the crispy shallots from the oil)
- Paper towels (for draining the shallots)
- Measuring cups and spoons
- Wooden spoon or silicone spatula
If you don’t have a slotted spoon, a regular spoon works—just tilt it against the side of the pan to let the oil drain. And honestly, I’ve made the shallots in a small pot when I was too lazy to wash an extra pan. It’s not pretty, but it works.
Preparation Method
Alright, let’s get cooking. This whole thing moves pretty fast, so I like to have everything prepped and measured before I turn on the stove. Trust me, you don’t want to be hunting for the nutmeg while your butter is browning.
- Preheat your oven to 400°F (200°C). Position a rack in the middle of the oven. This gives you time to get everything ready while it heats up.
- Bring a large pot of salted water to a boil. Add the trimmed green beans and cook for exactly 3 minutes. You’re not trying to cook them through—just blanch them so they stay bright green and crisp. Drain immediately and plunge them into a bowl of ice water to stop the cooking. Drain again and pat them dry with a clean kitchen towel. (If you skip the ice bath, they’ll keep cooking and turn mushy. I learned this the hard way.)
- Start the brown butter. In your large skillet, melt the butter over medium heat. Swirl the pan occasionally as it melts. First, it’ll foam up, then the foam will subside, and you’ll see little brown specks forming at the bottom. This takes about 4-5 minutes. The moment it smells nutty and turns golden-brown, add the sliced mushrooms. Don’t walk away—brown butter can go from perfect to burnt in about 15 seconds. I’ve had to start over more times than I’d like to admit.
- Cook the mushrooms. Stir them into the brown butter and let them cook for 5-6 minutes, until they’ve released their liquid and started to brown. You want them deeply golden, not just pale and sweated. Add the minced garlic and cook for 30 seconds until fragrant. Your kitchen should smell incredible right about now.
- Make the sauce. Sprinkle the flour over the mushroom mixture and stir constantly for 1 minute. This cooks out the raw flour taste. Slowly pour in the heavy cream and broth while whisking, making sure there are no lumps. Bring it to a gentle simmer, then reduce the heat to low. Stir in the salt, pepper, and nutmeg. Let it cook for 2-3 minutes until it thickens enough to coat the back of a spoon. Taste it and adjust the seasoning—you might want a little more salt or pepper.
- Combine and transfer. Add the blanched green beans to the skillet and toss everything together until the beans are evenly coated. Pour the whole mixture into your baking dish and spread it into an even layer. Set it aside while you make the shallots.
- Fry the crispy shallots. In a small saucepan, heat the vegetable oil over medium-high heat. While it’s heating, toss the sliced shallots with the flour, salt, and pepper in a bowl. Make sure each ring is separated and coated. Test the oil by dropping in one shallot ring—if it sizzles immediately, it’s ready. Fry the shallots in batches (don’t crowd the pan!) for 2-3 minutes per batch, stirring occasionally, until they’re deep golden brown. Use your slotted spoon to transfer them to a paper towel-lined plate. They’ll crisp up more as they cool.
- Bake the casserole. Sprinkle the crispy shallots evenly over the top of the casserole. Bake for 12-15 minutes, until the sauce is bubbly around the edges and the shallots have darkened just a shade more. Don’t over-bake it, or the shallots will burn and the green beans will lose their snap.
- Rest and serve. Let the casserole sit for 5 minutes before serving. This lets the sauce set up a little so it’s not runny. Then dig in while it’s still warm.
Cooking Tips & Techniques
I’ve made this casserole enough times to have a few tricks up my sleeve. Here’s what I’ve learned the hard way so you don’t have to:
Don’t rush the brown butter. This is the most important step. Use a light-colored pan if you have one—it makes it way easier to see when the butter is actually browning. Dark pans hide the color change, and you’ll end up with burnt butter every time. I use a stainless steel skillet specifically for this reason.
Slice the shallots evenly. If some rings are thick and others are paper-thin, they won’t cook at the same rate. The thin ones will burn while the thick ones are still raw. Take your time with the knife, or use a mandoline if you have one. Just watch your fingers—I’ve got the scars to prove how sharp those things are.
Keep the shallots separate until the end. I know it’s tempting to mix them into the casserole before baking, but don’t do it. They’ll absorb moisture from the sauce and turn into sad, soggy bits. Sprinkling them on top right before baking keeps them crunchy and gives you that beautiful contrast in texture.
Use fresh green beans. I know canned green beans are convenient, but this recipe really needs fresh ones. Canned beans are already soft and will turn to mush in the oven. Fresh beans hold their shape and give you that satisfying snap. Frozen are an okay substitute, but thaw and dry them thoroughly first.
Season as you go. Don’t wait until the end to add all the salt. Season the blanching water, season the mushrooms as they cook, and season the sauce. Layering the seasoning builds deeper flavor than dumping it all in at once.
Variations & Adaptations
One of the best things about this recipe is how flexible it is. Here are a few ways to make it your own:
Add some protein. Toss in 1 ½ cups of shredded rotisserie chicken or cooked bacon bits when you add the green beans. It turns this side dish into a full meal. I’ve done this on nights when I didn’t feel like making a separate main course, and it works beautifully.
Go dairy-free. Swap the butter for a high-quality vegan butter (I like Miyoko’s) and the heavy cream for full-fat coconut cream. The coconut flavor is subtle and actually complements the brown butter nicely. Just know the sauce won’t be quite as thick.
Make it gluten-free. Use a 1:1 gluten-free flour blend in both the sauce and the shallot coating. I’ve tested this with Bob’s Red Mill and King Arthur, and both worked great. Just make sure your broth is gluten-free too.
Try different mushrooms. Cremini are my go-to, but shiitake or oyster mushrooms add an even earthier flavor. If you’re feeling fancy, a mix of wild mushrooms takes this to another level. I once made it with chanterelles in the fall, and honestly, it was life-changing.
Add a cheesy twist. Sprinkle ½ cup of grated Parmesan or Gruyère over the top before adding the shallots. The cheese gets all bubbly and golden, and it pairs perfectly with the nutty brown butter. Just go easy—you don’t want to overpower the shallots.
Serving & Storage Suggestions
This casserole is best served warm, straight from the oven. Let it rest for 5 minutes so the sauce sets up, then scoop it onto plates. It’s perfect alongside roasted chicken, grilled steak, or even a simple piece of salmon. For a vegetarian meal, serve it with crusty bread and a green salad.
Storage: Leftovers keep in an airtight container in the refrigerator for up to 4 days. The shallots will lose their crunch, but the flavor is still fantastic. To reheat, pop it in a 350°F oven for about 10 minutes, or microwave individual portions for 1-2 minutes. If you want to revive the crispy shallots, sprinkle a few fresh ones on top after reheating.
Freezer instructions: You can freeze the casserole (without the shallots) for up to 3 months. Assemble everything, cover tightly with foil, and freeze. When you’re ready to bake, thaw it overnight in the fridge, then add the crispy shallots and bake as directed. The texture of the green beans won’t be quite as snappy, but it’s still delicious.
Make-ahead tip: Blanch the green beans and make the sauce up to 2 days in advance. Store them separately in the fridge. When you’re ready to serve, combine them in the baking dish, top with fresh crispy shallots, and bake. This saves you a ton of time on busy nights.
Nutritional Information & Benefits
Here’s the nutritional breakdown for one serving (about 1 cup), based on 6 servings:
| Nutrient | Amount |
|---|---|
| Calories | 285 |
| Total Fat | 22g |
| Saturated Fat | 12g |
| Cholesterol | 65mg |
| Sodium | 420mg |
| Total Carbohydrates | 16g |
| Dietary Fiber | 3g |
| Sugars | 5g |
| Protein | 5g |
| Vitamin A | 15% DV |
| Vitamin C | 20% DV |
| Calcium | 6% DV |
| Iron | 8% DV |
Green beans are packed with vitamin C and fiber, which support your immune system and digestion. The brown butter and cream add richness, but you’re still getting a good amount of vegetables in every serving. If you’re watching your sodium, use low-sodium broth and go easy on the salt. And if you’re dairy-sensitive, the dairy-free version cuts the saturated fat significantly.
Conclusion
This quick brown butter green bean casserole is proof that comfort food doesn’t have to be complicated or time-consuming. It’s got that nostalgic, holiday-table feeling, but it comes together fast enough for any regular Tuesday night. The nutty brown butter, the tender-crisp green beans, and those impossibly crunchy shallots—every bite is a little piece of magic.
I’d love to hear how it turns out for you. Did you add your own twist? Did your family fight over the crispy shallots like mine does? Drop a comment below and let me know. And if you share it on social media, tag me—I want to see your beautiful creations. Until next time, happy cooking, and remember: brown butter makes everything better.
Frequently Asked Questions
Can I use frozen green beans instead of fresh?
Yes, you can. Thaw them completely and pat them very dry with paper towels before blanching. They’ll be a little softer than fresh, but the flavor is still great.
Why did my brown butter burn?
Brown butter can go from perfect to burnt in seconds. Use a light-colored pan so you can see the color change, and keep the heat at medium, not high. The moment you see golden-brown specks and smell that nutty aroma, add the mushrooms immediately.
Can I make this casserole ahead of time?
Absolutely. Blanch the green beans and make the sauce up to 2 days ahead. Store them separately in the fridge. When you’re ready to bake, combine them, add fresh crispy shallots, and bake as directed.
How do I keep the shallots crispy?
Don’t add them until right before baking. If you mix them into the casserole early, they’ll absorb moisture from the sauce and get soggy. Fry them fresh, sprinkle them on top, and bake immediately.
Can I make this dairy-free?
Yes! Use vegan butter and full-fat coconut cream instead of regular butter and heavy cream. The flavor will be slightly different, but it’s still delicious and creamy. Just make sure your broth is dairy-free too.
Pin This Recipe!
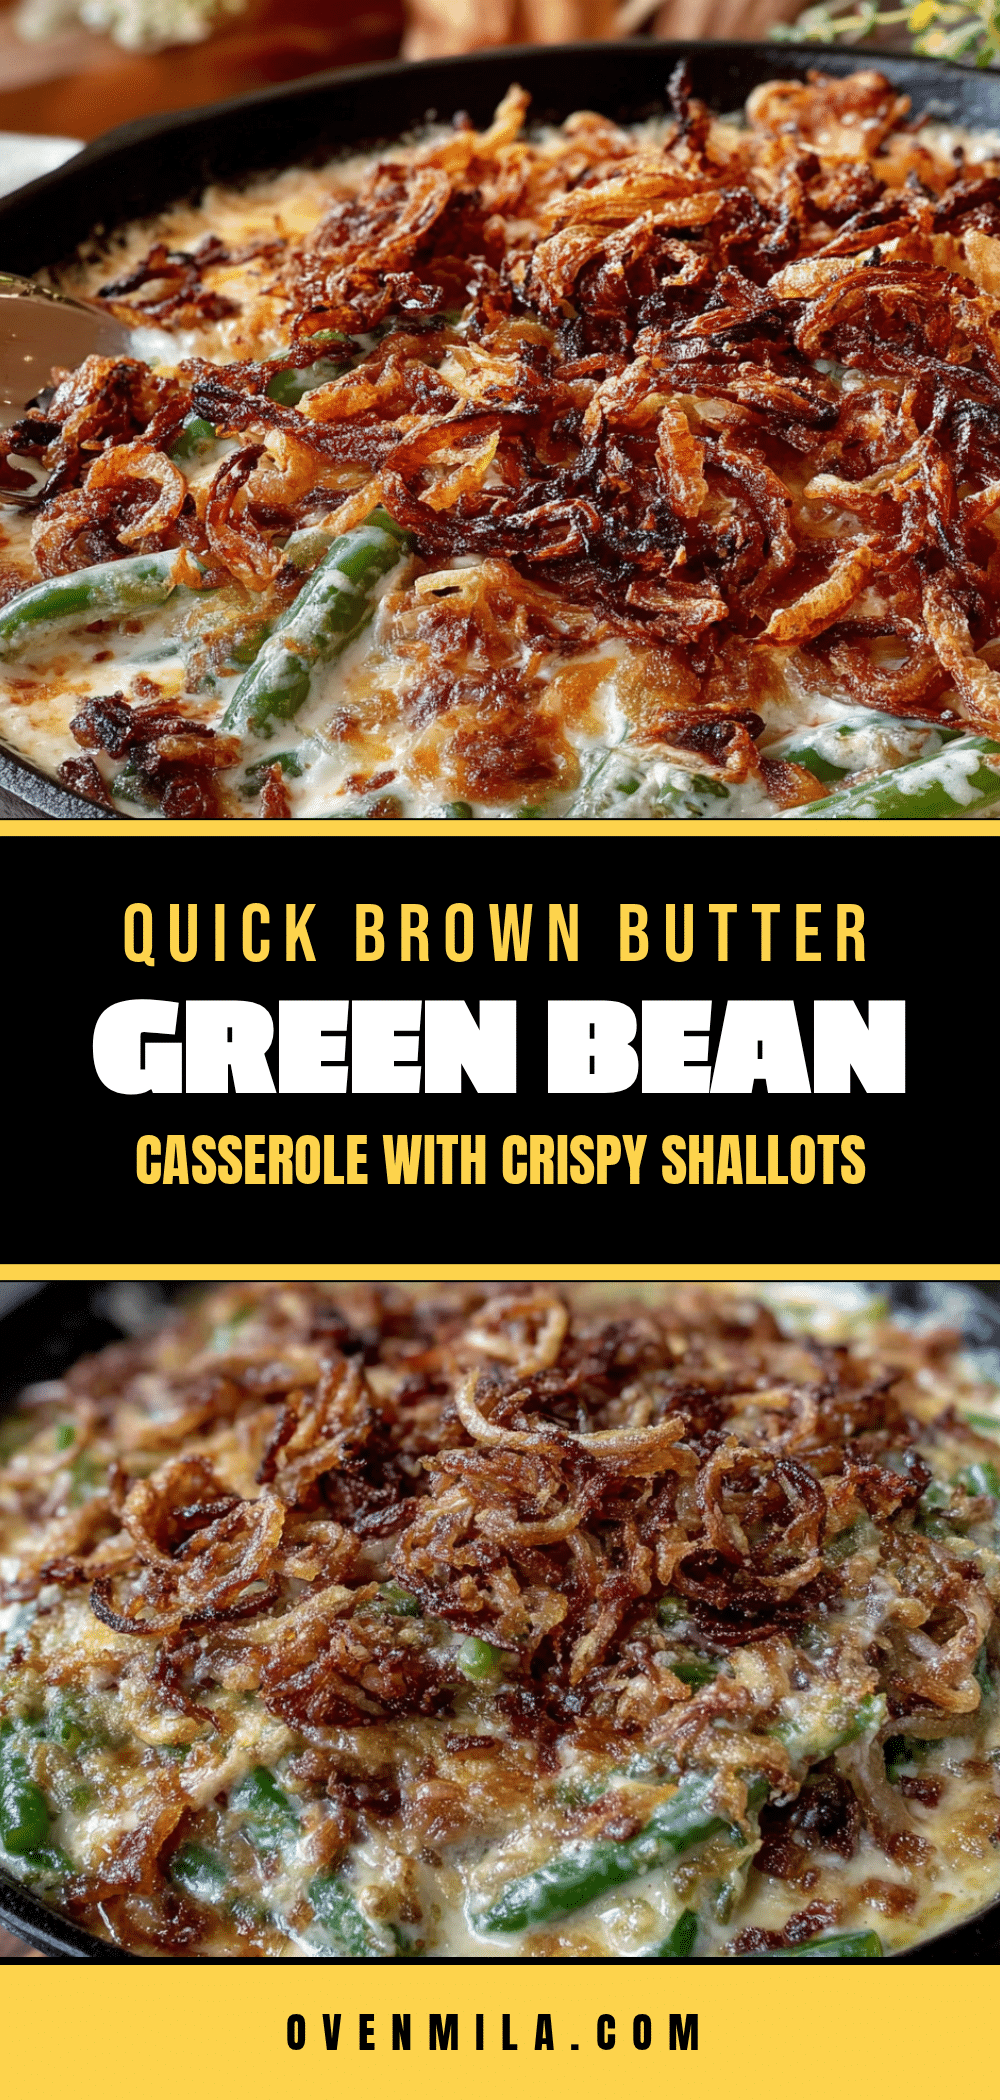
Easy Brown Butter Green Bean Casserole with Crispy Shallots

A quick and easy green bean casserole with nutty brown butter, tender-crisp green beans, and impossibly crunchy shallots. Perfect for weeknights or holiday tables.
- Prep Time: 15 minutes
- Cook Time: 20 minutes
- Total Time: 35 minutes
- Yield: 6 servings 1x
- Category: Side Dish
- Cuisine: American
Ingredients
- 1 ½ pounds fresh green beans, trimmed and cut into 2-inch pieces
- 4 tablespoons unsalted butter
- 8 ounces cremini mushrooms, sliced
- 3 cloves garlic, minced
- 1 ½ cups heavy cream
- ½ cup chicken or vegetable broth, low-sodium
- 1 tablespoon all-purpose flour
- ½ teaspoon salt, plus more for cooking water
- ¼ teaspoon black pepper
- ¼ teaspoon nutmeg, freshly grated
- 3 large shallots, thinly sliced into rings (about 1 cup)
- ¼ cup all-purpose flour
- ½ teaspoon salt
- ¼ teaspoon black pepper
- ½ cup vegetable or canola oil, for frying
Instructions
- Preheat your oven to 400°F (200°C). Position a rack in the middle of the oven.
- Bring a large pot of salted water to a boil. Add the trimmed green beans and cook for exactly 3 minutes. Drain immediately and plunge them into a bowl of ice water to stop the cooking. Drain again and pat them dry with a clean kitchen towel.
- In your large skillet, melt the butter over medium heat. Swirl the pan occasionally as it melts. First, it’ll foam up, then the foam will subside, and you’ll see little brown specks forming at the bottom. This takes about 4-5 minutes. The moment it smells nutty and turns golden-brown, add the sliced mushrooms.
- Stir the mushrooms into the brown butter and let them cook for 5-6 minutes, until they’ve released their liquid and started to brown. Add the minced garlic and cook for 30 seconds until fragrant.
- Sprinkle the flour over the mushroom mixture and stir constantly for 1 minute. Slowly pour in the heavy cream and broth while whisking, making sure there are no lumps. Bring it to a gentle simmer, then reduce the heat to low. Stir in the salt, pepper, and nutmeg. Let it cook for 2-3 minutes until it thickens enough to coat the back of a spoon. Taste it and adjust the seasoning.
- Add the blanched green beans to the skillet and toss everything together until the beans are evenly coated. Pour the whole mixture into your baking dish and spread it into an even layer. Set it aside while you make the shallots.
- In a small saucepan, heat the vegetable oil over medium-high heat. While it’s heating, toss the sliced shallots with the flour, salt, and pepper in a bowl. Make sure each ring is separated and coated. Test the oil by dropping in one shallot ring—if it sizzles immediately, it’s ready. Fry the shallots in batches (don’t crowd the pan!) for 2-3 minutes per batch, stirring occasionally, until they’re deep golden brown. Use your slotted spoon to transfer them to a paper towel-lined plate.
- Sprinkle the crispy shallots evenly over the top of the casserole. Bake for 12-15 minutes, until the sauce is bubbly around the edges and the shallots have darkened just a shade more.
- Let the casserole sit for 5 minutes before serving.
Notes
Don’t rush the brown butter; use a light-colored pan to see the color change. Slice shallots evenly for even frying. Keep shallots separate until the end to maintain crunch. Use fresh green beans for best texture. Season as you go for deeper flavor.
Nutrition
- Serving Size: 1 cup
- Calories: 285
- Sugar: 5
- Sodium: 420
- Fat: 22
- Saturated Fat: 12
- Carbohydrates: 16
- Fiber: 3
- Protein: 5
Keywords: green bean casserole, brown butter, crispy shallots, easy, quick, holiday side dish, comfort food


