The neighborhood Christmas party was in four hours and I’d completely spaced on it. Not just spaced—I’d forgotten it was even happening until my across-the-street neighbor, Mrs. Patterson, texted me a cheerful “Can’t wait to see what you bring tonight!” with a dozen smiley emojis. Everyone else would be bringing those elaborate appetizers you see in magazines—the ones that take two days and a culinary degree to pull off. I had a block of cream cheese, some shredded cheddar, and a bag of dried cranberries I’d bought for a baking project that never happened. Honestly, I almost just grabbed a bag of chips and called it a day. But then I spotted the lone jalapeno in my crisper drawer, looking a little sad but still usable. And that’s when this whole thing started—me, frantically Googling “fast appetizer with cream cheese” while my kids asked for snacks and my husband wondered why I was sweating. I threw it together in maybe fifteen minutes, shaped it into a ball, rolled it in what I had, and prayed. Maybe you’ve been there—that moment when you show up to a potluck with something you’re almost embarrassed to put on the table. Except this little cheese ball? It was gone in twenty minutes. People kept coming back for more, asking for the recipe. The lady who brought the fancy bacon-wrapped dates? She asked me for the recipe. I stood there holding an empty plate, trying to explain that I’d basically thrown things together while panicking. That’s the thing about this cranberry jalapeno cheese ball—it looks like you planned it, like you spent hours perfecting it. But really, it’s just smart simplicity. And that’s why I keep making it, year after year. It’s the dish that taught me that sometimes the best recipes come from a moment of panic.
Why You’ll Love This Recipe
This isn’t just another cheese ball recipe floating around the internet. This is the one that actually works for real families on real budgets. Here’s why it’s become my go-to for every gathering:
- Quick & Easy: From fridge to table in under 20 minutes. No baking, no complicated steps, no stress. You can literally make this while your kids are arguing over a toy.
- Simple Ingredients: Everything on the list is affordable and easy to find. No specialty stores, no expensive imported cheeses, no ingredients you’ll use once and forget about.
- Perfect for Family Gatherings: Whether it’s a holiday party, a potluck, or just a Tuesday night snack, this cheese ball fits right in. It’s fancy enough for company but simple enough for everyday.
- Crowd-Pleaser: Here’s the magic—kids love the sweet cranberries and creamy cheese, while adults appreciate that little kick from the jalapeno. Everyone wins.
- Unbelievably Delicious: The combination of tangy cream cheese, sharp cheddar, sweet dried cranberries, and just a whisper of heat is honestly perfect. It’s comfort food in appetizer form.
What makes this recipe different from all the others? It’s the balance. Most cheese balls are either too heavy on the spice or too sweet. This one hits that sweet spot where every bite has a little bit of everything. Plus, I’ve tested this with picky eaters (my own kids) and they devour it. That’s not something I can say about most recipes with jalapeno in the name.
This recipe isn’t just good—it’s the kind that makes you close your eyes after the first bite. It’s comfort food reimagined for real life. Perfect for impressing guests without stress, or turning a simple snack into something memorable. And honestly? It reheats beautifully. Not that there’s usually any left to reheat.
What Ingredients You Will Need
This recipe uses simple, wholesome ingredients to deliver bold flavor and satisfying texture without the fuss. Most of these are pantry staples you probably already have on hand.
For the Cheese Ball Base
- 16 ounces cream cheese, softened to room temperature (I prefer Philadelphia brand for the creamiest texture)
- 2 cups sharp cheddar cheese, shredded (freshly shredded melts better than pre-shredded, trust me on this)
- 1/4 cup sour cream (adds a nice tang and helps with texture)
- 1/2 teaspoon garlic powder (don’t skip this—it rounds out the flavors)
- 1/4 teaspoon onion powder (optional but recommended)
- 1/4 teaspoon salt (adjust to taste)
For the Flavor Mix-Ins
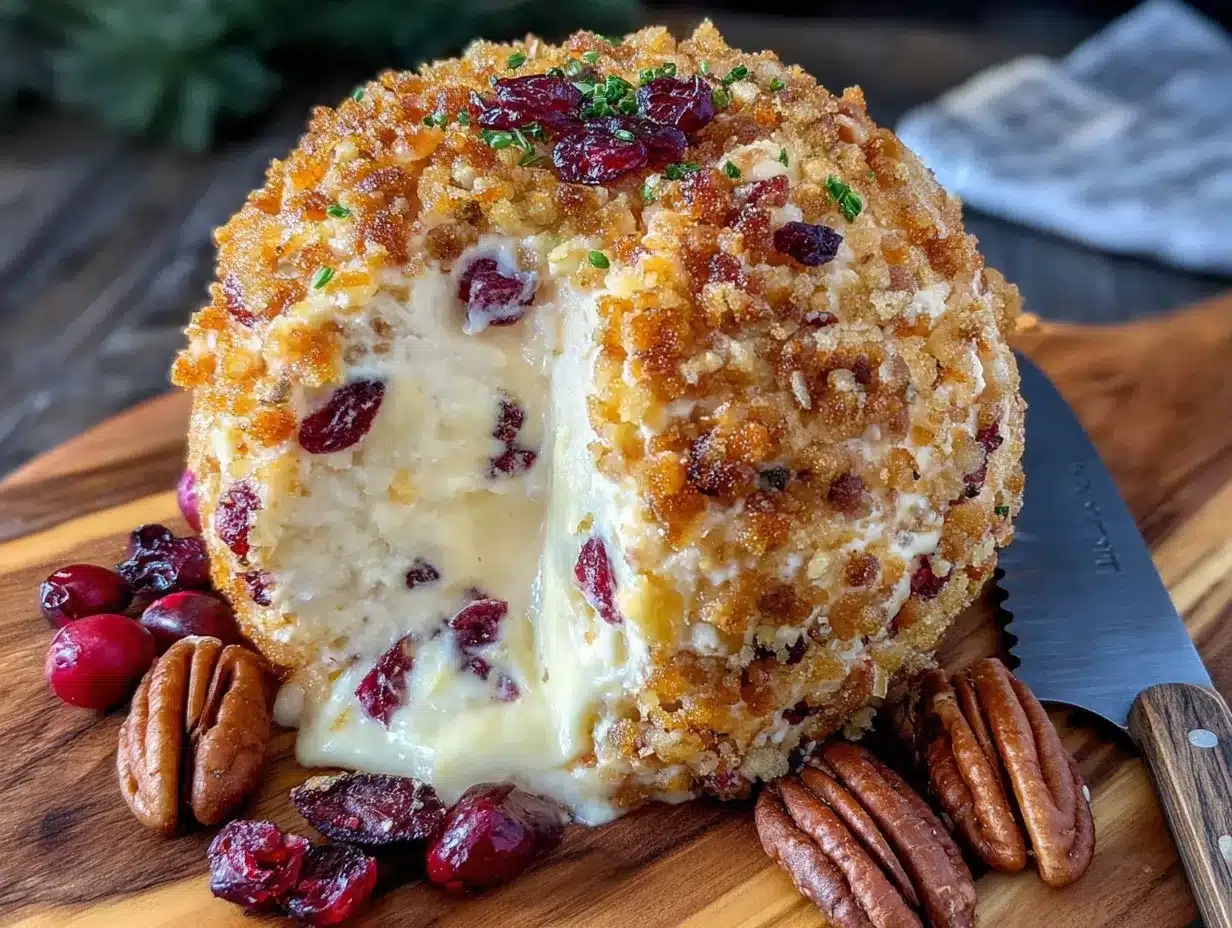
- 3/4 cup dried cranberries, finely chopped (I like Craisins brand for consistent sweetness)
- 1 medium jalapeno, seeds and membranes removed, finely diced (this is where you control the heat)
- 2 tablespoons fresh cilantro, finely chopped (optional but adds freshness)
- 1 tablespoon green onion, finely sliced (just the green parts)
For the Coating
- 1/2 cup pecans, finely chopped (toast them lightly for extra flavor)
- 2 tablespoons dried cranberries, finely chopped (for color and sweetness on the outside)
- 1 tablespoon fresh parsley, finely chopped (optional, for color)
For the jalapeno, here’s my tip: if you’re making this for kids or spice-sensitive guests, remove every single seed and membrane. That’s where all the heat lives. The jalapeno flesh itself has a mild, almost sweet pepper flavor that adds depth without burning anyone’s mouth. If you want more heat, leave a few seeds in. For a completely mild version, use half a jalapeno or substitute with green bell pepper for color without any heat.
For the pecans, I’ve used walnuts and almonds in a pinch and both work fine. If you’re feeding someone with a nut allergy, crushed pretzels or even extra chopped cranberries make a great coating alternative. The key is texture—you want that little crunch on the outside.
Equipment Needed
You don’t need much for this recipe, which is honestly one of the best things about it. Here’s what you’ll need:
- Large mixing bowl (any bowl works, but a wider bowl makes mixing easier)
- Hand mixer or stand mixer (you can mix by hand, but a mixer makes it much creamier)
- Rubber spatula (for scraping every bit of goodness out of the bowl)
- Cutting board and sharp knife (for dicing the jalapeno and chopping cranberries)
- Plastic wrap or parchment paper (for shaping and chilling the cheese ball)
- Small shallow dish or plate (for the coating mixture)
If you don’t have a hand mixer, no worries. Just let your cream cheese soften completely (leave it out for about an hour) and mix everything with a sturdy spoon. It’ll take a little more elbow grease, but it works. I’ve done it both ways and honestly, the texture is almost identical. The mixer just saves your arm.
For shaping the cheese ball, I’ve found that using plastic wrap to form the ball makes for a much smoother surface. Just plop the mixture onto the center of a large piece of plastic wrap, gather the edges, and twist to shape. It’s way less messy than trying to shape it with your hands.
Preparation Method
Let me walk you through this step by step. I’ve made this cheese ball probably thirty times now, so I’ve got all the little tricks figured out.
- Soften your cream cheese. Take it out of the fridge about an hour before you start. You want it soft enough that you can press your finger into it easily. If you forgot (I forget all the time), unwrap it and microwave it in 10-second bursts until it’s soft but not melted. About 20-30 seconds total usually does it.
- Prep your add-ins. While the cream cheese softens, finely dice your jalapeno. Remember to remove the seeds and white membranes unless you want extra heat. Chop your dried cranberries into small pieces—they stick better when they’re not whole. Give your pecans a rough chop too. Set aside about 2 tablespoons of the chopped cranberries and 1/4 cup of the pecans for the coating.
- Mix the base. In your large mixing bowl, combine the softened cream cheese, shredded cheddar, and sour cream. Beat with your hand mixer on medium speed until everything is smooth and well combined. This takes about 2-3 minutes. Scrape down the sides of the bowl with your spatula halfway through. You’re looking for a uniform, creamy texture with no lumps of cream cheese.
- Add the seasonings. Sprinkle in the garlic powder, onion powder, and salt. Mix on low speed just until incorporated. Give it a taste at this point—the cheese should be creamy and savory, with just a hint of garlic. Adjust salt if needed.
- Fold in the good stuff. Add the chopped cranberries, diced jalapeno, cilantro, and green onion to the bowl. Use your spatula to fold everything together gently. Don’t overmix—you want the pieces distributed evenly but you don’t want to break them down too much. The mixture should look speckled with red and green.
- Shape the cheese ball. Lay out a large piece of plastic wrap on your counter. Scoop the cheese mixture into the center. Gather the edges of the plastic wrap and twist, using the wrap to shape the mixture into a round ball. It should be about the size of a large grapefruit. Twist the top tightly to seal. If the mixture seems too soft to hold its shape, don’t worry—it’ll firm up in the fridge.
- Chill. Place the wrapped cheese ball in the refrigerator for at least 2 hours. Overnight is even better. This step is crucial—the cheese ball needs time to firm up so it holds its shape when you roll it in the coating. I’ve skipped this step before and ended up with a flat, sad cheese ball. Don’t be like me.
- Prepare the coating. About 15 minutes before you’re ready to serve, combine the reserved chopped pecans, reserved chopped cranberries, and fresh parsley in a shallow dish. Mix them together with a fork.
- Roll and coat. Unwrap the chilled cheese ball and place it in the dish with the coating mixture. Gently press the coating onto all sides, rolling the ball around until it’s completely covered. Use your hands to press any stubborn spots. The coating should stick nicely to the cold cheese.
- Serve. Place the coated cheese ball on a serving plate. Let it sit at room temperature for about 15-20 minutes before serving—this softens it slightly, making it easier to spread on crackers. Serve with your favorite crackers, sliced baguette, or fresh vegetable sticks.
One thing I learned the hard way: if your cheese ball cracks when you’re shaping it, just press it back together with your hands. The plastic wrap helps smooth everything out. And if the coating isn’t sticking in some spots, just press harder—the cheese should be tacky enough to hold it.
Cooking Tips & Techniques
After making this cheese ball more times than I can count, I’ve picked up a few tricks that make a real difference. Let me share them so you don’t have to learn the hard way.
The temperature trap. The biggest mistake people make is not letting the cream cheese soften enough. Cold cream cheese creates lumpy, uneven texture. Set it out for a full hour. If you’re in a rush, cut it into small cubes before softening—they warm up faster. I’ve also learned that room temperature ingredients mix together much more smoothly, so if you can, let your shredded cheddar sit out too.
The jalapeno balance. This is where most people go wrong. They either use too much jalapeno and make it too spicy, or they skip it entirely and lose the flavor. The trick is to remove all seeds and membranes, then taste a tiny piece of the flesh. Some jalapenos are naturally spicier than others. If yours is particularly hot, use only half. If it’s mild, use the whole thing. Your taste buds will thank you.
The coating conundrum. I’ve tried rolling the cheese ball in the coating immediately after shaping, and it’s a disaster. The cheese is too soft and the coating just sinks in. Chilling it first makes the coating stick to the surface rather than embedding into the cheese. Also, make sure your pecans are finely chopped—big chunks fall off and make a mess on your serving plate.
Timing is everything. Here’s my strategy: I make the cheese ball the day before and chill it overnight. The next day, about an hour before guests arrive, I roll it in the coating and let it sit at room temperature for 15-20 minutes. This way it’s perfectly spreadable when people start snacking. If you serve it straight from the fridge, it’s too hard to spread on crackers. Too warm, and it turns into a puddle.
One mistake I’ll never make again. I once tried to double the recipe and make one giant cheese ball. It looked impressive but it never firmed up properly in the center. Now I know—if you’re making a bigger batch, form two smaller cheese balls instead of one massive one. They chill evenly and look nicer on the table anyway.
Variations & Adaptations
One of the best things about this recipe is how flexible it is. Here are some variations I’ve tried and loved:
Dietary Adaptations
- Dairy-Free Version: Use dairy-free cream cheese and shredded cheddar alternatives. I’ve tried Kite Hill brand cream cheese and it works surprisingly well. The texture is slightly different but the flavor is still delicious.
- Gluten-Free: This recipe is naturally gluten-free as written. Just make sure your crackers are gluten-free if serving to someone with celiac disease.
- Nut-Free: Skip the pecans in the coating and use crushed pretzels (gluten-free if needed), sunflower seeds, or extra chopped dried cranberries instead.
Flavor Twists
- Spicy Southwest: Add 1/4 cup of canned corn (drained), 2 tablespoons of diced red bell pepper, and a pinch of cumin. Use pepitas (pumpkin seeds) in the coating instead of pecans.
- Sweet & Savory: Swap the jalapeno for 1/4 cup of finely chopped dried apricots and add a tablespoon of honey to the cheese mixture. Coat with toasted walnuts and a sprinkle of cinnamon.
- Herb Garden: Skip the jalapeno entirely and add 2 tablespoons each of fresh chives, fresh dill, and fresh parsley. Coat with crushed pistachios and lemon zest.
Seasonal Variations
- Summer Berry: Use fresh, finely chopped strawberries instead of dried cranberries (pat them dry first to avoid adding too much moisture).
- Fall Harvest: Add 1/4 cup of finely chopped dried apples and a pinch of cinnamon to the cheese mixture. Coat with crushed candied pecans.
My personal favorite variation? I once made this with a tablespoon of bourbon mixed into the cheese base. It added this warm, smoky depth that was absolutely incredible. Just make sure everyone eating it is okay with alcohol—it’s not cooked off since there’s no baking involved.
Serving & Storage Suggestions
This cheese ball is versatile enough for any occasion, but here’s how I like to serve it for the best experience.
Serving Temperature: Take the cheese ball out of the fridge about 20 minutes before serving. You want it soft enough to spread easily but firm enough to hold its shape. If it starts to sweat or look greasy, it’s been out too long—pop it back in the fridge for 10 minutes.
What to Serve With It: I love serving this with a variety of dippers. Classic buttery crackers, sliced baguette, pretzel crisps, and fresh vegetable sticks all work beautifully. For a fun twist, try apple slices or pear slices—the sweetness pairs perfectly with the savory cheese. My kids love dipping baby carrots and cucumber rounds into it.
Presentation Tips: Place the cheese ball on a wooden board or a pretty plate. Surround it with an assortment of crackers and veggies. I like to add a small bowl of extra dried cranberries and pecans on the side for garnish. A sprig of fresh rosemary or a few edible flowers makes it look extra special without any extra work.
Storage: Leftover cheese ball (if there is any) can be wrapped tightly in plastic wrap and stored in the refrigerator for up to 5 days. The flavors actually meld together and get even better after a day or two. Just let it come to room temperature before serving again.
Freezer Instructions: You can freeze the unbaked, uncoated cheese ball for up to 3 months. Wrap it tightly in plastic wrap, then in foil. When you’re ready to serve, thaw it in the refrigerator overnight, then roll in the coating. I’ve done this for holiday prep and it works perfectly. Don’t freeze it after coating—the nuts get soggy.
Reheating: This is served cold, so no reheating needed. But if you’ve left it out too long and it’s gotten too soft, just pop it back in the fridge for 30 minutes to firm up.
One thing I love about this recipe is how the flavors develop. The first day, it’s fresh and bright. By day three, the cranberries have softened slightly and the jalapeno heat has mellowed into the cheese. Honestly, I think it’s even better on day two.
Nutritional Information & Benefits
While this is definitely a treat, it’s not without its redeeming qualities. Here’s a rough breakdown per serving (based on 12 servings):
| Nutrient | Amount Per Serving |
|---|---|
| Calories | 245 |
| Total Fat | 21g |
| Saturated Fat | 11g |
| Cholesterol | 55mg |
| Sodium | 320mg |
| Total Carbohydrates | 10g |
| Dietary Fiber | 1g |
| Sugars | 7g |
| Protein | 7g |
Health Highlights: Dried cranberries are packed with antioxidants and may support urinary tract health. Pecans are a good source of healthy fats and magnesium. Cream cheese provides calcium and protein, though it’s also high in saturated fat, so moderation is key.
Dietary Considerations: This recipe is gluten-free and low-carb (about 8g net carbs per serving). It’s not suitable for vegans or those with dairy allergies, but I’ve included dairy-free alternatives in the variations section. If you’re watching your sodium, use low-sodium crackers for serving and reduce the added salt to 1/8 teaspoon.
From a personal wellness perspective, I believe in balance. This cheese ball is a special occasion food for us, not an everyday snack. But when we do have it, we enjoy every single bite without guilt. Food is about joy and connection, and this recipe delivers both.
Conclusion
This cranberry jalapeno cheese ball has become my secret weapon for every gathering. It’s the recipe that looks like you spent hours on it but actually comes together in minutes. It’s the dish that pleases everyone—from picky kids to spice-loving adults. And it’s the appetizer that disappears faster than anything else on the table.
What I love most about this recipe is how forgiving it is. You can adjust the spice level, swap the nuts, change up the herbs, and it still works. It’s the kind of recipe that invites experimentation. So don’t be afraid to make it your own. Add more cranberries if you love sweetness. Throw in extra jalapeno if you like heat. Skip the nuts if you’re feeding someone with allergies. The base is so good that no matter what you do, it’ll turn out delicious.
I’d love to hear how yours turns out! Leave a comment below and let me know what variations you tried. Did your kids love it? Did it disappear at your holiday party? Share your cheese ball stories—I read every single one. And if you’re looking for more easy appetizer ideas, check out our easy holiday appetizers collection. Happy cooking, friends!
Frequently Asked Questions
Can I make this cheese ball ahead of time?
Absolutely! In fact, I recommend it. You can make the cheese ball up to 3 days in advance and keep it wrapped in the refrigerator. Just add the coating right before serving for the best texture. The flavors actually get better as they meld together.
How do I make this less spicy for kids?
Remove every single seed and white membrane from the jalapeno before dicing. That’s where all the heat lives. The flesh itself is very mild. For even less heat, use only half a jalapeno or substitute with green bell pepper for the color without any spice at all.
Can I use pre-shredded cheese?
You can, but I don’t recommend it. Pre-shredded cheese is coated with anti-caking agents that prevent it from melting and blending smoothly. Freshly shredded cheese gives you a much creamier, more cohesive texture. It takes an extra 2 minutes and makes a huge difference.
How long does this cheese ball last in the fridge?
Stored properly in plastic wrap, your cheese ball will stay fresh for up to 5 days. The uncoated version lasts longer than the coated one, so if you’re making it ahead, leave the coating off until you’re ready to serve. If it starts to develop any off smells or mold, toss it.
Can I freeze this cheese ball?
Yes! Freeze the uncoated cheese ball for up to 3 months. Wrap it tightly in plastic wrap, then in foil. Thaw in the refrigerator overnight, then roll in the coating before serving. Don’t freeze it after coating—the nuts will become soggy and lose their crunch.
Pin This Recipe!
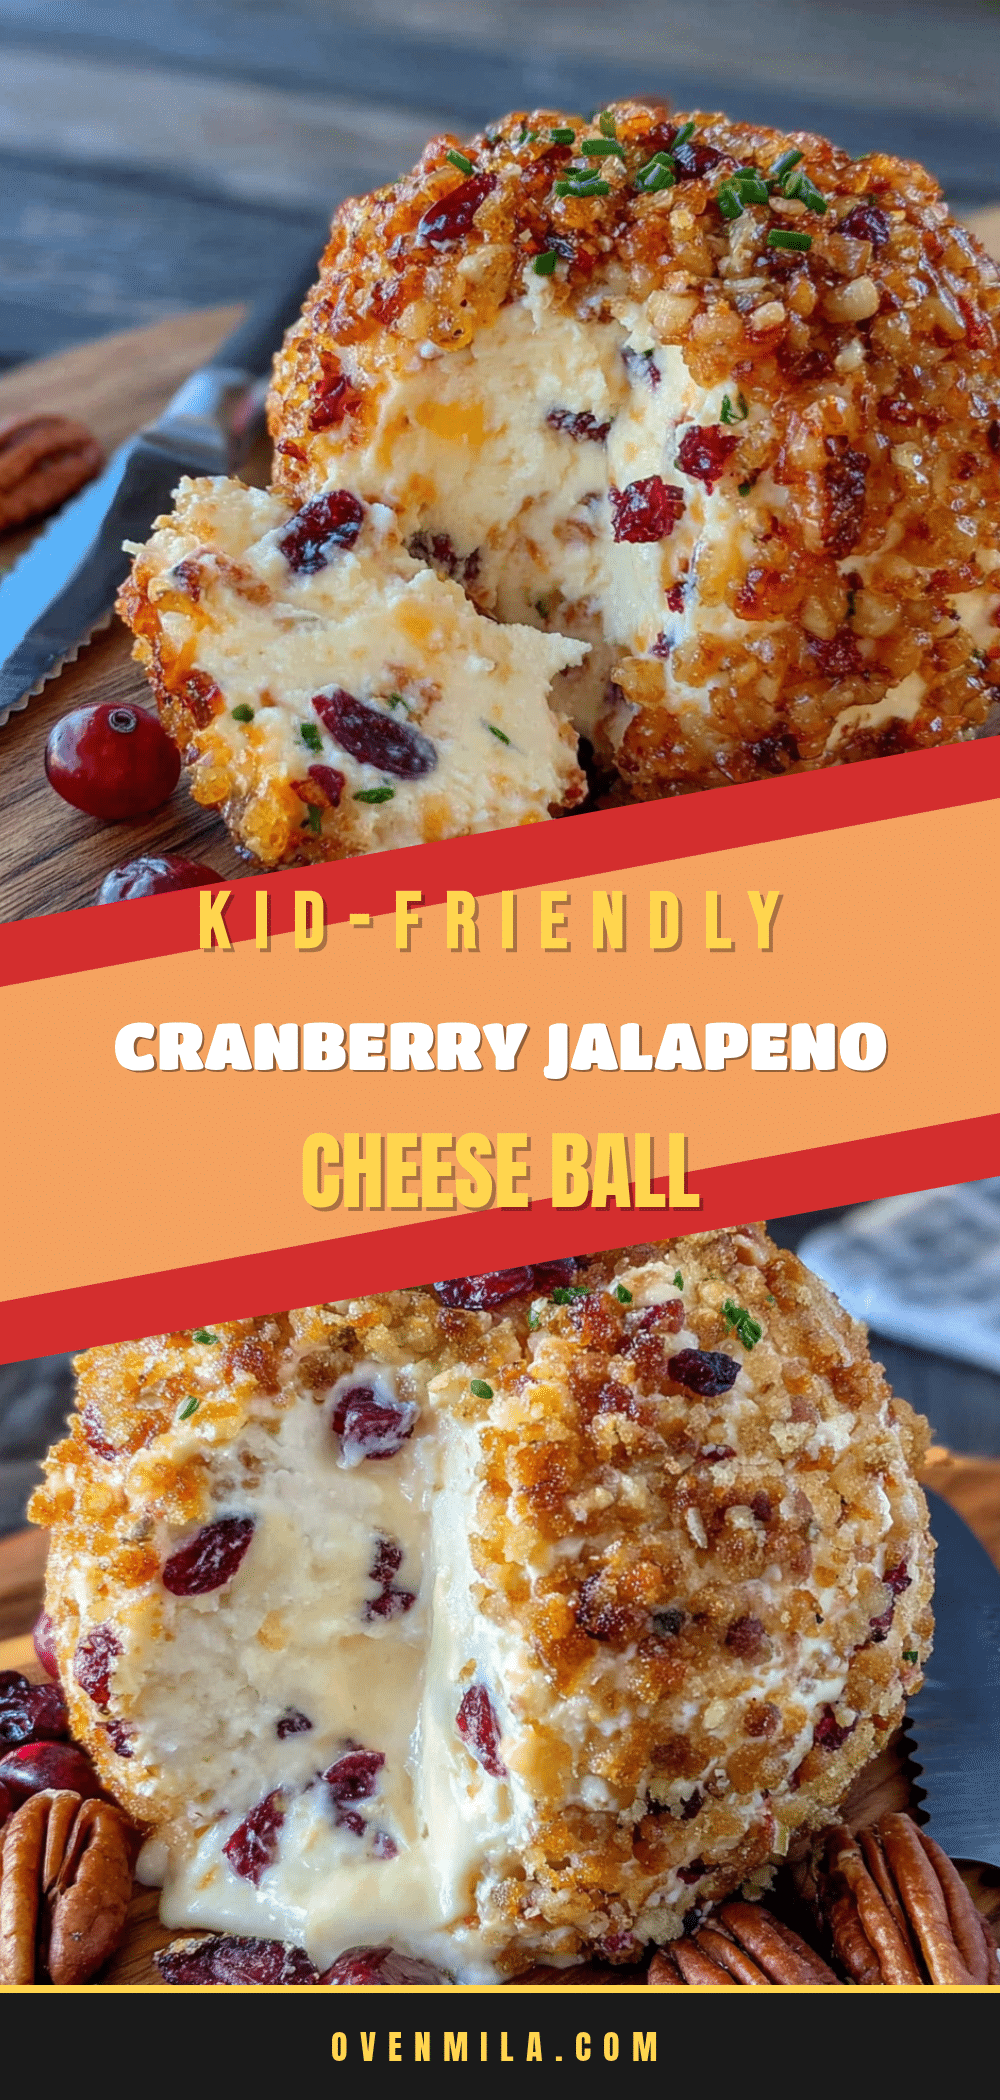
Best Kid-Friendly Cranberry Jalapeno Cheese Ball Recipe

A quick and easy cheese ball recipe that combines tangy cream cheese, sharp cheddar, sweet dried cranberries, and a hint of jalapeno heat. Perfect for holiday parties, potlucks, or any gathering, this crowd-pleaser comes together in under 20 minutes and disappears fast.
- Prep Time: 15 minutes
- Cook Time: 0 minutes
- Total Time: 2 hours 15 minutes (includes chilling)
- Yield: 12 servings 1x
- Category: Appetizer
- Cuisine: American
Ingredients
- 16 ounces cream cheese, softened to room temperature
- 2 cups sharp cheddar cheese, shredded
- 1/4 cup sour cream
- 1/2 teaspoon garlic powder
- 1/4 teaspoon onion powder (optional)
- 1/4 teaspoon salt
- 3/4 cup dried cranberries, finely chopped
- 1 medium jalapeno, seeds and membranes removed, finely diced
- 2 tablespoons fresh cilantro, finely chopped (optional)
- 1 tablespoon green onion, finely sliced (green parts only)
- 1/2 cup pecans, finely chopped
- 2 tablespoons dried cranberries, finely chopped (for coating)
- 1 tablespoon fresh parsley, finely chopped (optional, for coating)
Instructions
- Soften cream cheese: Remove from fridge about 1 hour before starting, or microwave in 10-second bursts until soft but not melted (20-30 seconds total).
- Prep add-ins: Finely dice jalapeno (remove seeds and membranes for less heat). Chop dried cranberries into small pieces. Rough chop pecans. Set aside 2 tablespoons chopped cranberries and 1/4 cup pecans for coating.
- Mix base: In a large mixing bowl, combine softened cream cheese, shredded cheddar, and sour cream. Beat with a hand mixer on medium speed until smooth and well combined (about 2-3 minutes). Scrape down sides halfway through.
- Add seasonings: Sprinkle in garlic powder, onion powder, and salt. Mix on low speed until incorporated. Taste and adjust salt if needed.
- Fold in mix-ins: Add chopped cranberries, diced jalapeno, cilantro, and green onion. Fold gently with a spatula until evenly distributed.
- Shape cheese ball: Lay a large piece of plastic wrap on the counter. Scoop cheese mixture into the center. Gather edges of plastic wrap and twist to shape into a round ball (about the size of a large grapefruit). Twist top tightly to seal.
- Chill: Place wrapped cheese ball in refrigerator for at least 2 hours, or overnight for best results.
- Prepare coating: About 15 minutes before serving, combine reserved chopped pecans, reserved chopped cranberries, and fresh parsley in a shallow dish. Mix with a fork.
- Roll and coat: Unwrap chilled cheese ball and place in coating mixture. Gently press coating onto all sides, rolling until completely covered. Use hands to press any stubborn spots.
- Serve: Place coated cheese ball on a serving plate. Let sit at room temperature for 15-20 minutes before serving to soften slightly. Serve with crackers, sliced baguette, or fresh vegetable sticks.
Notes
For a milder version, remove all seeds and membranes from the jalapeno. For more heat, leave some seeds in. The cheese ball can be made up to 3 days ahead and stored in the refrigerator (add coating just before serving). Freeze the uncoated cheese ball for up to 3 months. Let the cheese ball sit at room temperature for 15-20 minutes before serving for best spreadability.
Nutrition
- Serving Size: 1 serving (based on
- Calories: 245
- Sugar: 7
- Sodium: 320
- Fat: 21
- Saturated Fat: 11
- Carbohydrates: 10
- Fiber: 1
- Protein: 7
Keywords: cheese ball, cranberry jalapeno cheese ball, easy appetizer, holiday appetizer, kid-friendly, potluck recipe, cream cheese appetizer


