My neighbor Peggy wasn’t trying to impress anyone. I’d stopped by to borrow a ladder—ours had mysteriously vanished into the garage abyss—and the smell of butter and vanilla hit me before I even got through her screen door. She was standing at her kitchen counter, flour dusted across her favorite worn-out sweatshirt, rolling out dough like it was the most ordinary Tuesday afternoon activity in the world. A whole sheet pan of turkey and pumpkin shapes sat cooling on her counter, and I honestly just stood there for a second, staring.
“Oh, these?” she said when she caught me looking. “Just the kids’ school party. Nothing fancy.” But let me tell you, they were fancy. The icing was perfect—not too thick, not too runny—and each little turkey had three tiny feather colors piped on like it was no big deal. I mean, I’ve baked my share of cookies, but the casual confidence of it all stopped me cold. She wasn’t showing off. She was just making cookies on a Tuesday, and they happened to look like they belonged in a bakery window.
Maybe you’ve been there—you see someone do something beautifully and they don’t even realize they’re doing anything special. That’s this recipe. It’s the kind of classic Thanksgiving cutout cookies easy iced recipe that becomes your go-to, not because it’s complicated or fancy, but because it just works. The dough doesn’t spread. The icing sets up glossy and smooth. And the shapes? Turkeys and pumpkins that actually look like turkeys and pumpkins, which is harder than it sounds, honestly.
I asked Peggy for the recipe, and she scribbled it on a sticky note while I held her ladder. I’ve tweaked it a little over the years—added a pinch more salt, switched to European butter—but the soul of it is still hers. That Tuesday afternoon, standing in her flour-dusted kitchen, I watched someone make something extraordinary without making a big deal about it. And that’s exactly what this recipe lets you do.
Why You’ll Love This Recipe
Listen, I’ve tested a lot of cutout cookie recipes over the years. Some spread into blobs. Some taste like cardboard disguised as butter. Some have icing that refuses to set and ends up a sticky mess all over your cookie platter. This one? It’s the real deal. Here’s why it stands out from the crowd:
- No Spread, Perfect Shapes : The dough holds its edge like a dream. Your turkeys will actually look like turkeys, not like abstract art.
- Simple Pantry Ingredients : Butter, sugar, flour, eggs, vanilla—you probably have everything already. No hunting down fancy extracts or specialty flours.
- Perfect for Thanksgiving Baking : Whether you’re making cookies for a school party, a Friendsgiving gathering, or just because November has you craving something cozy, these fit right in.
- Kid-Friendly and Crowd-Pleasing : My niece helped me ice a batch last year, and honestly, her lopsided pumpkins got more compliments than my careful ones. Everyone loves a decorated cookie.
- The Icing Actually Sets : This is the part I struggled with for years. Runny icing, sticky icing, icing that never hardened—I’ve been through it all. This recipe’s royal icing dries firm and glossy, perfect for stacking or packaging up.
What makes this different from every other cutout cookie recipe out there? It’s the balance. The butter-to-flour ratio is just right—enough richness to taste indulgent, but enough structure to hold those intricate turkey feather details. I’ve tested it at high altitude, in humid kitchens, and during a snowstorm when my oven was acting up. It worked every single time. That’s the kind of reliability you want when you’re baking for a holiday gathering. This isn’t just another version of Thanksgiving cutout cookies—it’s the one you’ll come back to year after year.
What Ingredients You Will Need
This recipe uses simple, wholesome ingredients that come together to create something truly special. Nothing fancy, nothing hard to find—just good baking basics that work beautifully together. Let me walk you through each one and share a few tips I’ve picked up along the way.
For the Cookie Dough
- Unsalted butter, softened (1 cup / 226g) – I use Kerrygold or Plugrà for the best flavor. Make sure it’s truly softened to room temperature—not melted, not microwaved. You want it to give slightly when you press it with your finger.
- Granulated sugar (1 cup / 200g) – Regular white sugar works perfectly here. I’ve tried coconut sugar and it changes the texture too much, so stick with the classic.
- Large eggs (1 whole egg + 1 egg yolk, room temperature) – The extra yolk adds richness without making the dough too wet. Cold eggs can seize up your butter mixture, so let them sit out for 30 minutes first.
- Pure vanilla extract (2 teaspoons) – Please skip the imitation stuff here. Real vanilla makes a noticeable difference in the flavor depth.
- All-purpose flour (2 ½ cups / 312g) – Spoon and level your flour, don’t scoop straight from the bag. Too much flour makes tough cookies, and nobody wants that.
- Baking powder (1 teaspoon) – This gives just a tiny bit of lift without making the cookies puffy.
- Salt (½ teaspoon) – Fine sea salt or table salt. It balances the sweetness and brings out the butter flavor.
For the Royal Icing
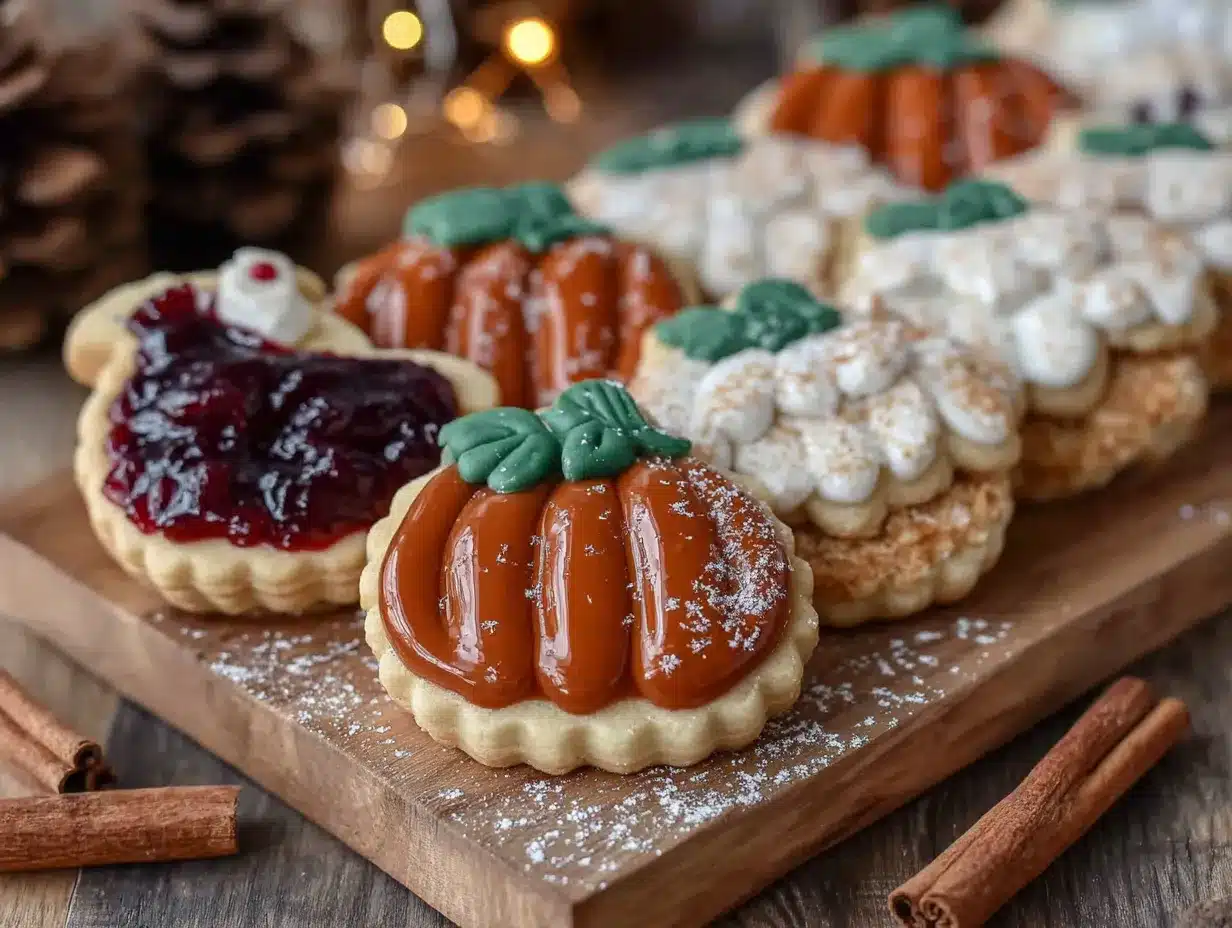
- Powdered sugar (4 cups / 480g) – Sift it if it’s lumpy. Trust me on this one—lumpy icing is a pain to pipe.
- Meringue powder (3 tablespoons) – This is what gives royal icing its structure. Wilton brand is widely available and works great.
- Warm water (about 5-6 tablespoons) – Add it slowly. You might need a little more or less depending on humidity.
- Vanilla extract (½ teaspoon) – Optional, but I like the subtle warmth it adds.
- Gel food coloring (orange, yellow, red, brown, green) – Gel is much better than liquid because it doesn’t thin out your icing. I like Americolor or Chefmaster brands.
Optional Decorations
- Edible glitter or sanding sugar – Sprinkled on while the icing is still wet for extra sparkle.
- Candy corn – Press one into the center of a pumpkin cookie for a quick stem. My kids love this trick.
- Chocolate chips or mini M&Ms – For turkey eyes or pumpkin details if you want a shortcut.
A quick note on substitutions: If you need a dairy-free version, you can use a high-quality vegan butter stick (not the spreadable kind in a tub). The texture will be slightly different, but still tasty. For a gluten-free option, I’ve had good luck with Cup4Cup all-purpose gluten-free flour blend—just add an extra tablespoon of flour to account for the different absorption rate.
Equipment Needed
You don’t need a professional bakery setup to make these cookies shine. Here’s what I use and what you can substitute if you’re working with a basic kitchen:
- Stand mixer or hand mixer – A stand mixer makes creaming butter and sugar effortless, but a hand mixer works perfectly fine. You can even do it by hand with a wooden spoon if you’re feeling old-school and need a workout.
- Rolling pin – I prefer a French-style tapered rolling pin, but any rolling pin works. Pro tip: If you don’t have one, a clean wine bottle works in a pinch—I’ve done it.
- Turkey and pumpkin cookie cutters – These are widely available online or at craft stores. I found a set of four at Target for under $10. If you only have basic shapes, leaf and acorn cutters also work beautifully for Thanksgiving.
- Baking sheets – Light-colored, rimmed baking sheets are best. Dark sheets can cause the bottoms to brown too quickly.
- Parchment paper or silicone baking mats – Parchment paper is cheaper and works great. Silicone mats are reusable and give very even baking. Either is fine.
- Piping bags or zip-top bags – For the icing. I use disposable piping bags with a #2 round tip for detail work, but a zip-top bag with a tiny corner snipped off works just as well for beginners.
- Cooling racks – Essential for letting cookies cool completely before icing. If you don’t have them, you can cool cookies on the baking sheet, but it takes longer.
- Offset spatula – Great for spreading icing smoothly, though a butter knife works too.
One thing I learned the hard way: Make sure your cookie cutters are sharp. Dull ones can squish the edges of your dough and leave you with sad, blurry turkeys. I sharpen mine with a tiny file every few years, and it makes a world of difference.
Preparation Method
Alright, let’s get to the good part. I’ve broken this down into clear steps with all the little notes I wish someone had told me when I first started making these Thanksgiving cutout cookies.
Step 1: Make the Cookie Dough
In the bowl of your stand mixer (or a large bowl if using a hand mixer), beat the softened butter and granulated sugar together on medium speed until light and fluffy. This takes about 3 minutes. You’re looking for a pale, creamy texture—scrape down the sides and bottom of the bowl halfway through. Add the egg, egg yolk, and vanilla extract, and beat until combined. It might look slightly curdled at this point, but don’t panic—that’s normal.
In a separate bowl, whisk together the flour, baking powder, and salt. With the mixer on low speed, gradually add the dry ingredients to the wet ingredients. Mix just until the dough comes together. You should see streaks of flour disappearing, but stop as soon as it forms a cohesive dough. Overmixing develops gluten and makes tough cookies.
Step 2: Chill the Dough
Divide the dough in half, flatten each half into a disk about 1 inch thick, and wrap tightly in plastic wrap. Refrigerate for at least 2 hours, or up to 3 days. I know it’s tempting to skip this step, but please don’t. Chilled dough is much easier to roll out, and it helps the cookies hold their shape during baking. If you’re in a hurry, you can pop the disks in the freezer for 45 minutes, but the texture is slightly better with a slow chill.
Step 3: Roll and Cut
Preheat your oven to 350°F (175°C). Line two baking sheets with parchment paper. Lightly flour your work surface and rolling pin. Take one disk of dough out of the fridge and let it sit at room temperature for about 5 minutes—it should be cold but not rock hard. Roll the dough to about ¼-inch thickness. I like to use two wooden dowels or rolling pin rings on either side of my dough to ensure even thickness. If the dough starts to stick, dust a little more flour underneath and on top.
Cut out your turkey and pumpkin shapes, dipping the cookie cutter in flour between cuts to prevent sticking. Use a thin spatula to transfer the cut shapes to your prepared baking sheets, spacing them about 1 inch apart. Gather the scraps, gently press them together, and re-roll once. I usually get about 24-30 cookies depending on the size of my cutters.
Step 4: Bake
Bake for 8-10 minutes, rotating the pans halfway through. You’re looking for the edges to be just barely golden—the centers should still look pale and set. They will continue to bake slightly on the hot pan after you pull them out. Let the cookies cool on the baking sheet for 5 minutes, then transfer them to a wire rack to cool completely. Do not even think about icing them until they’re fully cool. Warm cookies + royal icing = melted disaster. I learned this the messy way.
Step 5: Make the Royal Icing
In the bowl of your stand mixer (or a large bowl with a hand mixer), combine the powdered sugar and meringue powder. Add 5 tablespoons of warm water and the vanilla extract, if using. Beat on low speed until combined, then increase to medium-high and beat for 4-5 minutes. The icing should be thick, glossy, and hold stiff peaks—when you lift the beater, the icing should form a point that doesn’t droop.
Divide the icing into separate bowls for each color you want to use. Add gel food coloring a tiny bit at a time—remember, you can always add more, but you can’t take it away. I usually make orange for pumpkins, brown for turkey bodies, and a few bright colors for turkey feathers. For the flood consistency (the thinner icing you use to fill in large areas), add water a few drops at a time until the icing ribbons off the spoon and smooths out within 10-15 seconds. For piping details, keep the icing thicker—it should hold its shape when piped.
Step 6: Decorate
This is where the fun really begins. Fit your piping bags with small round tips or just snip a tiny corner off a zip-top bag. Outline each cookie with the thicker icing, then fill in the center with the thinner flood icing. Use a toothpick to spread the flood icing into the corners and pop any air bubbles. Let the base color dry for at least 30 minutes before adding details like feathers, eyes, or pumpkin ridges.
For turkeys, I pipe the body in brown, let it set, then add colorful feather stripes. For pumpkins, I outline in orange, flood with lighter orange, and add green stems. My favorite trick: while the flood icing is still wet, sprinkle on a little edible glitter or sanding sugar for extra sparkle.
Step 7: Let the Icing Set
This is the hardest part—waiting. Let the decorated cookies sit at room temperature, uncovered, for at least 4-6 hours, or overnight. The icing needs to dry completely before you stack or store them. I usually decorate in the evening and let them sit overnight. In the morning, they’re perfectly dry and ready to pack up or serve.
Cooking Tips & Techniques
I’ve made my share of mistakes with cutout cookies over the years, so let me save you some trouble. Here are the tips I wish I’d known from the beginning:
Chill, chill, and chill again. If your dough gets sticky while you’re rolling or cutting, pop it back in the fridge for 10 minutes. Warm dough is your enemy. I once tried to rush through a batch and ended up with cookies that spread into weird, blobby shapes. Not my finest baking moment.
Use a light touch with flour. Too much flour on your work surface can dry out the dough and make the cookies tough. Use just enough to prevent sticking, and brush off any excess flour from the cut shapes before baking.
Don’t overbake. This is the most common mistake I see. Cutout cookies should be baked just until the edges are set and barely golden. If you wait until the centers look done, they’ll be overbaked and dry. Pull them out when they look slightly underdone—they’ll finish setting on the hot pan.
Royal icing consistency is everything. Too thick and it won’t smooth out. Too thin and it’ll run right off the cookie. The “10-second rule” is my go-to test: drag a knife through the icing and count to 10. If the line disappears in about 10 seconds, you’re at the perfect flood consistency. If it disappears faster, add more powdered sugar. If it doesn’t disappear, add a drop or two of water.
Work in batches. Don’t try to ice all your cookies at once. Outline and flood a few at a time, letting them set slightly before adding details. If you try to do too many at once, the icing can start to set before you finish, and your details won’t stick properly.
Keep a damp paper towel nearby. Cover your bowls of icing with a damp paper towel when you’re not using them. Royal icing dries out fast, and nothing is more frustrating than crusty icing that won’t pipe smoothly.
Variations & Adaptations
One of the best things about this recipe is how adaptable it is. Here are some variations I’ve tried and loved:
Spiced Pumpkin Version: Add 1 teaspoon of pumpkin pie spice to the dry ingredients and replace 2 tablespoons of flour with pumpkin puree. The cookies will be slightly softer and have a lovely autumn spice flavor. Just be aware that the dough will be a bit stickier—chill it well before rolling.
Chocolate Cutout Cookies: Replace ¼ cup of the flour with unsweetened cocoa powder. The chocolate version pairs beautifully with white royal icing for a striking contrast. I made these for a Thanksgiving potluck last year and they disappeared first.
Gluten-Free Adaptation: Use a 1:1 gluten-free flour blend like Cup4Cup or King Arthur Measure for Measure. Add an extra tablespoon of flour to the dough and chill for at least 3 hours. The texture is slightly more delicate, so handle the cookies gently when transferring them to the baking sheet.
Vegan Version: Replace the butter with a high-quality vegan butter stick and use a flax egg (1 tablespoon ground flaxseed + 3 tablespoons water, let sit for 5 minutes). For the royal icing, omit the meringue powder and use aquafaba (the liquid from a can of chickpeas) instead—3 tablespoons of aquafaba whipped with powdered sugar works beautifully.
Different Shapes for Different Seasons: While this recipe is designed for Thanksgiving, the dough works perfectly for any cutout cookie. Use snowflakes and trees for Christmas, hearts for Valentine’s Day, or flowers for spring. The icing technique is the same—just change your colors and shapes.
Quick Shortcut Version: If you’re short on time, use store-bought sugar cookie dough and focus your energy on the decorating. I won’t judge—I’ve done it myself when Thanksgiving week got crazy. Just roll it out a little thinner than the package suggests and bake according to the directions.
Serving & Storage Suggestions
These cookies are at their best when the icing has fully set—usually the day after decorating. The cookies themselves stay fresh for about a week when stored properly, and the royal icing keeps them looking beautiful.
Serving Temperature: Room temperature is perfect. I like to arrange them on a large platter or tiered stand for Thanksgiving gatherings. Mix the turkey and pumpkin shapes together for a festive look. If you’re bringing them to a party, layer them between sheets of parchment paper in a container—the set icing won’t stick or smudge.
Storage: Store undecorated cookies in an airtight container at room temperature for up to 2 weeks. Decorated cookies should be stored in a single layer (or layered with parchment paper) in an airtight container. They’ll stay fresh for about 5-7 days. Do not refrigerate them—the humidity can cause the icing to become sticky or weep.
Freezing: Baked, undecorated cookies freeze beautifully for up to 3 months. Wrap them tightly in plastic wrap and then foil, or use a freezer-safe container. Thaw at room temperature before decorating. You can also freeze the unbaked dough disks for up to 3 months—just thaw overnight in the refrigerator before rolling and cutting.
Reheating: These cookies are meant to be enjoyed at room temperature, so no reheating needed. If you want a slightly warm cookie, pop an undecorated one in a 300°F oven for 2-3 minutes, but honestly, they’re better cold or room temp.
One thing I love about these cookies is that the flavors actually improve after a day or two. The butter and vanilla meld together, and the royal icing softens just slightly against the cookie. They’re the perfect make-ahead treat for Thanksgiving week.
Nutritional Information & Benefits
Let’s be real—these are cookies, not health food. But that doesn’t mean they can’t have a place in a balanced life. Here’s the estimated nutritional breakdown per cookie (based on 30 cookies with icing):
| Nutrient | Amount per Cookie |
|---|---|
| Calories | 145 |
| Total Fat | 6g |
| Saturated Fat | 4g |
| Carbohydrates | 22g |
| Sugar | 15g |
| Protein | 2g |
| Sodium | 45mg |
A few things worth noting: This recipe uses real butter, which provides vitamin A and healthy fats. The eggs add protein and help create that tender texture. And honestly, there’s something to be said for the mental health benefits of baking—the process of measuring, mixing, and decorating can be genuinely meditative. I’ve had some of my best thinking time standing at my kitchen counter, piping tiny turkey feathers.
If you’re watching your sugar intake, you can reduce the sugar in the cookie dough by about a quarter cup without affecting the texture too much. The royal icing is harder to modify—the sugar is what gives it structure—but you can use less icing per cookie by doing simple outlines instead of full flooding.
These cookies are vegetarian and can be made vegan or gluten-free with the substitutions I mentioned earlier. They contain dairy, eggs, and gluten in their standard form, so keep that in mind if you’re baking for someone with allergies.
Conclusion
These classic Thanksgiving cutout cookies are more than just a recipe—they’re a tradition waiting to happen. They’re the cookies you’ll pull out year after year, the ones that make your kitchen smell like November, the ones that kids and adults alike reach for first on the dessert table.
What I love most about this recipe is how forgiving it is. You don’t need to be a professional baker to get beautiful results. The dough is easy to work with, the icing sets perfectly, and the turkey and pumpkin shapes are instantly recognizable and endlessly charming. Whether you’re making them for a school party, a Friendsgiving gathering, or just because you want to spend a cozy afternoon in the kitchen, these cookies deliver.
I’d love to hear how yours turn out! Did you try a fun color combination? Did your kids invent a new way to decorate the turkeys? Drop a comment below and share your creations—I read every single one, and nothing makes me happier than seeing these cookies come to life in other people’s kitchens. Happy baking, and happy Thanksgiving!
Frequently Asked Questions
Can I make the dough ahead of time?
Absolutely! The dough can be refrigerated for up to 3 days or frozen for up to 3 months. Just wrap it tightly in plastic wrap and then foil. Thaw frozen dough overnight in the fridge before rolling.
Why did my cookies spread in the oven?
This usually happens when the dough isn’t chilled enough, or if your butter was too soft when you mixed it. Next time, chill the cut-out cookies on the baking sheet for 10 minutes before baking. Also, make sure your butter is softened but not melted—it should still hold its shape when you press it.
Can I use liquid food coloring instead of gel?
You can, but I don’t recommend it. Liquid food coloring adds extra moisture to the icing, which can thin it out and affect the consistency. Gel food coloring gives you vibrant colors without changing the texture. It’s worth the small investment.
How do I get smooth icing without bubbles?
After flooding a cookie with icing, gently tap the baking sheet on the counter a few times. This helps bring air bubbles to the surface. Then use a toothpick to pop any remaining bubbles before the icing starts to set. Also, mix your icing on low speed to avoid incorporating too much air in the first place.
Can I stack these cookies for transport?
Yes, but only after the icing has fully dried—usually 6-8 hours or overnight. Layer them between sheets of parchment or wax paper in a sturdy container. Don’t stack them too high, and make sure the container doesn’t shift around during transport. I’ve driven these cookies across town without any damage using this method.
Pin This Recipe!
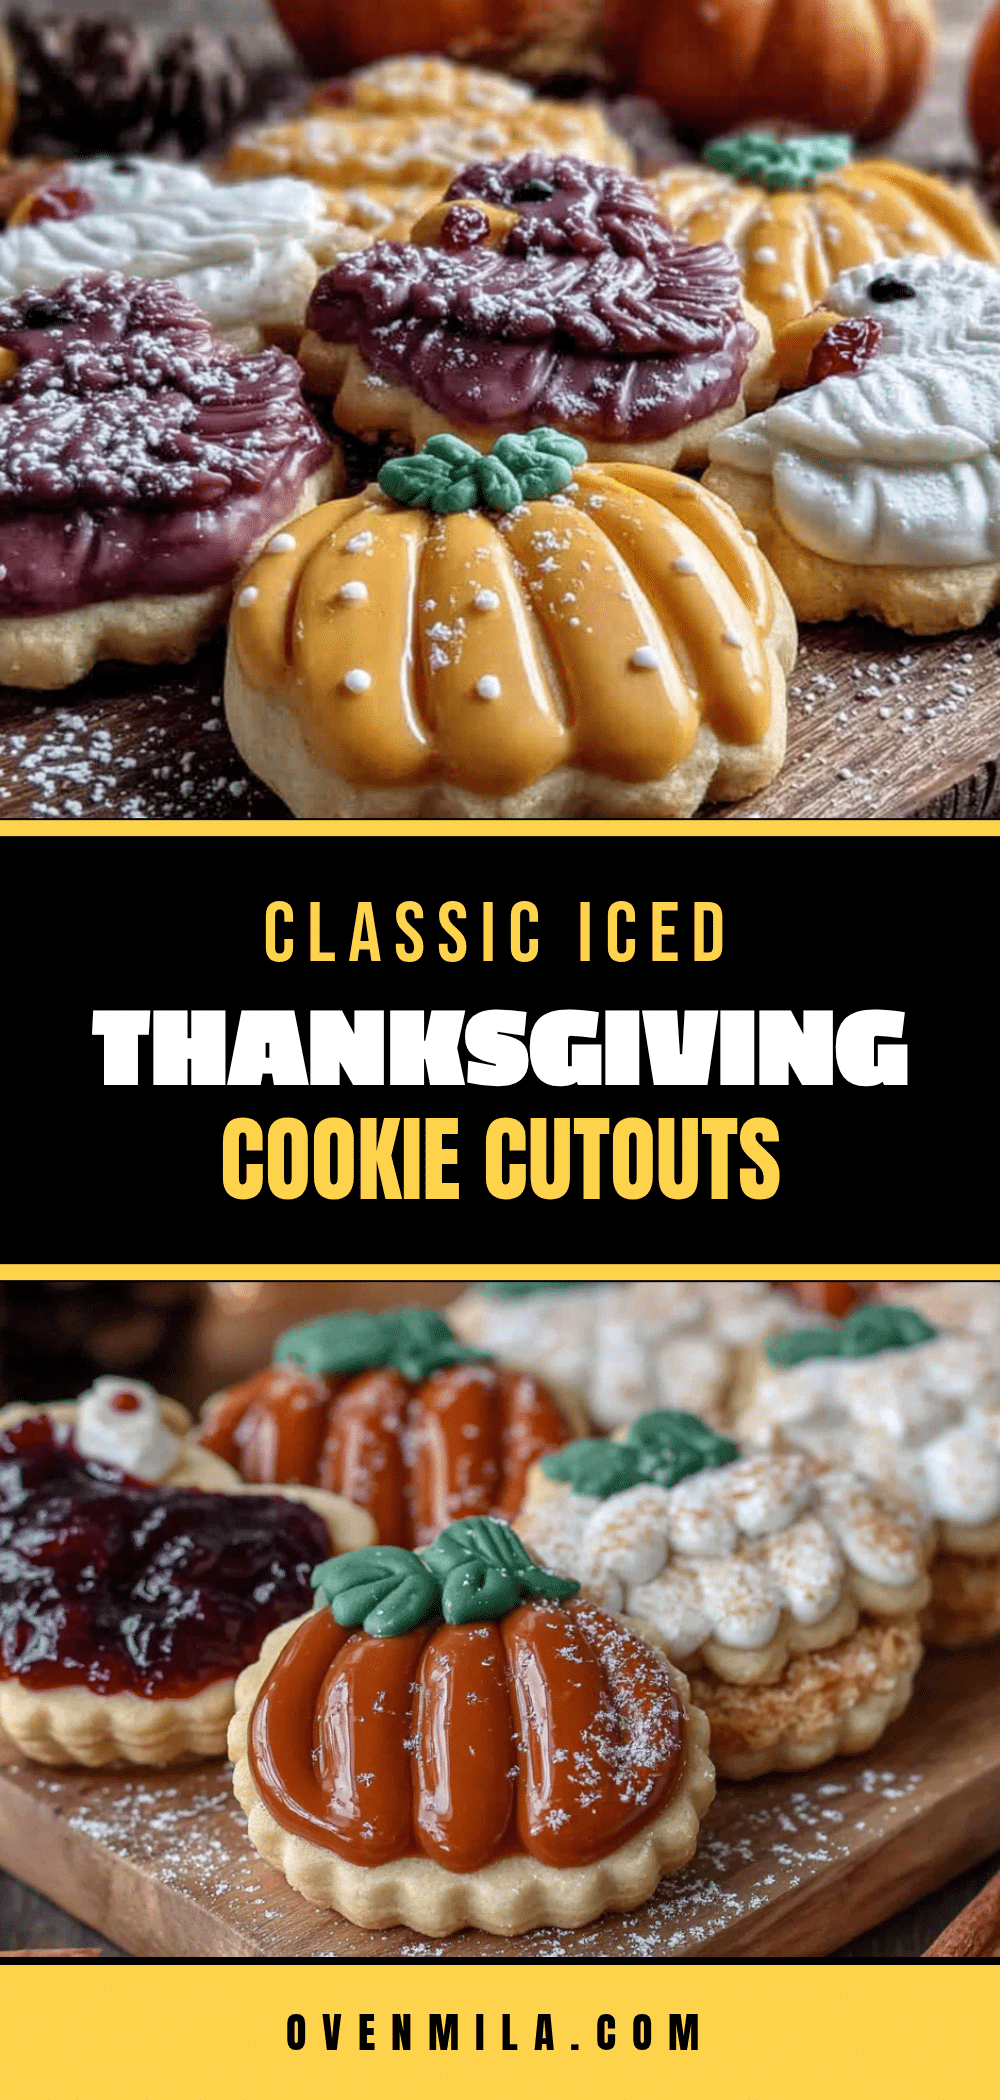
Classic Thanksgiving Cutout Cookies Easy Iced Recipe

These classic Thanksgiving cutout cookies feature a buttery, no-spread dough and a glossy royal icing that sets perfectly. Perfect for turkey and pumpkin shapes, they’re a reliable, crowd-pleasing treat for holiday gatherings.
- Prep Time: 30 minutes
- Cook Time: 10 minutes
- Total Time: 2 hours 40 minutes (includes chilling and decorating time)
- Yield: 24-30 cookies 1x
- Category: Dessert
- Cuisine: American
Ingredients
- 1 cup (226g) unsalted butter, softened
- 1 cup (200g) granulated sugar
- 1 large egg + 1 egg yolk, room temperature
- 2 teaspoons pure vanilla extract
- 2 ½ cups (312g) all-purpose flour
- 1 teaspoon baking powder
- ½ teaspoon fine sea salt
- 4 cups (480g) powdered sugar, sifted if lumpy
- 3 tablespoons meringue powder
- 5–6 tablespoons warm water
- ½ teaspoon vanilla extract (optional)
- Gel food coloring (orange, yellow, red, brown, green)
- Optional: edible glitter, sanding sugar, candy corn, chocolate chips, mini M&Ms
Instructions
- Make the cookie dough: In a stand mixer or large bowl, beat softened butter and granulated sugar on medium speed until light and fluffy, about 3 minutes. Add egg, egg yolk, and vanilla extract; beat until combined.
- In a separate bowl, whisk together flour, baking powder, and salt. Gradually add dry ingredients to wet mixture on low speed, mixing just until dough comes together.
- Divide dough in half, flatten each into a 1-inch thick disk, wrap in plastic wrap, and refrigerate for at least 2 hours or up to 3 days.
- Preheat oven to 350°F (175°C). Line baking sheets with parchment paper.
- Lightly flour work surface and rolling pin. Roll one dough disk to ¼-inch thickness. Cut into turkey and pumpkin shapes using floured cookie cutters. Transfer to prepared baking sheets, spacing 1 inch apart.
- Bake for 8-10 minutes, rotating pans halfway through, until edges are just barely golden. Cool on baking sheet for 5 minutes, then transfer to wire rack to cool completely.
- Make royal icing: In a stand mixer bowl, combine powdered sugar and meringue powder. Add 5 tablespoons warm water and vanilla extract. Beat on low until combined, then on medium-high for 4-5 minutes until thick, glossy, and holding stiff peaks.
- Divide icing into bowls for each color. Add gel food coloring. For flood consistency, add water a few drops at a time until icing ribbons off spoon and smooths out within 10-15 seconds. For piping details, keep icing thicker.
- Decorate: Fit piping bags with small round tips or snip corner of zip-top bag. Outline each cookie with thicker icing, then fill with flood icing. Use toothpick to spread and pop bubbles. Let base color dry 30 minutes before adding details.
- Let decorated cookies sit at room temperature, uncovered, for 4-6 hours or overnight until icing is fully set.
Notes
Chill dough thoroughly to prevent spreading. Do not overbake; cookies should be just set at edges. Royal icing consistency is key: use the 10-second rule for flood icing. Let icing dry completely before stacking or storing. Store in airtight container at room temperature for up to 5-7 days.
Nutrition
- Serving Size: 1 cookie
- Calories: 145
- Sugar: 15
- Sodium: 45
- Fat: 6
- Saturated Fat: 4
- Carbohydrates: 22
- Protein: 2
Keywords: Thanksgiving cookies, cutout cookies, sugar cookies, royal icing, turkey cookies, pumpkin cookies, holiday baking


