My sister claimed she hated Oreo truffles for years. “Too sweet,” she’d say with a little wrinkle of her nose every time someone brought them to a holiday party. “They’re just crushed cookies mixed with cream cheese—what’s the big deal?” She’d pass the platter without a second glance, reaching instead for the gingerbread or the peppermint bark. I honestly believed her. Some people just have different dessert preferences, you know?
Then last December, I caught her. It was late on a Tuesday night, and the house was finally quiet after a day of decorating the tree and wrapping presents. I came downstairs for a glass of water and found the kitchen light on. And there she was—standing at the counter, one hand holding a spoon, the other cradling a bowl of the very truffles she’d spent the last three Christmases dismissing. She froze when she saw me, spoon halfway to her mouth, and I swear her cheeks turned redder than the sprinkles on the cookies. “These are different,” she mumbled, trying to sound defensive but mostly just sounding caught. “These taste… cozy.”
I didn’t say a word. I just poured my water, smiled, and went back upstairs. But let me tell you, that moment stuck with me. Because she was right—these weren’t just any Oreo truffles. These were the version that actually convert people. The one that makes you forget about the store-bought stuff and realize why this simple little no-bake recipe has earned its spot on every Christmas cookie platter worth its salt. Maybe you’ve been there too—judging a recipe before you’ve tried the right version of it. I get it. Honestly, I was skeptical myself the first time someone handed me a recipe that called for nothing but crushed cookies, cream cheese, and chocolate. But here’s the thing: sometimes the simplest combinations are the ones that surprise you the most. And these little truffles? They’re the reason I keep making Christmas magic happen without ever turning on the oven.
Why You’ll Love This Recipe
Let me tell you why these no-bake Christmas Oreo truffle balls have become my non-negotiable holiday staple. I’ve tested this recipe more times than I can count—through sticky summer kitchens, freezing December evenings, and even that one year when my cream cheese was accidentally left out overnight (don’t ask). Each batch taught me something, and this version is the result of all those trials. It’s the one I bring to cookie swaps, the one my neighbors text me for, and the one that disappears fastest from the platter. Every single time.
- No Oven Required: When the oven is already packed with a ham or a casserole, or when you just don’t feel like dealing with the heat, these truffles come together on your countertop in minutes. It’s the ultimate lazy-day holiday dessert.
- Simple Ingredients: You probably already have everything in your pantry. Oreos, cream cheese, chocolate chips, and a few festive sprinkles. No fancy grocery trips, no obscure extracts, no hunting down specialty stores.
- Perfect for Christmas Gifting: These little balls look like they came from a fancy bakery, but you made them in your pajamas while watching Home Alone. They’re the ideal homemade gift for neighbors, coworkers, and teachers.
- Crowd-Pleaser for All Ages: Kids love them because they’re basically cookies in disguise. Adults love them because they’re nostalgic and just sweet enough. Even my truffle-hating sister came around—and that’s saying something.
- Unbelievably Addictive: The texture is what gets you. Creamy, rich centers with a snappy chocolate shell. It’s the kind of dessert where you tell yourself you’ll have just one, and then suddenly half the batch is gone.
What makes this version different from the rest? It’s the balance. So many Oreo truffle recipes end up cloyingly sweet or disappointingly dry. I’ve tweaked the cream cheese ratio, tested different chocolate coatings, and landed on a method that delivers that perfect melt-in-your-mouth texture every single time. Plus, I’ve added a few little tricks—like chilling the centers before dipping and using a specific chocolate melting technique—that make the process foolproof. This isn’t just another truffle recipe. It’s the one that will make you close your eyes after the first bite and forget about every other version you’ve tried.
What Ingredients You Will Need
This recipe uses simple, honest ingredients that work together to create something truly magical. There’s nothing complicated here—just a few pantry staples that transform into a decadent, festive treat. Here’s everything you’ll need, plus a few notes from my own kitchen trials.
For the Truffle Centers
- 1 (14.3-ounce) package Oreo cookies (about 36 cookies): Use the classic variety for best results. I’ve tested this with Double Stuf, and while they work, the texture ends up a little softer and harder to roll. Stick with regular Oreos for that perfect firm-yet-creamy center. (Pro tip: Don’t bother separating the cream from the cookie—the whole thing goes in the food processor.)
- 8 ounces block-style cream cheese, softened to room temperature: This is non-negotiable. Use the block, not the spreadable kind from a tub. The block has a lower water content, which means a firmer, less sticky truffle center. I recommend Philadelphia brand for consistency—it’s what I’ve used in every single test batch. Let it sit on the counter for about 30 minutes before you start.
- 1/2 teaspoon vanilla extract: A little goes a long way. It rounds out the sweetness and adds a subtle warmth that feels extra cozy during the holidays. Use pure vanilla extract if you have it—the flavor difference is noticeable.
- 1/4 teaspoon salt: Don’t skip this! Salt balances the sweetness and makes the chocolate flavor pop. Trust me, it makes a difference.
For the Coating
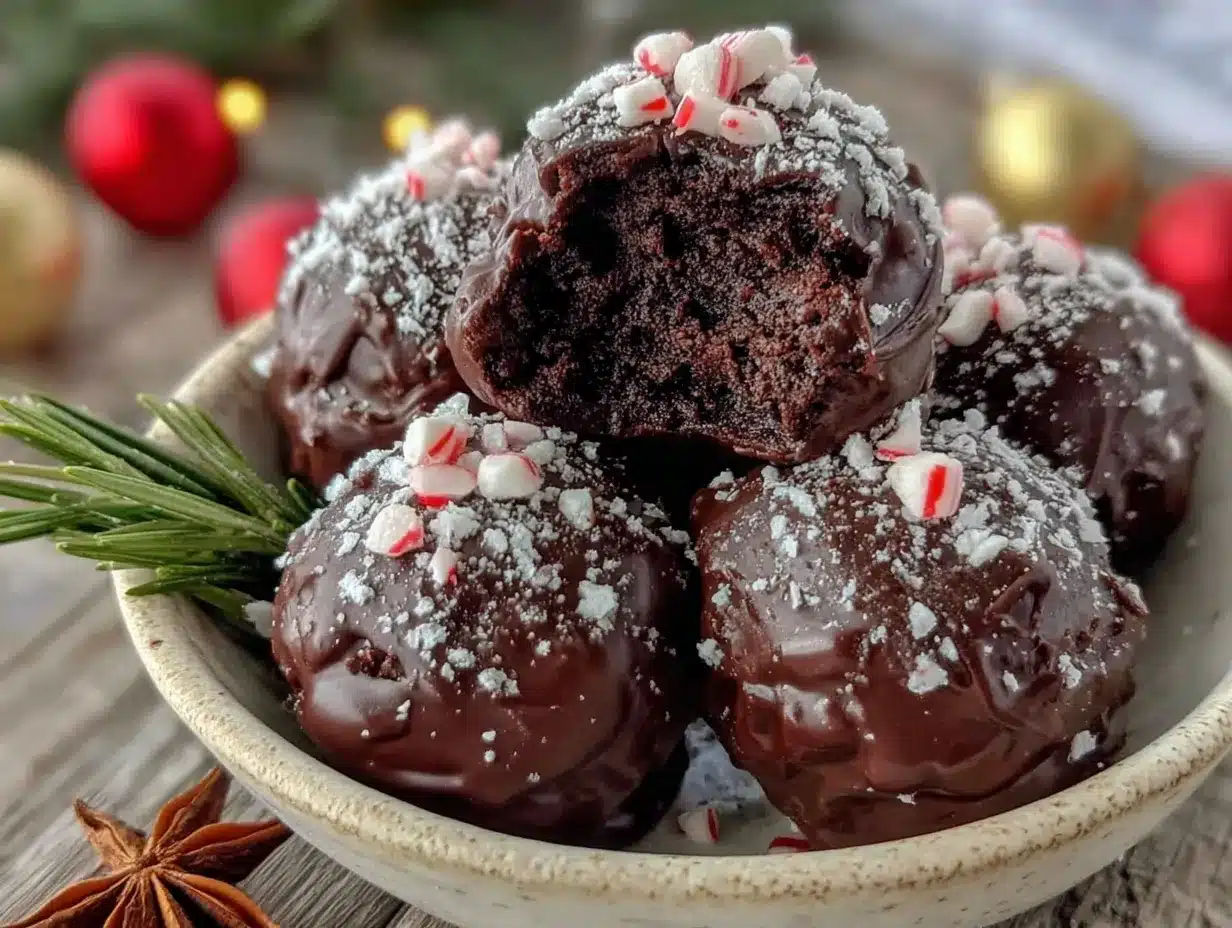
- 12 ounces semi-sweet chocolate chips: I prefer Ghirardelli or Guittard for their smooth melting properties and rich flavor. Semi-sweet is the sweet spot here—it’s dark enough to balance the sweet filling but not so bitter that it overwhelms. (If you want a sweeter coating, use milk chocolate chips instead.)
- 1 tablespoon coconut oil or vegetable shortening: This is my secret weapon. Adding a little fat to the chocolate helps it melt more smoothly and gives the coating a beautiful, glossy finish. It also makes the chocolate less likely to seize or bloom.
For Decoration
- 1/4 cup festive sprinkles: Go wild here! Red and green jimmies, white nonpareils, crushed candy canes, or even a dusting of powdered sugar all work beautifully. I personally love the look of red and green sprinkles against the dark chocolate—it screams Christmas.
- Optional: 2 ounces white chocolate chips for drizzling: If you want to get fancy, melt a little white chocolate and drizzle it over the truffles for a two-tone effect. It adds a professional touch that’s surprisingly easy to do.
Substitution Notes
If you need a gluten-free version, look for certified gluten-free Oreo-style cookies (the brand Goodie Girl makes an excellent one). For a dairy-free option, use a dairy-free cream cheese alternative and dairy-free chocolate chips. Keep in mind that the texture will be slightly different—dairy-free cream cheese tends to be a bit softer, so you may need to chill the centers longer before rolling. And if you’re avoiding nuts, rest assured that this recipe is naturally nut-free as long as you check your chocolate chip label.
Equipment Needed
The beauty of this recipe is that you don’t need a ton of fancy equipment. Here’s what you’ll want to have on hand:
- Food Processor: This is the most efficient way to crush the Oreos into a fine crumb. A high-speed blender can work in a pinch, but you’ll need to work in batches and shake it frequently. (I learned this the hard way—my blender once got jammed with cookie pieces mid-pulse, and I spent 20 minutes digging them out with a chopstick.)
- Electric Hand Mixer or Stand Mixer: For beating the cream cheese until smooth. You can do this by hand with a wooden spoon, but your arm will thank you for using a mixer. I’ve done both, and the mixer gives a much smoother, more consistent texture.
- Large Baking Sheet: For chilling the truffle balls. Line it with parchment paper or wax paper for easy cleanup.
- Small Cookie Scoop or Melon Baller: For portioning the truffle mixture into uniform balls. A tablespoon also works, but the scoop makes it faster and more consistent.
- Double Boiler or Microwave-Safe Bowl: For melting the chocolate. I use a glass bowl in the microwave—it’s faster and involves fewer dishes. But if you’re nervous about burning chocolate, a double boiler gives you more control.
- Fork or Dipping Tool: For dipping the truffles in chocolate. A regular dinner fork works fine, but I splurged on a cheap set of dipping tools from a craft store, and they make the process much neater.
- Piping Bag or Small Ziploc Bag: If you’re drizzling white chocolate, a piping bag (or a Ziploc with the corner snipped off) makes it easy to create thin, even lines.
If you don’t have a food processor, you can place the Oreos in a large Ziploc bag and crush them with a rolling pin. It’s a great arm workout and oddly satisfying—just make sure the bag doesn’t have any holes, or you’ll end up with cookie dust all over your counter. Ask me how I know.
Preparation Method
Alright, let’s get to the fun part. I’m going to walk you through every step, including all the little details I’ve learned from making these truffles more times than I can count. Take your time, and don’t rush the chilling steps—they’re crucial for that perfect texture.
Step 1: Crush the Oreos
Place the entire package of Oreos (cream filling and all) into your food processor. Pulse until the cookies are finely ground into a crumb that resembles wet sand. You should have about 3 cups of crumbs. (Sensory cue: The mixture should look like dark, slightly clumpy sand. If you see large cookie pieces, keep pulsing.) If you’re using the Ziploc bag method, seal the bag tightly and go to town with your rolling pin. Aim for a consistent fine crumb—lumpy truffles are no fun.
Step 2: Mix the Filling
In a large mixing bowl, beat the softened cream cheese with an electric hand mixer until it’s completely smooth and fluffy—about 2 minutes. There should be no lumps whatsoever. Add the vanilla extract and salt, and beat again to combine. Then, add the Oreo crumbs and mix on low speed until everything is fully incorporated. The mixture will look like a thick, dark dough. (Texture cue: It should hold together when pressed between your fingers, like a slightly sticky cookie dough. If it’s too dry, add a teaspoon of milk. If it’s too wet, add a few more crushed Oreos.)
Step 3: Roll the Truffle Centers
Line a large baking sheet with parchment paper. Using a small cookie scoop or a tablespoon, portion out the truffle mixture and roll it between your palms into smooth, even balls—about 1 inch in diameter. Place each ball on the prepared baking sheet as you go. You should end up with about 30 to 36 truffles, depending on how generously you portion them. (Personal tip: If the mixture starts sticking to your hands, lightly moisten your palms with a little water. It makes rolling much easier.)
Step 4: Chill the Truffles
Place the baking sheet with the rolled truffles in the refrigerator. Chill them for at least 30 minutes, or up to 1 hour. This step is essential—cold truffles are much easier to dip in chocolate without falling apart. (Warning: Don’t skip this! I once tried to dip room-temperature truffles, and they turned into a chocolate-covered mess. The centers need to be firm.)
Step 5: Melt the Chocolate
About 10 minutes before the truffles are done chilling, prepare your chocolate coating. Place the semi-sweet chocolate chips and the coconut oil (or shortening) in a microwave-safe bowl. Microwave in 30-second intervals, stirring well after each interval, until the chocolate is completely smooth and melted. This usually takes about 1 to 2 minutes total. (Visual cue: The chocolate should be glossy and runny, with no lumps. Be careful not to overheat it, or it will seize and become grainy.) If using a double boiler, bring an inch of water to a simmer in a small saucepan, place the bowl on top (make sure it doesn’t touch the water), and stir until melted.
Step 6: Dip the Truffles
Remove the chilled truffles from the refrigerator. Working with one truffle at a time, drop it into the melted chocolate. Use a fork or dipping tool to gently turn it and coat it completely. Lift the truffle out of the chocolate, letting any excess drip back into the bowl. Gently tap the fork on the edge of the bowl to help the chocolate settle. Then, carefully slide the truffle back onto the parchment-lined baking sheet. (Pro tip: If the chocolate starts to thicken as you work, pop it back in the microwave for 10 seconds to thin it out again.)
Step 7: Add the Sprinkles
Immediately after dipping each truffle—while the chocolate is still wet—sprinkle the top with your festive sprinkles. If you wait too long, the chocolate will set and the sprinkles won’t stick. Work quickly, but don’t stress if some truffles end up with fewer sprinkles than others—it adds character.
Step 8: Set and Serve
Once all the truffles are dipped and decorated, return the baking sheet to the refrigerator. Let them chill for at least 20 minutes, or until the chocolate is completely firm and set. Then, transfer them to a serving platter or an airtight container. (Sensory cue: The chocolate should have a satisfying snap when you bite into it. If it’s still soft, give it more time in the fridge.)
Cooking Tips & Techniques
Over the years, I’ve made every mistake you can imagine with these truffles. Let me share what I’ve learned so you can skip the trial and error.
Don’t Overwork the Cream Cheese: When you’re beating the cream cheese, stop as soon as it’s smooth. Overbeating can incorporate too much air, which makes the truffle centers softer and harder to roll. You want it creamy, not fluffy.
Chill the Centers Thoroughly: This is the most important tip I can give you. Cold truffle centers hold their shape when dipped in warm chocolate. If they’re even slightly warm, they’ll start to soften and fall apart in the chocolate, leaving you with a murky, messy coating. I once rushed this step because I was in a hurry, and I ended up with chocolate soup studded with Oreo chunks. Not my finest moment.
Use a Thermometer for Chocolate: If you’re using a double boiler, keep the chocolate between 88°F and 90°F (31°C to 32°C) for the best dipping consistency. If it gets too hot, the chocolate can seize or bloom. If you don’t have a thermometer, just be gentle with the heat and stir frequently.
Work in Batches: Don’t try to dip all the truffles at once. Keep the undipped truffles in the refrigerator while you work, and only take out a few at a time. This keeps them cold and firm, which makes dipping easier and cleaner.
Clean Up Chocolate Stains Quickly: Chocolate stains are stubborn once they dry. Wipe up any spills or drips immediately with a damp cloth. I learned this after a particularly messy session left chocolate spots on my counter that took three scrubbing sessions to remove.
Make Ahead for Better Flavor: These truffles actually taste better the next day. The flavors meld together overnight, and the texture becomes even creamier. So don’t stress about making them the day before your party—it’s actually the smart move.
Variations & Adaptations
One of the best things about this recipe is how easily it adapts. Here are a few variations I’ve tried and loved:
Peppermint Oreo Truffles: Add 1/2 teaspoon of peppermint extract to the truffle mixture along with the vanilla. Then, crush a few candy canes and sprinkle them on top instead of regular sprinkles. The minty freshness is a perfect contrast to the rich chocolate. I made these for a cookie swap last year, and they were the first to disappear.
White Chocolate Oreo Truffles: Swap the semi-sweet chocolate coating for white chocolate chips. The sweet, creamy white chocolate pairs beautifully with the dark Oreo centers. Add a drop of red food coloring to the white chocolate for a pinkish hue that’s perfect for Valentine’s Day or a Christmas brunch.
Gluten-Free Version: Use certified gluten-free chocolate sandwich cookies (like Glutino or Goodie Girl) instead of regular Oreos. The texture is slightly different—a bit crumblier—but the flavor is just as good. Just be sure to check that all your other ingredients are gluten-free as well.
Vegan Version: Use a dairy-free cream cheese (I like Kite Hill or Violife) and dairy-free chocolate chips. The truffles will be a little softer, so plan on chilling them for a full hour before dipping. The flavor is still rich and satisfying—my vegan friend couldn’t tell the difference.
Spiced Christmas Truffles: Add 1/2 teaspoon of cinnamon and a pinch of nutmeg to the truffle mixture. It gives them a subtle warmth that screams “Christmas.” I tried this on a whim one year, and now it’s my go-to variation for cozy nights by the fire.
Crunchy Crunch Variation: Mix in 1/4 cup of crushed toffee bits or chopped pecans into the truffle mixture before rolling. It adds a delightful crunch that contrasts with the creamy center. Just be aware that this makes the centers a bit harder to roll—chill them for an extra 15 minutes.
Serving & Storage Suggestions
These truffles are incredibly versatile when it comes to serving. Here’s how I like to present and store them.
Serving Temperature: Serve the truffles chilled, straight from the refrigerator. They’re at their best when the centers are firm and the chocolate coating is snappy. If you leave them out at room temperature for more than 30 minutes, they’ll start to soften, so keep them chilled until just before serving.
Presentation Ideas: Arrange the truffles on a festive platter or a tiered cake stand. Sprinkle a few extra sprinkles or crushed candy canes around the base for a pop of color. For gifting, place them in a decorative tin or a clear cellophane bag tied with a red ribbon. Add a handwritten tag with the recipe name and a sweet note—it’s the kind of gift that feels personal and thoughtful.
Complementary Dishes: These truffles pair beautifully with a cup of hot cocoa, a mug of spiced cider, or a strong black coffee. For a dessert spread, serve them alongside gingerbread cookies, peppermint bark, and sugar cookies. They also make a great addition to a Christmas brunch buffet—I’ve seen them disappear next to the cinnamon rolls more than once.
Storage Instructions: Store the truffles in an airtight container in the refrigerator for up to 2 weeks. Place them in a single layer, or separate layers with parchment paper to prevent sticking. If you’re stacking them, make sure the chocolate is completely set first.
Freezing Instructions: These truffles freeze beautifully. Place them in a single layer on a baking sheet and freeze until solid (about 2 hours). Then, transfer them to a freezer-safe container or Ziploc bag, separating layers with parchment paper. They’ll keep for up to 3 months. To thaw, transfer them to the refrigerator overnight. (Personal note: I always make a double batch and freeze half for last-minute holiday emergencies. It’s a lifesaver.)
Flavor Development: The truffles actually taste better after a day or two in the fridge. The flavors meld together, and the texture becomes even creamier. So don’t worry if you make them a few days ahead—it’s actually the smart move.
Nutritional Information & Benefits
Let’s be honest—these truffles are a treat, not a health food. But here’s the breakdown if you’re curious.
Estimated Nutritional Values (per truffle, based on 30 truffles):
- Calories: 145
- Fat: 9g
- Carbohydrates: 16g
- Protein: 2g
- Sugar: 11g
Health Highlights: While these aren’t exactly a superfood, there are a few redeeming qualities. The dark chocolate coating contains antioxidants called flavonoids, which are linked to heart health. The cream cheese provides a small amount of calcium and protein. And let’s not forget the emotional benefits—sometimes you just need a little sweetness to brighten your day, and that counts for something.
Dietary Considerations: This recipe is naturally nut-free (check your chocolate chip label to be sure). For a gluten-free version, use certified gluten-free cookies. For a lower-sugar option, use sugar-free chocolate chips and a sugar-free cream cheese alternative. The texture will be slightly different, but the flavor is still satisfying.
Allergen Note: This recipe contains dairy (cream cheese, chocolate), gluten (Oreos), and soy (often in chocolate chips). If you’re serving these at a party, it’s always a good idea to label them with the ingredients so guests with allergies can make informed choices.
My Personal Take: I believe in balance. These truffles are a special occasion treat, not an everyday snack. They’re meant to be enjoyed in moderation, savored slowly, and shared with the people you love. And honestly, the joy they bring—the smiles, the “oh my gosh these are amazing” comments—is worth every single calorie.
Conclusion
So there you have it—my tried-and-true recipe for cozy no-bake Christmas Oreo truffle balls. These little bites of joy have earned a permanent spot on my holiday dessert table, and I have a feeling they’ll earn one on yours too. They’re simple enough for a lazy afternoon, impressive enough for a cookie swap, and delicious enough to convert even the most skeptical truffle-hater (yes, I’m looking at you, sister).
What I love most about this recipe is how forgiving it is. You don’t need to be a pastry chef or own a fancy kitchen. You just need a few ingredients, a little patience, and a willingness to get your hands a bit messy. And the result? Pure, unapologetic holiday magic. Whether you’re making them for a party, gifting them to neighbors, or just treating yourself after a long day of wrapping presents, these truffles deliver every single time.
Now I want to hear from you. Have you tried making Oreo truffles before? What’s your favorite holiday treat to make without turning on the oven? Drop a comment below and let me know—I love swapping stories and tips with fellow bakers. And if you make these truffles, tag me in your photos! There’s nothing that makes my day like seeing someone else fall in love with a recipe I’ve poured my heart into.
Happy holidays, and happy no-baking, my friend. You’ve got this.
Frequently Asked Questions
Can I use Double Stuf Oreos for this recipe?
You can, but the texture will be slightly different. Double Stuf Oreos have more cream filling, which makes the truffle centers softer and a bit harder to roll. If you use them, chill the centers for an extra 15 to 20 minutes before dipping. The flavor is still delicious, so don’t stress if that’s what you have on hand.
How do I prevent the truffles from sticking to my hands when rolling?
Lightly moisten your palms with a little water before rolling each ball. The moisture creates a barrier that keeps the mixture from sticking. You can also dust your hands with a tiny bit of powdered sugar, but water works better in my experience. Just don’t use too much—you don’t want to make the mixture soggy.
Can I make these truffles ahead of time for a party?
Absolutely! In fact, I recommend it. These truffles taste even better after a day or two in the refrigerator because the flavors have time to meld together. Make them up to 3 days in advance and store them in an airtight container in the fridge. They’ll be perfect when you’re ready to serve.
Why did my chocolate coating seize and become grainy?
Chocolate seizes when it comes into contact with even a tiny amount of water. Make sure all your utensils and bowls are completely dry before melting the chocolate. Also, avoid overheating the chocolate—microwave in short bursts and stir frequently. If your chocolate does seize, you can sometimes rescue it by adding a teaspoon of coconut oil and stirring vigorously, but it’s usually better to start fresh.
Can I freeze these truffles for later?
Yes, they freeze beautifully. Place the finished truffles in a single layer on a baking sheet and freeze until solid (about 2 hours). Then transfer them to a freezer-safe container or Ziploc bag, separating layers with parchment paper. They’ll keep for up to 3 months. Thaw them in the refrigerator overnight before serving.
Pin This Recipe!
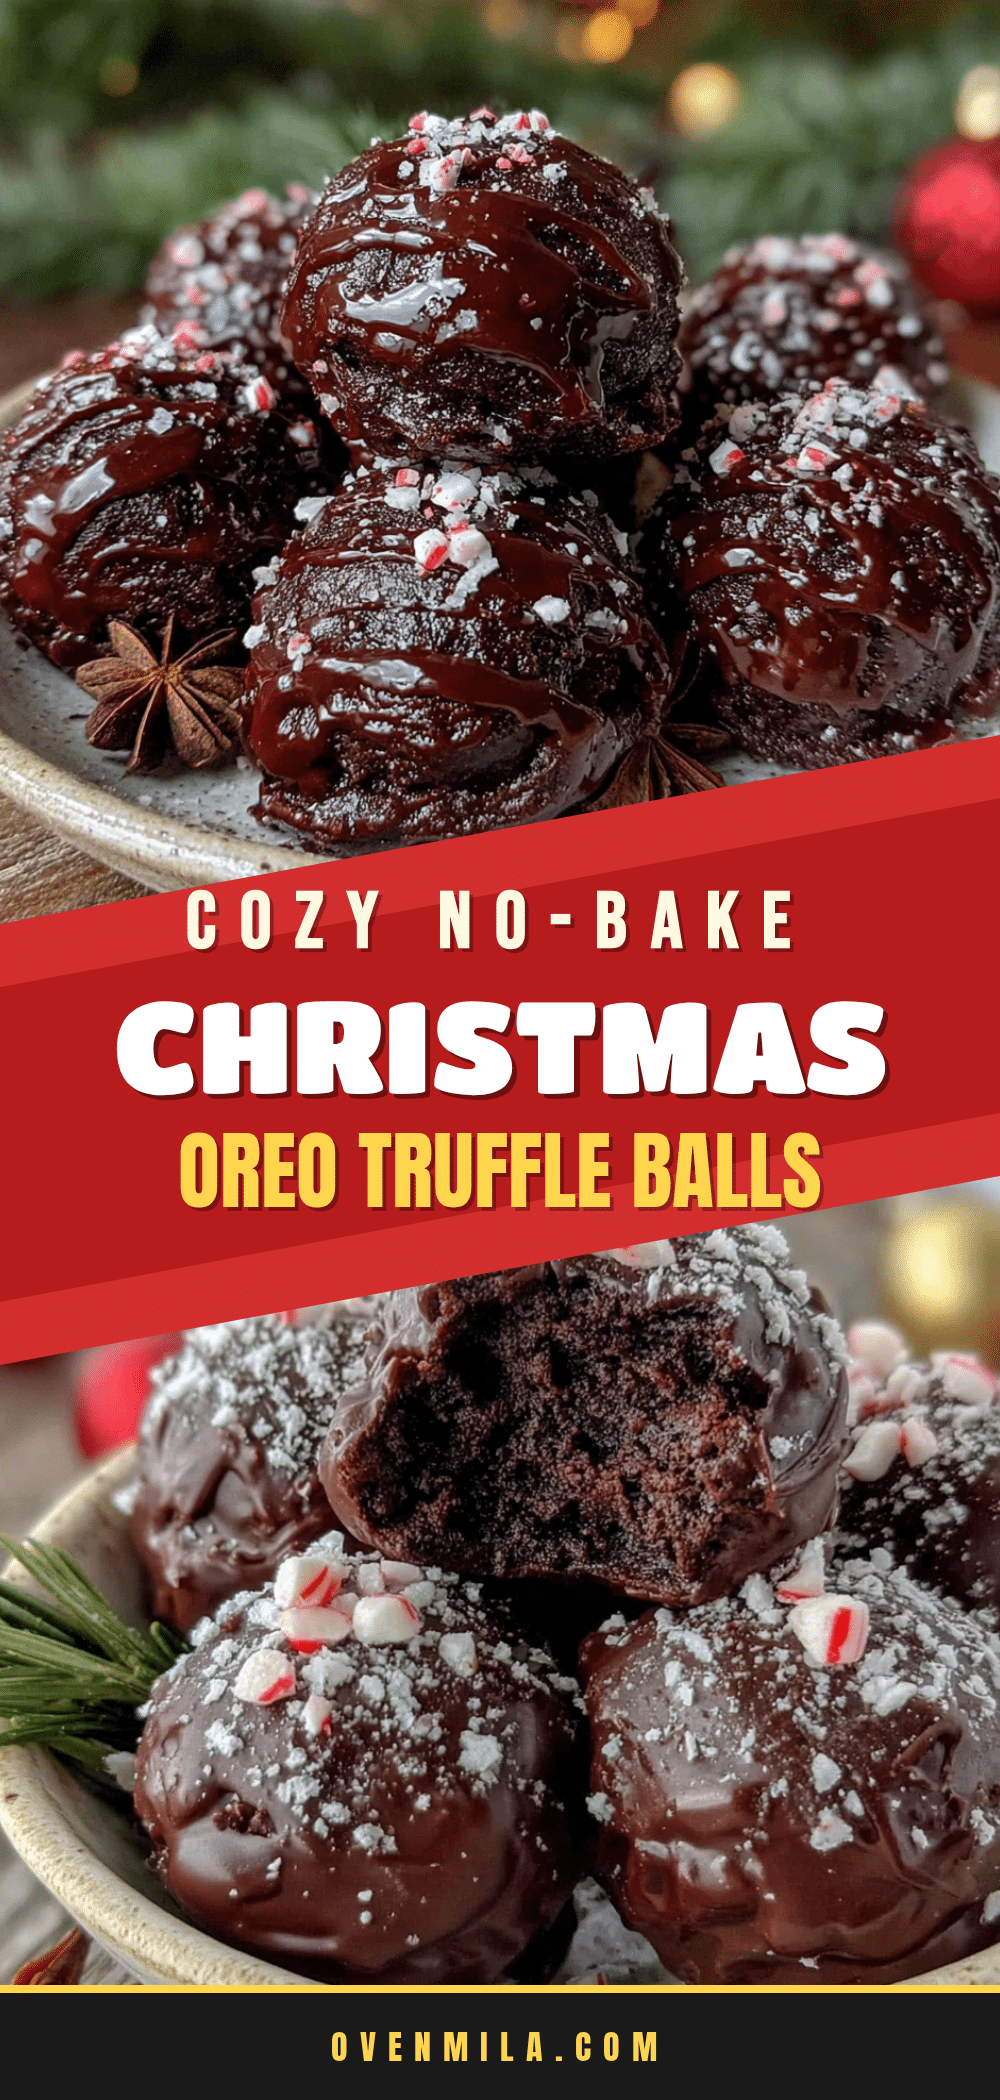
Easy No-Bake Christmas Oreo Truffle Balls Recipe

These no-bake Christmas Oreo truffle balls are a simple, decadent holiday treat made with crushed Oreos, cream cheese, and a smooth chocolate coating. Perfect for gifting, cookie swaps, or satisfying your sweet tooth without turning on the oven.
- Prep Time: 30 minutes
- Cook Time: 0 minutes
- Total Time: 1 hour 20 minutes (includes chilling time)
- Yield: 30 servings 1x
- Category: Dessert
- Cuisine: American
Ingredients
- 1 (14.3-ounce) package Oreo cookies (about 36 cookies)
- 8 ounces block-style cream cheese, softened to room temperature
- 1/2 teaspoon vanilla extract
- 1/4 teaspoon salt
- 12 ounces semi-sweet chocolate chips
- 1 tablespoon coconut oil or vegetable shortening
- 1/4 cup festive sprinkles
- Optional: 2 ounces white chocolate chips for drizzling
Instructions
- Crush the Oreos: Place the entire package of Oreos (cream filling and all) into a food processor. Pulse until finely ground into a crumb that resembles wet sand. You should have about 3 cups of crumbs.
- Mix the Filling: In a large mixing bowl, beat the softened cream cheese with an electric hand mixer until smooth and fluffy, about 2 minutes. Add vanilla extract and salt, beat to combine. Add Oreo crumbs and mix on low speed until fully incorporated. The mixture should hold together when pressed.
- Roll the Truffle Centers: Line a large baking sheet with parchment paper. Using a small cookie scoop or tablespoon, portion out the mixture and roll into smooth, 1-inch balls. Place on the prepared baking sheet. You should get about 30 to 36 truffles.
- Chill the Truffles: Refrigerate the baking sheet for at least 30 minutes, or up to 1 hour, until the truffles are firm.
- Melt the Chocolate: About 10 minutes before the truffles are done chilling, place semi-sweet chocolate chips and coconut oil in a microwave-safe bowl. Microwave in 30-second intervals, stirring after each, until smooth and melted (about 1-2 minutes total).
- Dip the Truffles: Remove truffles from the refrigerator. Working one at a time, drop a truffle into the melted chocolate. Use a fork to coat completely, then lift out, letting excess drip off. Gently tap the fork on the bowl edge. Slide the truffle back onto the parchment-lined baking sheet.
- Add the Sprinkles: Immediately after dipping each truffle, while the chocolate is still wet, sprinkle the top with festive sprinkles.
- Set and Serve: Return the baking sheet to the refrigerator. Chill for at least 20 minutes, or until the chocolate is completely firm. Transfer to a serving platter or airtight container.
Notes
Chill the truffle centers thoroughly before dipping to prevent them from falling apart in the chocolate. For best results, use block-style cream cheese (not spreadable). The truffles taste even better the next day as flavors meld. Store in an airtight container in the refrigerator for up to 2 weeks, or freeze for up to 3 months.
Nutrition
- Serving Size: 1 truffle
- Calories: 145
- Sugar: 11
- Sodium: 95
- Fat: 9
- Saturated Fat: 5
- Carbohydrates: 16
- Fiber: 1
- Protein: 2
Keywords: Oreo truffles, no-bake Christmas dessert, holiday truffles, easy truffle recipe, Oreo balls, Christmas cookies, no-bake treats


