That first cold, creamy bite—the way the cookies have softened just enough to melt against your tongue while the filling stays light and cloud-like—still takes me straight to my aunt’s tiny kitchen in the middle of a sweltering July afternoon. I was maybe twelve, and she pulled this tall, frosty thing out of the fridge like it was no big deal. “Just cookies and cream,” she said, waving her hand. But one slice later, I was absolutely convinced she’d performed some kind of kitchen magic. It wasn’t fancy. It wasn’t baked. It was just… perfect. And honestly? That’s the whole point of this easy no-bake Oreo icebox cake. It’s the dessert that looks like you spent hours fussing, but really, you just layered some stuff in a dish and let the fridge do all the heavy lifting. I’ve made this for birthdays, barbecues, and those random Tuesday nights when you just need something sweet without turning on the oven. It never fails to get those little “oh, wow” looks. And the best part? You only need six ingredients. Six! That’s less than what’s in my average smoothie. So if you’re looking for a dessert that feels special but acts simple, you’re in the right place. Let’s get to it.
Why You’ll Love This Recipe
Let me tell you why this easy no-bake Oreo icebox cake has earned a permanent spot in my dessert rotation. It’s not just about the taste—though, let’s be real, that’s a huge part of it. It’s about how ridiculously simple it is to pull together. You don’t need a mixer, a thermometer, or any fancy baking skills. You just need a dish, a spatula, and a little bit of patience while the fridge works its magic.
- Quick & Easy: Active prep time is about 15 minutes. That’s it. The rest is hands-off chilling time.
- Simple Ingredients: You probably have most of these in your kitchen right now. No special trips to a fancy grocery store.
- Perfect for Hot Days: When it’s too warm to even think about turning on the oven, this is your answer. It’s cool, creamy, and completely satisfying.
- Crowd-Pleaser: Kids love it. Adults love it. I’ve seen people go back for thirds. It’s one of those desserts that just disappears.
- Unbelievably Delicious: The texture is what gets me every time. The cookies soften into a fudgy, cake-like layer, while the filling stays light and fluffy. It’s comfort food in dessert form.
What makes this version different from the others I’ve tried? It’s the ratio. I’ve tested this enough times to know that perfect balance between the creamy filling and the crunchy-turned-soft cookie layers. It’s not too sweet, not too heavy—just right. And it’s the kind of dessert that makes you close your eyes after the first bite. Honestly, it’s comfort food reimagined—simpler, cooler, but with the same soul-soothing satisfaction. Perfect for impressing guests without any stress, or turning a regular weeknight into something a little more memorable.
What Ingredients You Will Need
This recipe uses simple, everyday ingredients to create something that tastes anything but ordinary. The magic really happens when these six items come together and the fridge does its thing.
- Oreo Cookies (2 family-size packages, about 36-40 cookies): The star of the show. You’ll use the whole cookie—filling and all. No need to separate them. For the best texture, I recommend using the classic Oreo, not the double-stuf, because the cookie-to-cream ratio is key for the perfect texture.
- Heavy Whipping Cream (2 cups, cold): This is what gives the filling that light, airy texture. It needs to be ice-cold to whip up properly. If you’re in a pinch, you can use a 16-ounce tub of Cool Whip, but honestly, homemade whipped cream tastes so much better and is worth the extra two minutes.
- Powdered Sugar (¼ cup): A little bit of sweetness to stabilize the whipped cream. It dissolves instantly, so no gritty texture.
- Vanilla Extract (1 teaspoon): Adds warmth and depth to the cream layer. Pure vanilla extract makes a difference here, but imitation will work in a pinch.
- Cream Cheese (8 ounces, softened to room temperature): This is my secret ingredient. It gives the filling a slight tanginess that balances the sweetness of the Oreos and keeps the whole thing from being cloying. Make sure it’s really soft so you don’t get lumps.
- Hot Fudge Sauce (¾ cup, plus more for drizzling): Optional, but highly recommended. A thin layer of fudge between the cookie and cream layers adds a rich, chocolatey punch. I like using a good-quality jarred sauce, like Ghirardelli or Hershey’s Simply 5.
That’s it. Six ingredients. No eggs, no butter, no flour. Just pure, delicious simplicity.
Equipment Needed
You don’t need a fancy kitchen to make this easy no-bake Oreo icebox cake. Here’s what you’ll need:
- 9×5-inch Loaf Pan or 8×8-inch Square Dish: A loaf pan makes for a nice, tall cake, but an 8×8 works great for a wider, thinner version. I’ve even used a round 9-inch cake pan in a pinch.
- Electric Hand Mixer or Stand Mixer: You can whip the cream by hand, but your arm will get tired. A mixer makes it quick and easy.
- Large Mixing Bowls: One for the cream cheese mixture and one for the whipped cream.
- Spatula: For spreading the layers evenly. A rubber spatula is your best friend here.
- Plastic Wrap or Aluminum Foil: To cover the pan while it chills.
- Sharp Knife: For slicing clean pieces. A serrated knife works best.
If you don’t have a loaf pan, you can use a 9-inch springform pan or even a small casserole dish. The key is just to have something with sides to hold the layers in place.
Preparation Method
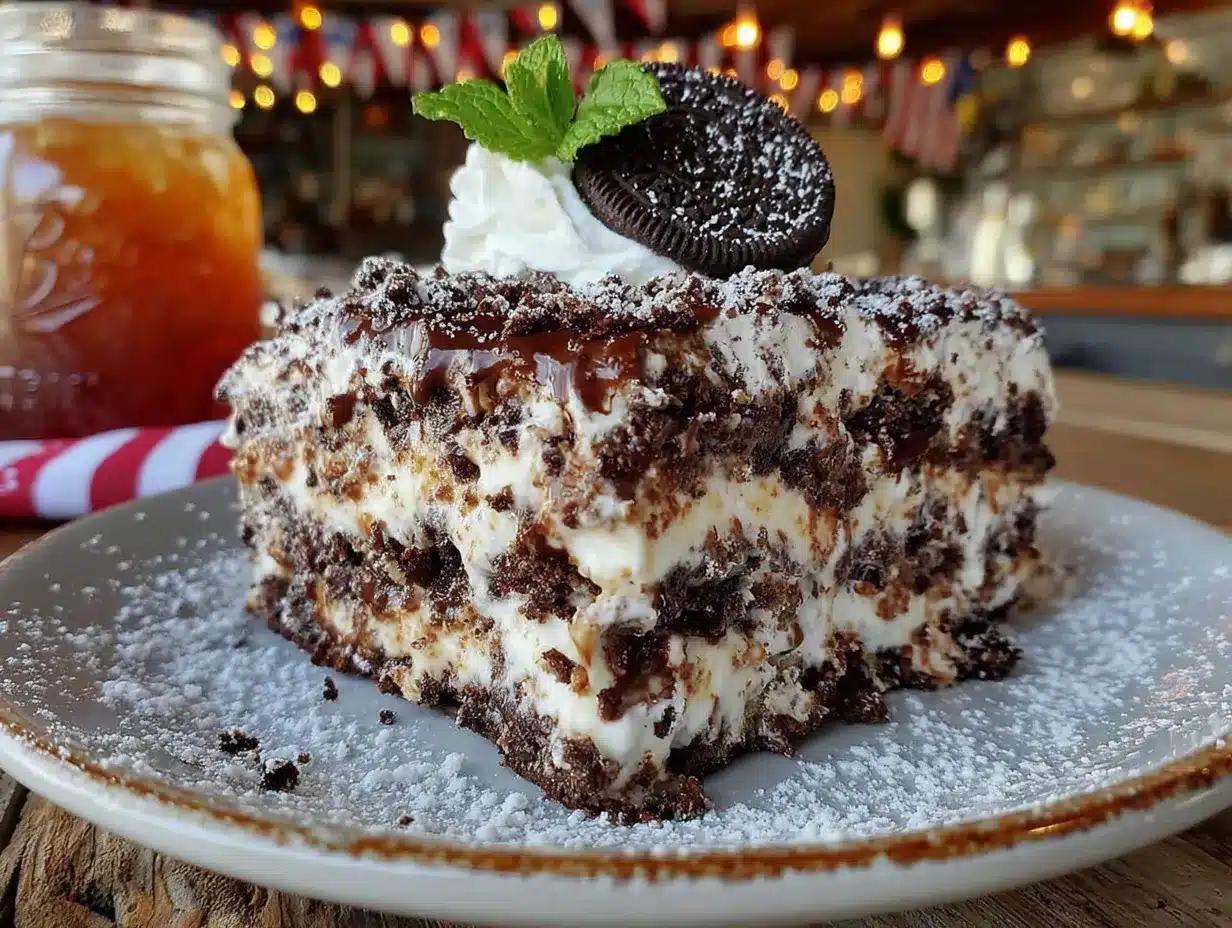
This is where the magic happens. Follow these steps, and you’ll have a dessert that looks like it came from a bakery.
- Whip the Cream: In a large mixing bowl, pour in the cold heavy whipping cream. Using an electric hand mixer or stand mixer with the whisk attachment, beat the cream on medium-high speed until soft peaks form. This takes about 2-3 minutes. Add the powdered sugar and vanilla extract, then continue beating until stiff peaks form. Be careful not to over-whip, or you’ll end up with butter. Set this aside. (If you’re using Cool Whip, skip this step and just thaw it according to package directions.)
- Make the Cream Cheese Base: In another large bowl, beat the softened cream cheese with the same beaters (no need to wash them) until it’s smooth and creamy, about 1 minute. It should be completely lump-free. If it’s not softening properly, pop it in the microwave for 10-15 seconds.
- Combine the Layers: Gently fold the whipped cream into the cream cheese mixture using a rubber spatula. Fold until it’s just combined—you don’t want to deflate all that air. The mixture should be light, fluffy, and slightly tangy.
- Prepare the Pan: Line your loaf pan or dish with plastic wrap, leaving some overhang on the sides. This makes it so much easier to lift the cake out later. Trust me on this one.
- Start Layering: Spread a thin layer of the cream mixture (about ¼ cup) on the bottom of the pan. This helps the cookies stay in place. Then, arrange a layer of Oreos on top. I like to place them in a single layer, covering the bottom completely. You might need to break a few cookies in half to fill the gaps. If you’re using the hot fudge, drizzle a thin layer over the cookies now.
- Repeat the Layers: Spread about ½ cup of the cream mixture over the cookies, smoothing it out evenly. Then add another layer of Oreos, another drizzle of fudge (optional), and more cream. Repeat this process until you’ve used up all the cookies and cream. You should end with a final layer of the cream mixture on top. I usually get about 4 layers of cookies and 4 layers of cream in a standard loaf pan.
- Chill: Cover the pan tightly with plastic wrap and refrigerate for at least 6-8 hours, but overnight is best. The longer it sits, the softer the cookies get. The texture goes from crunchy to perfectly cake-like. Don’t rush this step—it’s the most important part.
- Serve: Once chilled, use the plastic wrap overhang to lift the cake out of the pan. Place it on a cutting board or serving platter. Slice into thick pieces with a sharp knife. For extra fanciness, drizzle with more hot fudge sauce or add a dollop of whipped cream on top.
Cooking Tips & Techniques
I’ve made this easy no-bake Oreo icebox cake more times than I can count, and I’ve learned a few things along the way. Here are my best tips for success:
- Don’t Skip the Overnight Chill: I know it’s tempting to dig in after a few hours, but trust me, the texture is so much better after a full 12-24 hours. The cookies need time to absorb the moisture from the cream and soften completely. If you rush it, you’ll end up with crunchy cookies, which isn’t bad, but it’s not the classic icebox cake experience.
- Use Room Temperature Cream Cheese: This is non-negotiable. Cold cream cheese will leave you with lumpy filling. Let it sit on the counter for about 30 minutes before you start. If you forget, you can microwave it in short bursts (10 seconds at a time) until it’s soft.
- Whip the Cream to Stiff Peaks: Soft peaks will collapse into the cream cheese mixture, leaving you with a runny filling. You want the peaks to stand up tall and hold their shape. If you’re not sure, lift the beater—the cream should form a peak that doesn’t flop over.
- Layer Evenly: Take your time with the layers. An uneven layer of cream means some cookies won’t soften as much as others. I like to use an offset spatula to smooth everything out.
- My Biggest Failure: The first time I made this, I used low-fat cream cheese and skimpy on the chill time. The result? A soupy mess that never set. Learn from my mistake—use full-fat cream cheese and give it the full overnight chill. It’s worth the wait.
Variations & Adaptations
One of the best things about this easy no-bake Oreo icebox cake is how easy it is to change up. Here are a few of my favorite variations:
- Mint Chocolate Chip: Swap the vanilla extract for peppermint extract and add a few drops of green food coloring to the cream mixture. Use mint-flavored Oreos if you can find them. It’s like a Thin Mint in cake form!
- Peanut Butter Dream: Add ½ cup of creamy peanut butter to the cream cheese mixture before folding in the whipped cream. It adds a salty, nutty kick that pairs beautifully with the chocolate cookies. For extra crunch, sprinkle chopped peanuts between the layers.
- Berry Bliss: Layer fresh sliced strawberries or raspberries between the Oreo and cream layers. The tartness of the berries cuts through the sweetness perfectly. This is my go-to summer version.
- Vegan & Dairy-Free: Use a dairy-free cream cheese alternative (like Kite Hill or Tofutti), coconut cream (chilled and whipped) instead of heavy cream, and vegan Oreos (which are actually accidentally vegan!). It works surprisingly well.
- Gluten-Free: Use gluten-free chocolate sandwich cookies, like Glutino or Kinnikinnick. The texture will be slightly different, but it’s still delicious.
I once tried a version with a layer of salted caramel drizzled over the cookies. It was gone in 20 minutes. Just saying.
Serving & Storage Suggestions
This cake is best served cold, straight from the fridge. The texture is perfect when it’s firm but not frozen. Here’s how to make the most of it:
- Serving: Slice the cake with a sharp, serrated knife, wiping the blade clean between cuts for neat slices. Serve on chilled plates for an extra touch. A drizzle of hot fudge, a sprinkle of crushed Oreos, or a few fresh berries on top makes it look restaurant-worthy.
- Complementary Dishes: This cake is rich, so I like to serve it with something light on the side. A scoop of vanilla bean ice cream or a cup of strong black coffee is a perfect pairing. For a fun twist, try it alongside a refreshing frozen mango chili margarita slushie for a sweet-and-spicy combo.
- Storage: Leftovers (if you have any!) should be covered tightly with plastic wrap or stored in an airtight container in the refrigerator. It will keep for up to 5 days. The texture actually gets better on day two or three as the cookies continue to soften.
- Freezing: You can freeze this cake! Wrap the entire cake (or individual slices) tightly in plastic wrap, then in aluminum foil. Freeze for up to 3 months. Thaw in the refrigerator overnight before serving. It’s a great make-ahead dessert for holidays.
Honestly, the flavors meld and deepen over time. Day-old icebox cake is often better than fresh. So don’t be afraid to make it a day ahead.
Nutritional Information & Benefits
Let’s be real—this is a treat, not a health food. But knowing what’s in it can help you enjoy it mindfully. Here’s the estimated nutritional breakdown per serving (based on 8 servings):
- Calories: Approximately 450-500 per slice
- Fat: 28g
- Carbohydrates: 52g
- Protein: 5g
- Sugar: 38g
While it’s not exactly a light dessert, there are a few bright spots. The heavy cream and cream cheese provide a good amount of calcium and vitamin A. And hey, the Oreos have a tiny bit of iron! If you’re looking for a lighter option, you can try using low-fat cream cheese and a sugar-free whipped topping, but honestly, I think the full-fat version is worth the indulgence. It’s a dessert, after all. For a healthier breakfast option, you might want to check out these creamy strawberry cheesecake overnight oats for a guilt-free morning treat.
Conclusion
This easy no-bake Oreo icebox cake is more than just a dessert—it’s a little piece of nostalgia wrapped in a creamy, chocolatey package. It’s the kind of recipe that makes you look like a hero without any of the stress. Whether you’re making it for a birthday, a potluck, or just because it’s Tuesday, it always delivers. I love how forgiving it is. You can mess up the layers, use a different pan, or swap out the flavors, and it still turns out amazing. That’s the beauty of a simple, well-designed recipe.
So go ahead—give it a try. Customize it with your favorite add-ins, make it your own, and don’t forget to share a slice with someone you love. And if you do make it, I’d love to hear about it! Drop a comment below, tag me in your photos, or tell me about your favorite variation. Your feedback makes this whole thing worthwhile. Until next time, happy no-baking!
Frequently Asked Questions
Can I use a different type of cookie?
Absolutely! While Oreos are the classic choice, you can experiment with other sandwich cookies like chocolate chip, peanut butter, or even gluten-free alternatives. Just keep in mind that the texture and sweetness will vary. For a fun twist, try it with the strawberry cheesecake icebox cake version for a fruity change of pace.
Can I make this cake in advance?
Yes, and I actually recommend it! This cake needs at least 6-8 hours to set, but making it a day ahead is even better. It will keep in the fridge for up to 5 days, and the texture improves over time.
Can I use Cool Whip instead of heavy cream?
You can, and it will work just fine. Just make sure to thaw it completely before using. The texture will be slightly lighter and less rich than homemade whipped cream, but it’s a great shortcut for busy days.
How do I get clean slices?
Use a sharp, serrated knife and wipe it clean with a damp paper towel between each cut. For the cleanest slices, you can even pop the cake in the freezer for about 15-20 minutes before slicing. It firms up the layers and makes cutting much easier.
Can I add other flavors to the cream mixture?
Definitely! A teaspoon of instant coffee granules dissolved in a little warm water adds a mocha flavor. A pinch of cinnamon or a splash of almond extract are also great options. Get creative—it’s your cake!
Pin This Recipe!
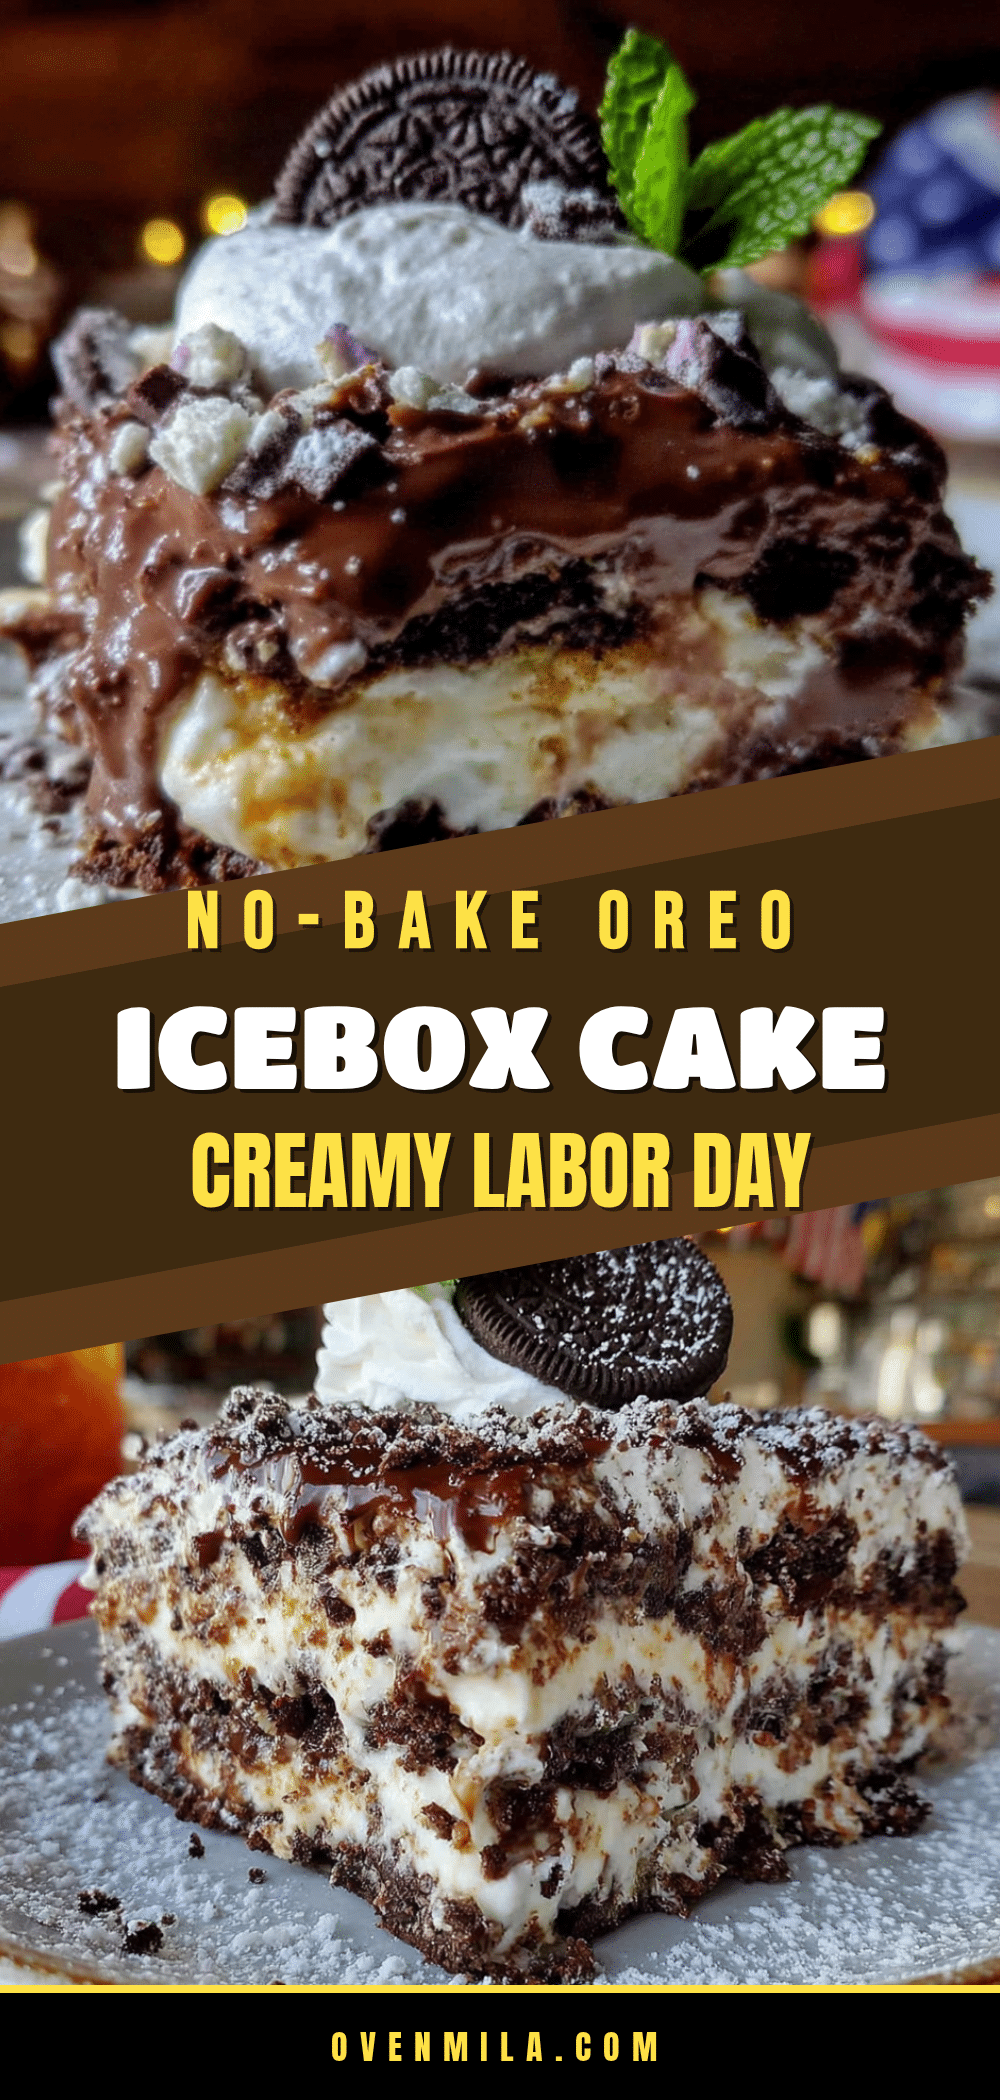
Easy No-Bake Oreo Icebox Cake: Best 6-Ingredient Dessert

This easy no-bake Oreo icebox cake is a creamy, chocolatey dessert that requires only six ingredients and no oven. Perfect for hot days, it layers Oreo cookies with a light cream cheese filling for a crowd-pleasing treat that looks impressive but is simple to make.
- Prep Time: 15 minutes
- Cook Time: 0 minutes
- Total Time: 6 hours 15 minutes (includes chilling)
- Yield: 8 servings 1x
- Category: Dessert
- Cuisine: American
Ingredients
- 2 family-size packages Oreo cookies (about 36–40 cookies)
- 2 cups heavy whipping cream, cold
- 1/4 cup powdered sugar
- 1 teaspoon vanilla extract
- 8 ounces cream cheese, softened to room temperature
- 3/4 cup hot fudge sauce (plus more for drizzling)
Instructions
- Whip the cream: In a large mixing bowl, beat the cold heavy whipping cream with an electric mixer on medium-high speed until soft peaks form (about 2-3 minutes). Add powdered sugar and vanilla extract, then continue beating until stiff peaks form. Set aside.
- Make the cream cheese base: In another large bowl, beat the softened cream cheese until smooth and creamy, about 1 minute.
- Combine the layers: Gently fold the whipped cream into the cream cheese mixture using a rubber spatula until just combined.
- Prepare the pan: Line a 9×5-inch loaf pan or 8×8-inch square dish with plastic wrap, leaving some overhang on the sides.
- Start layering: Spread a thin layer (about 1/4 cup) of the cream mixture on the bottom of the pan. Arrange a single layer of Oreos on top, breaking cookies to fill gaps. Drizzle a thin layer of hot fudge sauce over the cookies if desired.
- Repeat the layers: Spread about 1/2 cup of the cream mixture over the cookies, smoothing evenly. Add another layer of Oreos, more fudge (optional), and more cream. Repeat until all cookies and cream are used, ending with a final layer of cream mixture on top (about 4 layers of cookies and 4 layers of cream).
- Chill: Cover the pan tightly with plastic wrap and refrigerate for at least 6-8 hours, preferably overnight.
- Serve: Use the plastic wrap overhang to lift the cake out of the pan. Place on a cutting board or serving platter. Slice into thick pieces with a sharp knife. Drizzle with more hot fudge sauce if desired.
Notes
For best texture, chill overnight (12-24 hours) to allow cookies to soften completely. Use full-fat cream cheese at room temperature to avoid lumps. Whip cream to stiff peaks for a stable filling. For clean slices, chill the cake in the freezer for 15-20 minutes before cutting.
Nutrition
- Serving Size: 1 slice (1/8 of cake
- Calories: 475
- Sugar: 38
- Sodium: 320
- Fat: 28
- Saturated Fat: 16
- Carbohydrates: 52
- Fiber: 1
- Protein: 5
Keywords: no-bake dessert, Oreo icebox cake, easy dessert, 6-ingredient dessert, chocolate dessert, summer dessert, no-bake cake


