I was standing in the dairy aisle of our local grocery store last Tuesday, staring at a pint of artisanal ice cream that cost more than my lunch, when a woman next to me dropped her carton of heavy cream. It hit the linoleum with a soft, wet thump, and the sound—that specific, dense splat—sent me hurtling backward twenty-five years to my Aunt Lena’s tiny kitchen in Phoenix. She was pulling a bowl out of her ancient hand mixer, the beaters dripping with cream she’d just whipped into stiff peaks for a dessert I’d never seen her make before. “Watch,” she’d said, and she folded in a can of sweetened condensed milk like it was the most magical secret in the world. I was maybe eight, sitting cross-legged on her linoleum floor—the same kind that carton just hit—and I remember thinking there was no way something so simple could turn into ice cream. But it did. And now, every time I make this no-churn salted caramel version, I’m right back on that floor, watching her work her quiet kitchen magic.
Honestly, I forgot the vanilla extract that day. I realized it halfway through whipping the cream, and for a second I panicked—would it ruin everything? But I threw in a splash of caramel sauce instead, and let me tell you, that happy accident turned into the best mistake I’ve ever made. The caramel swirled through the cream in these gorgeous ribbons, and the salt I added on a whim balanced the sweetness perfectly. Maybe you’ve been there—standing over a bowl, thinking you’ve messed up, only to discover you’ve stumbled onto something better. That’s this recipe. It’s not complicated. It’s not fancy. But it tastes like the kind of dessert you’d pay fifteen dollars for at a nice restaurant, and you can make it with three ingredients and zero special equipment. That’s why it’s stayed with me all these years—because sometimes the simplest things are the ones that feel the most like home.
Why You’ll Love This Recipe
Let me be straight with you—I’ve tested this recipe more times than I can count, and I’ve served it at everything from casual backyard barbecues to my sister’s engagement party. It never fails. Here’s why this no-churn salted caramel ice cream is about to become your new go-to dessert.
- No Ice Cream Maker Required — You don’t need a fancy machine, a freezer bowl, or any of that fuss. Just a bowl, a mixer, and a freezer. That’s it.
- Three Simple Ingredients — Heavy cream, sweetened condensed milk, and salted caramel sauce. You probably have two of these in your kitchen right now.
- Perfect for Hosting — When you’re throwing a dinner party or a potluck, this is the dessert you can make days ahead and pull out at the last minute. Your guests will think you spent hours on it.
- Unbelievably Creamy — Because there’s no churning, you get this dense, silky texture that store-bought ice cream just can’t match. It’s like gelato, but easier.
- Crowd-Pleaser — I’ve served this to kids, grandparents, and everyone in between. The salted caramel hits that sweet-salty spot that makes people close their eyes after the first bite.
What makes this recipe different from the dozens of other no-churn recipes out there? It’s the caramel-to-cream ratio, honestly. I spent three batches getting it right—the first was too sweet, the second was too runny, and the third? Perfect. The caramel doesn’t sink to the bottom. It stays suspended in ribbons throughout the ice cream, so every scoop has that buttery, salty-sweet flavor in every bite.
This isn’t just good ice cream. It’s the kind that makes you close your eyes after the first bite. It’s comfort food reimagined—richer, creamier, and more satisfying than anything you can buy at the store. And when you serve it at a gathering, it steals the table every single time.
What Ingredients You Will Need
This recipe uses simple, everyday ingredients to deliver that rich, creamy texture and bold caramel flavor without any fuss. Most of these are pantry staples, and the ones that aren’t are easy to find at any grocery store.
- 2 cups (480 ml) heavy cream — This is the base of your ice cream. Look for heavy cream with at least 36% milk fat for the best texture. I prefer Organic Valley or Horizon brands—they whip up beautifully and hold their structure. (Don’t use half-and-half or whipping cream with lower fat content, or your ice cream will be icy instead of creamy.)
- 1 can (14 oz / 397 g) sweetened condensed milk — This is your sweetener and your texture secret. It keeps the ice cream soft and scoopable straight from the freezer. I’ve tried making this with homemade sweetened condensed milk, and while it works, the canned version gives a more consistent result. Eagle Brand is my go-to.
- 1/2 cup (120 ml) salted caramel sauce — You can use store-bought or homemade. If you’re using store-bought, I recommend Trader Joe’s or Stonewall Kitchen—they have a good balance of salt and sweetness. If you’re making your own, use a recipe with sea salt flakes for that perfect crunch. (Pro tip: warm the caramel slightly before swirling it in, so it doesn’t seize up when it hits the cold cream.)
- 1 teaspoon vanilla extract (optional but recommended) — This rounds out the flavor and makes the caramel taste even deeper. I use Nielsen-Massey Madagascar vanilla—it’s pricey, but a little goes a long way.
- Flaky sea salt for topping — Maldon sea salt flakes are my favorite. They add that pop of saltiness that makes the caramel sing. Sprinkle it on right before serving, not before freezing, or it will dissolve.
Substitution Guidance: For a dairy-free version, use full-fat coconut cream instead of heavy cream and a dairy-free sweetened condensed milk (Nature’s Charm makes a good one). The texture will be slightly different—more coconutty and a bit denser—but still delicious. For a less sweet version, use a reduced-sugar sweetened condensed milk, but note that the texture may be slightly icier.
Sourcing Note: In summer, I sometimes swirl in fresh berries or crushed graham crackers along with the caramel for a twist. But honestly, the plain salted caramel version is so good that I rarely mess with it.
Equipment Needed
You don’t need much for this recipe, and that’s the beauty of it. Here’s what you’ll need:
- Large mixing bowl — Glass or metal works best. Plastic bowls can retain grease, which will keep your cream from whipping properly. I use a stainless steel bowl that I pop in the freezer for 10 minutes before starting—cold bowls help cream whip faster.
- Electric hand mixer or stand mixer — A hand mixer works perfectly, and it’s what I used for years. If you have a stand mixer with the whisk attachment, even better. You can whip cream by hand with a whisk, but your arm will get tired—trust me, I’ve done it.
- Rubber spatula — For folding the condensed milk and caramel into the whipped cream. A silicone spatula is ideal because it won’t scratch your bowl and it gets every last bit of caramel.
- Loaf pan or freezer-safe container — A standard 9×5-inch loaf pan works perfectly. You can also use a metal or glass baking dish. I’ve even used a plastic takeout container in a pinch. Just make sure it’s freezer-safe and has a lid or can be covered tightly with plastic wrap.
- Plastic wrap or wax paper — To press directly onto the surface of the ice cream before freezing. This prevents ice crystals from forming on top.
Budget-Friendly Tip: Don’t have a hand mixer? You can whip the cream in a blender or food processor—just pulse it carefully so you don’t over-whip it into butter. I’ve done this when my mixer broke, and it works in a pinch.
Preparation Method
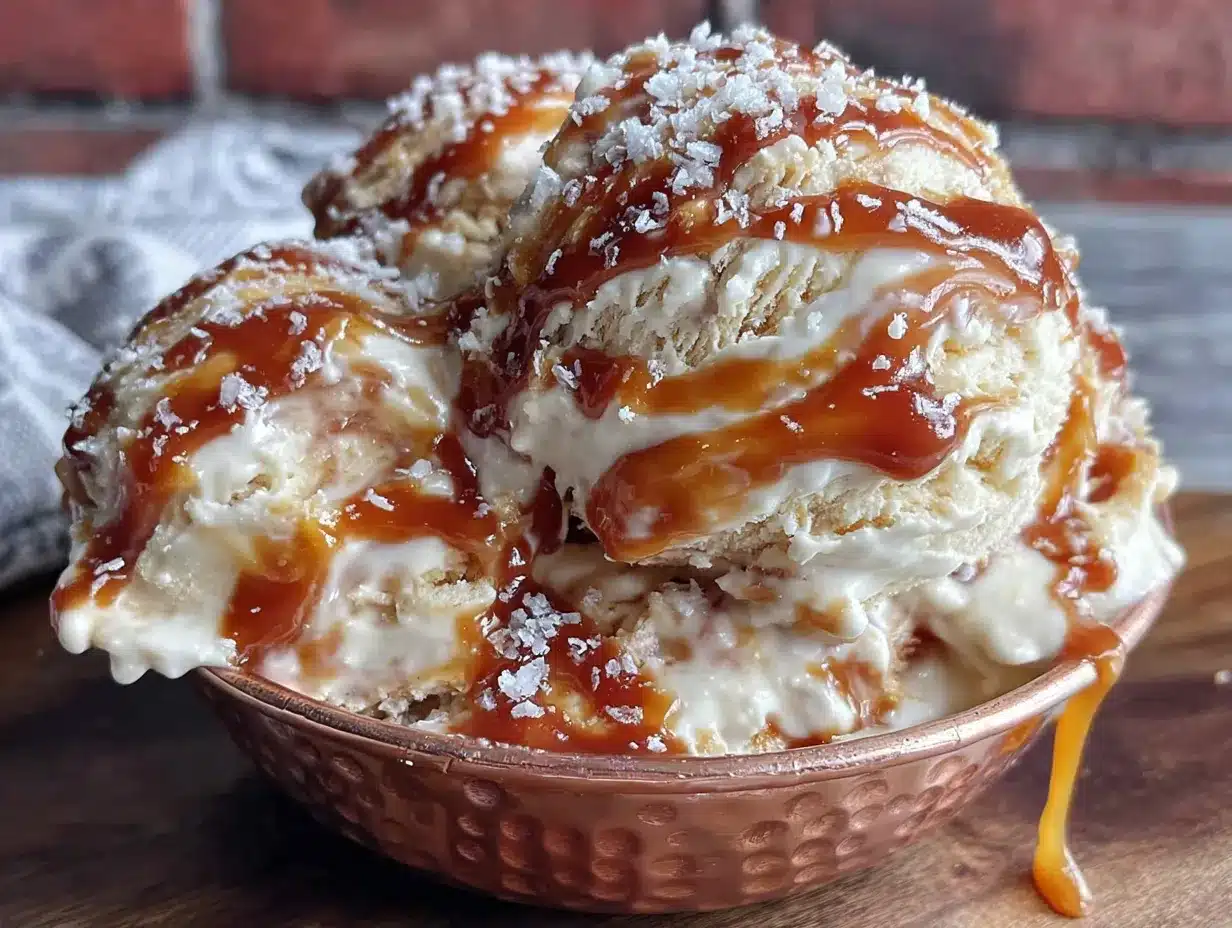
This is where the magic happens. Follow these steps carefully, and you’ll have the creamiest, most decadent no-churn ice cream you’ve ever tasted.
- Chill your bowl and cream (5 minutes) — Place your large mixing bowl and the beaters or whisk attachment in the freezer for 10-15 minutes. Pour the heavy cream into the chilled bowl. Cold cream whips faster and holds its structure better. (Don’t skip this step—I’ve made the mistake of using room-temperature cream, and it took forever to whip and never got as fluffy.)
- Whip the cream (3-5 minutes) — Using your electric mixer on medium-high speed, whip the cream until stiff peaks form. You’re looking for peaks that stand straight up when you lift the beaters. Be careful not to over-whip—if you go too far, you’ll end up with butter. The cream should look thick, glossy, and billowy. (Sensory cue: it should sound like a soft whoosh as the beaters move through it, and it should hold its shape when you stop the mixer.)
- Fold in the condensed milk (2 minutes) — Pour the entire can of sweetened condensed milk and the vanilla extract (if using) over the whipped cream. Using your rubber spatula, gently fold the mixture together. Start from the bottom and bring the spatula up and over, rotating the bowl as you go. Fold until no white streaks remain. The mixture will deflate slightly—that’s normal. You want it to look like a thick, creamy mousse.
- Add the caramel swirl (3 minutes) — Drizzle about 1/3 cup of the salted caramel sauce over the top of the cream mixture. Using your spatula, give it 3-4 gentle folds—just enough to create ribbons of caramel throughout. You don’t want to fully incorporate it, or you’ll lose the swirl effect. (I like to leave some bigger pockets of caramel for those happy surprise bites.)
- Transfer to the pan (2 minutes) — Spoon the mixture into your loaf pan or freezer-safe container. Spread it evenly with the spatula. Drizzle the remaining caramel sauce over the top and use a knife or skewer to swirl it in gently. Don’t over-swirl—you want those distinct ribbons.
- Cover and freeze (6 hours minimum, preferably overnight) — Press a piece of plastic wrap directly onto the surface of the ice cream. This prevents ice crystals from forming. Then cover the pan with its lid or another layer of plastic wrap. Freeze for at least 6 hours, but overnight is better. The longer it freezes, the firmer and creamier it gets.
- Serve (5 minutes) — When you’re ready to serve, let the ice cream sit at room temperature for 5-10 minutes to soften slightly. This makes scooping much easier. Sprinkle each serving with a pinch of flaky sea salt right before serving. (Don’t add the salt before freezing—it will dissolve and you’ll lose that satisfying crunch.)
Personal Tip: If you’re making this for a party, I recommend making it two days ahead. The flavors meld together beautifully overnight, and the texture becomes even creamier. Plus, it’s one less thing to worry about on the day of your gathering.
Cooking Tips & Techniques
After making this recipe more times than I can count, I’ve learned a few things the hard way. Here are my best tips for perfect no-churn salted caramel ice cream every time.
Don’t over-whip the cream. This is the number one mistake I see people make. You want stiff peaks, but if you keep going, the cream will separate into butter and buttermilk. I’ve done this twice—once while distracted by a phone call—and let me tell you, there’s no coming back from butter. Watch for that glossy, billowy texture, and stop the moment the peaks stand firm.
Warm the caramel slightly. If your caramel sauce is cold from the fridge, it will seize up when it hits the cold cream and form hard lumps instead of smooth ribbons. Microwave it for 10-15 seconds until it’s runny but not hot. This makes all the difference in getting those beautiful swirls.
Use a metal loaf pan. Metal conducts cold better than glass or ceramic, so your ice cream will freeze faster and more evenly. If you’re using glass, expect it to take an extra hour or two to set completely.
Layer the caramel for even distribution. Instead of adding all the caramel at the end, try layering: spoon half the cream mixture into the pan, drizzle with caramel, add the rest of the cream, and swirl again. This ensures every scoop has caramel in it, not just the top half.
Plan ahead for scooping. No-churn ice cream freezes very hard because of the high fat content. Always let it sit out for 5-10 minutes before scooping. I usually take it out when I start plating dinner, so it’s perfect by dessert time.
Variations & Adaptations
This recipe is incredibly versatile. Here are some of my favorite ways to change it up:
Salted Caramel Chocolate Chip — Fold in 1/2 cup of mini chocolate chips along with the caramel. The chocolate chunks add a nice textural contrast, and the bitterness of dark chocolate (60% cacao or higher) balances the sweetness of the caramel beautifully.
Salted Caramel Pecan — Toast 1/2 cup of pecan halves in a dry skillet over medium heat for 3-4 minutes until fragrant. Let them cool, then fold them into the cream mixture along with the caramel. The nutty crunch is amazing against the creamy ice cream.
Dairy-Free Version — Use full-fat coconut cream instead of heavy cream and a dairy-free sweetened condensed milk. The coconut flavor is subtle but present, so this works best if you like coconut. Freeze for at least 8 hours, as coconut cream takes longer to set.
Boozy Salted Caramel — Add 2 tablespoons of bourbon or dark rum to the cream mixture before folding in the caramel. The alcohol lowers the freezing point, so the ice cream will be softer and scoopable straight from the freezer. Plus, bourbon and caramel are a match made in heaven.
Mocha Salted Caramel — Dissolve 1 tablespoon of instant espresso powder in 1 tablespoon of hot water, let it cool, and fold it into the cream mixture along with the condensed milk. The coffee flavor deepens the caramel and adds a grown-up twist.
Serving & Storage Suggestions
This ice cream is best served slightly softened, about 5-10 minutes out of the freezer. Scoop it into chilled bowls or cones, and always finish with a sprinkle of flaky sea salt—it makes the caramel flavor pop.
What to Serve Alongside: This ice cream is incredible on its own, but it also pairs beautifully with warm desserts. Try it over a slice of warm apple pie, a brownie, or a chocolate chip cookie. The contrast between hot and cold is heavenly. For a dinner party, I like to serve it with a simple shortbread cookie and a drizzle of extra caramel sauce.
Storage: Store the ice cream in an airtight container in the freezer for up to 2 weeks. After that, it may develop ice crystals and lose some of its creamy texture. To prevent crystallization, always press plastic wrap directly onto the surface before sealing the container.
Reheating (if needed): If your ice cream has frozen too hard, microwave it for 10-15 seconds to soften it. But honestly, just letting it sit at room temperature for a few minutes works better and doesn’t risk melting the edges.
Flavor Development: The flavors actually deepen after 24 hours in the freezer. The caramel becomes more pronounced, and the saltiness mellows into the background. I actually prefer this ice cream on day two—it tastes more complex and well-rounded.
Nutritional Information & Benefits
Let’s be real: this is a decadent dessert, not a health food. But here’s what you should know:
Estimated per serving (1/2 cup): 320 calories, 22g fat, 28g carbohydrates, 4g protein, 180mg sodium.
Ingredient Benefits: Heavy cream contains calcium and vitamin A, and the full-fat version actually helps you feel satisfied with a smaller portion. Sweetened condensed milk provides quick energy, and the caramel—well, it makes you happy, and that counts for something.
Dietary Considerations: This recipe is gluten-free, egg-free, and nut-free (depending on your caramel sauce). For a lower-sugar option, use a sugar-free sweetened condensed milk, but note that the texture will be slightly less creamy.
Potential Allergens: Dairy is the main allergen here. If you’re lactose intolerant, the lactose-free heavy cream and sweetened condensed milk alternatives work well. Always check your caramel sauce for hidden allergens.
My perspective? This is a treat. It’s not something you eat every day, but when you do, it should be worth every single bite. And this recipe? It absolutely is.
Conclusion
This no-churn salted caramel ice cream is proof that you don’t need fancy equipment or complicated techniques to make something truly spectacular. With just three ingredients and a little patience, you can create a dessert that tastes like it came from a high-end creamery—and your guests will absolutely believe you spent hours on it.
I’ve made this recipe for birthday parties, holiday dinners, and quiet Tuesday nights when I just needed a little sweetness. Every time, it delivers. The creamy texture, the ribbons of salted caramel, that satisfying crunch of sea salt on top—it’s the kind of dessert that makes people close their eyes and smile.
So go ahead and make it your own. Add chocolate chips, fold in toasted nuts, or keep it simple and pure. However you make it, I promise you’ll be glad you did. And when you serve it at your next gathering, watch the faces around the table—that’s the real reward.
I’d love to hear how yours turns out! Drop a comment below and let me know what variations you tried, or share a photo of your creation. Happy scooping!
Frequently Asked Questions
Can I use homemade caramel sauce instead of store-bought?
Absolutely! Homemade caramel sauce works beautifully in this recipe. Just make sure it’s cooled to room temperature before swirling it into the cream. If it’s too warm, it will melt the whipped cream and ruin the texture.
Why is my no-churn ice cream icy instead of creamy?
Icy ice cream usually means the cream wasn’t whipped enough, or the mixture wasn’t frozen quickly enough. Make sure you whip the cream to stiff peaks, and use a metal pan if possible—it freezes faster than glass. Also, pressing plastic wrap directly onto the surface prevents ice crystals from forming.
How long does this ice cream last in the freezer?
It’s best within the first 2 weeks. After that, it may develop ice crystals and lose some of its creamy texture. But honestly, in my house, it never lasts that long!
Can I make this recipe with a sugar substitute?
You can use a sugar-free sweetened condensed milk, but the texture will be slightly different—less creamy and a bit icier. The sugar in regular sweetened condensed milk helps keep the ice cream soft and scoopable. If you’re watching your sugar intake, consider using a smaller portion instead.
Do I need to use a hand mixer, or can I whip the cream by hand?
You can definitely whip the cream by hand with a whisk, but it will take about 10-15 minutes of vigorous whisking. I’ve done it when my mixer was broken, and it works—but your arm will get a workout! A hand mixer or stand mixer makes the process much easier and more consistent.
Pin This Recipe!
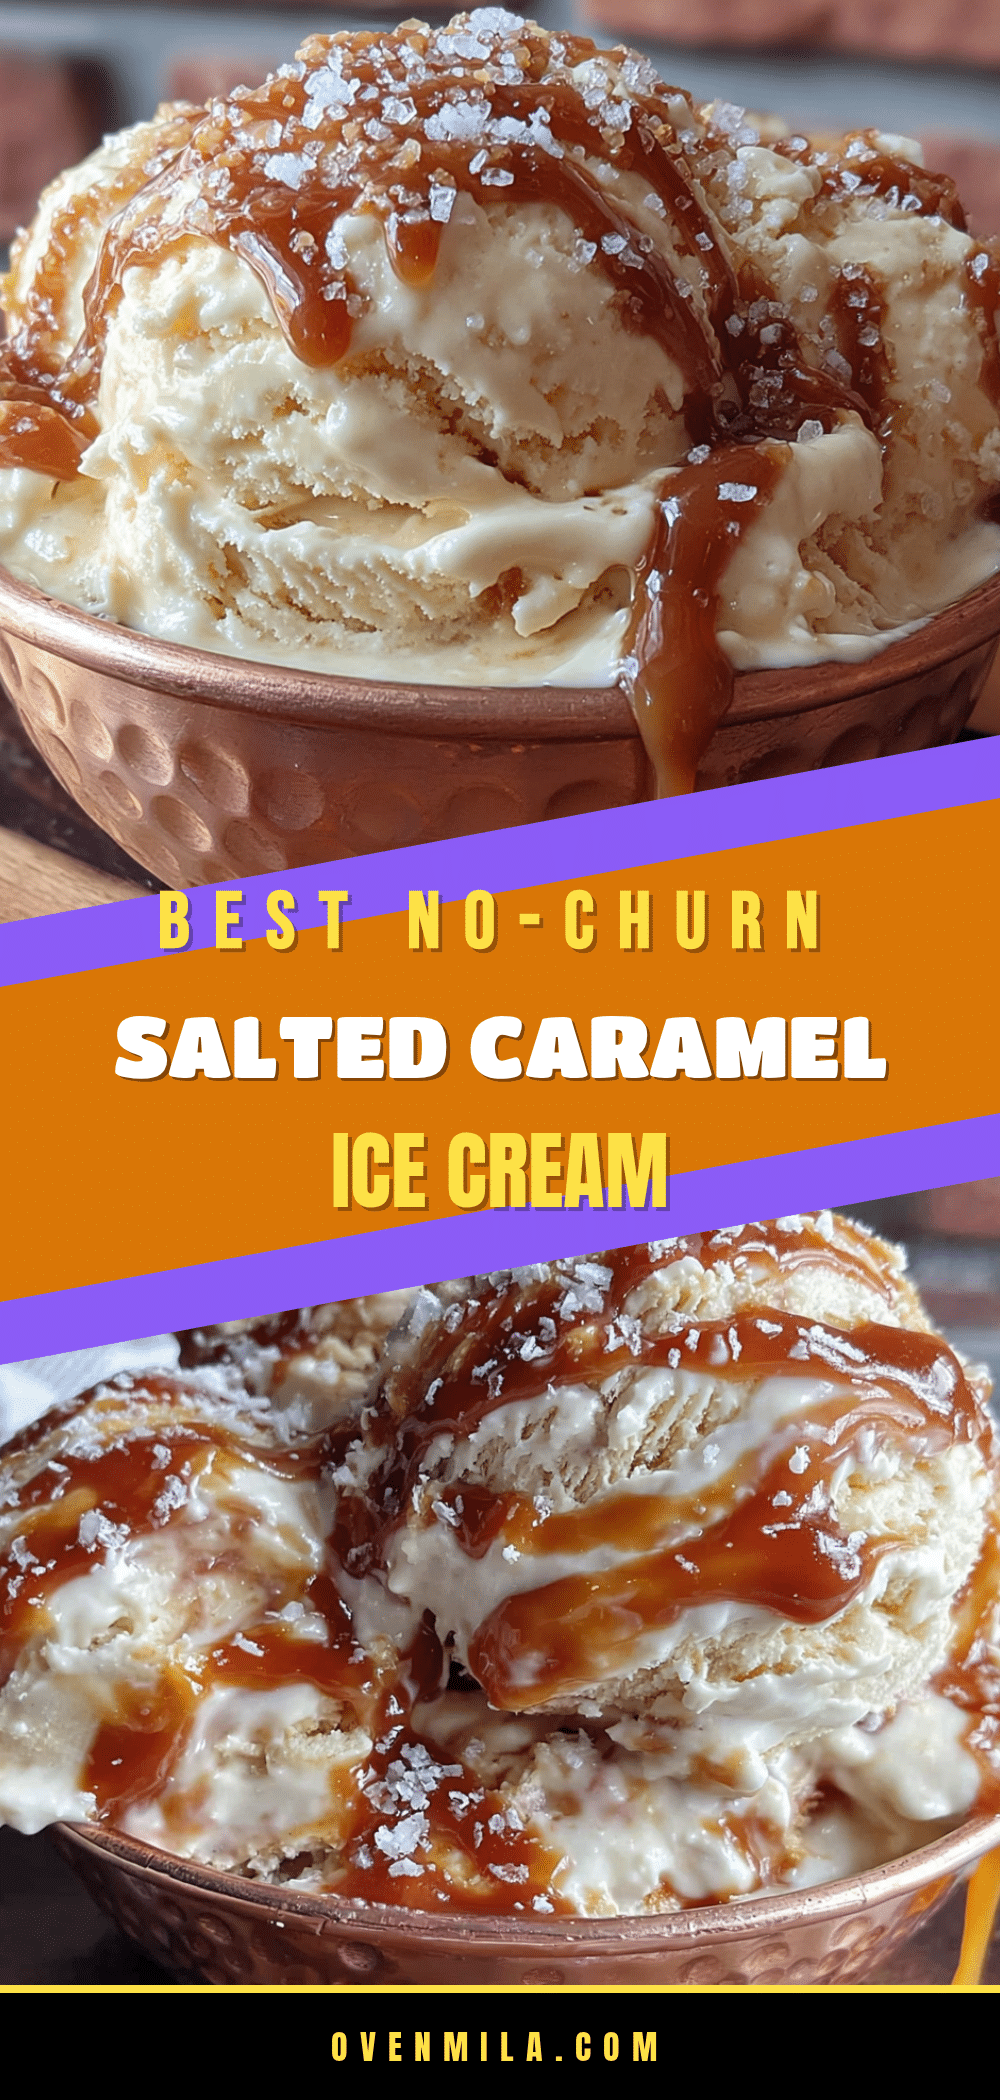
Best No-Churn Salted Caramel Ice Cream: Easy 3-Ingredient Recipe
This no-churn salted caramel ice cream is incredibly creamy and rich, made with just three simple ingredients and no ice cream maker. It’s the perfect make-ahead dessert that tastes like it came from a high-end creamery.
- Prep Time: 15 minutes
- Cook Time: 0 minutes
- Total Time: 6 hours 15 minutes (includes freezing time)
- Yield: 8 servings 1x
- Category: Dessert
- Cuisine: American
Ingredients
- 2 cups (480 ml) heavy cream
- 1 can (14 oz / 397 g) sweetened condensed milk
- 1/2 cup (120 ml) salted caramel sauce
- 1 teaspoon vanilla extract (optional but recommended)
- Flaky sea salt for topping
Instructions
- Chill your bowl and cream: Place your large mixing bowl and the beaters or whisk attachment in the freezer for 10-15 minutes. Pour the heavy cream into the chilled bowl.
- Whip the cream: Using your electric mixer on medium-high speed, whip the cream until stiff peaks form. Be careful not to over-whip.
- Fold in the condensed milk: Pour the entire can of sweetened condensed milk and the vanilla extract (if using) over the whipped cream. Using your rubber spatula, gently fold the mixture together until no white streaks remain.
- Add the caramel swirl: Drizzle about 1/3 cup of the salted caramel sauce over the top of the cream mixture. Give it 3-4 gentle folds to create ribbons of caramel throughout.
- Transfer to the pan: Spoon the mixture into your loaf pan or freezer-safe container. Spread it evenly. Drizzle the remaining caramel sauce over the top and swirl it in gently with a knife or skewer.
- Cover and freeze: Press a piece of plastic wrap directly onto the surface of the ice cream. Cover the pan with its lid or another layer of plastic wrap. Freeze for at least 6 hours, but overnight is better.
- Serve: Let the ice cream sit at room temperature for 5-10 minutes to soften slightly. Sprinkle each serving with a pinch of flaky sea salt right before serving.
Notes
For best results, chill the bowl and cream before whipping. Warm the caramel slightly before swirling to prevent seizing. Use a metal loaf pan for faster freezing. Let the ice cream sit at room temperature for 5-10 minutes before scooping. The flavors deepen after 24 hours in the freezer.
Nutrition
- Serving Size: 1/2 cup
- Calories: 320
- Sugar: 26
- Sodium: 180
- Fat: 22
- Saturated Fat: 14
- Carbohydrates: 28
- Protein: 4
Keywords: no-churn ice cream, salted caramel ice cream, easy ice cream recipe, 3-ingredient ice cream, homemade ice cream, no ice cream maker


