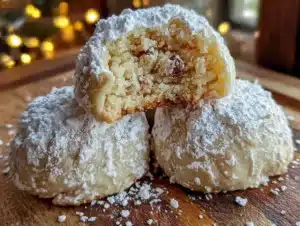
Mrs. Kowalski watched me fumbling with a bag of flour in the community center kitchen, my sleeves dusted white, and didn’t say anything at first. Then she just slid a small tin across the counter toward me, the lid slightly dented. “You need these more than you need that mess,” she said with a wink. I opened it, and there they were—these perfect little snowball-like cookies, so tender they practically dissolved on my tongue. She’d been making them for fifty years, she told me, ever since she left Poland as a young woman. I didn’t ask for the recipe right then. That felt too forward. But I kept showing up to those Tuesday afternoon gatherings, and eventually, she just handed me a worn index card with handwriting so tiny I needed my reading glasses. Honestly, I’ve made these Russian tea cookies more times than I can count since that day. Maybe you’ve been there—that moment when someone shares not just a recipe but a little piece of their history with you. The first time I baked them myself, I got powdered sugar absolutely everywhere. My kitchen looked like a snow globe had exploded. But that first bite? Worth every single mess I made. These cookies have become my go-to for everything from holiday cookie exchanges to quiet Tuesday nights with a cup of tea. They’re the kind of cookie that makes you slow down, you know? That makes you actually sit and enjoy the moment.
Why You’ll Love This Recipe
I’ve tested this recipe more times than I care to admit—okay, probably a dozen times—to get that perfect melt-in-your-mouth texture just right. And let me tell you, it was worth every single batch. Here’s why these cookies have earned a permanent spot in my baking rotation:
- Simple Ingredients: You probably have everything in your pantry right now. No fancy extracts, no hard-to-find specialty items. Just butter, flour, nuts, and sugar.
- Quick & Easy: From start to finish, you’re looking at about 30 minutes of active time. The dough comes together in one bowl, and there’s no chilling required—though I’ll share a tip about that later.
- Perfect for Any Occasion: Holiday cookie platters, afternoon tea, bridal showers, or just because it’s Tuesday. These cookies fit everywhere.
- Crowd-Pleaser: I’ve brought these to potlucks, family gatherings, and office parties. They disappear faster than anything else on the table. Kids love them, adults love them, and people who claim they “don’t really like sweets” always reach for a second one.
- Unbelievably Delicious: The texture is what gets everyone. That first bite where the cookie just crumbles and melts? Pure magic. The powdered sugar coating adds this sweet little surprise with every bite.
What makes my version different from the rest is the technique I learned from Mrs. Kowalski herself—toasting the pecans just until you can smell them, then letting them cool completely before grinding. It makes a world of difference in the final texture. This isn’t just another butter cookie recipe. It’s the one that will have people asking you for the recipe every single time you make them.
What Ingredients You Will Need
This recipe uses simple, wholesome ingredients that come together to create something truly special. Most of these are pantry staples, which makes these cookies perfect for spontaneous baking sessions when company shows up unexpectedly.
- Unsalted butter, softened (1 cup / 226g) — I always use unsalted so I can control the salt level. Let it sit out for about an hour before starting. You want it soft but not melty.
- Powdered sugar (1/2 cup / 60g for the dough, plus 1 cup / 120g for coating) — The dough uses less sugar than you’d expect, which is why the coating is so important. I recommend [brand] for the smoothest texture.
- Vanilla extract (1 teaspoon) — Pure vanilla makes a difference here. Skip the imitation stuff for these cookies.
- All-purpose flour (2 cups / 240g) — Spoon and level your flour. Scooping directly from the bag packs it down and gives you dry cookies.
- Fine sea salt (1/4 teaspoon) — Just enough to balance the sweetness.
- Pecans, finely chopped (1 cup / 100g) — Toast them first! Spread on a baking sheet at 350°F for 6-8 minutes, watching carefully so they don’t burn. Let cool completely before chopping. You can also use walnuts or almonds.
Ingredient Selection Tips: Look for butter with at least 80% fat content for the best texture. European-style butter works beautifully here if you want to splurge. For the pecans, buy raw, not pre-toasted, so you can control the toasting yourself. And here’s a little secret—if your pecans are already a bit stale, toasting them brings back some of their flavor.
Substitution Guidance: Need these to be gluten-free? Use a good quality 1:1 gluten-free flour blend that contains xanthan gum. For a nut-free version, substitute the pecans with an equal amount of toasted sunflower seeds or simply omit them entirely—the cookies will still be delicious, just a bit different in texture. You can also swap the vanilla for almond extract if you want a different flavor profile, though I’d use just 1/2 teaspoon since almond is stronger.
Equipment Needed
You don’t need much for these cookies, which is part of their charm. Here’s what I use:
- Large mixing bowl — Any bowl works, but I prefer a wide one for easier mixing.
- Hand mixer or stand mixer — You can absolutely do this by hand with a wooden spoon, but a mixer makes it quicker. I’ve done both, honestly.
- Baking sheets — Two standard half-sheet pans work perfectly. No need to grease them.
- Parchment paper or silicone baking mats — Makes cleanup so much easier.
- Cooling rack — Essential for letting the cookies cool before that first coating of sugar.
- Small food processor or knife — For chopping the pecans. A food processor gives you more uniform pieces, but a sharp knife and some patience work just fine.
- Fine-mesh strainer or small bowl — For dusting the finished cookies with powdered sugar.
If you don’t have a cooling rack, no worries. You can let the cookies cool right on the baking sheet—just give them a few extra minutes. And if you’re using a food processor for the nuts, pulse rather than running continuously. You want small pieces, not nut butter.
Preparation Method
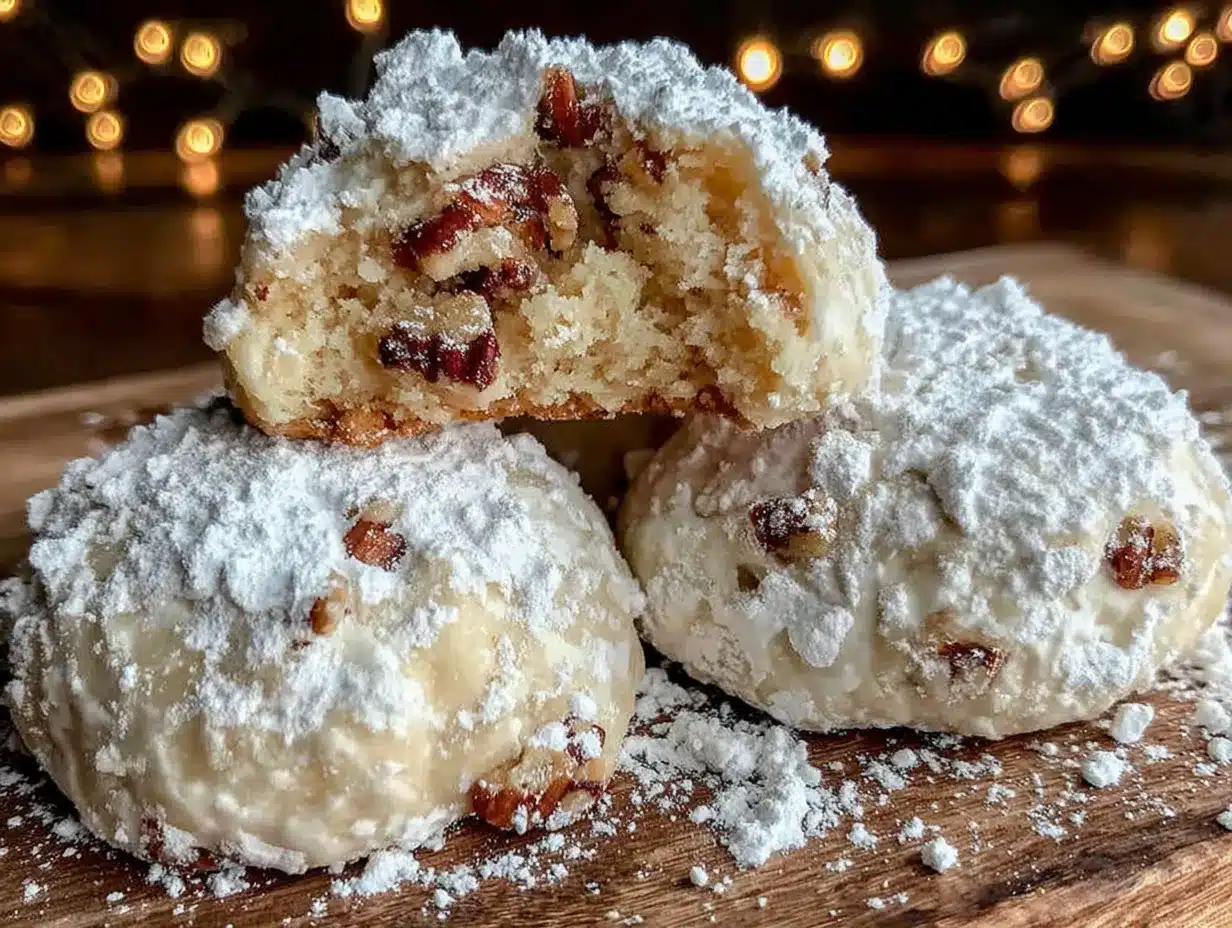
Let me walk you through this step by step. I’ve made these cookies dozens of times, so I know exactly where things can go wrong and how to fix them.
- Preheat your oven to 350°F (175°C) and line two baking sheets with parchment paper. Trust me on the parchment—it makes removing the cookies so much easier.
- Toast the pecans. Spread them on a baking sheet and toast for 6-8 minutes, shaking the pan halfway through. You’ll know they’re done when you can smell them. Let them cool completely—about 10 minutes—then chop them finely. I like to leave some slightly larger pieces for texture.
- Cream the butter and sugar. In your large mixing bowl, beat the softened butter and 1/2 cup powdered sugar together until light and fluffy, about 2-3 minutes. Scrape down the sides of the bowl halfway through. The mixture should look pale and airy.
- Add the vanilla. Beat in the vanilla extract until combined, about 30 seconds. Don’t overmix here.
- Mix the dry ingredients. In a separate bowl, whisk together the flour and salt. Gradually add this to the butter mixture, mixing on low speed until just combined. The dough will look crumbly at first—that’s normal. Keep mixing until it comes together.
- Fold in the pecans. Add the chopped pecans and mix with a spatula or on low speed until evenly distributed. The dough should hold together when you squeeze it.
- Shape the cookies. Scoop out rounded tablespoons of dough (about 1 inch in size) and roll them into balls with your hands. Place them about 2 inches apart on the prepared baking sheets. Don’t flatten them—they’ll spread slightly on their own.
- Bake for 12-15 minutes. The cookies should be set on the bottom and just barely starting to turn golden on the edges. The tops will still look pale. That’s exactly what you want. Overbaking makes them dry.
- Cool slightly. Let the cookies rest on the baking sheet for 5 minutes. This is important—they’re fragile when hot and will fall apart if you try to move them too soon.
- First dusting. While the cookies are still warm, roll them in powdered sugar. Yes, while they’re warm! This helps the sugar stick. Place them on a cooling rack.
- Second dusting. Once the cookies are completely cool (about 20 minutes), roll them in powdered sugar again. This second coating gives them that beautiful snowy look.
Sensory Cues: When you’re creaming the butter and sugar, listen for that soft, swooshing sound. The dough should feel tender but not sticky—if it’s sticking to your hands, add a tablespoon more flour. When the cookies come out of the oven, they should feel firm on the bottom but still soft on top. And that first bite? It should crumble and melt almost instantly.
Cooking Tips & Techniques
I’ve learned a few things the hard way so you don’t have to. Here are my best tips for perfect Russian tea cookies every time:
Don’t skip the toasting. I made this mistake once when I was in a hurry, and the cookies just didn’t have that same depth of flavor. Toasted nuts add a warmth that raw nuts just can’t match. Plus, toasting dries them out slightly, which helps them grind more evenly into the dough.
Watch your oven temperature. These cookies are forgiving, but they do best at 350°F. If your oven runs hot (mine does), reduce the temperature by 25 degrees. I learned this after my first batch came out looking like little golden hockey pucks. The bottoms were too dark, and the cookies were dry.
The double-dusting trick. This is non-negotiable for me now. The first coating of powdered sugar while the cookies are warm melts slightly and creates a base layer. The second coating after they’ve cooled gives you that beautiful, snowy finish. If you only dust once, the sugar tends to soak in and disappear.
Room temperature matters. Your butter needs to be truly softened—about 65°F. If it’s too cold, the dough won’t come together properly. If it’s too warm, the cookies will spread too much. I let my butter sit out for about an hour, and I test it by pressing my finger into it. It should leave an indent without being greasy.
Multitasking strategy: While the first batch is baking, shape the second batch. While the cookies are cooling, clean up your workspace. This keeps things moving and prevents that frantic last-minute rush.
Variations & Adaptations
One of the best things about this recipe is how adaptable it is. Here are some variations I’ve tried and loved:
- Chocolate-Dipped Russian Tea Cookies: After the second dusting of powdered sugar, dip half of each cookie in melted dark chocolate. Let them set on parchment paper. The combination of sweet, buttery cookie with rich chocolate is absolutely divine.
- Spiced Holiday Version: Add 1/2 teaspoon of cinnamon and 1/4 teaspoon of nutmeg to the flour mixture. It gives the cookies a warm, festive flavor that’s perfect for Christmas cookie exchanges.
- Citrus Twist: Add 1 tablespoon of finely grated orange or lemon zest to the butter mixture. The bright citrus notes cut through the richness beautifully. I made these for a spring brunch once, and they were gone in minutes.
- Gluten-Free Adaptation: Substitute the all-purpose flour with a 1:1 gluten-free baking flour blend. I’ve tested this with [brand] and it works perfectly. Just make sure the blend contains xanthan gum for structure.
- Vegan Version: Use vegan butter sticks (not margarine) and replace the egg with a flax egg (1 tablespoon ground flaxseed mixed with 3 tablespoons water, let sit for 5 minutes). The texture will be slightly different—a bit more delicate—but still delicious.
My personal favorite variation? The spiced holiday version with a pinch of cardamom added. It reminds me of the chai tea I used to drink at a little café in college. Sometimes I’ll even dust them with a mix of powdered sugar and cinnamon for extra warmth.
Serving & Storage Suggestions
These cookies are best served at room temperature, right after that final dusting of powdered sugar. I like to arrange them on a pretty plate or in a decorative tin, with the snowy sugar coating on full display. They’re perfect alongside a cup of hot tea, coffee, or even a glass of cold milk.
Complementary Pairings: Serve these cookies with a warm cup of chai, Earl Grey, or a simple black tea. For a dessert spread, they pair beautifully with fresh berries, dark chocolate truffles, or a light fruit tart. I’ve also served them alongside a cheese board—the sweetness contrasts nicely with sharp cheddar or blue cheese.
Storage Instructions: Store these cookies in an airtight container at room temperature for up to 5 days. Place a piece of bread in the container to help keep them soft—the cookies will absorb moisture from the bread. Just replace the bread every couple of days.
Freezer Tips: These cookies freeze beautifully. You can freeze the baked, undusted cookies for up to 3 months. When you’re ready to serve, thaw them at room temperature, then dust with powdered sugar. Or freeze the unbaked dough balls on a baking sheet, then transfer to a freezer bag. Bake directly from frozen, adding 2-3 minutes to the baking time.
Reheating: These cookies don’t need reheating, but if you want that just-baked warmth, pop them in a 300°F oven for 3-4 minutes. Let them cool slightly before dusting with fresh powdered sugar.
Flavor Development: Honestly, these cookies taste even better the next day. The flavors meld together, and the texture becomes even more tender. If you can resist eating them all on day one, you’re in for a treat on day two.
Nutritional Information & Benefits
While these cookies are definitely a treat, they do offer a few nutritional perks. Here’s the estimated breakdown per cookie (based on 36 cookies):
| Nutrient | Amount Per Cookie |
|---|---|
| Calories | 95 |
| Total Fat | 6g |
| Saturated Fat | 3g |
| Carbohydrates | 10g |
| Sugar | 5g |
| Protein | 1g |
Pecans are a good source of healthy fats, fiber, and antioxidants. They contain magnesium, which supports bone health, and vitamin E, which is great for your skin. Butter provides fat-soluble vitamins A, D, E, and K. That said, these are still a cookie—enjoy them in moderation as part of a balanced diet.
Dietary Considerations: This recipe contains gluten, dairy, and tree nuts. For gluten-free and vegan adaptations, see the variations section above. If you’re watching your sugar intake, you can reduce the powdered sugar coating slightly, though it does affect the overall experience.
Conclusion
These Russian tea cookies have become a staple in my kitchen for good reason. They’re simple enough for a Tuesday afternoon but special enough for holiday celebrations. The combination of buttery, tender cookie with that snowy powdered sugar coating is just perfection. Every time I make them, I think of Mrs. Kowalski and her worn index card, and I feel grateful for those little moments of connection that recipes create.
I’d love for you to try these cookies and make them your own. Maybe you’ll add a little extra vanilla, or try them with almonds instead of pecans. Maybe you’ll dust them with cinnamon sugar instead of powdered sugar. The beauty of this recipe is how it welcomes your personal touch. When you make them, come back and let me know how they turned out. Share a photo, tell me about your variations, or just drop a comment saying they made someone in your family smile. That’s what this is all about, honestly—sharing a little bit of warmth and sweetness with the people we care about.
Happy baking, friends. Your kitchen is about to smell amazing.
Frequently Asked Questions
Can I make these cookies ahead of time?
Absolutely! These cookies actually taste better the next day. Bake them, let them cool completely, and store them in an airtight container. Dust them with powdered sugar right before serving for the best presentation.
Why did my cookies spread too much?
This usually happens when the butter is too soft or the dough is too warm. Make sure your butter is softened but not melty. If your kitchen is warm, chill the shaped dough balls for 15 minutes before baking.
Can I use a different type of nut?
Yes! Walnuts, almonds, or even hazelnuts work beautifully. Just make sure to toast them first for the best flavor. If you’re using almonds, you might want to blanch them first to remove the skins.
How do I get that perfect snowy coating?
The double-dusting method is key. Roll the warm cookies in powdered sugar first—this creates a base layer that sticks. Once they’re completely cool, roll them again for that beautiful, snowy finish. Don’t skip the cooling step between coatings.
Can I freeze the dough?
Yes! Shape the dough into balls and freeze them on a baking sheet. Once frozen, transfer to a freezer bag. When you’re ready to bake, add 2-3 minutes to the baking time. No need to thaw first.
Pin This Recipe!
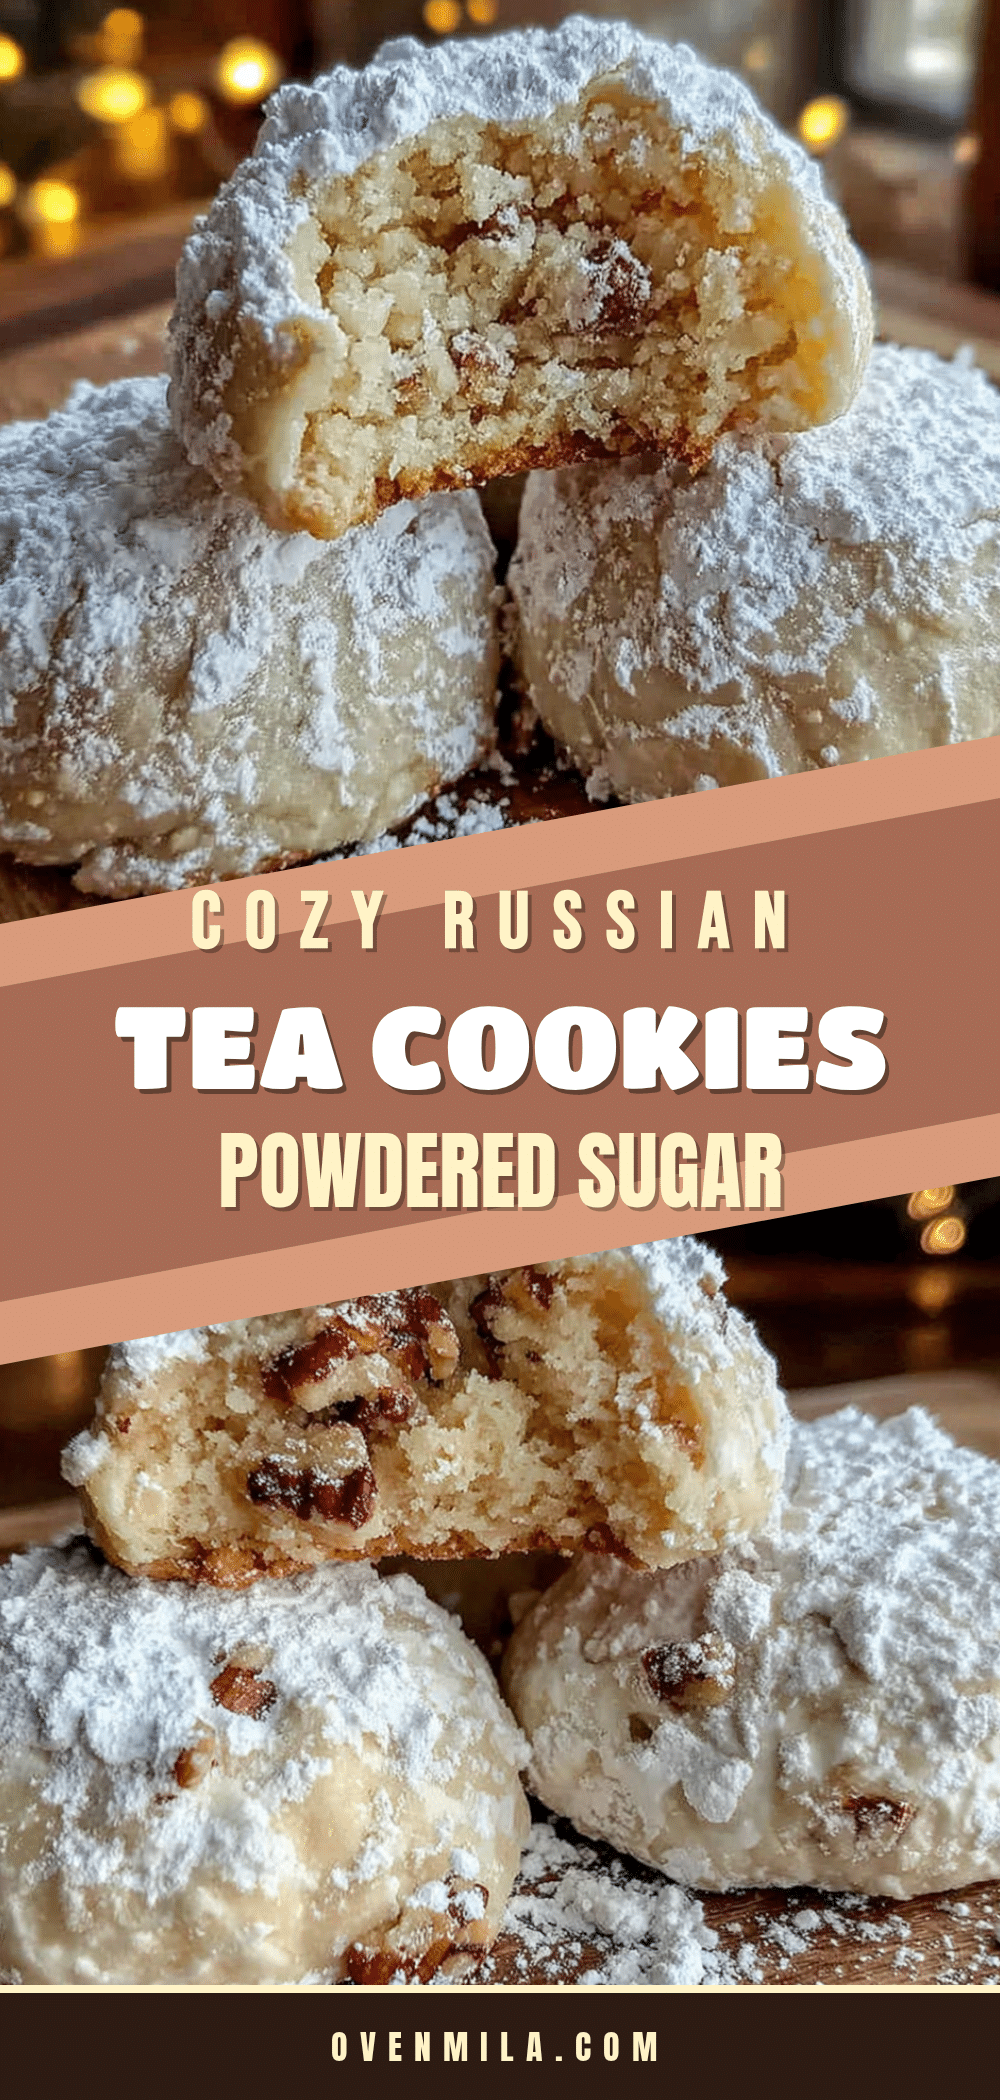
Cozy Russian Tea Cookies Dusted with Powdered Sugar
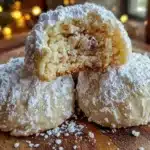
These tender, buttery snowball-like cookies are dusted with powdered sugar and melt in your mouth. Perfect for holiday cookie exchanges or a quiet Tuesday night with tea.
- Prep Time: 15 minutes
- Cook Time: 12-15 minutes
- Total Time: 30 minutes
- Yield: 36 cookies 1x
- Category: Dessert
- Cuisine: Russian
Ingredients
- 1 cup (226g) unsalted butter, softened
- 1/2 cup (60g) powdered sugar (for dough), plus 1 cup (120g) for coating
- 1 teaspoon vanilla extract
- 2 cups (240g) all-purpose flour
- 1/4 teaspoon fine sea salt
- 1 cup (100g) pecans, finely chopped (toasted)
Instructions
- Preheat your oven to 350°F (175°C) and line two baking sheets with parchment paper.
- Toast the pecans: Spread them on a baking sheet and toast for 6-8 minutes, shaking the pan halfway through. Let cool completely, then chop finely.
- Cream the butter and sugar: In a large mixing bowl, beat the softened butter and 1/2 cup powdered sugar together until light and fluffy, about 2-3 minutes. Scrape down the sides halfway through.
- Add the vanilla: Beat in the vanilla extract until combined, about 30 seconds.
- Mix the dry ingredients: In a separate bowl, whisk together the flour and salt. Gradually add to the butter mixture, mixing on low speed until just combined. The dough will look crumbly at first; keep mixing until it comes together.
- Fold in the pecans: Add the chopped pecans and mix with a spatula or on low speed until evenly distributed. The dough should hold together when squeezed.
- Shape the cookies: Scoop rounded tablespoons of dough (about 1 inch) and roll into balls. Place them about 2 inches apart on the prepared baking sheets. Do not flatten.
- Bake for 12-15 minutes, until the cookies are set on the bottom and just barely starting to turn golden on the edges. The tops will still look pale.
- Cool slightly: Let the cookies rest on the baking sheet for 5 minutes.
- First dusting: While still warm, roll the cookies in powdered sugar. Place on a cooling rack.
- Second dusting: Once completely cool (about 20 minutes), roll in powdered sugar again.
Notes
Toast pecans until fragrant for best flavor. Double-dusting with powdered sugar (once warm, once cool) gives a beautiful snowy finish. Cookies taste even better the next day. Store in an airtight container at room temperature for up to 5 days; freeze baked undusted cookies for up to 3 months.
Nutrition
- Serving Size: 1 cookie
- Calories: 95
- Sugar: 5
- Sodium: 20
- Fat: 6
- Saturated Fat: 3
- Carbohydrates: 10
- Protein: 1
Keywords: Russian tea cookies, snowball cookies, powdered sugar cookies, butter cookies, holiday cookies, easy cookie recipe