I had avoided the whole hot cocoa bar thing for years. Honestly, it felt a little… much. All those little bowls of sprinkles and crushed candy canes lined up like a craft project you were supposed to eat. I’d walk past Pinterest-perfect photos of them and think, “That’s not how hot chocolate works. You make a mug, you drink it, you move on with your evening.”
Then last December, my neighbor dropped off a thermos of her homemade cocoa and a little baggie of toppings. No fanfare, no Instagram setup. Just a knock on the door and a “thought you could use this.” I poured a mug that night, standing at the kitchen counter in my slippers, and something clicked. The cocoa was rich, yes, but it was the little bag of toasted marshmallows and a single cinnamon stick that made me close my eyes. I wasn’t just drinking cocoa. I was having a moment.
That’s when I realized I’d been wrong. A hot cocoa bar isn’t about being extra. It’s about giving people permission to slow down and make their mug exactly the way they want it. Maybe you’ve been there too, rolling your eyes at the trend until you actually tried it. Let me walk you through setting up a cozy winter hot cocoa bar that feels welcoming, not overwhelming. I promise, by the end of this, you’ll be a convert too.
Why You’ll Love This Cozy Winter Hot Cocoa Bar
This isn’t just another list of ingredients thrown on a counter. I’ve tested this setup at three different gatherings now, tweaking it each time based on what people actually reached for and what sat untouched. Here is what makes this version different:
- Simple to Set Up : You can pull this together in under 20 minutes with ingredients from any grocery store. No specialty shops required.
- Budget-Friendly : Most of these toppings are pantry staples. I spent under $15 for a spread that served eight people with leftovers.
- Perfect for Any Winter Occasion : Snow day with the kids, holiday movie night, or a quiet evening when you just need something warm in your hands.
- Crowd-Pleaser : Everyone from my picky five-year-old nephew to my dad who “doesn’t do sweet stuff” found something they loved.
- Actually Adaptable : Dairy-free, sugar-free, or extra indulgent — this bar works for all of it.
Here is the thing that makes this different from every other hot cocoa bar you have seen: I focus on quality over quantity. Instead of twenty toppings nobody touches, I picked seven that actually complement the cocoa and let each one shine. It is comfort food at its best — warm, personal, and made exactly the way you want it.
What Ingredients You Will Need
This recipe uses simple, wholesome ingredients to deliver that rich, soul-warming cocoa base. From there, the toppings are where the magic happens. I’ve grouped everything so you can see what goes into the cocoa itself versus what you will set out for the bar.
For the Hot Cocoa Base
- 4 cups whole milk (use oat milk or almond milk for a dairy-free version)
- 1/2 cup heavy cream (adds that velvety richness — you can skip it, but honestly, don’t)
- 1/3 cup unsweetened cocoa powder (I prefer Ghirardelli or Droste for the deepest chocolate flavor)
- 1/4 cup granulated sugar (adjust to your sweetness preference)
- 1/4 cup dark chocolate chips (60% cacao or higher — this is my secret for that “gourmet” taste)
- 1 teaspoon vanilla extract (pure, not imitation, if you can swing it)
- Pinch of sea salt (trust me on this, it balances everything)
For the Toppings Station
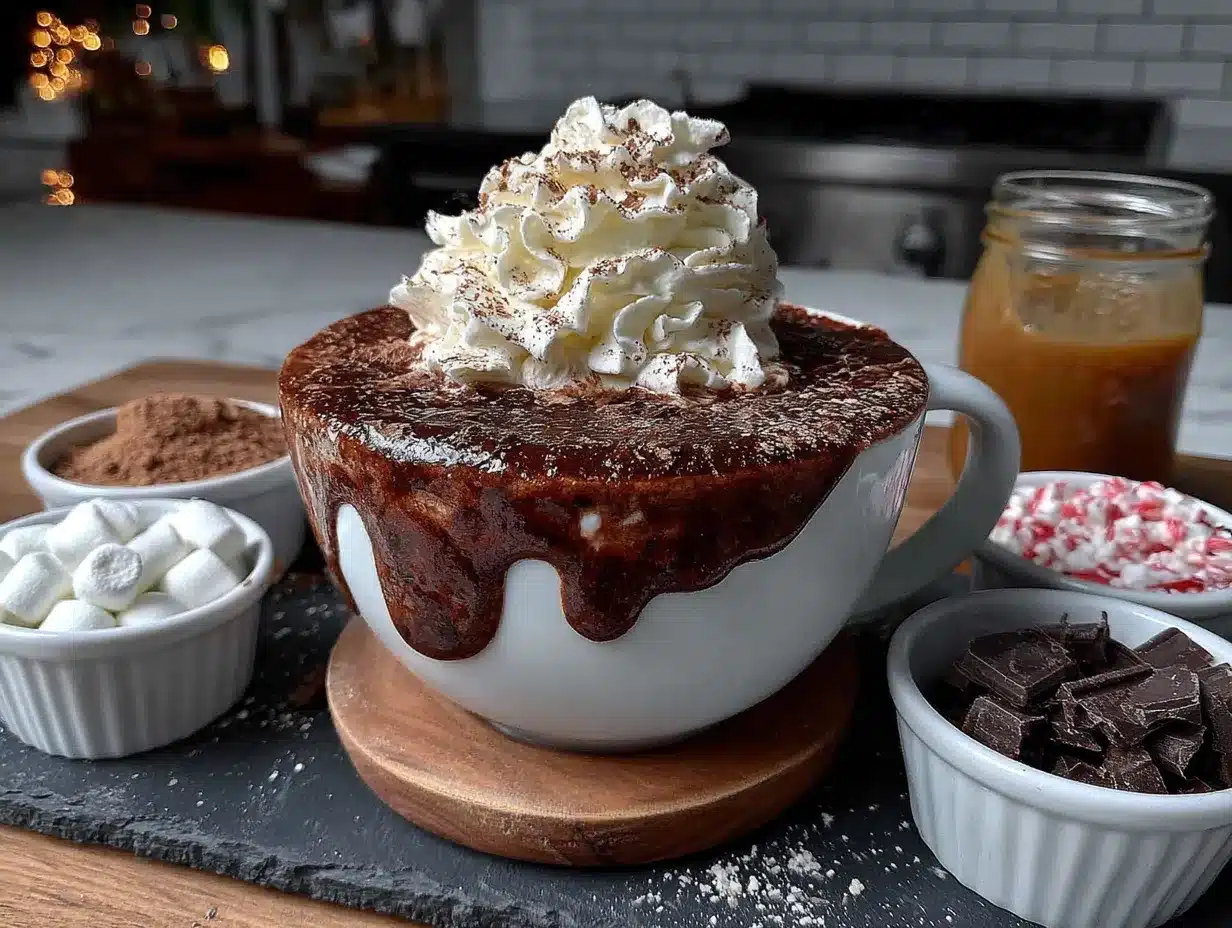
- Mini marshmallows (classic, but toast them under the broiler for 30 seconds if you want to be fancy)
- Crushed candy canes (about 4-5 candy canes, smashed in a bag with a rolling pin — let the kids help with this)
- Chocolate shavings (run a vegetable peeler along a chocolate bar for instant curls)
- Whipped cream (homemade is better, but canned works in a pinch)
- Cinnamon sticks (for stirring and sipping)
- Caramel sauce (store-bought is fine, just warm it slightly so it drizzles)
- Toasted coconut flakes (spread on a baking sheet at 350°F for 3-4 minutes)
- Sea salt flakes (Maldon brand is my go-to for that salty-sweet pop)
Optional Add-Ins for the Base
- 1/2 teaspoon peppermint extract (for a minty twist)
- 1/4 teaspoon cinnamon (adds warmth without being spicy)
- 1 tablespoon bourbon or Irish cream (for the adults-only version)
Equipment Needed
You don’t need anything fancy here, which is part of why I love this setup. Here is what I use:
- Large saucepan or Dutch oven (for making the cocoa base — a heavy-bottomed pot prevents scorching)
- Whisk (a silicone one won’t scratch your pot)
- Mugs (I use a mix of ceramic and enamel, whatever makes you happy)
- Small bowls or ramekins (for each topping — I raid my soup bowls and teacups)
- Serving spoons (one for each topping to avoid cross-contamination)
- Labels or small tags (optional, but helpful if you have picky eaters)
- Rolling pin and ziplock bag (for crushing candy canes without a mess)
- Thermos or slow cooker (to keep the cocoa warm if you are serving over time)
I learned the hard way that a slow cooker set to “warm” is your best friend here. The first time I tried this, I kept reheating the pot on the stove and ended up with a scorched bottom. Never again. A $20 slow cooker from Target saved my sanity.
Preparation Method
Let’s break this down so you can do it without stress. I’ve timed everything based on my own trial and error.
Step 1: Make the Hot Cocoa Base (10 minutes)
In your large saucepan over medium heat, whisk together the milk, heavy cream, cocoa powder, and sugar. Keep whisking until the cocoa powder dissolves completely — about 2 minutes. You will see the mixture turn from lumpy to smooth, and that is your cue that it is coming together.
Add the dark chocolate chips and continue whisking until they melt, about 2 more minutes. The mixture should look glossy and smell deeply chocolatey. Do not walk away here. I once got distracted by a text message and the chocolate seized up on me. Stay with it.
Remove from heat and stir in the vanilla extract and pinch of sea salt. Taste it. If it needs more sugar, add a tablespoon at a time. If you want it richer, stir in another splash of cream. This is your base, so make it exactly how you like it.
Step 2: Transfer to Serving Vessel (2 minutes)
Pour the hot cocoa into your slow cooker or thermos to keep it warm. If using a slow cooker, set it to the “warm” setting, not “low.” Low will eventually scorch the milk. If you are serving immediately, just keep it in the saucepan on the stove over the lowest possible heat, stirring occasionally.
Step 3: Prepare the Toppings (10 minutes)
While the cocoa is staying warm, set up your toppings station. Arrange your small bowls on a tray or directly on the counter. Here is the order I use, left to right: marshmallows, crushed candy canes, chocolate shavings, coconut flakes, caramel sauce, cinnamon sticks, and sea salt flakes. This way, people can build their mug from light to dark, sweet to salty.
For the toasted coconut, spread it on a baking sheet and pop it in a 350°F oven for 3-4 minutes. Watch it like a hawk — it goes from golden to burnt in about 30 seconds. I may have set off the smoke detector once. Or twice.
Step 4: Set Out the Mugs and Let People Build (5 minutes)
Stack your mugs at the beginning of the bar. I like to put a small sign that says “Start Here” just to guide people. Let everyone pour their own cocoa and add their toppings. The beauty of this setup is that nobody feels rushed. My sister-in-law spent a full three minutes deciding between caramel and coconut. That is the whole point.
Cooking Tips & Techniques
Here are the things I wish someone had told me before my first hot cocoa bar attempt:
Low and slow is the rule. High heat will scorch your milk every single time. Keep the burner at medium or medium-low and whisk constantly. The moment you see steam rising, you are close. Do not let it boil.
Toast your marshmallows. This is the single biggest upgrade you can make. Spread mini marshmallows on a baking sheet and broil for 30-45 seconds. They get golden on top and stay soft inside. People lose their minds over this. I learned this trick from a pastry chef friend and it changed everything.
Crush candy canes in a bag, not a bowl. Put them in a ziplock bag, cover with a kitchen towel, and go at it with a rolling pin. No flying shards, no sticky mess on your counter. I learned this after spending ten minutes picking candy cane pieces out of my hair.
Keep the caramel sauce warm. If you are using store-bought caramel, microwave it for 15 seconds before setting it out. Cold caramel just sits on top of the cocoa in a sad blob. Warm caramel swirls in beautifully.
Label everything if you have allergies in the group. I use small chalkboard tags and a white marker. It takes two minutes and saves someone from accidentally grabbing the coconut when they are allergic to tree nuts.
Variations & Adaptations
One of the best things about this setup is how easy it is to change up. Here are some variations I have tried and loved:
Dairy-Free Version
Swap the whole milk for oat milk (it is creamier than almond milk) and use coconut cream instead of heavy cream. Use dairy-free dark chocolate chips. The texture is slightly thinner but still satisfying. My lactose-intolerant friend declared it “better than the real thing,” which I took as a win.
Spiced Mexican Hot Cocoa
Add 1/2 teaspoon cinnamon, 1/4 teaspoon cayenne pepper, and a pinch of nutmeg to the cocoa base. Set out extra cinnamon sticks and a bowl of ancho chili powder for the brave souls who want extra heat. This version is amazing on a snowy night when you want something that warms you from the inside out.
Peppermint Bark Version
Add 1/2 teaspoon peppermint extract to the cocoa base. For the toppings, crush up some peppermint bark (the kind with white and dark chocolate layers) and set it out alongside the regular candy canes. This is my personal favorite and the one I make for Christmas Eve every year now.
Kid-Friendly Build-Your-Own
Set out sprinkles, mini chocolate chips, colored marshmallows, and gummy bears. Yes, gummy bears in hot cocoa sounds weird, but my nephew swears by it. Let kids go wild. The mess is worth the joy on their faces.
Serving & Storage Suggestions
This recipe is best served immediately, but here is how to handle leftovers and make-ahead situations:
Serving Temperature: Serve the cocoa hot but not boiling. Around 160°F is perfect — warm enough to melt toppings but not so hot that it burns tongues. I let it sit for 2-3 minutes after pouring before handing mugs over.
Presentation Tip: Arrange your toppings on a wooden board or a large baking sheet lined with parchment paper. It looks intentional and makes cleanup a breeze. I use a cookie sheet from the dollar store and it works perfectly.
Storage: Leftover cocoa keeps in the fridge for up to 3 days in an airtight container. The texture will be slightly different after refrigeration — the chocolate settles a bit. Just reheat gently on the stove or in the microwave, whisking to bring it back together.
Make-Ahead Tip: You can make the cocoa base up to 2 days ahead and keep it in the fridge. Reheat it slowly on the stove, adding a splash of milk to thin it out if needed. The toppings can all be prepped a day ahead and stored in ziplock bags or airtight containers.
Freezing: The cocoa base freezes well for up to 2 months. Pour it into a freezer-safe container, leaving an inch of headroom. Thaw in the fridge overnight and reheat gently. Do not freeze the toppings — they get sad and soggy.
Nutritional Information & Benefits
Let’s be real: this is a treat, not a health food. But here is what you are working with per 8-ounce serving of the base cocoa (without toppings):
- Calories: Approximately 280
- Fat: 18g
- Carbohydrates: 28g
- Protein: 8g
- Sugar: 22g
Add toppings and those numbers go up, obviously. A tablespoon of whipped cream adds about 30 calories, and a crushed candy cane adds another 40. But here is the thing: dark chocolate is rich in antioxidants, milk provides calcium and vitamin D, and cinnamon can help regulate blood sugar. So there are some small benefits hiding in that mug.
For those watching sugar intake, use a sugar-free cocoa powder and sweeten with stevia or monk fruit. The dark chocolate chips have less sugar than milk chocolate, so that helps too. And if you are dairy-free, oat milk adds fiber that you would not get from regular milk.
I personally love that this recipe uses real ingredients — no artificial flavors, no preservatives, no weird stabilizers. It is just good, honest food that happens to taste like a hug in a mug.
Frequently Asked Questions
Can I make this hot cocoa bar ahead of time?
Absolutely. Prep the toppings up to 2 days in advance and store them in airtight containers. Make the cocoa base up to 2 days ahead and reheat it slowly on the stove. Set everything out about 15 minutes before your guests arrive so the caramel sauce comes to room temperature.
What if I don’t have a slow cooker?
No problem at all. Just keep the cocoa in the saucepan on the stove over the lowest heat setting. Stir it every 5-10 minutes to prevent a skin from forming. You can also pour it into a thermos to keep it warm for up to 4 hours. I have done both and both work great.
How many people does this recipe serve?
This batch makes about 4-5 cups of cocoa, which serves 4-6 people with one mug each. If you are hosting a larger group, simply double or triple the recipe. The toppings stretch much further — my list above easily serves 8-10 people since everyone uses small amounts.
Can I use hot chocolate mix instead of making it from scratch?
You can, but I honestly do not recommend it. The homemade version takes only 10 extra minutes and tastes dramatically better. If you are in a pinch, use a high-quality mix like Ghirardelli or Stonewall Kitchen and prepare it with milk instead of water. Then add the dark chocolate chips and vanilla to doctor it up.
What are the best toppings for kids?
Mini marshmallows, sprinkles, chocolate chips, and crushed cookies (like Oreos or graham crackers) are always hits. Skip the sea salt and cayenne pepper for the little ones. I also set out some colored straws and candy canes for stirring — it makes the whole experience feel special to them.
Conclusion
Look, I get it. Setting up a whole toppings station feels like one more thing on an already long to-do list. But here is what I have learned from doing this three winters in a row: it is not about the Instagram photo. It is about watching your sister carefully drizzle caramel into her mug, or seeing your dad discover that sea salt actually belongs on chocolate, or catching your kid’s face light up when they pile on way too many marshmallows.
This cozy winter hot cocoa bar has become a tradition in my house now, and I honestly look forward to it more than some of the bigger holiday events. It is low-pressure, high-reward, and it makes people slow down for just a few minutes. In a world that never stops moving, that is a pretty special thing.
I would love to hear how yours turns out. What toppings did your family go crazy for? Did anyone try something unexpected? Drop a comment below or tag me in your photos — nothing makes me happier than seeing someone else fall in love with this setup. Go make yourself a mug. You have earned it.
Pin This Recipe!
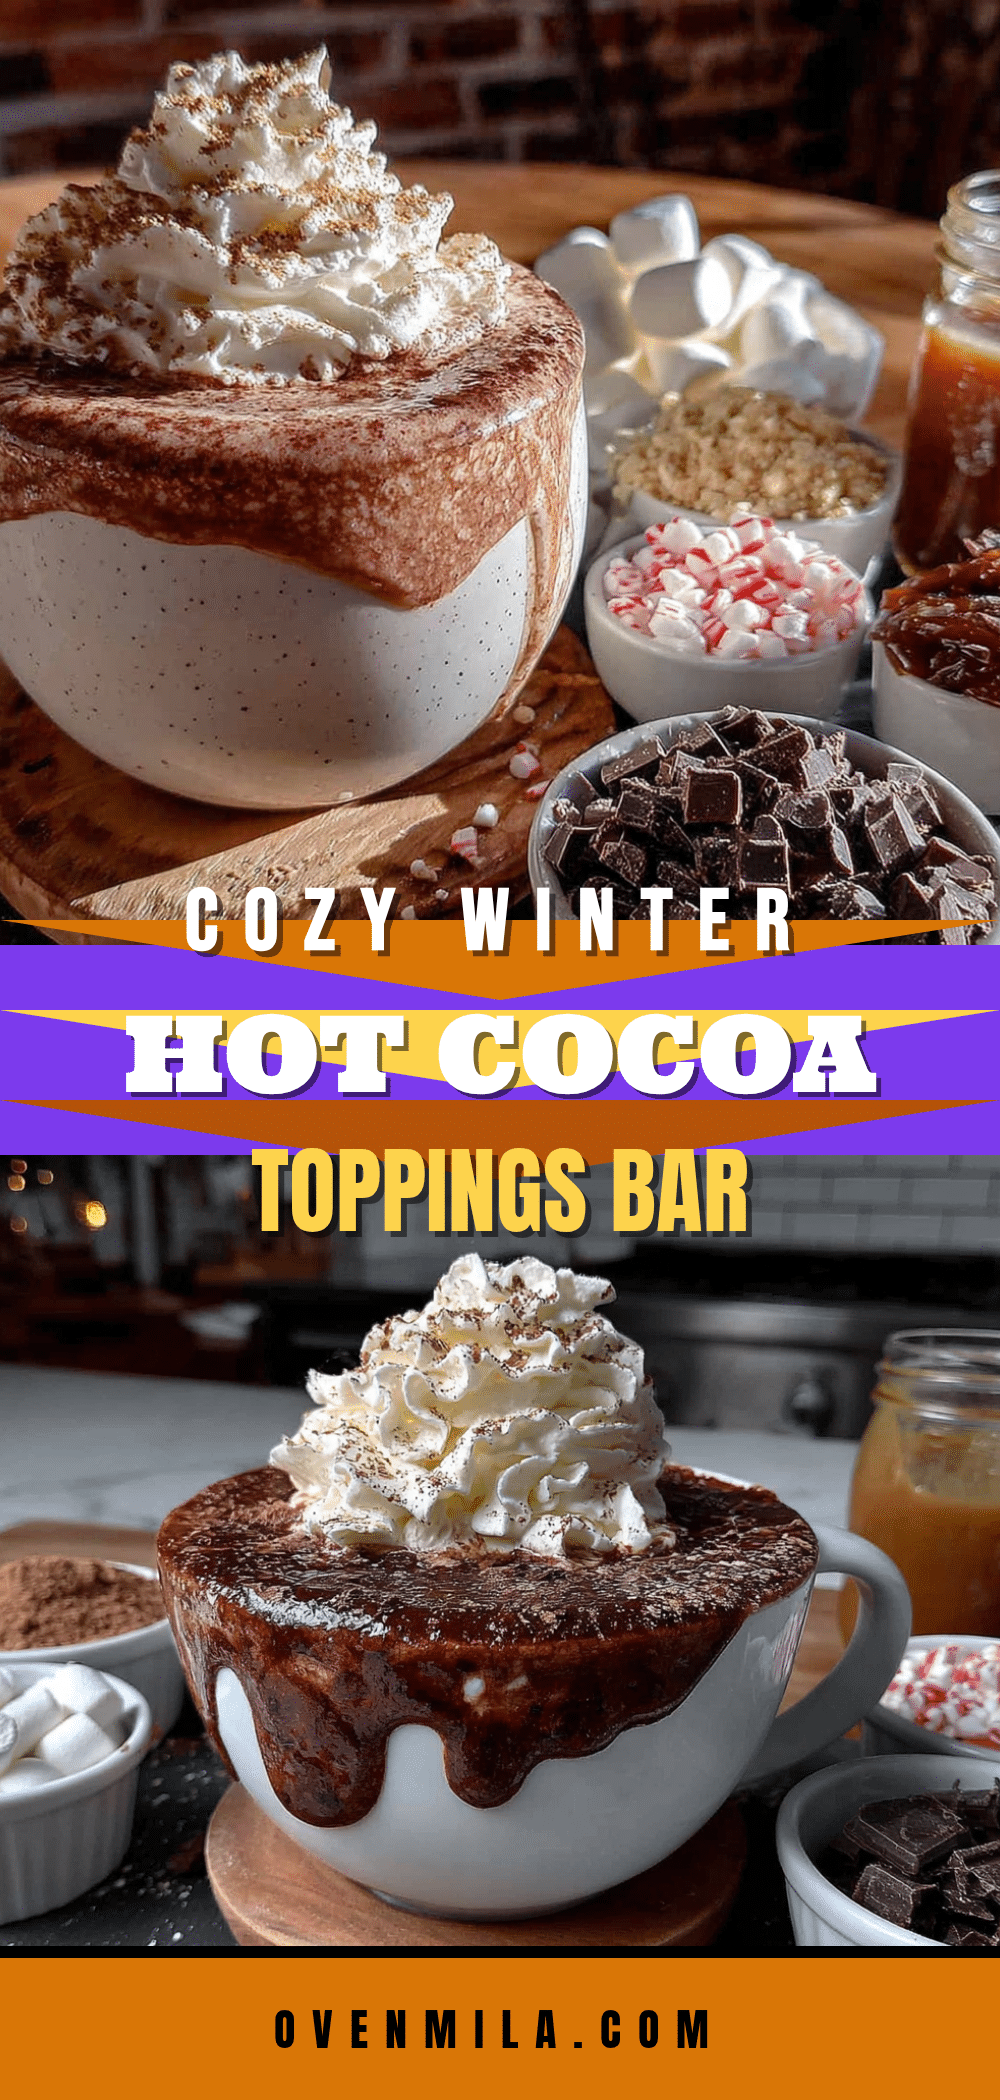
Cozy Winter Hot Cocoa Bar: Easy Toppings Station Setup

A simple and budget-friendly hot cocoa bar setup with a rich homemade cocoa base and seven carefully chosen toppings. Perfect for snow days, holiday gatherings, or quiet winter evenings.
- Prep Time: 20 minutes
- Cook Time: 10 minutes
- Total Time: 30 minutes
- Yield: 4-6 servings 1x
- Category: Beverage
- Cuisine: American
Ingredients
- 4 cups whole milk (or oat milk/almond milk for dairy-free)
- 1/2 cup heavy cream (or coconut cream for dairy-free)
- 1/3 cup unsweetened cocoa powder
- 1/4 cup granulated sugar
- 1/4 cup dark chocolate chips (60% cacao or higher)
- 1 teaspoon vanilla extract
- Pinch of sea salt
- Mini marshmallows
- 4–5 candy canes, crushed
- Chocolate shavings
- Whipped cream
- Cinnamon sticks
- Caramel sauce
- Toasted coconut flakes
- Sea salt flakes (e.g., Maldon)
- 1/2 teaspoon peppermint extract (optional)
- 1/4 teaspoon cinnamon (optional)
- 1 tablespoon bourbon or Irish cream (optional)
Instructions
- In a large saucepan over medium heat, whisk together milk, heavy cream, cocoa powder, and sugar until cocoa powder dissolves (about 2 minutes).
- Add dark chocolate chips and whisk until melted (about 2 more minutes). Mixture should be glossy and smooth.
- Remove from heat and stir in vanilla extract and sea salt. Adjust sweetness to taste.
- Pour hot cocoa into a slow cooker set to ‘warm’ or a thermos to keep warm. Alternatively, keep in saucepan over lowest heat, stirring occasionally.
- Prepare toppings: toast coconut flakes at 350°F for 3-4 minutes; crush candy canes in a ziplock bag with a rolling pin; make chocolate shavings with a vegetable peeler.
- Arrange small bowls of toppings on a tray or counter in order: marshmallows, crushed candy canes, chocolate shavings, coconut flakes, caramel sauce, cinnamon sticks, sea salt flakes.
- Set out mugs and let guests pour their own cocoa and add toppings as desired.
Notes
Low and slow is key to avoid scorching milk. Toast marshmallows under broiler for 30-45 seconds for a gourmet touch. Crush candy canes in a bag to avoid mess. Warm caramel sauce before serving for better drizzling. Label toppings if allergies are a concern.
Nutrition
- Serving Size: 1 mug (8 ounces)
- Calories: 280
- Sugar: 22
- Sodium: 150
- Fat: 18
- Saturated Fat: 11
- Carbohydrates: 28
- Fiber: 3
- Protein: 8
Keywords: hot cocoa, hot chocolate, cocoa bar, winter drink, holiday drink, toppings station, cozy drink


