I was digging through my glove compartment for a parking validation sticker last December when a papery, warm scent drifted out from somewhere—a stray cinnamon stick that had rolled under the passenger seat, forgotten since a holiday road trip two years ago. And suddenly I was seven years old, standing on a step stool in my aunt Lena’s kitchen in Syracuse, watching her roll cookie dough into a bowl of cinnamon sugar so deep and fragrant it looked like beach sand made of spice. She passed away the following spring, and I never got her recipe for those cookies. I’ve spent years trying to recreate that exact moment—the snap of the sugar crust, the soft give underneath, the way the smell made the whole house feel like it was wearing a sweater. These eggnog snickerdoodle cookies with nutmeg are the closest I’ve come. Honestly, I think she’d approve. Maybe you’ve been there—chasing a taste you can barely describe but know the second it hits your tongue.
I made a batch for my book club last month and realized halfway through that I’d forgotten to add the vanilla. I stirred it in anyway, crossed my fingers, and they turned out fine—better than fine, actually. That’s the thing about this recipe. It’s forgiving. It’s generous. And it’s exactly the kind of cookie you want on a table surrounded by people you love, holding mugs of something warm.
Why You’ll Love This Recipe
These eggnog snickerdoodle cookies with nutmeg aren’t just another holiday cookie. They’re the ones people hover around, even when the dessert table is full. Here’s what makes them stand out:
What Makes These Cookies Special
- Quick & Easy : From start to finish, you’re looking at about 25 minutes. No chilling required, no complicated techniques—just mix, roll, bake, and watch them disappear.
- Simple Ingredients : You probably have most of these in your pantry right now. The eggnog and nutmeg are the only special additions, and they do all the heavy lifting flavor-wise.
- Perfect for Holiday Gatherings : These cookies were made for cookie swaps, dinner parties, and those chaotic family get-togethers where you need something reliable that still feels special.
- Crowd-Pleaser : I’ve served these to kids who “don’t like eggnog” and adults who claim they’re “not dessert people.” Everyone goes back for seconds.
- Unbelievably Delicious : The texture is everything—crispy edges, soft centers, and that crackly sugar coating that gives way to a tender, spiced interior. The eggnog adds a subtle creaminess that regular snickerdoodles just don’t have.
This isn’t just another version of a classic cookie. The eggnog replaces some of the butter and liquid, which changes the texture in a way that’s hard to describe until you taste it. It’s softer, almost cloud-like, with a gentle tang from the eggnog that balances the sweetness. And the nutmeg? It’s not just sprinkled on top—it’s worked into the dough and the coating, so every bite has that warm, slightly peppery kick that makes you think of Christmas mornings.
These are the cookies you bring to a party and suddenly everyone’s asking for the recipe. They’re the cookies you make on a Sunday afternoon just because it finally feels like winter. And honestly? They’re the cookies that made me stop searching for my aunt Lena’s recipe, because I finally found one that feels like mine.
What Ingredients You Will Need
This recipe keeps things straightforward. You don’t need any fancy specialty ingredients—just good, honest baking staples with a couple of holiday twists. The eggnog and nutmeg do the heavy lifting here, so use the good stuff if you can.
For the Cookie Dough
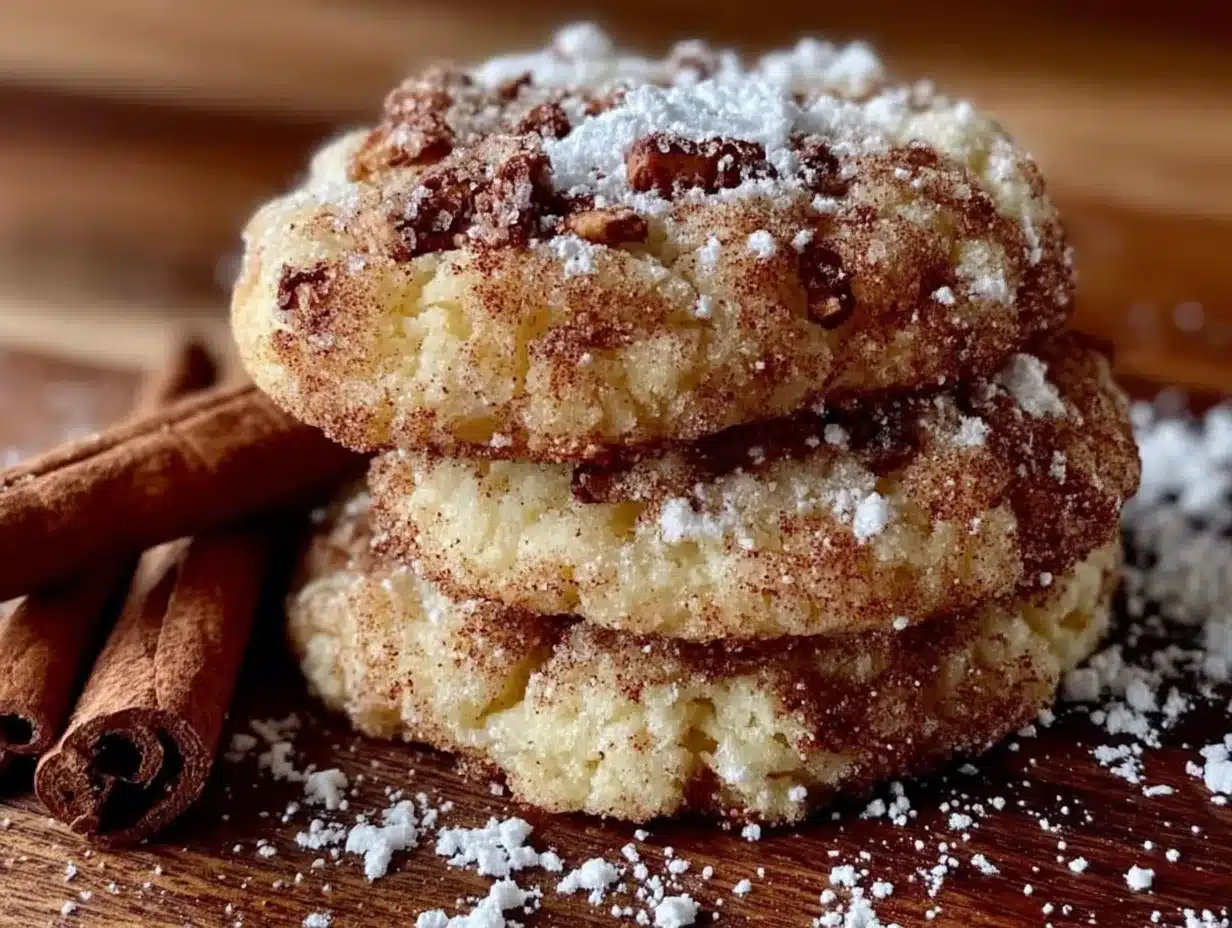
- 2 ¾ cups (345g) all-purpose flour — Spoon and level it. Don’t scoop straight from the bag or you’ll end up with dense cookies.
- 1 teaspoon baking soda — Make sure it’s fresh. Old baking soda won’t give you that nice puff.
- ½ teaspoon cream of tartar — This is the secret to that signature snickerdoodle tang. Don’t skip it.
- ½ teaspoon salt — Fine sea salt works best. It balances the sweetness without being noticeable.
- 1 teaspoon ground nutmeg — Freshly grated if you can. The pre-ground stuff works, but fresh nutmeg is a game-changer. I use a microplane and it takes ten seconds.
- ½ teaspoon ground cinnamon — Just enough to warm things up without overpowering the nutmeg.
- ½ cup (113g) unsalted butter, softened — Let it sit out for about 30 minutes. You want it soft but not melty.
- ¾ cup (150g) granulated sugar — Regular white sugar. Nothing fancy.
- ½ cup (100g) packed light brown sugar — This adds moisture and a tiny bit of molasses depth.
- 1 large egg, room temperature — Cold egg will seize your butter. Let it sit out with the butter.
- ½ cup (120ml) eggnog — Use full-fat eggnog for the best texture. I’ve tried low-fat and the cookies came out flat. Trust me on this.
- 1 teaspoon vanilla extract — Pure vanilla, not imitation. It makes a difference.
For the Coating
- ¼ cup (50g) granulated sugar — This forms the crunchy shell.
- 1 tablespoon ground nutmeg — Yes, a full tablespoon. It sounds like a lot, but it mellows as the cookies bake. This is where the flavor really shines.
- 1 teaspoon ground cinnamon — For warmth and that classic snickerdoodle look.
Ingredient Note: I prefer using Organic Valley eggnog for its thick, creamy consistency, but any full-fat brand works. If you’re feeling ambitious, homemade eggnog is incredible here—just make sure it’s well-chilled before using.
Substitution Tip: If you’re dairy-free, use a plant-based eggnog and vegan butter. The texture will be slightly different—a bit more delicate—but the flavor still holds up. I’ve tested this with Silk Nog and it worked beautifully.
Equipment Needed
You don’t need a lot of fancy tools for these eggnog snickerdoodle cookies with nutmeg. Here’s what I use:
- Stand mixer or hand mixer — I use my KitchenAid for the creaming step, but a hand mixer works just fine. You could even do it by hand with a wooden spoon if you’re feeling old-school.
- Large mixing bowls — One for dry ingredients, one for wet. Nothing special.
- Measuring cups and spoons — Go for metal ones. They’re more accurate than plastic.
- Kitchen scale — Optional but recommended. Weighing your flour prevents dense cookies.
- Cookie scoop — I use a 1.5-tablespoon scoop for uniform cookies. A tablespoon works too.
- Baking sheets — Light-colored ones. Dark sheets make the bottoms brown too fast.
- Parchment paper or silicone baking mats — Parchment is cheaper and works great. Silpat mats are nice but not necessary.
- Cooling rack — Lets air circulate so the bottoms don’t get soggy.
- Microplane or fine grater — For fresh nutmeg if you’re going that route. Worth the extra few seconds.
I’ve made these cookies in a friend’s tiny apartment with a hand mixer that sounded like it was dying, and they still came out perfect. Don’t stress about the equipment. The recipe does the work.
Preparation Method
Let’s make these cookies. I’ll walk you through every step so you know exactly what to look for. Trust your senses—baking is as much about feel as it is about measurements.
Step 1: Preheat and Prep
Preheat your oven to 350°F (175°C). Line two baking sheets with parchment paper. This isn’t strictly necessary, but it makes cleanup easier and prevents the bottoms from over-browning.
Step 2: Mix the Dry Ingredients
In a medium bowl, whisk together the flour, baking soda, cream of tartar, salt, nutmeg, and cinnamon. Whisk for about 20 seconds—you want everything evenly distributed. Set aside.
Step 3: Cream the Butter and Sugars
In a large bowl, beat the softened butter, granulated sugar, and brown sugar together on medium speed until light and fluffy. This takes about 3 minutes. Scrape down the sides halfway through. You’re looking for a pale, airy mixture that looks almost like frosting. Don’t rush this step—proper creaming gives you that tender texture.
Step 4: Add the Wet Ingredients
Add the egg, eggnog, and vanilla extract. Beat on low until just combined. The mixture might look slightly curdled at this point—that’s normal. It’s just the eggnog and butter doing their thing. Scrape the bowl again.
Step 5: Combine Wet and Dry
Add the dry ingredients to the wet mixture in two additions. Mix on low speed until just combined. You’ll see a few streaks of flour—that’s fine. Overmixing makes tough cookies. Use a spatula to fold the last bits in by hand.
The dough will be soft and slightly sticky. That’s exactly what you want. If it feels too loose to roll, pop it in the fridge for 15 minutes. But honestly, I rarely need to.
Step 6: Make the Coating
In a small shallow bowl, combine the sugar, nutmeg, and cinnamon for the coating. Mix with a fork until uniform. The nutmeg should look evenly distributed—no clumps.
Step 7: Shape and Coat
Scoop rounded tablespoons of dough (about 1.5 tablespoons each) and roll them into balls between your palms. The dough will be soft, so work gently. Drop each ball into the sugar-nutmeg mixture and roll around until completely coated. Place on the prepared baking sheets about 2 inches apart. You should get about 24 cookies.
Pro tip: If your hands get sticky, lightly dampen them with water. It helps the dough release without sticking to your skin.
Step 8: Bake
Bake one sheet at a time for 10-12 minutes. The cookies will look puffy and slightly cracked on top. The edges should be set but the centers will still look soft and slightly underdone. That’s perfect—they’ll continue baking on the hot sheet.
Remove from the oven and let them cool on the baking sheet for 5 minutes. Then transfer to a wire rack to cool completely. Don’t skip this resting time. It sets the structure.
Step 9: The Hardest Part
Wait. I know they smell incredible. But let them cool fully—about 20 minutes—before you dive in. The texture needs time to settle. Trust me, I’ve burned my tongue on “just one” more times than I’d like to admit.
Cooking Tips & Techniques
I’ve made these eggnog snickerdoodle cookies with nutmeg probably two dozen times now, and I’ve learned a few things the hard way. Here’s what I wish someone had told me:
Don’t overbake. This is the number one mistake. Snickerdoodles are supposed to look slightly underdone when they come out of the oven. If they look “done” on the sheet, they’ll be rock hard by the time they cool. Pull them when the edges are set and the centers are still soft and puffy.
Fresh nutmeg matters. I used pre-ground nutmeg for my first few batches and wondered why the flavor was so muted. Freshly grated nutmeg has a warmth and complexity that’s completely different. It’s floral, slightly sweet, and a little bit peppery. A whole nutmeg costs about a dollar and lasts forever. Just grate what you need.
Room temperature ingredients are non-negotiable. I tried rushing once and used cold eggnog straight from the fridge. The dough was stiff, the cookies spread unevenly, and the texture was dense. Let everything sit out for 30 minutes before you start.
Chill if you need to. If your kitchen is warm or your dough feels too sticky to handle, refrigerate it for 15-20 minutes. It won’t hurt the cookies. In fact, it often helps them hold their shape better.
Bake one sheet at a time. I know it’s tempting to cram both sheets in the oven, but the heat circulates unevenly and your cookies will bake at different rates. It takes longer, but the results are worth it.
Variations & Adaptations
One of the best things about this recipe is how flexible it is. Here are some ways I’ve adapted it for different occasions and diets:
Spiced-Up Version
Add ¼ teaspoon of ground cloves and ¼ teaspoon of ground ginger to the dry ingredients. It gives the cookies a mulled wine vibe that’s perfect for Christmas parties. I made these for a cookie swap last year and they were the first ones gone.
Gluten-Free Adaptation
Swap the all-purpose flour for a 1:1 gluten-free baking flour blend. I’ve used King Arthur Measure for Measure and Bob’s Red Mill 1-to-1 with great results. The texture is slightly more tender, but the flavor is spot on. Add an extra tablespoon of eggnog if the dough feels dry.
Vegan Version
Use vegan butter, a flax egg (1 tablespoon ground flaxseed + 3 tablespoons water), and plant-based eggnog. The cookies will be a bit more delicate, so handle them gently. Chill the dough for 20 minutes before baking to help them hold their shape.
Eggnog White Chocolate Drizzle
Melt ½ cup of white chocolate chips with 1 tablespoon of eggnog, then drizzle over cooled cookies. It’s extra—in the best way. I did this for a holiday brunch and people lost their minds.
Small-Batch Version
Halve all the ingredients and bake 12 cookies instead of 24. The baking time stays the same. Perfect for when you just want a few without committing to a full batch.
Serving & Storage Suggestions
These cookies are at their absolute best on the day they’re baked—warm, soft, and coated in that crackly sugar shell. But they’re still pretty incredible the next day, especially if you know how to store them properly.
Serving: Arrange them on a festive platter with a dusting of extra nutmeg. They pair beautifully with a cup of spiced chai, hot cocoa, or—obviously—a glass of eggnog. For a dinner party, I like to serve them alongside a small dish of whipped cream and a sprinkle of cinnamon. It feels fancy without being fussy.
Storage: Keep them in an airtight container at room temperature for up to 5 days. Layer them with parchment paper between each row to prevent sticking. Don’t refrigerate them—the fridge dries out baked goods and makes them stale faster.
Freezing: These freeze beautifully. Place baked, cooled cookies in a single layer on a baking sheet and freeze for 1 hour. Transfer to a freezer-safe bag or container for up to 3 months. Thaw at room temperature for about 30 minutes. You can also freeze the unbaked dough balls—just roll them, coat them, and freeze on a sheet pan. Once solid, transfer to a bag. Bake from frozen, adding 2-3 minutes to the baking time.
Reheating: Pop a cookie in the microwave for 10 seconds to bring back that just-baked softness. Or warm them in a 300°F oven for 5 minutes. The sugar crust gets slightly crisp again, and the centers turn soft and tender.
Flavor Development: Honestly, the flavor actually deepens after a day or two. The nutmeg and eggnog meld together, and the cookies become almost pudding-like in their richness. I’ve been known to hide a few just for myself.
Nutritional Information & Benefits
Let’s be real—these are cookies. They’re a treat. But that doesn’t mean they can’t have a few redeeming qualities.
Estimated per cookie (based on 24 cookies): Calories: 165 | Fat: 7g | Carbs: 24g | Protein: 2g | Sugar: 14g | Sodium: 95mg
Nutmeg is the star here, and it’s more than just a flavor. It contains compounds like myristicin that have mild anti-inflammatory and digestive benefits. In small amounts—like what’s in these cookies—it can even promote relaxation. No wonder these cookies feel so comforting.
Eggnog adds a small amount of protein and calcium from the milk and eggs. It’s not a health food, but it’s a more nutrient-dense base than plain milk or cream.
Dietary Considerations: This recipe contains gluten, dairy, and eggs. For gluten-free and vegan options, check the variations section above. These cookies are not low-carb or keto-friendly due to the sugar content—they’re meant to be a celebration, not a diet food.
My take: I believe in balance. These cookies are part of a joyful holiday season, not a daily habit. Enjoy them, share them, and don’t apologize for having two.
Conclusion
These eggnog snickerdoodle cookies with nutmeg are more than just a recipe—they’re a little piece of holiday magic you can hold in your hand. They’re the cookies that make people stop mid-conversation and say, “Wait, what’s in these?” They’re the ones you’ll make year after year, tweaking slightly each time, until they become your own.
I started making these to chase a memory of my aunt Lena’s kitchen, and somewhere along the way, I stopped chasing and started creating. That’s the beautiful thing about recipes—they’re alive. They change with you. And the best ones are the ones you make your own.
So go ahead. Make a mess of your kitchen. Get sugar on the counter. Lick the spoon. And when you pull that first batch out of the oven and the smell fills your house, take a moment to breathe it in. That’s the feeling I was looking for all along.
I’d love to hear how these turn out for you. Drop a comment below and tell me about your cookie-making adventures. Did you add a twist? Did they disappear faster than you expected? Share a photo on Pinterest and tag me—I can’t wait to see your creations.
Happy baking, friend. You’ve got this.
Frequently Asked Questions
Can I use low-fat eggnog in this recipe?
I’ve tested it, and honestly, full-fat eggnog gives you a much better texture. Low-fat eggnog has more water content, which makes the cookies spread more and turn out flatter. If that’s all you have, add an extra tablespoon of flour to compensate.
Why did my cookies turn out flat?
This usually happens for one of three reasons: your butter was too soft (almost melted), your baking soda is old, or your dough was too warm. Chill the dough for 20 minutes before baking next time, and make sure your leavening agents are fresh.
Can I make the dough ahead of time?
Absolutely. You can refrigerate the dough (covered) for up to 3 days. Let it sit at room temperature for 10 minutes before rolling and baking. You can also freeze the dough balls for up to 3 months—bake from frozen, adding 2-3 minutes.
How do I get that perfect crackly top?
The crackly top comes from the cream of tartar and the sugar coating. Make sure you use fresh cream of tartar (check the expiration date) and roll the dough balls generously in the sugar-nutmeg mixture. Don’t skimp on the coating—it’s what creates that signature look.
Can I double this recipe?
Yes, and I do it all the time for holiday parties. Just make sure you have enough baking sheets and space in your oven. Bake in batches and keep the unbaked dough in the fridge while the first batch is in the oven. Your cookies will thank you.
Pin This Recipe!
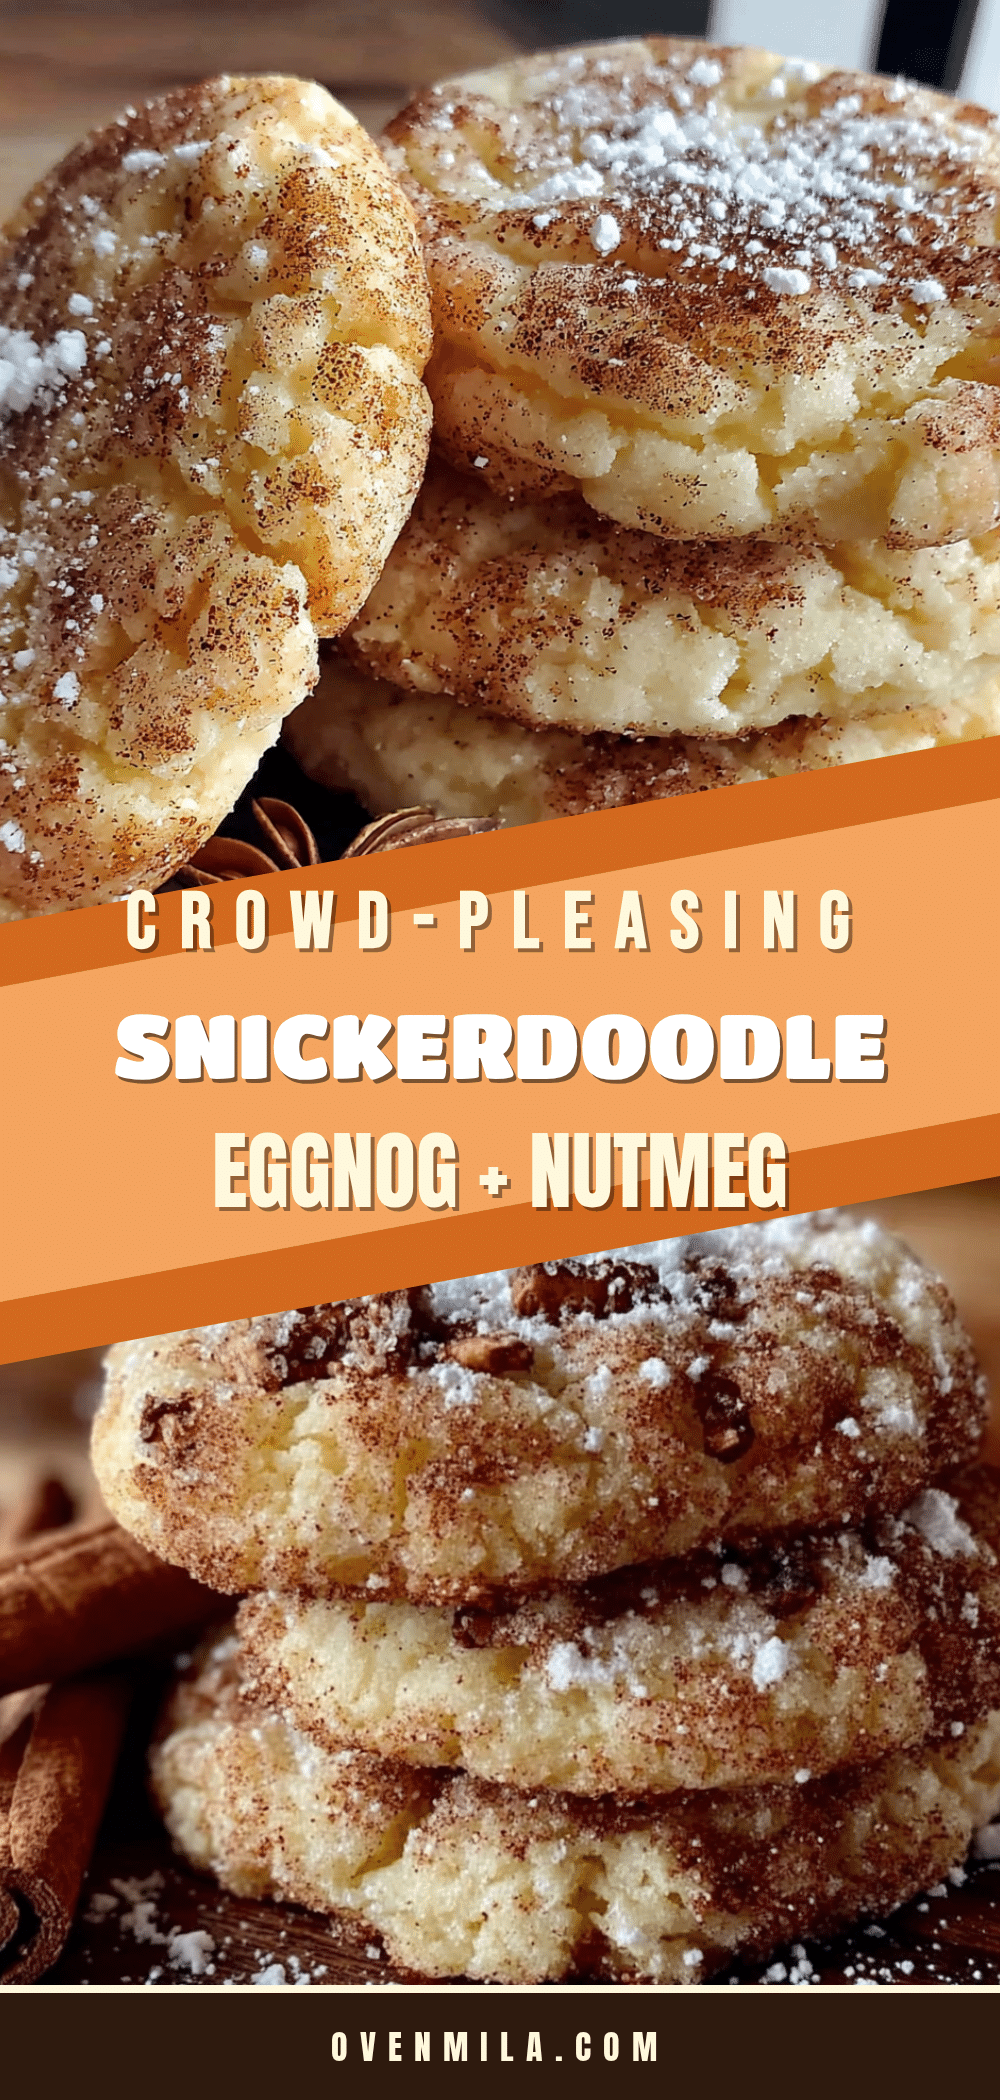
Best Easy Eggnog Snickerdoodle Cookies Recipe

These eggnog snickerdoodle cookies with nutmeg are soft, tender, and coated in a crackly sugar shell. They’re the perfect holiday cookie—quick to make, crowd-pleasing, and full of warm, spiced flavor.
- Prep Time: 15 minutes
- Cook Time: 12 minutes
- Total Time: 27 minutes
- Yield: 24 cookies 1x
- Category: Dessert
- Cuisine: American
Ingredients
- 2 ¾ cups (345g) all-purpose flour
- 1 teaspoon baking soda
- ½ teaspoon cream of tartar
- ½ teaspoon salt
- 1 teaspoon ground nutmeg
- ½ teaspoon ground cinnamon
- ½ cup (113g) unsalted butter, softened
- ¾ cup (150g) granulated sugar
- ½ cup (100g) packed light brown sugar
- 1 large egg, room temperature
- ½ cup (120ml) eggnog, full-fat
- 1 teaspoon vanilla extract
- ¼ cup (50g) granulated sugar (for coating)
- 1 tablespoon ground nutmeg (for coating)
- 1 teaspoon ground cinnamon (for coating)
Instructions
- Preheat oven to 350°F (175°C). Line two baking sheets with parchment paper.
- In a medium bowl, whisk together flour, baking soda, cream of tartar, salt, 1 teaspoon nutmeg, and ½ teaspoon cinnamon. Set aside.
- In a large bowl, beat softened butter, ¾ cup granulated sugar, and brown sugar on medium speed until light and fluffy, about 3 minutes. Scrape down sides.
- Add egg, eggnog, and vanilla extract. Beat on low until just combined. Mixture may look slightly curdled.
- Add dry ingredients to wet mixture in two additions, mixing on low until just combined. Fold in remaining flour with a spatula. Dough will be soft and slightly sticky.
- In a small shallow bowl, combine ¼ cup granulated sugar, 1 tablespoon nutmeg, and 1 teaspoon cinnamon for coating. Mix with a fork.
- Scoop rounded tablespoons of dough (about 1.5 tablespoons each) and roll into balls. Roll each ball in the sugar-nutmeg mixture until fully coated. Place on prepared baking sheets 2 inches apart.
- Bake one sheet at a time for 10-12 minutes. Cookies should look puffy with set edges and soft centers.
- Let cool on baking sheet for 5 minutes, then transfer to a wire rack to cool completely, about 20 minutes.
Notes
Don’t overbake—cookies should look slightly underdone when removed from oven. Freshly grated nutmeg is recommended for best flavor. Room temperature ingredients are important. If dough is too sticky, chill for 15-20 minutes. Bake one sheet at a time for even results.
Nutrition
- Serving Size: 1 cookie
- Calories: 165
- Sugar: 14
- Sodium: 95
- Fat: 7
- Saturated Fat: 4
- Carbohydrates: 24
- Fiber: 1
- Protein: 2
Keywords: eggnog snickerdoodle cookies, eggnog cookies, snickerdoodle recipe, holiday cookies, Christmas cookies, nutmeg cookies


