My neighbor, a retired mechanic named Sal, asked why I couldn’t just roast the chicken thighs directly on the oven rack instead of fussing with a wire rack inside a baking sheet. I started to explain why that wouldn’t work—something about even heat distribution and preventing the skin from steaming. Then I stopped. Honestly, I had no good reason other than “that’s how I’ve always done it.” So I tried it his way. The skin got impossibly crispy, the fat rendered perfectly, and there was no messy pan to scrub. I mean, I’ve been developing recipes for years, and a guy who fixes carburetors for a living taught me something about roasting chicken in about ten seconds. Let me tell you, that humbling moment changed how I cook chicken forever. This recipe for Fall’s Best Crispy Baked Chicken Thighs with Garlic Butter is the direct result of that afternoon—Sal’s trick, my garlic butter, and a whole lot of autumn flavor packed into every bite.
The air was crisp that day, the kind of October afternoon where you can smell wood smoke from someone’s fireplace. Sal handed me a beer and said, “You’re overthinking it.” Maybe you’ve been there too—staring at a recipe thinking there must be a more complicated way when the simple answer is right in front of you. That’s exactly what these chicken thighs are about. Simple, honest, and absolutely perfect for fall. The garlic butter melts into every crevice, the skin shatters when you bite into it, and the whole thing comes together with ingredients you probably already have. I keep making this recipe because it reminds me that sometimes the best cooking advice comes from unexpected places. And honestly? It’s the best damn chicken I’ve ever made.
Why You’ll Love This Recipe
These crispy baked chicken thighs with garlic butter have become my go-to fall dinner for so many reasons. Let me break down exactly why this recipe works and why you’ll find yourself making it on repeat.
- Quick & Easy: Comes together in under 45 minutes with just 10 minutes of active prep. Perfect for those busy weeknights when you want something satisfying without spending hours in the kitchen.
- Simple Ingredients: No fancy grocery trips needed. Chicken thighs, garlic, butter, and a few pantry staples—that’s it. You probably have everything right now.
- Perfect for Fall: The rich, comforting flavors of garlic and butter pair beautifully with autumn sides like roasted squash, mashed potatoes, or a simple apple salad.
- Crowd-Pleaser: Every time I serve these, plates come back clean. Kids love the crispy skin, adults appreciate the juicy meat, and everyone reaches for seconds.
- Unbelievably Delicious: That first bite—the crunch of the skin, the burst of garlic butter, the tender meat underneath—it’s next-level comfort food that feels special but takes almost no effort.
What makes this recipe different from all the other baked chicken recipes out there? It’s the combination of Sal’s oven-rack trick and my garlic butter that’s been perfected over dozens of batches. The chicken roasts directly on the rack, allowing hot air to circulate all around, creating skin that’s shatteringly crisp without any flipping or basting. Meanwhile, the garlic butter mixture—with just the right balance of salt, herbs, and garlic—seeps into every bite. This isn’t just another chicken recipe. It’s the one you’ll text your friends about.
This recipe is the kind that makes you close your eyes after the first bite. It’s comfort food reimagined—faster, simpler, but with the same soul-soothing satisfaction that makes fall dinners feel special. Perfect for impressing guests without stress, or turning a simple Tuesday night into something memorable. Trust me, you’ll love this one.
What Ingredients You Will Need
This recipe uses simple, wholesome ingredients to deliver bold flavor and satisfying texture without the fuss. Most of these are pantry staples you likely already have, especially if you cook regularly during the fall months.
For the Chicken
- 6 bone-in, skin-on chicken thighs (about 2 pounds total) — The bone keeps the meat juicy during roasting, and the skin gets wonderfully crispy. Look for thighs that are roughly the same size for even cooking.
- 1 tablespoon olive oil — Helps the seasoning stick and encourages browning. I prefer extra virgin for flavor, but regular works fine too.
- 1 teaspoon kosher salt — Don’t skimp here. Salt is crucial for crispy skin and well-seasoned meat. Diamond Crystal is my go-to brand.
- ½ teaspoon black pepper — Freshly ground adds the most flavor. Pre-ground works in a pinch.
- 1 teaspoon garlic powder — Adds another layer of garlic flavor beyond the butter. Look for a brand without anti-caking agents if possible.
- 1 teaspoon smoked paprika — This is my secret ingredient for fall. It adds a subtle smokiness and gorgeous color. Regular paprika works too, but smoked really shines here.
For the Garlic Butter
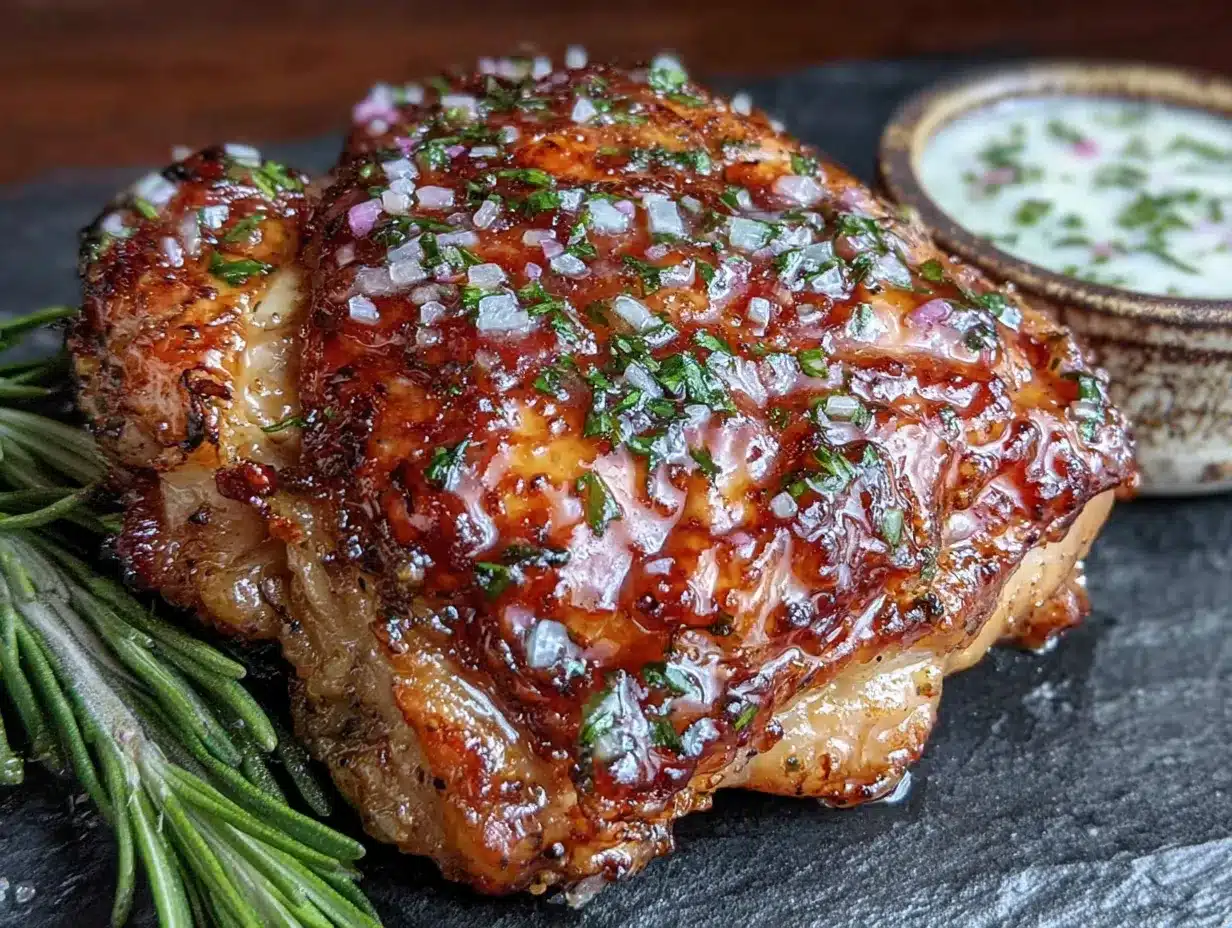
- 4 tablespoons unsalted butter — Softened to room temperature. Using unsalted lets you control the salt level. I like Kerrygold for its rich flavor.
- 4 cloves garlic — Minced finely. Fresh garlic is non-negotiable here—the jarred stuff won’t give you the same punch. (Use a microplane for the best texture.)
- 1 tablespoon fresh parsley — Chopped fine. Adds freshness and color. Dried parsley works, but fresh makes a noticeable difference.
- ½ teaspoon dried thyme — Earthy and warm, perfect for fall. You can substitute fresh thyme if you have it—use 1 teaspoon.
- ¼ teaspoon red pepper flakes — Optional but recommended. Adds a tiny kick that cuts through the richness. Omit if you’re sensitive to heat.
Ingredient Tips: For the best texture, make sure your chicken thighs are patted very dry with paper towels before seasoning. Any moisture on the skin will prevent it from getting crispy. If you can find air-chilled chicken, it tends to have drier skin and better texture. Also, let your butter soften on the counter for about 30 minutes before mixing—cold butter won’t blend evenly with the garlic and herbs.
Substitution Guidance: You can use chicken drumsticks instead of thighs—just adjust cooking time by about 5 minutes. For a dairy-free version, substitute the butter with a high-quality vegan butter or ghee (though ghee isn’t dairy-free, it’s lower in lactose). If you’re avoiding nightshades, skip the smoked paprika and use a pinch of cumin and turmeric instead for color.
Equipment Needed
You don’t need much fancy equipment for this recipe, which is part of what makes it so great. Here’s what you’ll need:
- Baking sheet — Any rimmed baking sheet works. I use a half-sheet pan. The rim catches any drips, which is important since you’re roasting directly on the rack.
- Oven-safe wire rack — This is optional but helpful for extra crispiness. If you don’t have one, just roast the chicken directly on the baking sheet—it’ll still be great.
- Small bowl — For mixing the garlic butter. Any small bowl works.
- Chef’s knife and cutting board — For mincing garlic and chopping parsley. A microplane works even better for garlic.
- Tongs — For handling the hot chicken. Silicone-tipped tongs won’t scratch your pans.
- Instant-read thermometer — This is my non-negotiable tool. It takes the guesswork out of knowing when your chicken is perfectly cooked. A $15 Thermapen clone works great.
Budget-Friendly Options: If you don’t have a wire rack, you can crumple aluminum foil into a few coils and place the chicken on top—it achieves a similar effect. And if you don’t have an instant-read thermometer, cook until the juices run clear and the skin is deep golden brown, about 35-40 minutes.
Preparation Method
This recipe comes together quickly, but a few key steps make all the difference. Follow these carefully, and you’ll have the crispiest, most flavorful chicken thighs of your life.
- Preheat your oven to 425°F (220°C) with the rack in the middle position. Give it at least 15 minutes to fully heat. A hot oven is crucial for crispy skin.
- Pat the chicken thighs very dry with paper towels. This is the most important step. Any moisture on the skin will steam instead of crisp. I usually go through 3-4 paper towels per batch. Don’t skip this—I learned the hard way after a soggy-skinned disaster.
- Season the chicken by drizzling with olive oil and rubbing it all over. Then sprinkle with salt, pepper, garlic powder, and smoked paprika. Use your hands to massage the seasoning into every nook and cranny, including underneath the skin if you can. Let the chicken sit at room temperature for 15 minutes while you make the garlic butter.
- Make the garlic butter by combining the softened butter, minced garlic, parsley, thyme, and red pepper flakes in a small bowl. Mix until everything is evenly distributed. The butter should be spreadable but not melted. If your kitchen is cold, microwave for 5 seconds to soften.
- Gently loosen the skin on each chicken thigh by sliding your fingers between the skin and the meat. Be careful not to tear the skin—work slowly. Spoon about 1 teaspoon of garlic butter under the skin of each thigh, spreading it evenly. Rub any remaining butter all over the outside of the chicken.
- Place a wire rack inside your baking sheet (or use crumpled foil if you don’t have a rack). Arrange the chicken thighs skin-side up on the rack, leaving at least 1 inch of space between each piece. This ensures hot air circulates and crisps the skin evenly.
- Roast for 35-40 minutes without flipping or basting. I know it’s tempting to open the oven and check, but resist! Every time you open the door, heat escapes and your skin gets less crispy. At the 30-minute mark, start checking with your instant-read thermometer. The chicken is done when the thickest part reaches 165°F (74°C) and the skin is deep golden brown and crispy.
- Let the chicken rest for 5-7 minutes before serving. This allows the juices to redistribute throughout the meat. If you cut into it right away, all those delicious juices will run out onto the plate instead of staying in the meat.
Sensory Cues: You’ll know the chicken is getting close when you hear a gentle sizzling sound from the oven. The kitchen will smell like garlic and butter and something deeply comforting. When you peek near the end, the skin should look blistered and golden, and you might see small bubbles forming on the surface—that’s the fat rendering and the skin crisping up perfectly.
Troubleshooting: If your skin isn’t crispy after 40 minutes, turn on the broiler for 1-2 minutes. Watch it carefully—it can burn quickly. If the chicken is browning too fast but isn’t cooked through, tent loosely with foil and continue cooking.
Cooking Tips & Techniques
After making this recipe dozens of times, I’ve picked up a few tricks that make a real difference. Here are my best tips for perfect crispy baked chicken thighs with garlic butter every time.
Start with room-temperature chicken. Cold chicken straight from the fridge will cook unevenly and take longer to crisp. Let it sit on the counter for 20-30 minutes before seasoning. This is especially important in fall when our kitchens tend to be cooler.
Don’t crowd the pan. I made this mistake once when I was cooking for a crowd and tried to fit all 8 thighs on one rack. They steamed instead of crisping because there wasn’t enough air circulation. Give each piece at least an inch of space. If you’re cooking more than 6 thighs, use two baking sheets.
Use the right salt. Kosher salt is ideal because the large flakes distribute evenly and dissolve slowly. Table salt is much saltier by volume, so if you’re using it, reduce the amount by about half. I learned this the hard way when I accidentally used table salt and ended up with chicken that was borderline inedible.
Let the butter soften properly. Cold butter won’t mix evenly with the garlic and herbs. You’ll end up with clumps of garlic in some spots and plain butter in others. Set your butter out 30 minutes before you start cooking. If you forget, cut it into small cubes and let it sit for 10 minutes.
Save the drippings. After the chicken is done, pour the pan drippings into a small jar. They’re liquid gold—use them to roast vegetables, drizzle over mashed potatoes, or toss with pasta the next day. I keep a jar of chicken fat in my fridge all fall long.
Multitasking strategy: While the chicken roasts, prep your sides. Roasted Brussels sprouts or butternut squash can go in the oven at the same temperature. Just put them on a separate rack below the chicken. Everything finishes around the same time, and your whole meal comes together seamlessly.
Variations & Adaptations
This recipe is wonderfully adaptable. Here are some of my favorite variations that keep things interesting throughout the fall season.
Herb and Citrus Variation
Swap the smoked paprika for 1 teaspoon of dried rosemary and add the zest of one lemon to the garlic butter. Squeeze the lemon juice over the chicken right before serving. The brightness cuts through the richness beautifully—especially good for those early fall days when it’s still a little warm outside.
Spicy Maple Glaze
Mix 2 tablespoons of maple syrup with 1 tablespoon of apple cider vinegar and a pinch of cayenne. Brush this over the chicken during the last 10 minutes of cooking. The sweetness caramelizes on the skin, creating a sticky, spicy-sweet crust that’s absolutely addictive. This is my go-to for Thanksgiving leftovers.
Creamy Garlic Sauce Version
While the chicken rests, deglaze the baking sheet with ¼ cup of chicken broth, scraping up all the browned bits. Pour this into a small saucepan, add ½ cup of heavy cream, and simmer until thickened. Drizzle over the chicken before serving. It’s indulgent, but honestly, sometimes you just need that extra richness on a cold November night.
Dietary Adaptations
- Dairy-free: Use vegan butter or ghee. The texture will be slightly different, but still delicious.
- Low-carb/Keto: This recipe is naturally low-carb. Serve with roasted vegetables or a big salad.
- Gluten-free: This recipe is naturally gluten-free. Just double-check your spice blends.
Serving & Storage Suggestions
These crispy baked chicken thighs are incredibly versatile when it comes to serving. Here’s how to make the most of them.
Serving Temperature: Serve the chicken hot, straight from the oven. The skin is at its crispiest within the first 15 minutes of coming out. If you’re serving a crowd, you can keep them warm in a 200°F oven for up to 30 minutes, but the skin will soften slightly.
Presentation: Arrange the chicken thighs on a warm platter, skin-side up. Spoon any remaining garlic butter from the pan over the top. Garnish with fresh parsley and a sprinkle of flaky sea salt. The contrast of the golden skin against the green herbs is gorgeous.
What to Serve With It: These thighs pair beautifully with so many fall sides. Try creamy mashed potatoes to soak up the garlic butter, roasted Brussels sprouts with balsamic glaze, a simple arugula salad with shaved Parmesan, or crusty bread for dipping. For drinks, a medium-bodied red wine like Pinot Noir or a crisp hard cider complements the richness perfectly.
Storage Instructions: Store leftover chicken in an airtight container in the refrigerator for up to 4 days. The skin will soften as it sits, but the flavor only gets better. To reheat, place the chicken on a wire rack over a baking sheet and warm in a 375°F oven for 10-15 minutes. This restores some of the crispiness. Avoid microwaving—it will make the skin rubbery.
Freezing: These freeze beautifully. Wrap each thigh individually in plastic wrap, then place in a freezer bag. They’ll keep for up to 3 months. Thaw overnight in the refrigerator, then reheat in the oven as described above.
Flavor Development: The garlic flavor actually deepens overnight. Day-old chicken is fantastic chopped up and tossed into salads, pasta, or grain bowls. I often make a double batch just for leftovers.
Nutritional Information & Benefits
Here’s the approximate nutritional breakdown for one serving (one chicken thigh with garlic butter):
- Calories: 320
- Protein: 28g
- Fat: 22g
- Carbohydrates: 2g
- Fiber: 0g
- Sugar: 0g
Health Benefits: Chicken thighs are an excellent source of high-quality protein, which supports muscle health and keeps you feeling full. They’re also rich in B vitamins, particularly B6 and B12, which help with energy metabolism. The garlic in this recipe contains allicin, a compound known for its immune-boosting properties—perfect for the fall season when colds start circulating. Butter provides fat-soluble vitamins A, D, E, and K, which are essential for nutrient absorption.
Dietary Considerations: This recipe is naturally low-carb, keto-friendly, and gluten-free. It contains dairy from the butter, but you can easily substitute with vegan butter. The red pepper flakes add a negligible amount of heat for most people, but you can omit them if you’re sensitive. Always check your spice blends for hidden gluten or additives if you have celiac disease.
My Personal Perspective: I love that this recipe feels indulgent without actually being unhealthy. It’s satisfying and rich, but the portion size is sensible. I serve it with a big pile of roasted vegetables, and it feels like a balanced, nourishing meal that happens to taste incredible.
Conclusion
These crispy baked chicken thighs with garlic butter have become a staple in my fall cooking rotation for good reason. They’re simple enough for a Tuesday night but impressive enough for company. The combination of shatteringly crisp skin, juicy meat, and that rich garlic butter is honestly hard to beat. And the best part? It all comes together with ingredients you probably already have in your kitchen.
I hope you’ll try this recipe and make it your own. Maybe you’ll add extra herbs, or swap in a different spice blend, or serve it with your favorite fall side dish. That’s the beauty of a recipe like this—it’s a starting point, not a rigid set of rules. Feel free to experiment and find what works for you.
Honestly, this recipe reminds me why I love cooking so much. It’s not about perfection or fancy techniques. It’s about making something delicious that brings people together. So go ahead, preheat that oven, pat those chicken thighs dry, and get ready for the best fall dinner you’ll make all season. And when you take that first bite and the skin shatters and the garlic butter hits your tongue, think of Sal the mechanic. He’d be proud.
If you make this recipe, I’d love to hear about it! Leave a comment below and let me know how it turned out. Did you try any variations? What did you serve with it? Your feedback helps other readers too. And if you loved it, share it with a friend—good recipes are meant to be passed around.
Frequently Asked Questions
Can I use boneless, skinless chicken thighs instead?
You can, but the results will be different. Boneless thighs cook faster (about 20-25 minutes) and won’t have the same crispy skin. The garlic butter will still add great flavor. Just watch the cooking time carefully to avoid drying them out.
How do I know when the chicken is fully cooked?
The most reliable way is to use an instant-read thermometer inserted into the thickest part of the thigh (avoiding the bone). It should read 165°F (74°C). The juices should run clear when you pierce the meat, and the skin should be deep golden brown and crispy.
Can I prepare the garlic butter in advance?
Absolutely! You can make the garlic butter up to 3 days ahead and keep it in the refrigerator. Just let it soften at room temperature for about 20 minutes before using. You can also freeze it for up to 3 months—roll it into a log in plastic wrap and slice off what you need.
Why isn’t my chicken skin getting crispy?
This usually happens for one of three reasons: the chicken wasn’t patted dry enough, the oven wasn’t hot enough, or the pieces were too crowded on the pan. Make sure your oven is fully preheated to 425°F, pat the skin very dry with paper towels, and leave space between each thigh. Also, avoid opening the oven door during cooking.
Can I use this recipe for chicken breasts instead?
Yes, but you’ll need to adjust the cooking time. Bone-in, skin-on chicken breasts will take about 30-35 minutes at 425°F. Boneless breasts will cook even faster—about 18-22 minutes. The garlic butter works beautifully on breasts, but the skin might not get quite as crispy since breasts are leaner and release less fat.
Pin This Recipe!
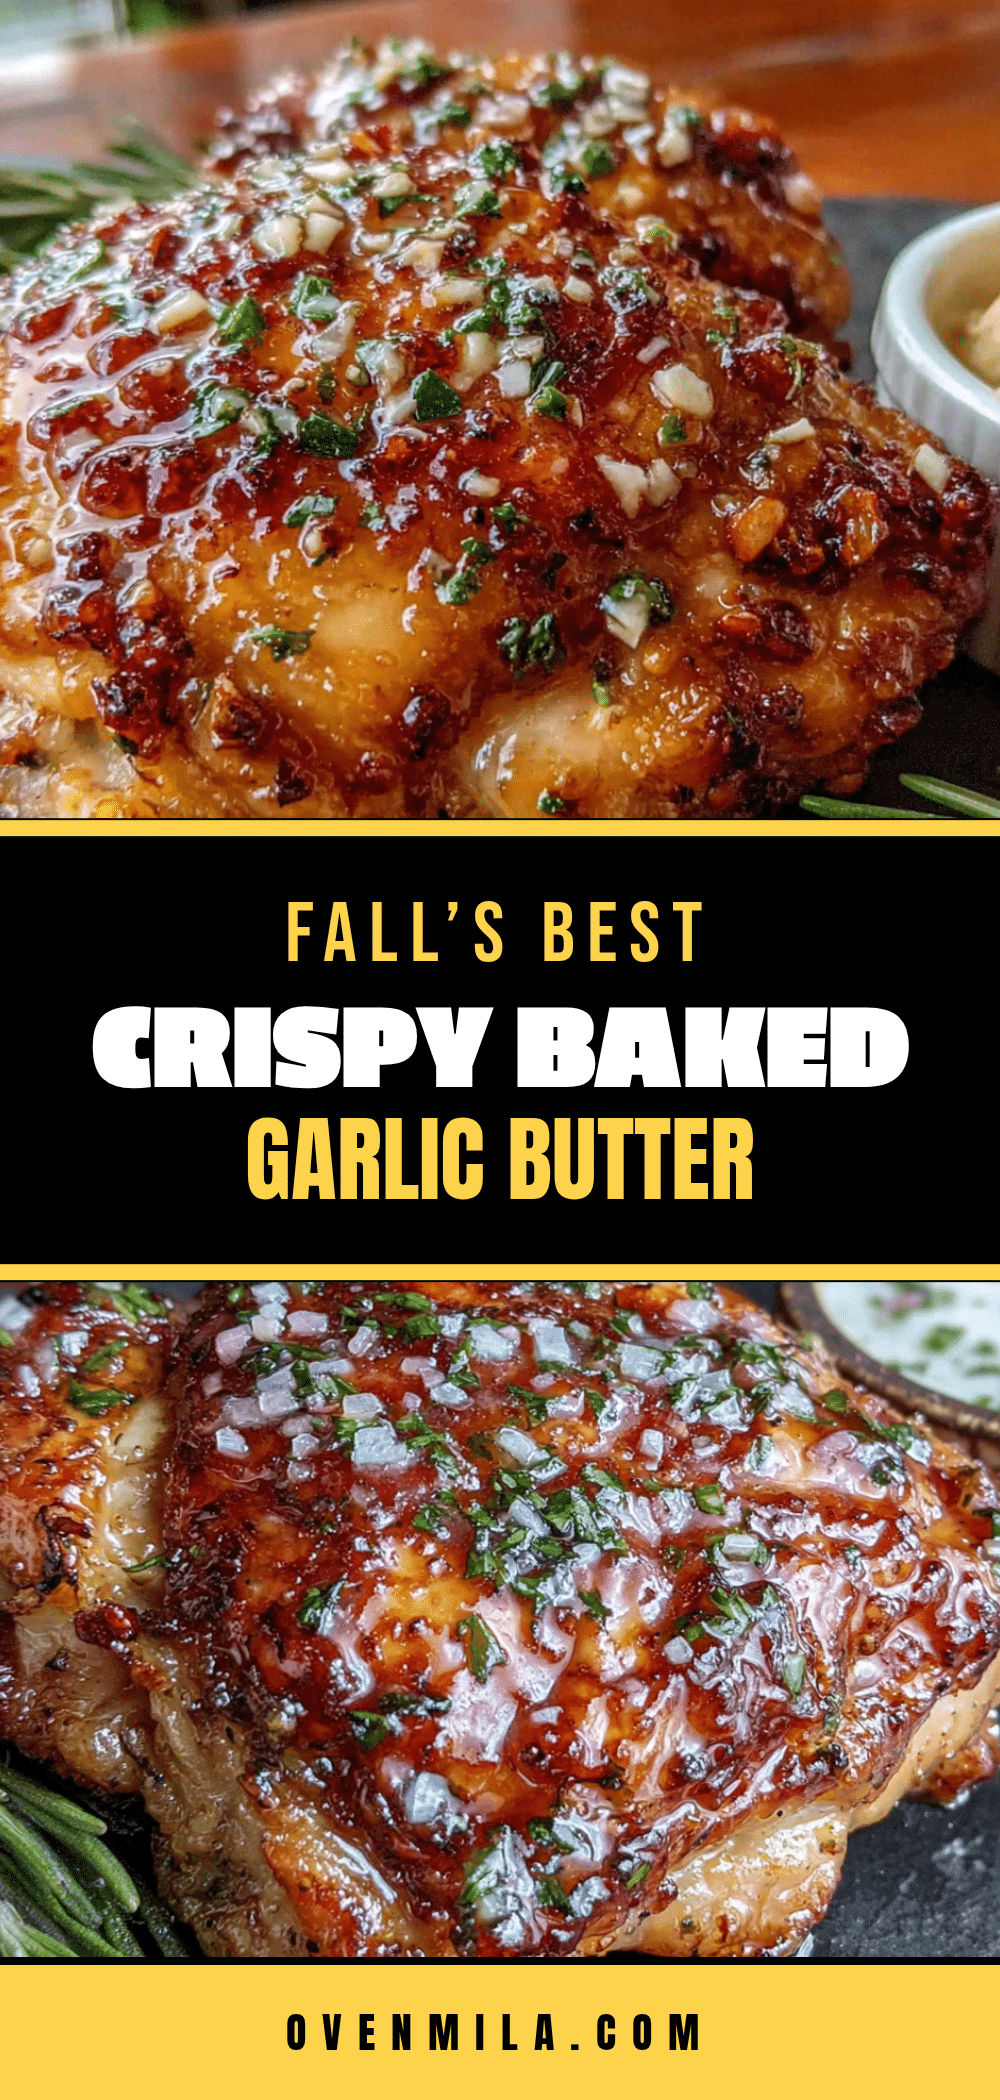
Best Easy Fall Crispy Baked Chicken Thighs with Garlic Butter

These crispy baked chicken thighs with garlic butter are a simple, quick, and delicious fall dinner. The chicken roasts directly on the oven rack for shatteringly crisp skin, while the garlic butter adds rich, comforting flavor.
- Prep Time: 10 minutes
- Cook Time: 35-40 minutes
- Total Time: 45-50 minutes
- Yield: 6 servings 1x
- Category: Main Course
- Cuisine: American
Ingredients
- 6 bone-in, skin-on chicken thighs (about 2 pounds total)
- 1 tablespoon olive oil
- 1 teaspoon kosher salt
- ½ teaspoon black pepper
- 1 teaspoon garlic powder
- 1 teaspoon smoked paprika
- 4 tablespoons unsalted butter, softened
- 4 cloves garlic, minced
- 1 tablespoon fresh parsley, chopped
- ½ teaspoon dried thyme
- ¼ teaspoon red pepper flakes (optional)
Instructions
- Preheat your oven to 425°F (220°C) with the rack in the middle position. Give it at least 15 minutes to fully heat.
- Pat the chicken thighs very dry with paper towels. This is the most important step for crispy skin.
- Season the chicken by drizzling with olive oil and rubbing it all over. Sprinkle with salt, pepper, garlic powder, and smoked paprika. Massage the seasoning into every nook and cranny, including underneath the skin if possible. Let the chicken sit at room temperature for 15 minutes while you make the garlic butter.
- Make the garlic butter by combining the softened butter, minced garlic, parsley, thyme, and red pepper flakes in a small bowl. Mix until everything is evenly distributed.
- Gently loosen the skin on each chicken thigh by sliding your fingers between the skin and the meat. Spoon about 1 teaspoon of garlic butter under the skin of each thigh, spreading it evenly. Rub any remaining butter all over the outside of the chicken.
- Place a wire rack inside your baking sheet (or use crumpled foil if you don’t have a rack). Arrange the chicken thighs skin-side up on the rack, leaving at least 1 inch of space between each piece.
- Roast for 35-40 minutes without flipping or basting. At the 30-minute mark, start checking with an instant-read thermometer. The chicken is done when the thickest part reaches 165°F (74°C) and the skin is deep golden brown and crispy.
- Let the chicken rest for 5-7 minutes before serving. This allows the juices to redistribute throughout the meat.
Notes
For the best texture, make sure your chicken thighs are patted very dry with paper towels before seasoning. If your skin isn’t crispy after 40 minutes, turn on the broiler for 1-2 minutes. Watch it carefully—it can burn quickly. If the chicken is browning too fast but isn’t cooked through, tent loosely with foil and continue cooking.
Nutrition
- Serving Size: 1 chicken thigh
- Calories: 320
- Sodium: 480
- Fat: 22
- Saturated Fat: 9
- Carbohydrates: 2
- Protein: 28
Keywords: crispy baked chicken thighs, garlic butter chicken, fall chicken recipe, easy chicken dinner, baked chicken thighs


