It was 11:15 PM on a random Wednesday, and I had this ridiculous craving for banana bread. Not the polite, brunch-time banana bread you serve on nice plates. I mean the kind you eat over the sink at midnight, still warm, with butter melting into every crumb. The problem? I only had two bananas that were actually past the point of no return. And I was out of my usual baking butter. But there was a stick of regular butter in the fridge, and this weird idea popped into my head—what if I browned it first? I’d read about brown butter adding a nutty, almost caramel flavor to cookies, but banana bread? Honestly, I wasn’t sure if it would work or if I was just tired and making bad decisions. Let me tell you, it was the best bad decision I’ve ever made in my kitchen.
I grabbed my biggest mixing bowl—the one with the chip on the rim from that time I got too aggressive with a whisk—and just started throwing things in. No stand mixer, no separate bowls for dry and wet ingredients. Just one bowl, a wooden spoon, and a whole lot of hope. The brown butter smelled like toasted hazelnuts and melted into the sugar in this way that felt almost magical. I mean, the kitchen got a little smoky because I got distracted scrolling my phone, but hey, that’s part of the charm, right?
The next morning, my kids woke up to the smell of this banana bread and came shuffling into the kitchen like little zombies drawn to something good. They didn’t even wait for it to cool completely. My youngest took one bite, closed her eyes, and said, “Mom, this is the best one you’ve ever made.” And honestly? She was right. Maybe you’ve been there—late at night, craving something simple, and you just go for it with whatever you have. That’s how this recipe was born, and it’s why I keep making it. It’s not fancy. It’s not complicated. It’s just really, really good banana bread that makes everyone happy.
Why You’ll Love This Recipe
This isn’t just another banana bread recipe floating around the internet. This is the one that’ll get you texts from your kids when they’re at college asking for the recipe. I’ve tested this version at least a dozen times—sometimes with overripe bananas, sometimes with frozen ones I forgot about, and once with a batch of bananas that were so brown they were practically liquid. Every single time, it worked. That’s the kind of reliability you need when you’re feeding a family on a budget and you can’t afford to waste ingredients.
Here’s why this recipe stands out from the crowd:
- One Bowl, No Fuss: You don’t need a stand mixer or a separate bowl for dry ingredients. Everything goes into one bowl, which means less dishes and more time actually enjoying your life. Perfect for those evenings when the sink is already full.
- Simple, Affordable Ingredients: No fancy extracts, no specialty flours, no trips to a gourmet grocery store. You probably have everything in your pantry right now—flour, sugar, eggs, butter, and those sad bananas sitting on your counter.
- Brown Butter Magic: This is the secret weapon. Browning the butter adds this deep, nutty, almost toffee-like flavor that makes the bread taste like you spent hours on it. But it takes maybe 5 minutes. The kids won’t know what hit them.
- Kid-Approved and Picky-Eater Tested: My kids are the kind who inspect their food like they’re looking for contraband. This banana bread passed the test with flying colors. It’s sweet enough to feel like a treat but not so sweet that you feel guilty serving it for breakfast.
- Freezes Like a Dream: Make two loaves. Trust me on this. One for now, one for later. It thaws beautifully and tastes just as good as the day you baked it.
What makes this recipe different from all the other banana breads out there? It’s the brown butter, plain and simple. That one extra step transforms a humble, everyday loaf into something that feels special. It’s comfort food that doesn’t require a lot of effort or expensive ingredients. It’s the kind of recipe that makes you look like a hero on a Tuesday afternoon.
What Ingredients You Will Need
This recipe uses simple, everyday ingredients that work together to create something truly special. The brown butter is the star, but every component plays a role in making this loaf moist, tender, and full of flavor. Here’s what you’ll need:
For the Banana Bread
- 1/2 cup (1 stick or 113g) unsalted butter (you’ll brown this first—don’t skip it! I prefer using Kerrygold for its rich flavor, but any unsalted butter works)
- 3 to 4 ripe bananas, mashed (about 1 1/2 cups or 340g) (the spottier, the better—those brown spots mean maximum sweetness)
- 3/4 cup (150g) granulated sugar (regular white sugar works perfectly; you can reduce to 1/2 cup if your bananas are very ripe)
- 1/4 cup (50g) packed light brown sugar (adds moisture and a hint of molasses flavor)
- 2 large eggs, room temperature (cold eggs can seize the brown butter, so let them sit out for 15 minutes)
- 1 teaspoon vanilla extract (pure vanilla is best, but imitation works in a pinch)
- 1 1/2 cups (190g) all-purpose flour (spoon and level it—don’t scoop directly from the bag or you’ll end up with dry bread)
- 1 teaspoon baking soda (make sure it’s fresh—test it by dropping a bit in vinegar; it should fizz)
- 1/2 teaspoon salt (fine sea salt or table salt both work)
- Optional: 1/2 cup (60g) chopped walnuts or chocolate chips (my kids prefer chocolate chips, obviously)
Ingredient Notes and Tips
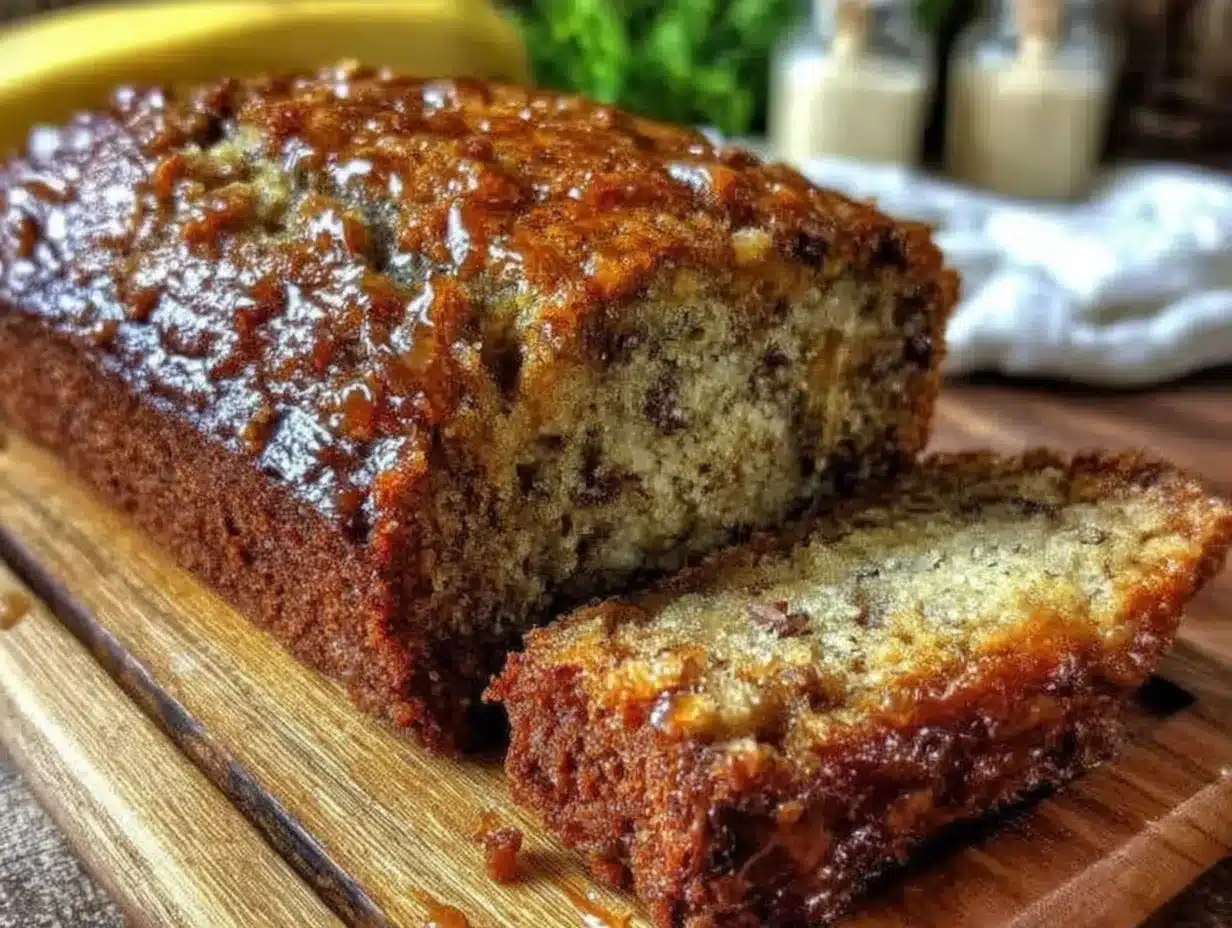
Let’s talk about those bananas for a second. You want them to be so ripe that you’re almost embarrassed to have them on your counter. I’m talking brown spots covering at least half the peel. If your bananas aren’t quite there yet, you can speed things up by baking them at 300°F for 15 minutes until the skins turn black. Let them cool, then scoop out the insides. It’s not quite the same as naturally ripened, but it works in a pinch.
For the brown butter, I recommend using a light-colored pan so you can actually see the color change. Dark pans make it hard to tell when the butter has reached that perfect golden-brown stage. And please, for the love of all things baked, don’t walk away while it’s browning. I learned that lesson the hard way when I had to explain to my husband why the kitchen smelled like burnt popcorn.
If you’re using frozen bananas (which I do all the time), thaw them completely and drain off any excess liquid before mashing. That extra liquid can throw off the moisture balance and make your bread gummy. Trust me, I’ve been there.
Equipment Needed
The beauty of this recipe is that it doesn’t require any fancy equipment. Here’s what you’ll need:
- One large mixing bowl: I use a ceramic bowl that’s seen better days, but any large bowl works. Just make sure it’s big enough to hold everything without splattering.
- A 9×5-inch loaf pan: This is the standard size. If you only have an 8×4-inch pan, increase the baking time by about 10 minutes. If you’re using a dark non-stick pan, reduce the oven temperature by 25°F to prevent over-browning.
- A small saucepan: For browning the butter. I prefer a light-colored stainless steel pan so I can see the color change clearly.
- A wooden spoon or silicone spatula: Nothing fancy needed here. I actually prefer a wooden spoon because it gives me better control when folding in the flour.
- Parchment paper: Not strictly necessary, but it makes removing the bread from the pan so much easier. I cut a strip that hangs over the long sides of the pan as handles.
- Cooling rack: Letting the bread cool properly prevents a soggy bottom. If you don’t have one, you can use the inverted loaf pan to create airflow.
That’s it. No stand mixer, no hand mixer, no sifter. Just simple tools that you probably already own. This is the kind of recipe that proves you don’t need a fancy kitchen to make something delicious.
Preparation Method
Alright, let’s get to it. This recipe moves fast, so read through the steps once before you start. Trust me, it’ll save you from that panicked moment when you realize you forgot to grease the pan.
- Preheat your oven to 350°F (175°C). Position the rack in the center of the oven. While it’s heating up, grease your 9×5-inch loaf pan with butter or non-stick spray. For extra insurance, line it with a strip of parchment paper that hangs over the two long sides—this makes lifting the bread out so much easier.
- Brown the butter. Place the 1/2 cup of unsalted butter in a small saucepan over medium heat. Let it melt completely, then continue cooking, swirling the pan occasionally. You’ll see it start to foam and bubble—that’s normal. After about 4-5 minutes, the foam will subside, and you’ll notice golden-brown specks forming at the bottom of the pan. The butter will smell nutty and amazing. As soon as it reaches that deep amber color, remove it from the heat immediately and pour it into a heat-safe bowl to stop the cooking process. Don’t walk away during this step—butter goes from browned to burnt in about 30 seconds. Let it cool for 5 minutes while you prepare the rest.
- Mash the bananas. In your large mixing bowl, mash the ripe bananas with a fork or potato masher until they’re mostly smooth with a few small lumps remaining. You want some texture, not baby food. Aim for about 1 1/2 cups of mashed banana.
- Add the sugars and butter. Pour the slightly cooled brown butter into the bowl with the mashed bananas. Add the 3/4 cup granulated sugar and 1/4 cup brown sugar. Stir everything together with your wooden spoon until well combined. The mixture will look a bit grainy—that’s fine.
- Add the eggs and vanilla. Crack the 2 room-temperature eggs into the bowl. Add the 1 teaspoon of vanilla extract. Stir until the eggs are fully incorporated and the batter looks smooth and glossy. Make sure you scrape the bottom of the bowl—brown butter likes to hide down there.
- Add the dry ingredients. Sprinkle the 1 1/2 cups of flour, 1 teaspoon of baking soda, and 1/2 teaspoon of salt over the wet mixture. Fold everything together gently with your spatula or wooden spoon. Stop as soon as you don’t see any more streaks of flour. Over-mixing will make your bread tough and dense. A few small lumps are totally fine. If you’re adding chocolate chips or nuts, fold them in at this stage.
- Pour and bake. Scrape the batter into your prepared loaf pan and spread it into an even layer. Bake for 50 to 60 minutes, or until a toothpick inserted into the center comes out clean or with just a few moist crumbs. If the top is browning too quickly (around the 35-minute mark), tent the pan loosely with aluminum foil.
- Cool properly. Let the bread cool in the pan on a wire rack for about 15 minutes. Then use the parchment paper handles to lift it out and transfer it directly to the rack to cool completely. I know it’s tempting to slice into it right away, but letting it cool fully gives you cleaner slices and a better texture. That said, I always sneak a warm slice with butter—it’s practically a requirement.
Cooking Tips & Techniques
Let me save you from some of the mistakes I’ve made. First, the brown butter. I cannot stress this enough—watch it like a hawk. I once got distracted by a phone call and ended up with black butter that smelled like burnt popcorn. The whole kitchen smelled awful for hours. Start with a light-colored pan so you can see the color change. When the butter turns amber and you see brown specks forming, pull it off the heat immediately. Pour it into a cool bowl to stop the cooking process.
Another thing I learned the hard way: don’t over-mix the batter. I know it’s tempting to keep stirring until everything is perfectly smooth, but that develops the gluten and makes your bread tough. You want to fold the flour in gently, just until it disappears. A few streaks of flour are better than a dense, rubbery loaf. Trust me on this one.
For the most even bake, make sure your bananas are at room temperature. Cold bananas can make the batter seize up, especially since we’re using brown butter. If you forgot to take them out of the fridge, microwave them for 10-15 seconds to take the chill off. And here’s a pro tip: if your bananas are too ripe and smell a bit fermented, add 1/4 teaspoon of baking powder along with the baking soda. It helps neutralize any off-flavors.
One more thing—check your baking soda. I know it sounds silly, but old baking soda loses its potency. Drop a little bit into some vinegar; if it fizzes vigorously, you’re good. If it barely bubbles, it’s time for a new box. This is one of those small details that can make or break your bread.
Variations & Adaptations
This recipe is incredibly forgiving, which is why I love it. Here are some ways to make it your own:
- Chocolate Chip Banana Bread: Fold in 1/2 cup of semi-sweet or dark chocolate chips. My kids insist this is the only acceptable version. I won’t argue with them.
- Gluten-Free Version: Substitute the all-purpose flour with a 1:1 gluten-free baking flour blend. I’ve had good luck with King Arthur Measure for Measure. Add an extra tablespoon of milk or yogurt since gluten-free flours tend to absorb more moisture.
- Vegan Adaptation: Replace the eggs with two flax eggs (2 tablespoons ground flaxseed mixed with 6 tablespoons water, let sit for 5 minutes). Use a vegan butter substitute for browning, though note that some vegan butters don’t brown as well. Coconut oil works beautifully here too—just skip the browning step.
- Nutty Crunch: Add 1/2 cup of toasted walnuts or pecans along with the chocolate chips. Toast them first in a dry pan for 3-4 minutes to bring out their flavor. My husband loves this version.
- Spiced Version: Add 1 teaspoon of cinnamon, 1/2 teaspoon of nutmeg, and a pinch of cloves to the flour mixture. It gives the bread a cozy, fall-inspired flavor that’s perfect with a cup of coffee.
- Low-Sugar Option: Reduce the granulated sugar to 1/2 cup and use very ripe bananas. You can also substitute 1/4 cup of the sugar with monk fruit sweetener or stevia blend, though the texture will be slightly different.
I once tried a version with sour cream instead of the brown butter, and while it was moist, it just didn’t have that same depth of flavor. The brown butter really is the hero here. Stick with it, and you’ll see what I mean.
Serving & Storage Suggestions
This banana bread is delicious at any temperature, but I have a strong opinion about how to serve it. Warm it up slightly—about 15 seconds in the microwave—and spread a thin layer of salted butter on top. The contrast between the warm, tender bread and the cool, salty butter is absolutely perfect. My kids eat it plain, but I think the butter takes it to another level.
For a more decadent treat, toast a slice in a buttered skillet until golden on both sides. It gets this crispy exterior while staying soft and moist inside. Drizzle a little honey or maple syrup on top, and you’ve got yourself a dessert-worthy breakfast.
Storage: Wrap the cooled loaf tightly in plastic wrap or aluminum foil and store it at room temperature for up to 4 days. I actually think it tastes better on day two—the flavors have time to meld together, and the texture becomes even more moist. If you live in a humid climate, store it in an airtight container to prevent mold.
Freezing: This bread freezes beautifully. Wrap the cooled loaf tightly in plastic wrap, then a layer of foil, and freeze for up to 3 months. You can also freeze individual slices—just wrap each one in plastic wrap and store them in a freezer bag. When you’re craving a slice, pull one out and microwave it for 20-30 seconds. It tastes almost as good as fresh.
Reheating: For the best texture, reheat slices in a toaster oven or regular oven at 300°F for about 5-7 minutes. The microwave works in a pinch, but it can make the bread a bit gummy. If you’re reheating a whole loaf, wrap it in foil and warm it at 300°F for 10-15 minutes.
Nutritional Information & Benefits
Let’s be real—this is banana bread, not a health food. But it does have some redeeming qualities. Bananas are packed with potassium, vitamin B6, and fiber, which is great for digestion and heart health. The brown butter adds a dose of healthy fats (yes, butter in moderation is fine), and the eggs provide protein to keep you full longer.
Here’s a rough estimate per slice (based on 10 slices):
| Nutrient | Amount |
|---|---|
| Calories | 285 |
| Total Fat | 12g |
| Saturated Fat | 7g |
| Cholesterol | 65mg |
| Sodium | 280mg |
| Total Carbohydrates | 40g |
| Dietary Fiber | 2g |
| Sugars | 22g |
| Protein | 4g |
If you’re watching your sugar intake, you can reduce the sugar to 1/2 cup total and rely on the natural sweetness of very ripe bananas. For a lower-fat option, substitute half the brown butter with unsweetened applesauce—just note that the texture will be slightly more cake-like and less tender.
This recipe contains gluten, dairy, and eggs, so it’s not suitable for those with allergies to those ingredients. But the variations section above has some good alternatives if you need them.
Conclusion
This banana bread has become a staple in our house for a reason. It’s simple enough for a Wednesday afternoon but special enough to bring to a potluck or gift to a neighbor. The brown butter adds that little something extra that makes people ask, “What’s your secret?” And honestly, the best part is how forgiving it is. You can swap ingredients, adjust the sweetness, add whatever mix-ins you have on hand, and it still turns out delicious.
I hope you give this recipe a try, especially on one of those late nights when you’re craving something warm and comforting. Don’t be afraid to make it your own—add chocolate chips, throw in some nuts, or keep it classic. The beauty of this recipe is that it works no matter what.
If you make this banana bread, I’d love to hear about it. Leave a comment below and let me know how it turned out. Did your kids approve? Did you add any fun mix-ins? Share your photos on Pinterest and tag me—I can’t wait to see your creations. Happy baking, friends!
Frequently Asked Questions
Can I use frozen bananas for this recipe?
Absolutely! Thaw them completely and drain off any excess liquid before mashing. Frozen bananas actually work great because they’re even softer and sweeter than fresh ones. Just make sure to pat them dry if they’re overly watery.
Why did my banana bread turn out dry?
This usually happens for one of three reasons: you over-measured the flour (remember to spoon and level it), you over-baked it, or your bananas weren’t ripe enough. Check your bread at the 50-minute mark and use the toothpick test. If it comes out clean, it’s done. Also, make sure your bananas are covered in brown spots—green bananas won’t give you enough moisture.
Can I make this recipe without brown butter?
You can, but it won’t taste the same. The brown butter adds a nutty, caramelized flavor that regular melted butter just can’t replicate. If you’re in a hurry, you can use melted butter, but I really encourage you to take the extra 5 minutes to brown it. It’s worth it.
How do I know when the brown butter is done?
Watch for the butter to turn a deep amber color and develop small brown specks at the bottom of the pan. It will also smell nutty and toasty. The whole process takes about 4-5 minutes over medium heat. As soon as you see those brown specks, pull it off the heat immediately and pour it into a cool bowl to stop it from burning.
Can I double this recipe?
Yes! This recipe doubles beautifully. Just use a larger bowl and bake in two separate loaf pans. You can also bake it in a 10-inch bundt pan—just increase the baking time to 55-65 minutes. If you’re baking both loaves at the same time, rotate the pans halfway through for even baking.
Pin This Recipe!
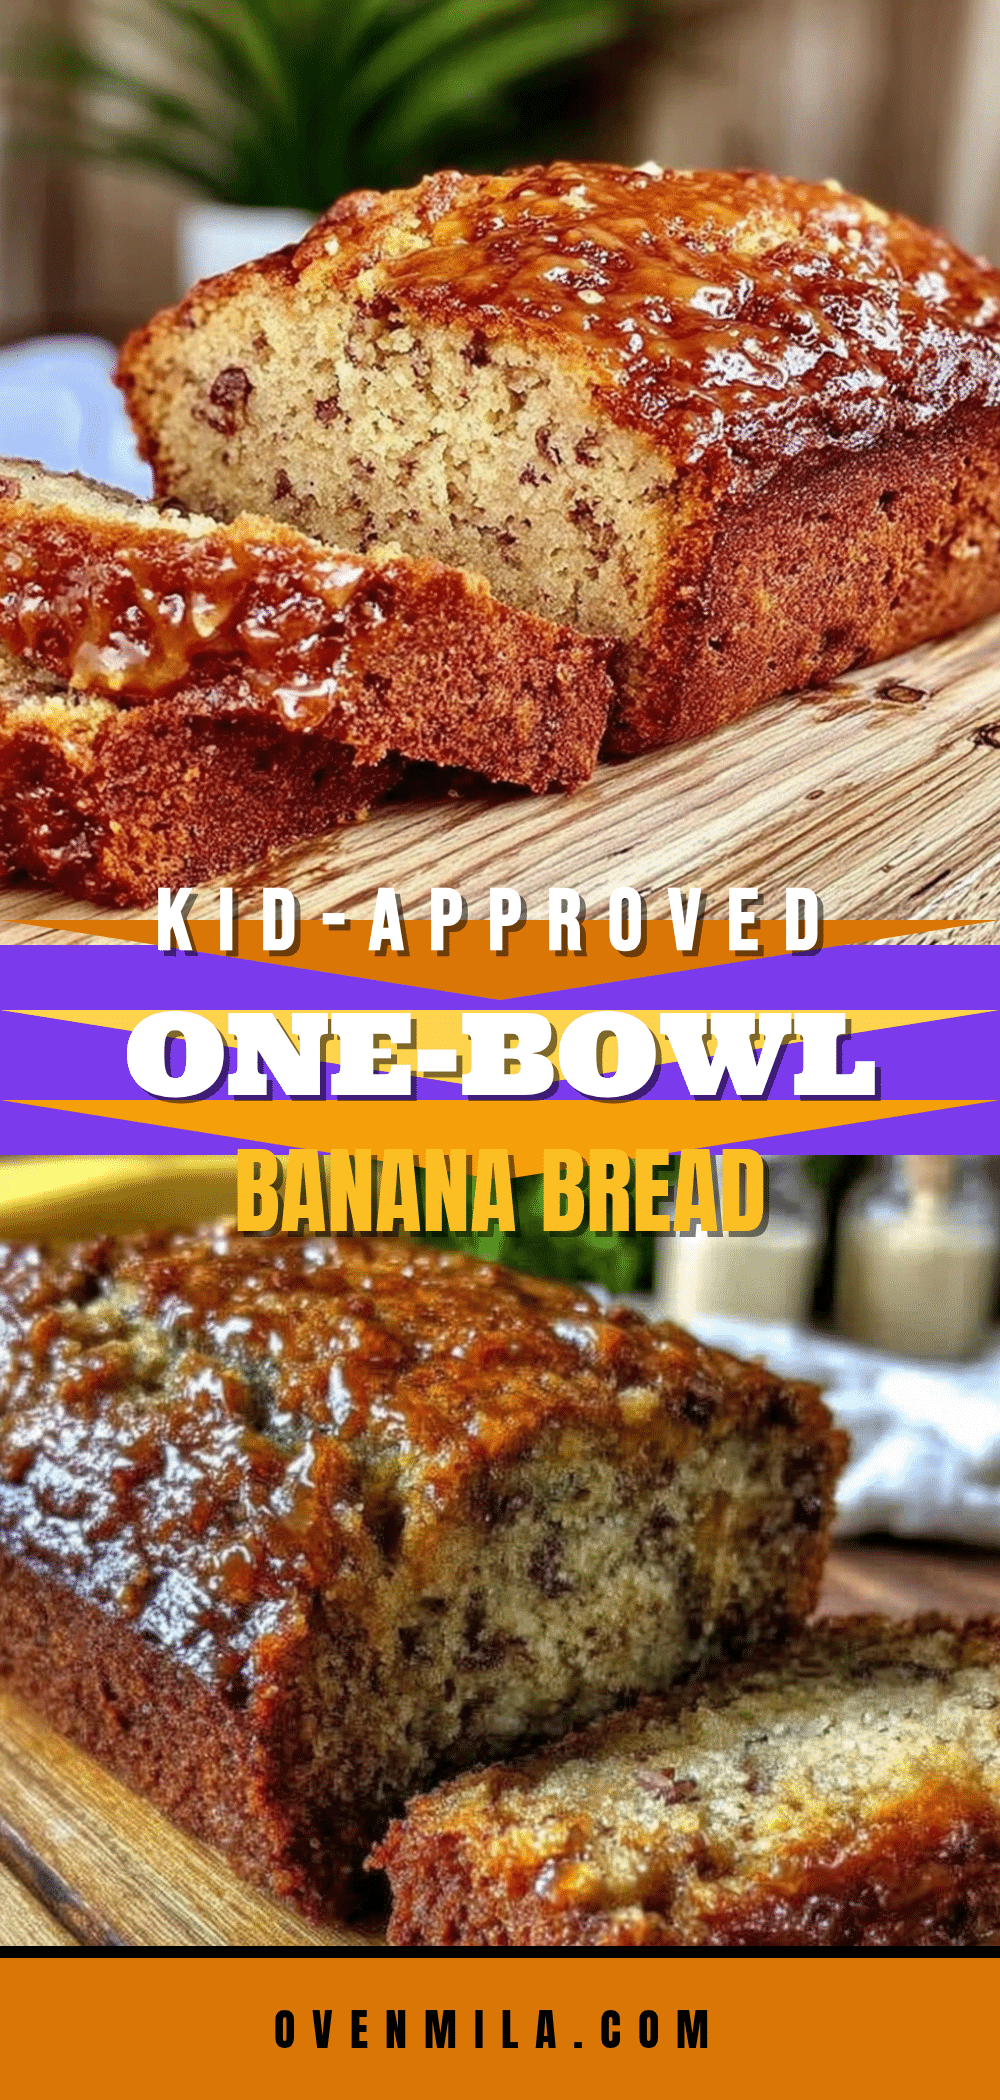
Best Easy One-Bowl Banana Bread with Brown Butter
This one-bowl banana bread uses brown butter for a nutty, caramel-like flavor. It’s simple, affordable, and kid-approved, perfect for a late-night craving or a quick breakfast treat.
- Prep Time: 15 minutes
- Cook Time: 55 minutes
- Total Time: 1 hour 10 minutes
- Yield: 10 servings 1x
- Category: Dessert
- Cuisine: American
Ingredients
- 1/2 cup (1 stick or 113g) unsalted butter
- 3 to 4 ripe bananas, mashed (about 1 1/2 cups or 340g)
- 3/4 cup (150g) granulated sugar
- 1/4 cup (50g) packed light brown sugar
- 2 large eggs, room temperature
- 1 teaspoon vanilla extract
- 1 1/2 cups (190g) all-purpose flour
- 1 teaspoon baking soda
- 1/2 teaspoon salt
- Optional: 1/2 cup (60g) chopped walnuts or chocolate chips
Instructions
- Preheat your oven to 350°F (175°C). Grease a 9×5-inch loaf pan with butter or non-stick spray. Line with parchment paper for easy removal.
- Brown the butter: Place 1/2 cup unsalted butter in a small saucepan over medium heat. Cook, swirling occasionally, until it melts, foams, and turns amber with brown specks (about 4-5 minutes). Remove from heat immediately and pour into a heat-safe bowl to cool for 5 minutes.
- In a large mixing bowl, mash the ripe bananas with a fork until mostly smooth with a few lumps.
- Add the slightly cooled brown butter, granulated sugar, and brown sugar to the bananas. Stir until well combined.
- Add the room-temperature eggs and vanilla extract. Stir until the batter is smooth and glossy.
- Sprinkle the flour, baking soda, and salt over the wet mixture. Fold gently with a spatula or wooden spoon until just combined. Do not over-mix. Fold in optional walnuts or chocolate chips if using.
- Pour the batter into the prepared loaf pan and spread evenly. Bake for 50-60 minutes, or until a toothpick inserted in the center comes out clean or with a few moist crumbs. If the top browns too quickly, tent with foil after 35 minutes.
- Let the bread cool in the pan on a wire rack for 15 minutes. Then lift it out using the parchment paper and cool completely on the rack before slicing.
Notes
For best results, use very ripe bananas with brown spots. Watch the brown butter carefully to avoid burning. Do not over-mix the batter. Store at room temperature for up to 4 days or freeze for up to 3 months.
Nutrition
- Serving Size: 1 slice
- Calories: 285
- Sugar: 22
- Sodium: 280
- Fat: 12
- Saturated Fat: 7
- Carbohydrates: 40
- Fiber: 2
- Protein: 4
Keywords: banana bread, brown butter, one bowl, easy, kid-friendly, freezer-friendly


