Introduction
My neighbor, a guy named Leo who once tried to grill a frozen pizza, asked why I couldn’t just skip the roux and dump all the cheese straight into the milk. I started to explain why that wouldn’t work—something about fat ratios and starch activation and the fundamental laws of cheese sauce physics. Then I stopped. Honestly? I had no good reason. I’d just always done it that way because that’s how my grandmother did it, and her grandmother before her, probably back to the invention of butter.
So, on a random Tuesday—the day before a potluck I was hosting—I tried it his way. I melted butter, poured in the milk, and then, against every instinct in my body, I tossed in all three cheeses at once. No flour. No whisking until my arm hurt. Just cheese and milk and heat. I stood there waiting for it to separate into a greasy, stringy mess. But it didn’t. It melted into this silky, glorious pool of liquid gold that coated the back of a spoon like a dream. I actually laughed out loud. Leo, from his porch, yelled, “Told you.”
That potluck changed things. The dish I brought—this three-cheese baked mac and cheese—disappeared in fifteen minutes. People asked for the recipe. I had to write it down on a napkin for my friend Sarah. And every time I make it, I think about how the best cooking lesson I ever got came from a guy who thought you could grill a frozen pizza. Maybe you’ve been there—stuck in a habit, certain there’s only one way, only to find out the shortcut is actually the secret. That’s this recipe. It’s the one that taught me to trust the process, even when the process looks suspiciously easy.
Why You’ll Love This Recipe
This isn’t just another mac and cheese recipe. It’s the one you’ll pull out when you need to impress a crowd without spending your whole day in the kitchen. I’ve tested this version at least a dozen times—for family dinners, holiday buffets, and casual get-togethers where the food needs to be the star. It works every single time.
- Crowd-Pleaser: This dish gets devoured at every gathering. Kids love the creamy, cheesy texture, and adults appreciate the rich, complex flavor from three different cheeses. I’ve seen people go back for thirds.
- Simple Ingredients: No fancy grocery store trips. You likely have most of these items in your kitchen right now. The cheeses are all common varieties you can find at any supermarket.
- Make-Ahead Friendly: Perfect for hosting. You can assemble this dish the night before your party, pop it in the fridge, and bake it right before guests arrive. That’s a game-changer when you’re juggling appetizers and drinks.
- Unbelievably Creamy: The combination of sharp cheddar, creamy gouda, and nutty parmesan creates a sauce that’s silky, rich, and absolutely irresistible. No gritty texture here—just smooth, velvety goodness.
- Perfect for Potlucks: This mac and cheese travels well, holds its heat, and tastes just as good at room temperature. It’s the dish that always gets the empty pan returned to you.
What makes this recipe different from the rest? It’s the no-roux method. Most baked mac and cheese recipes start with a complicated flour-and-butter base that can easily go wrong. This one skips that step entirely, using the natural starch from the pasta and the melting properties of the cheeses to create a sauce that’s foolproof. It’s comfort food at its finest—rich, satisfying, and made with love, not stress.
What Ingredients You Will Need
This recipe relies on simple, high-quality ingredients that work together to create something truly special. The beauty of this dish is that each component plays a specific role, and together they form a perfect, creamy masterpiece.
For the Pasta Base:
- 1 pound (450g) elbow macaroni (or cavatappi, shells, or any short pasta) – I prefer Barilla or De Cecco for their firm texture that holds up well to baking.
- 1 tablespoon salt (for the pasta water) – Don’t skip this! It seasons the pasta from the inside out.
For the Cheese Sauce:
- 4 tablespoons (56g) unsalted butter – I use Land O’Lakes for its consistent quality. Salted butter works too, just reduce the added salt later.
- 2 cups (480ml) whole milk – Full-fat milk is key here for maximum creaminess. You can use 2% in a pinch, but the sauce won’t be as rich.
- 2 cups (224g) sharp cheddar cheese, shredded – Look for a good-quality block and shred it yourself. Pre-shredded cheese contains anti-caking agents that prevent smooth melting.
- 1 cup (112g) smoked gouda cheese, shredded – This adds a subtle smoky depth that makes the dish unforgettable. I love Boar’s Head for its creamy texture.
- 1/2 cup (50g) grated parmesan cheese – Use real parmesan, not the stuff in the green can. Parmigiano-Reggiano is worth the splurge here.
- 1/2 teaspoon garlic powder – Adds a gentle savory note without overwhelming the cheese.
- 1/2 teaspoon onion powder – Rounds out the flavor beautifully.
- 1/4 teaspoon smoked paprika – Optional, but it adds a lovely warmth and color.
- 1/4 teaspoon black pepper – Freshly ground is best.
- 1/2 teaspoon salt (adjust to taste) – Start with less and add more if needed, depending on your cheese’s saltiness.
For the Topping:
- 1 cup (90g) panko breadcrumbs – They give the crispiest, crunchiest topping. Regular breadcrumbs work but won’t be as light.
- 2 tablespoons (28g) unsalted butter, melted – Helps the breadcrumbs brown evenly.
- 1/4 cup (25g) grated parmesan cheese – For an extra cheesy, golden crust.
- Fresh parsley, chopped (for garnish, optional) – Adds a pop of color and freshness.
Equipment Needed
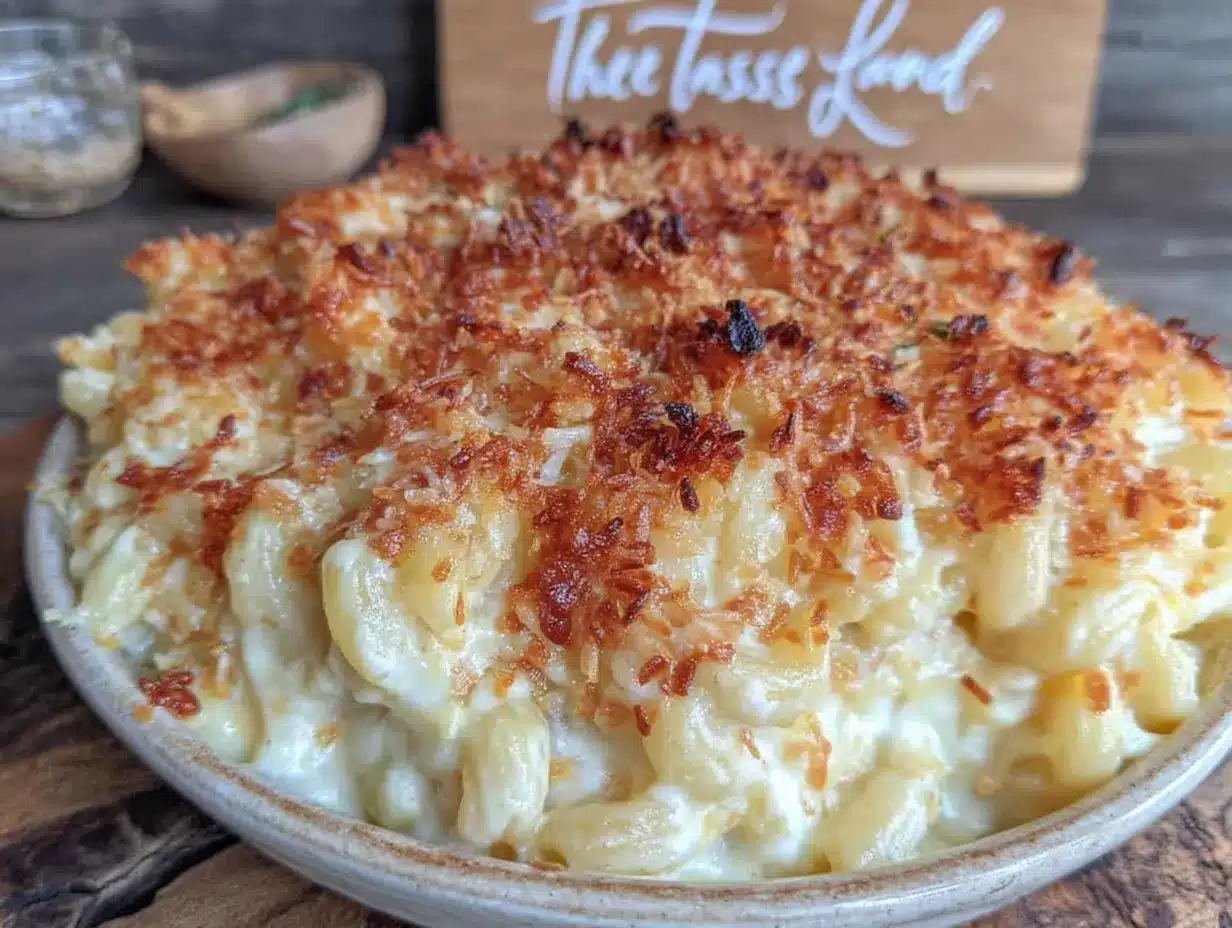
You don’t need a professional kitchen to make this recipe. Here’s what you’ll need:
- Large pot (6-quart or larger) for boiling pasta – I use my trusty Calphalon stockpot. It heats evenly and has plenty of room.
- Large skillet or saucepan for the cheese sauce – A 12-inch skillet with high sides works perfectly.
- 9×13-inch baking dish – This is the standard size for feeding a crowd. A 3-quart dish works too.
- Colander for draining pasta – Nothing fancy needed here.
- Whisk – For stirring the sauce. A silicone whisk won’t scratch your pans.
- Cheese grater – A box grater is fine, but a microplane is amazing for the parmesan.
- Mixing bowls – For combining the breadcrumb topping.
- Measuring cups and spoons – Accuracy matters, especially with the cheese.
- Aluminum foil – For covering the dish during the first part of baking.
If you don’t have a 9×13-inch dish, you can use two 8×8-inch dishes or even a large cast-iron skillet. The baking time might vary slightly, so keep an eye on it. And if you’re short on time, skip the panko topping—the mac and cheese will still be delicious without it.
Preparation Method
Let’s get cooking. This recipe comes together in about an hour, with about 20 minutes of active prep time. Here’s how to do it:
- Preheat your oven to 375°F (190°C). Position a rack in the center of the oven. While it’s heating, fill your large pot with water and bring it to a rolling boil over high heat. Add 1 tablespoon of salt to the water—this seasons the pasta from the inside.
- Cook the pasta. Add the elbow macaroni to the boiling water and cook according to package directions until al dente, usually about 7-8 minutes. You want it slightly undercooked because it will continue cooking in the oven. Drain the pasta in a colander, but don’t rinse it—that starch helps the sauce stick. Set it aside.
- Make the cheese sauce. In a large skillet or saucepan over medium heat, melt the 4 tablespoons of butter. Once it’s fully melted and just starting to bubble, pour in the 2 cups of whole milk. Stir gently with a whisk to combine. Let the mixture come to a gentle simmer—you’ll see small bubbles around the edges, but don’t let it boil vigorously.
- Add the cheeses. Reduce the heat to low. Add the shredded cheddar, smoked gouda, and grated parmesan to the milk mixture. Stir continuously in a figure-eight motion until all the cheese is fully melted and the sauce is smooth. This takes about 3-4 minutes. Be patient—if the heat is too high, the cheese can separate and become grainy.
- Season the sauce. Add the garlic powder, onion powder, smoked paprika, black pepper, and salt. Stir to combine. Taste the sauce—it should be rich, creamy, and well-seasoned. Adjust the salt if needed. The sauce will thicken slightly as it cools.
- Combine pasta and sauce. Pour the cooked, drained pasta into the skillet with the cheese sauce. Use a wooden spoon or spatula to gently fold the pasta into the sauce until every piece is evenly coated. The mixture should look glossy and luxurious.
- Transfer to the baking dish. Pour the mac and cheese mixture into your greased 9×13-inch baking dish. Spread it into an even layer using the back of a spoon. If you’re making this ahead of time, stop here, cover the dish with foil, and refrigerate for up to 24 hours.
- Prepare the topping. In a small bowl, combine the panko breadcrumbs, melted butter, and 1/4 cup of grated parmesan. Mix with a fork until the breadcrumbs are evenly moistened. Sprinkle this mixture evenly over the mac and cheese.
- Bake. Place the dish in the preheated oven, uncovered, and bake for 20-25 minutes, or until the top is golden brown and the edges are bubbling. If the topping is browning too quickly, tent the dish loosely with foil for the last 10 minutes. Let it rest for 5-10 minutes before serving—this allows the sauce to set slightly so it doesn’t run all over the plate.
Cooking Tips & Techniques
Over the years, I’ve made every mistake in the book with mac and cheese. Here’s what I’ve learned so you don’t have to:
Shred your own cheese. I know it’s tempting to buy the pre-shredded bags, but they’re coated with cellulose and potato starch to prevent clumping. That same coating prevents smooth melting. Your sauce will be grainy and less creamy. Spend the extra two minutes shredding a block—it’s worth it.
Don’t overcook the pasta. Al dente is your friend. Mushy pasta turns into a sad, starchy mess in the oven. Cook it about a minute less than the package directions suggest. It will finish cooking while it bakes.
Low and slow for the sauce. When melting the cheese, keep the heat on low. High heat can cause the proteins in the cheese to tighten up and separate from the fat, leaving you with a greasy, stringy sauce. If you see the sauce starting to look oily, remove it from the heat immediately and whisk vigorously.
Let it rest. I know you’re hungry, but letting the mac and cheese sit for 10 minutes after baking is crucial. It gives the sauce time to thicken and set. If you serve it right away, it will be runny and won’t hold its shape. Trust me on this—I’ve made that mistake at more than one dinner party.
Double the recipe for a crowd. This recipe serves about 8-10 people as a main dish. If you’re feeding a large group, double everything and use a larger baking dish or two 9×13-inch pans. The baking time might increase by 5-10 minutes.
Variations & Adaptations
One of the best things about this recipe is how flexible it is. Here are some ways to make it your own:
Add protein. Stir in 2 cups of cooked, shredded rotisserie chicken, crispy bacon bits, or crumbled Italian sausage before baking. I once added leftover pulled pork, and it was incredible—the smoky flavors complemented the gouda perfectly.
Vegetable boost. Fold in 1 cup of steamed broccoli florets, sautéed mushrooms, or roasted cherry tomatoes. My friend Jen adds caramelized onions and thyme, and it’s honestly better than any restaurant version I’ve had.
Spice it up. Add 1/2 teaspoon of cayenne pepper or a diced jalapeño to the cheese sauce for a kick. Or stir in some hot sauce—Cholula or Frank’s RedHot work beautifully.
Gluten-free option. Use gluten-free pasta (I like Barilla’s gluten-free elbows) and gluten-free panko breadcrumbs. The rest of the recipe stays the same—just keep an eye on the pasta cooking time, as gluten-free varieties can go from al dente to mush quickly.
Different cheese combos. Swap the gouda for gruyère for a nuttier flavor, or use Monterey Jack for extra creaminess. You can even use a mix of white cheddar and mozzarella for a milder, stretchier sauce. The possibilities are endless.
Serving & Storage Suggestions
This mac and cheese is a showstopper at any gathering. Here’s how to serve it and keep it at its best:
Serving temperature: Serve it warm, fresh out of the oven, with the top still crispy and the sauce bubbling. Let it rest for 10 minutes before cutting into squares—this makes for cleaner servings and a more impressive presentation.
What to serve alongside: This dish pairs beautifully with roasted vegetables like asparagus or Brussels sprouts, a crisp green salad with vinaigrette, or grilled meats like steak or chicken. For a potluck, I often bring a simple coleslaw on the side—the tangy crunch balances the richness of the mac and cheese.
Storage: Leftovers can be stored in an airtight container in the refrigerator for up to 4 days. The texture will firm up as it cools, but it reheats beautifully. To reheat, add a splash of milk to the mac and cheese, cover it with foil, and warm it in a 350°F oven for 15-20 minutes. You can also microwave individual portions, but the topping won’t stay crispy.
Freezing: This mac and cheese freezes well for up to 3 months. Assemble the dish completely but don’t bake it. Wrap it tightly in plastic wrap and then foil. When you’re ready to bake, thaw it in the refrigerator overnight, then bake as directed, adding 10-15 minutes to the cooking time.
Flavor development: Honestly, this mac and cheese tastes even better the next day. The flavors meld together overnight, and the sauce becomes even creamier. If you’re planning a party, making it a day ahead is a brilliant move.
Nutritional Information & Benefits
Let’s be real—this is comfort food, not health food. But it does offer some nutritional value:
- Estimated per serving (1/8 of recipe): Approximately 480 calories, 24g fat, 45g carbohydrates, 22g protein, 3g fiber, 12g sugar, 680mg sodium.
- Protein power: The combination of cheddar, gouda, and parmesan provides a solid protein boost, making this dish more satisfying than plain pasta.
- Calcium-rich: Cheese is an excellent source of calcium, which supports bone health. One serving provides about 25% of your daily calcium needs.
- Vitamin A: The dairy products in this recipe contribute vitamin A, important for eye health and immune function.
- Dietary considerations: This recipe contains gluten and dairy. For a gluten-free version, use gluten-free pasta and breadcrumbs. For a dairy-free version, substitute with plant-based butter, milk, and cheese alternatives—though the texture and flavor will differ.
I believe in balance. This mac and cheese is a treat, something to enjoy on special occasions or when you need a little comfort. Pair it with a big salad or some roasted veggies, and you’ve got a meal that feels indulgent but still has some nutritional merit.
Conclusion
This three-cheese baked mac and cheese is more than just a recipe—it’s the dish that taught me to question my own assumptions in the kitchen. It’s creamy, cheesy, and topped with a golden, crunchy crust that makes every bite satisfying. Whether you’re hosting a dinner party, bringing a dish to a potluck, or just craving something warm and comforting, this recipe delivers every single time.
I love how forgiving this recipe is. You can tweak the cheeses, add mix-ins, or make it ahead of time, and it still turns out perfect. It’s the kind of dish that makes you look like a hero without breaking a sweat. And honestly, that’s the best kind of recipe to have in your back pocket.
So go ahead—give it a try. Customize it with your favorite add-ins, serve it to the people you love, and watch it disappear. When it does, come back and tell me about it. I’d love to hear how your version turned out, what you added, or how many times your guests went back for seconds. Drop a comment below, share your photos, and let’s keep this mac and cheese conversation going!
Frequently Asked Questions
Can I make this mac and cheese ahead of time?
Absolutely! Assemble the dish completely but don’t bake it. Cover it with foil and refrigerate for up to 24 hours. When you’re ready to bake, add about 10-15 minutes to the baking time since you’re starting from cold.
Why did my cheese sauce turn out grainy?
Grainy sauce usually happens when the heat is too high or the cheese is added too quickly. Always melt cheese over low heat, and add it gradually while stirring constantly. Using pre-shredded cheese can also cause graininess due to the anti-caking agents.
Can I use different types of pasta?
Yes! While elbow macaroni is classic, any short pasta works well. Try cavatappi, shells, rotini, or penne. The key is to choose a shape with nooks and crannies that can hold onto the creamy sauce.
How do I reheat leftovers without drying them out?
Add a splash of milk or cream to the mac and cheese before reheating. Cover it with foil and warm it in a 350°F oven for 15-20 minutes. You can also microwave individual portions with a damp paper towel over the bowl to add moisture.
Can I freeze this mac and cheese?
Yes, it freezes beautifully. Assemble the dish without baking, wrap it tightly in plastic wrap and foil, and freeze for up to 3 months. Thaw overnight in the refrigerator, then bake as directed, adding 10-15 minutes to the cooking time.
Pin This Recipe!
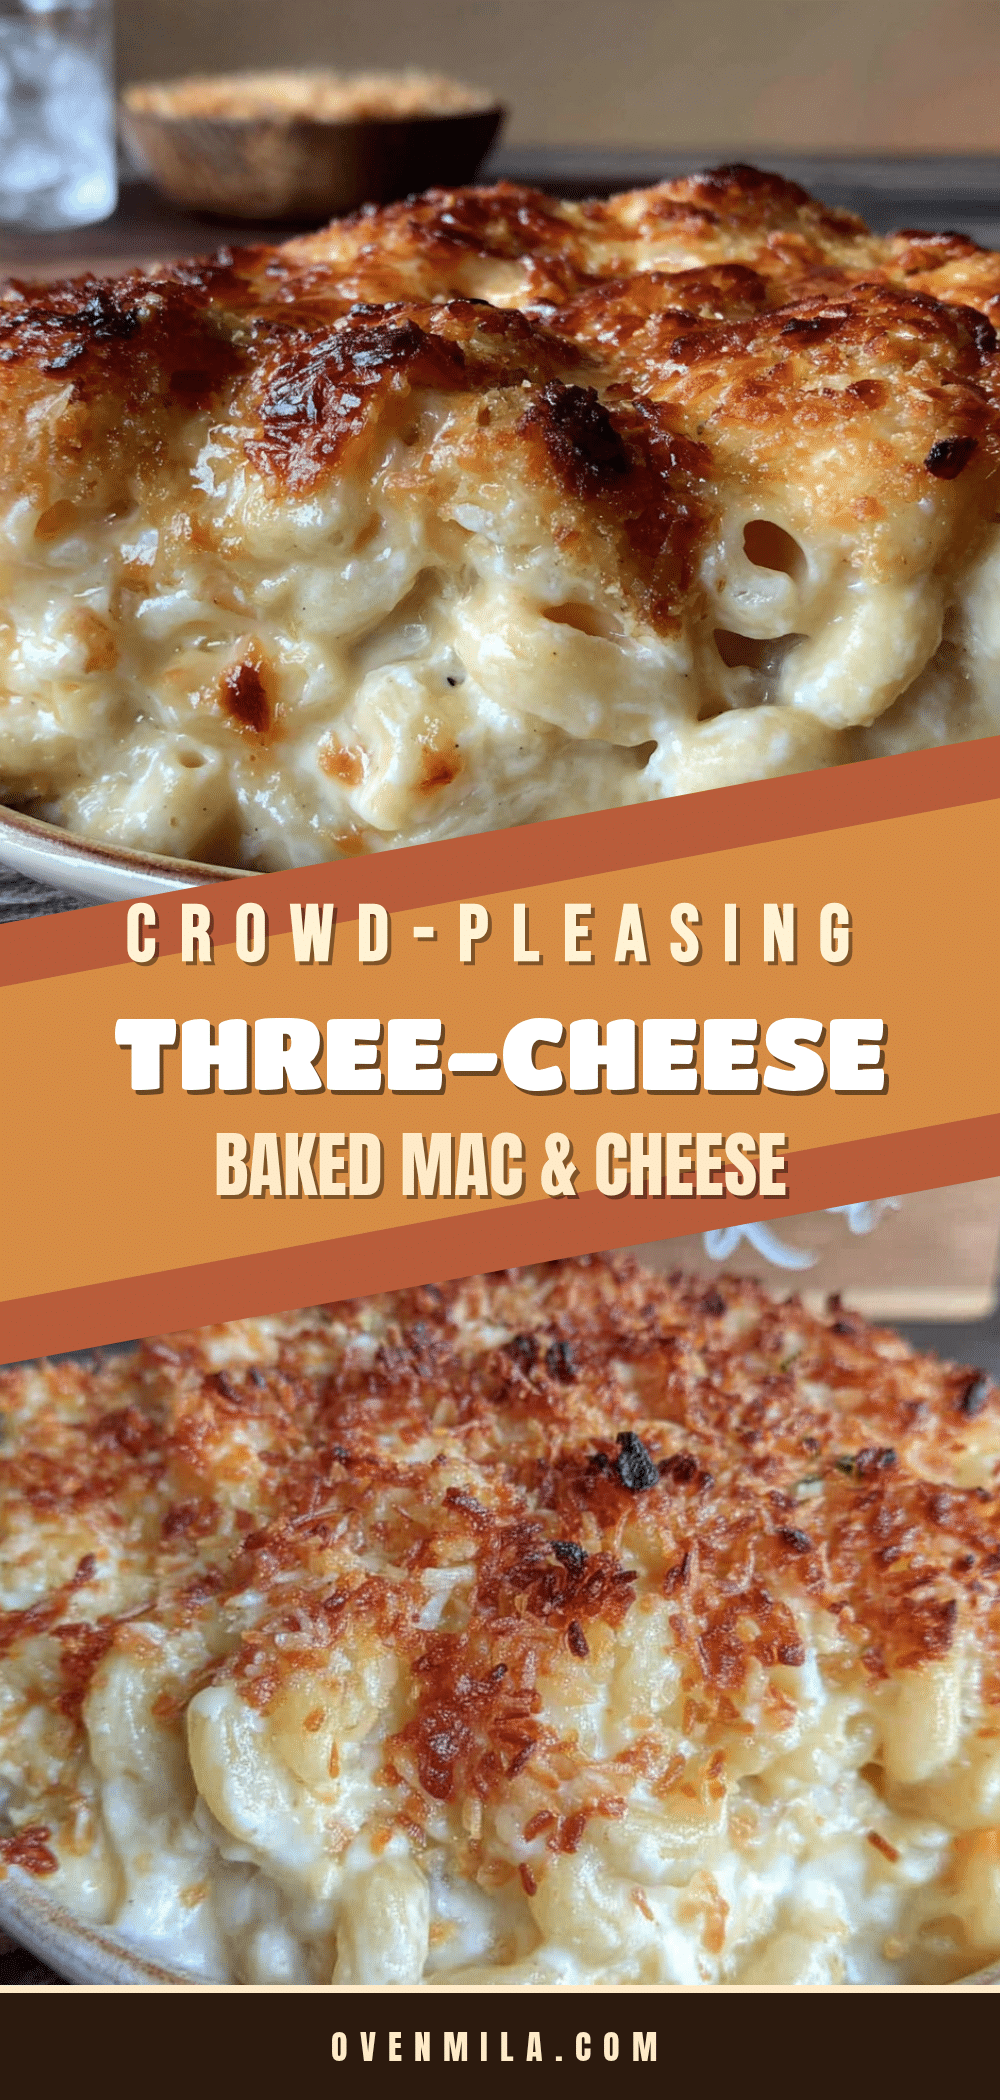
Best Three-Cheese Baked Mac and Cheese: Easy Homemade Recipe
This three-cheese baked mac and cheese is creamy, cheesy, and topped with a golden, crunchy crust. It uses a no-roux method for a foolproof, silky sauce that’s perfect for potlucks, family dinners, or holiday buffets.
- Prep Time: 20 minutes
- Cook Time: 25 minutes
- Total Time: 45 minutes
- Yield: 8-10 servings 1x
- Category: Main Course
- Cuisine: American
Ingredients
- 1 pound (450g) elbow macaroni (or cavatappi, shells, or any short pasta)
- 1 tablespoon salt (for the pasta water)
- 4 tablespoons (56g) unsalted butter
- 2 cups (480ml) whole milk
- 2 cups (224g) sharp cheddar cheese, shredded
- 1 cup (112g) smoked gouda cheese, shredded
- 1/2 cup (50g) grated parmesan cheese
- 1/2 teaspoon garlic powder
- 1/2 teaspoon onion powder
- 1/4 teaspoon smoked paprika (optional)
- 1/4 teaspoon black pepper, freshly ground
- 1/2 teaspoon salt (adjust to taste)
- 1 cup (90g) panko breadcrumbs
- 2 tablespoons (28g) unsalted butter, melted (for topping)
- 1/4 cup (25g) grated parmesan cheese (for topping)
- Fresh parsley, chopped (for garnish, optional)
Instructions
- Preheat your oven to 375°F (190°C). Position a rack in the center of the oven. Fill a large pot with water and bring it to a rolling boil over high heat. Add 1 tablespoon of salt to the water.
- Cook the pasta: Add the elbow macaroni to the boiling water and cook according to package directions until al dente, usually about 7-8 minutes. Drain the pasta in a colander, but don’t rinse it. Set aside.
- Make the cheese sauce: In a large skillet or saucepan over medium heat, melt the 4 tablespoons of butter. Once melted and just starting to bubble, pour in the 2 cups of whole milk. Stir gently with a whisk to combine. Let the mixture come to a gentle simmer.
- Add the cheeses: Reduce the heat to low. Add the shredded cheddar, smoked gouda, and grated parmesan to the milk mixture. Stir continuously in a figure-eight motion until all the cheese is fully melted and the sauce is smooth, about 3-4 minutes.
- Season the sauce: Add the garlic powder, onion powder, smoked paprika, black pepper, and salt. Stir to combine. Taste and adjust salt if needed.
- Combine pasta and sauce: Pour the cooked, drained pasta into the skillet with the cheese sauce. Use a wooden spoon or spatula to gently fold the pasta into the sauce until every piece is evenly coated.
- Transfer to the baking dish: Pour the mac and cheese mixture into a greased 9×13-inch baking dish. Spread it into an even layer. (If making ahead, stop here, cover with foil, and refrigerate for up to 24 hours.)
- Prepare the topping: In a small bowl, combine the panko breadcrumbs, melted butter, and 1/4 cup of grated parmesan. Mix with a fork until the breadcrumbs are evenly moistened. Sprinkle this mixture evenly over the mac and cheese.
- Bake: Place the dish in the preheated oven, uncovered, and bake for 20-25 minutes, or until the top is golden brown and the edges are bubbling. If the topping is browning too quickly, tent the dish loosely with foil for the last 10 minutes. Let it rest for 5-10 minutes before serving.
Notes
Shred your own cheese for the smoothest sauce. Don’t overcook the pasta; cook it al dente as it will continue cooking in the oven. Keep the heat low when melting the cheese to prevent graininess. Let the dish rest for 10 minutes after baking to allow the sauce to set. This recipe can be assembled a day ahead and refrigerated before baking. For a gluten-free version, use gluten-free pasta and panko breadcrumbs.
Nutrition
- Serving Size: 1/8 of recipe
- Calories: 480
- Sugar: 12
- Sodium: 680
- Fat: 24
- Carbohydrates: 45
- Fiber: 3
- Protein: 22
Keywords: baked mac and cheese, three cheese mac and cheese, easy mac and cheese, homemade mac and cheese, creamy mac and cheese, no roux mac and cheese, comfort food, potluck recipe


