Introduction
Someone asked me last week why I couldn’t just toss some dry ice straight into the punch bowl. It was my neighbor, Mark, who was helping me set up for our annual block party Halloween bash. I started to explain why that wouldn’t work—then stopped. Honestly, I’d been so focused on getting the “right” way to do things that I’d forgotten to ask why my way was actually better.
Mark had this look on his face, half hopeful, half ready to be told he was wrong. And I almost did tell him. I had my whole spiel ready about safety and proper techniques and how you’re supposed to handle dry ice with care. But then I thought about it. He wasn’t wrong—you absolutely can put dry ice directly in the punch if you do it right. The trick is using food-grade dry ice and making sure it’s completely submerged so no one accidentally touches it. I felt a little sheepish, honestly. Here I was, the “punch expert,” getting schooled by a guy who just wanted to make sure the kids got a good spooky show.
That moment changed how I approach this whole recipe. I mean, I’d been making witches brew punch for years, but I’d never stopped to think about why I did things a certain way. So I went home that night, tested Mark’s theory with a small batch, and you know what? He was totally right. The punch looked incredible—bubbling and smoking like a real cauldron. I’ve been making it his way ever since, and now I can’t imagine doing it any differently.
This Best Witches Brew Halloween Punch with Dry Ice is the result of that little lesson in humility. It’s the kind of recipe that makes you look like a Halloween hero without all the stress. Maybe you’ve been there too—sticking to the rules so hard you forget to ask if there’s a better way. Well, this punch is proof that sometimes the simplest approach is the most magical.
Why You’ll Love This Recipe
Let me tell you why this punch has become the star of every Halloween party I’ve ever thrown. I’ve tested this recipe more times than I can count, and it never fails to get that gasp of delight when the smoke starts rolling over the edge of the bowl.
- Quick & Easy: Comes together in under 15 minutes, which is a lifesaver when you’re juggling decorations, costumes, and a house full of excited kids.
- Simple Ingredients: No fancy grocery trips needed. You likely already have most of these in your pantry or can grab them on a quick run.
- Perfect for Halloween Parties: Great for trick-or-treaters, adult gatherings, or any spooky celebration where you want to impress without stress.
- Crowd-Pleaser: Kids love the creepy color and bubbling effect, and adults appreciate the balanced, not-too-sweet flavor.
- Unbelievably Delicious: The combination of citrus and berry flavors with a hint of fizz is next-level refreshment.
What makes this recipe different from the rest is the dry ice technique I learned from Mark. Most recipes tell you to use dry ice pellets or chips, but I’ve found that a single large chunk submerged in the punch creates the most dramatic, long-lasting fog effect. It’s not just another Halloween punch—it’s your best version.
This recipe isn’t just good—it is the kind that makes you close your eyes after the first sip. It’s Halloween fun reimagined, with the same spooky satisfaction but way less work. Perfect for impressing guests without stress, or turning a simple gathering into something memorable.
What Ingredients You Will Need
This recipe uses simple, crowd-friendly ingredients to deliver bold flavor and that signature spooky look without the fuss. Most of these are pantry staples or easy to find at any grocery store.
- 6 cups pineapple juice (chilled, not from concentrate if possible—it makes a difference in freshness)
- 4 cups cranberry juice cocktail (I prefer Ocean Spray for consistent tartness)
- 2 cups lemon-lime soda (like Sprite or 7UP, chilled—adds that fizz right before serving)
- 1 cup orange juice (fresh squeezed if you can, but store-bought works fine)
- 1/2 cup lime juice (fresh is best, but bottled works in a pinch)
- 1/4 cup honey or simple syrup (adjust to taste—I use honey for a natural sweetness)
- 1-2 pounds food-grade dry ice (this is the star of the show—get it from a local grocery store or ice supplier)
- Ice ring or large ice cubes (optional, helps keep the punch cold without diluting it too fast)
For the garnish (optional but fun):
- Frozen plastic spiders or creepy eyeballs (make sure they’re food-safe and large enough not to be a choking hazard)
- Fresh mint leaves (adds a nice pop of green against the dark red punch)
- Lime slices (floating in the punch looks like little alien eyes)
I recommend getting your dry ice the same day you plan to serve the punch. It sublimates (turns from solid to gas) pretty quickly, so you want it as fresh as possible. Most grocery stores that carry dry ice will have it in the freezer section or at the customer service desk. Just ask for a block, not pellets—the block lasts longer and creates better fog effects.
For a non-alcoholic version (which this is), you’re all set. If you want to make it adult-friendly, you can add a bottle of vodka or white rum, but honestly, the punch is so good on its own you might not need it.
Equipment Needed
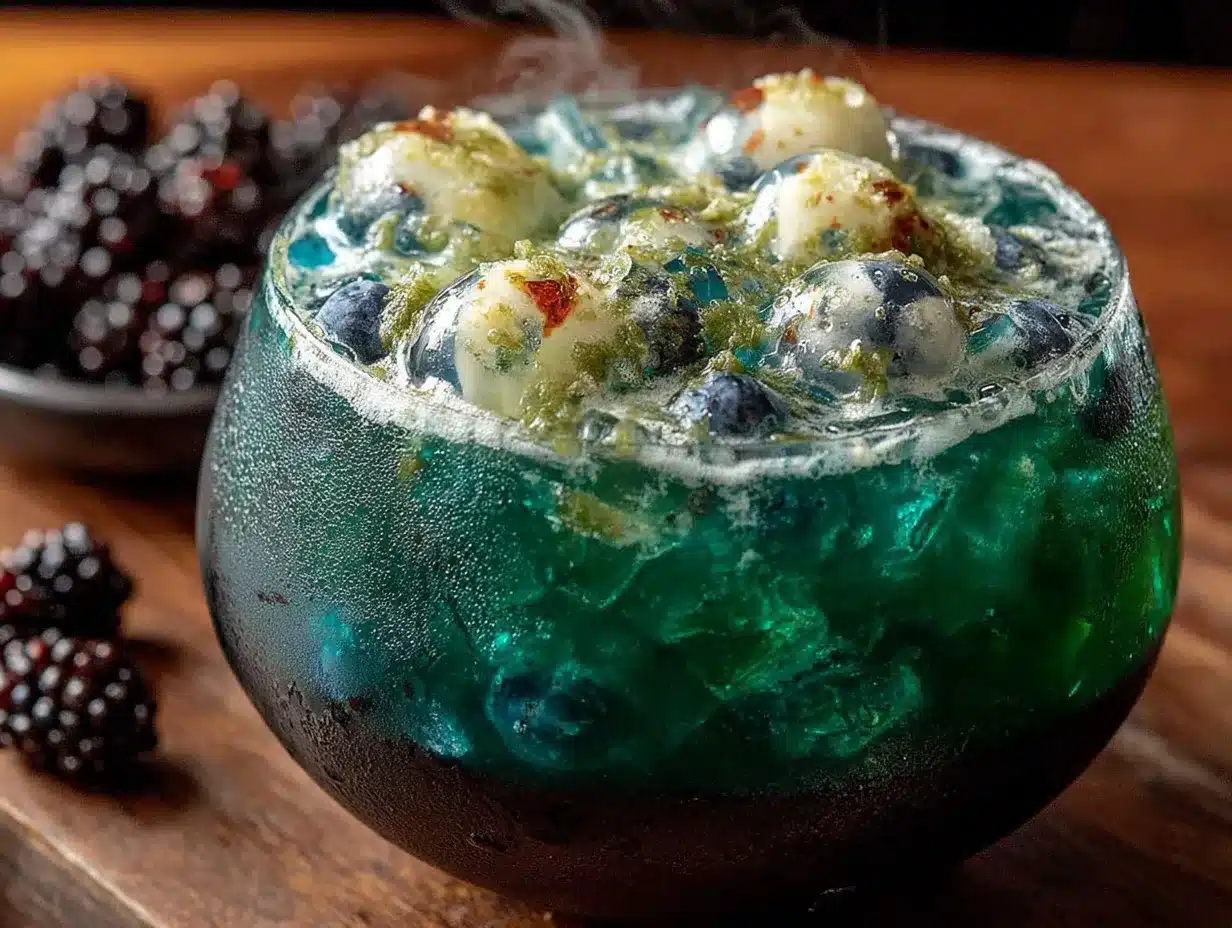
You don’t need much for this recipe, which is part of what makes it so great for hosting. Here’s what you’ll want to have on hand:
- Large punch bowl or cauldron (at least 2-gallon capacity—I use a black plastic cauldron from the party store and it looks amazing)
- Long-handled ladle (metal or plastic, just make sure it’s long enough to reach the bottom)
- Tongs (for handling the dry ice—never touch it with bare hands)
- Thick oven mitts or leather gloves (for safety when handling dry ice)
- Small hammer or mallet (to break the dry ice block into smaller pieces if needed)
- Plastic wrap or a towel (to wrap the dry ice for storage until you’re ready to use it)
If you don’t have a punch bowl, a large glass or plastic bowl works fine. Just make sure it’s not made of thin glass that could crack from the temperature change. I learned that one the hard way—let’s just say there was a lot of punch on my kitchen floor that first time.
For the dry ice, I’ve found that keeping it wrapped in a towel in a cooler works best for storage. Don’t put it in your freezer—it’s way too cold and can damage the freezer’s thermostat. Just keep it in a well-ventilated area until you’re ready to use it.
Preparation Method
Alright, let’s get to the fun part. Follow these steps and you’ll have a punch that’ll have everyone talking.
- Chill your ingredients (at least 2 hours before serving). Put the pineapple juice, cranberry juice, orange juice, and lime juice in the refrigerator. The colder everything is, the better the dry ice effect will work. I usually do this the morning of the party so I don’t forget.
- Prepare your punch bowl (5 minutes). Set your punch bowl or cauldron in a central location where everyone can see it. Make sure it’s on a sturdy table or counter—this punch gets heavy when it’s full. I like to put a black tablecloth underneath to really make the colors pop.
- Mix the base (5 minutes). In a large pitcher or directly in the punch bowl, combine the pineapple juice, cranberry juice, orange juice, and lime juice. Stir gently to combine. Add the honey or simple syrup and stir until dissolved. Taste it—it should be tangy and sweet, not cloying. Adjust if needed.
- Add the soda (right before serving). Just before your guests arrive, pour in the lemon-lime soda. Stir gently—you don’t want to lose all the fizz. This is what gives the punch that lively, bubbly texture.
- Prepare the dry ice (5 minutes). Put on your thick gloves or oven mitts. Using the tongs, take the dry ice block out of its storage. If it’s a large block, wrap it in a clean towel and gently tap it with the hammer to break it into a few smaller pieces. You want pieces about the size of your fist—big enough to last a while, but small enough to submerge completely.
- Add the dry ice (right before serving). Using the tongs, carefully place one or two pieces of dry ice into the punch. Make sure they’re completely submerged—this is crucial for safety and for the best fog effect. The punch will immediately start bubbling and smoking. It looks amazing!
- Garnish and serve (2 minutes). Drop in your frozen plastic spiders or eyeballs if using. Add lime slices and mint leaves for color. Place the ladle in the bowl and let guests serve themselves. Warn everyone not to touch the dry ice—the punch is safe to drink as long as the dry ice stays submerged and you don’t consume any solid pieces.
- Maintain the fog (as needed). The dry ice will last about 30-45 minutes depending on the size of the pieces and the temperature of the punch. When the fog starts to fade, add another piece. I usually keep a few extra pieces wrapped in a towel nearby so I can refresh the effect without running to the kitchen.
Important safety note: Never, ever drink the punch until the dry ice has completely sublimated (disappeared). The bubbles and fog are carbon dioxide gas, which is safe to consume in small amounts, but swallowing a piece of dry ice can cause serious injury. Always warn your guests, especially kids, not to touch or eat the dry ice.
Cooking Tips & Techniques
After making this punch more times than I can count, I’ve picked up a few tricks that make a big difference. Let me share what I’ve learned—including the mistakes.
The biggest mistake I ever made? I once added the dry ice too early, about an hour before guests arrived. By the time everyone showed up, the fog was completely gone and I was left with a lukewarm, flat punch. Learn from my fail—add the dry ice right when people start arriving, or even better, do it as a dramatic reveal.
Temperature matters more than you think. The colder your punch base is, the longer the dry ice will last. I’ve started making an ice ring using some of the punch mixture frozen in a bundt pan. It keeps the punch cold without watering it down like regular ice cubes would. Plus, it looks cool floating in the bowl.
Timing is everything. If you’re hosting a party that lasts several hours, plan to refresh the dry ice every 30-45 minutes. I keep a small cooler with extra dry ice pieces right next to the punch bowl. That way, I can add a new piece without leaving the party. It also becomes a little performance—everyone watches when I drop in a fresh piece and the fog billows up again.
Don’t skip the soda. I tried making this without the lemon-lime soda once because I thought it would save on sugar. Big mistake. The soda adds not just sweetness but also that lively carbonation that makes the punch feel festive. Without it, the drink falls flat—literally and figuratively.
For consistency, use a recipe scale. Well, not literally a scale, but measure your juices carefully. I’ve eyeballed it before and ended up with a punch that was either too tart or too sweet. A standard measuring cup does the trick. Trust me, your guests will notice the difference.
Variations & Adaptations
One of the best things about this punch is how easy it is to customize. Here are some variations I’ve tried and loved.
Adult version: Add 1-2 cups of vodka, white rum, or even a splash of dark rum for a more complex flavor. I’ve also tried it with a bottle of red wine (yes, really) and it turned into a sort of sangria-meets-punch hybrid that was a hit with the grown-ups. Just remember to adjust the sweetness if you add alcohol—a little extra honey or simple syrup helps balance things out.
Non-carbonated version: If you don’t have lemon-lime soda on hand, you can use ginger ale or even just sparkling water. I’ve also made it with club soda and a splash of vanilla extract for a creamier, more root-beer-like flavor. It’s different, but surprisingly good.
Berry blast version: Swap the cranberry juice for a mixed berry juice blend. Add a handful of frozen blueberries or raspberries to the punch bowl—they’ll float around and look like little creepy eyeballs. I did this for a kids’ Halloween party and they went crazy for it.
Citrus punch version: If you want a brighter, more tart flavor, increase the lime juice and add a few slices of fresh ginger to the punch base. Let it steep for about 30 minutes before serving. The ginger adds a nice warmth that cuts through the sweetness.
Dairy-free option: This recipe is already dairy-free, so you’re good there. But if you want a creamier version, you can add a can of coconut milk. It turns the punch a pale, swampy green color that’s perfect for Halloween. Just shake the can well before adding.
My personal favorite variation? I once made a “blood orange” version by using blood orange juice instead of regular orange juice. The color was incredible—deep red with almost purple undertones. It looked exactly like something a witch would brew. I served it at a Halloween party and people kept asking if I’d added food coloring. Nope, just good old blood oranges.
Serving & Storage Suggestions
This punch is best served immediately after adding the dry ice, but there are a few things you can do ahead of time to make hosting easier.
Serving temperature: Serve the punch cold, straight from the bowl. The dry ice will keep it chilled for about 30-45 minutes. If you’re using an ice ring, it’ll stay cold even longer. I like to set out small glasses or cups so guests can help themselves. For a fun touch, use plastic cauldron cups or skull-shaped cups—they’re cheap and add to the theme.
What to serve alongside: This punch pairs well with finger foods that aren’t too sweet. Think pretzels, popcorn, cheese platters, or even mini sliders. The tartness of the punch cuts through salty snacks perfectly. I always put out a bowl of salted popcorn and watch it disappear.
Storage: If you have leftover punch (unlikely, but possible), remove any dry ice pieces first—never store dry ice in a sealed container. Pour the punch into a pitcher and refrigerate. It’ll keep for 2-3 days. The carbonation will fade, but the flavor will still be good. Just give it a stir before serving again.
Reheating: Don’t. This is a cold punch. If you want a warm version, that’s a whole different recipe. But honestly, the cold temperature is part of what makes the dry ice effect work so well.
How flavors develop: The punch actually tastes better after it’s sat in the fridge for a few hours. The flavors meld together and the tartness softens. If you’re making it a day ahead, just hold off on adding the soda and dry ice until right before serving. The base can sit overnight in the fridge and will be even more delicious.
Nutritional Information & Benefits
Let’s be real—this is a treat, not a health drink. But that doesn’t mean it’s all bad news. Here’s a rough breakdown per 8-ounce serving (without alcohol):
- Calories: Approximately 150-180
- Carbohydrates: 38-42g (mostly from natural fruit sugars)
- Sugar: 32-36g (from juices and honey)
- Vitamin C: 60-80% of your daily value (thanks to all that citrus and cranberry juice)
- Hydration: High water content from the juices
Health benefits: The pineapple juice contains bromelain, an enzyme that can help with digestion. Cranberry juice is known for its antioxidant properties and may support urinary tract health. The citrus fruits provide a solid dose of vitamin C, which is always welcome during cold and flu season.
Dietary considerations: This recipe is naturally dairy-free, gluten-free, and vegan (if you use agave instead of honey). It’s also nut-free and egg-free, making it safe for most common allergies. The main concern is sugar content, so if you’re watching your sugar intake, you can reduce the honey or use a sugar-free lemon-lime soda.
Allergens: None of the common allergens are present in this recipe, but always check your specific brands for cross-contamination risks. Some fruit juices may be processed in facilities that handle nuts or dairy.
My personal take: Look, this is a party drink. It’s meant to be fun and festive, not a health supplement. I don’t stress about the sugar content when I’m serving it at a Halloween party because it’s a special occasion. Just enjoy it in moderation and balance it out with water and healthier choices the rest of the night.
Conclusion
So there you have it—the Best Witches Brew Halloween Punch with Dry Ice that’ll make your party unforgettable. I’ve made this for everything from small family gatherings to huge block parties, and it never fails to get that delighted gasp when the fog starts rolling.
What I love most about this recipe is how it brings people together. There’s something magical about watching kids and adults alike gather around the punch bowl, their faces lit up by the bubbling fog. It’s not just a drink—it’s a moment. And honestly, isn’t that what Halloween is all about?
I’d love to hear how yours turns out. Did you add any fun twists? Did your guests love it as much as mine did? Drop a comment below and let me know. And if you’re looking for more Halloween party ideas, check out my Halloween dessert recipes or my spooky appetizer ideas for a full menu that’ll impress everyone.
Go ahead, give it a try. Your inner witch (or wizard) will thank you. Happy Halloween!
Frequently Asked Questions
Can I use dry ice in a plastic punch bowl?
Yes, you can use a plastic punch bowl with dry ice. Just make sure the bowl is thick and sturdy—thin plastic could crack from the extreme cold. I’ve used a plastic cauldron from the party store many times without issues.
How long does the dry ice effect last?
A single piece of dry ice about the size of your fist will last 30-45 minutes in the punch. The colder your punch is, the longer it’ll last. You can refresh the effect by adding another piece when the fog starts to fade.
Is it safe to drink punch with dry ice in it?
Yes, as long as the dry ice is completely submerged and you don’t consume any solid pieces. The bubbles are carbon dioxide gas, which is safe in small amounts. Always warn guests not to touch or eat the dry ice.
Can I make this punch ahead of time?
You can make the punch base (all juices and honey) up to 2 days ahead and store it in the refrigerator. Add the soda and dry ice right before serving for the best effect. The base actually tastes better after it’s sat for a day—the flavors meld together nicely.
What can I use instead of dry ice?
If you can’t get dry ice, you can use a fog machine or even just regular ice cubes for a non-smoking version. The punch will still taste great and look festive with the creepy garnishes. Or try using a large block of dry ice that you’ve broken into smaller pieces—it’s the most dramatic option.
Pin This Recipe!
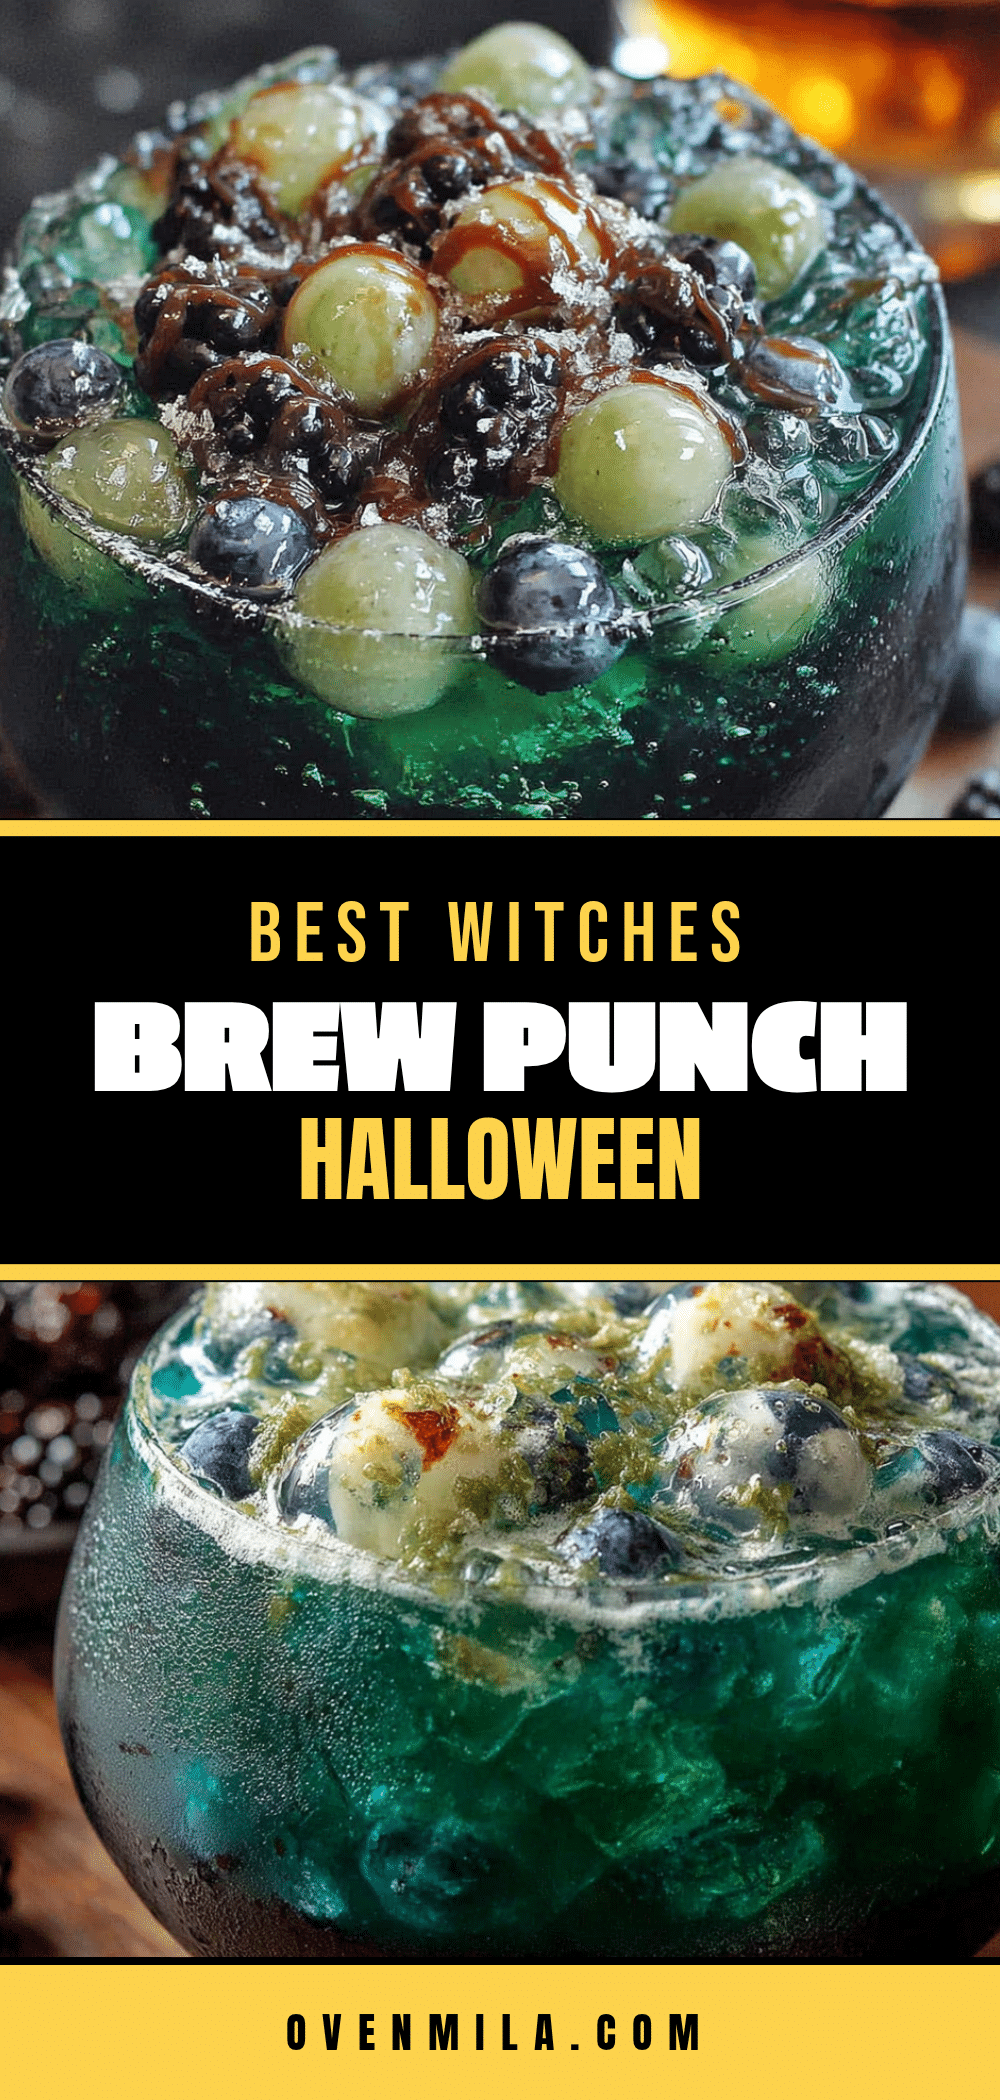
Best Witches Brew Halloween Punch Recipe with Dry Ice
A spooky, bubbling Halloween punch made with pineapple, cranberry, and citrus juices, plus dry ice for a dramatic fog effect. Quick to prepare and perfect for parties.
- Prep Time: 15 minutes
- Cook Time: 0 minutes
- Total Time: 15 minutes
- Yield: 16 servings 1x
- Category: Beverage
- Cuisine: American
Ingredients
- 6 cups pineapple juice (chilled)
- 4 cups cranberry juice cocktail
- 2 cups lemon-lime soda (chilled)
- 1 cup orange juice
- 1/2 cup lime juice
- 1/4 cup honey or simple syrup
- 1–2 pounds food-grade dry ice
- Ice ring or large ice cubes (optional)
- Frozen plastic spiders or creepy eyeballs (optional, for garnish)
- Fresh mint leaves (optional, for garnish)
- Lime slices (optional, for garnish)
Instructions
- Chill the pineapple juice, cranberry juice, orange juice, and lime juice in the refrigerator for at least 2 hours before serving.
- Set your punch bowl or cauldron in a central location on a sturdy table.
- In a large pitcher or directly in the punch bowl, combine the chilled pineapple juice, cranberry juice, orange juice, and lime juice. Stir gently.
- Add the honey or simple syrup and stir until dissolved. Taste and adjust sweetness if needed.
- Just before serving, pour in the lemon-lime soda and stir gently to preserve carbonation.
- Put on thick gloves or oven mitts. Using tongs, remove the dry ice block from storage. If needed, wrap it in a clean towel and gently tap with a hammer to break into fist-sized pieces.
- Using tongs, carefully place one or two pieces of dry ice into the punch, ensuring they are completely submerged.
- Add optional garnishes: frozen plastic spiders or eyeballs, lime slices, and fresh mint leaves.
- Place a ladle in the bowl and let guests serve themselves. Warn everyone not to touch or consume the dry ice.
- When the fog fades (after about 30-45 minutes), add another piece of dry ice to refresh the effect.
Notes
Never drink the punch until the dry ice has completely sublimated. Always warn guests, especially children, not to touch or eat the dry ice. For best results, add dry ice right when guests arrive. Keep extra dry ice pieces wrapped in a towel nearby to refresh the fog effect every 30-45 minutes.
Nutrition
- Serving Size: 8 ounces
- Calories: 165
- Sugar: 34
- Sodium: 15
- Carbohydrates: 40
- Protein: 1
Keywords: Halloween punch, witches brew, dry ice punch, spooky drink, party punch, non-alcoholic punch, Halloween beverage


