My sister-in-law, Rachel, wasn’t trying to impress anyone. I’d stopped by to drop off a casserole dish I’d borrowed and the sight of her kitchen counter hit me before I even sat down. There, spread across a wooden cutting board I’d never noticed before, was the most gorgeous, casual spread of food I’d ever seen. She was slicing a pear with the nonchalance of someone chopping a carrot for a salad, muttering about the price of prosciutto. Honestly, I felt a little starstruck.
She wasn’t hosting a party. It was a Tuesday. The board was just… there. For her and her roommate to pick at while they caught up on a show. She had a pile of sharp cheddar cubes, a little bowl of honey, some crackers that looked fancy but were probably from the discount bin, and a bunch of grapes. It wasn’t a production. It was a snack. But it was the most inviting thing I’d seen all week.
That’s when it clicked. A charcuterie board doesn’t have to be a stressful, expensive centerpiece for a big event. It can be the main event for a casual get-together, especially when you’re trying to feed a bunch of friends without breaking the bank. Maybe you’ve been there, scrolling through photos of elaborate boards thinking, “That’s gorgeous, but I can’t afford that.” I get it. So, I took Rachel’s nonchalant Tuesday night energy and turned it into a plan for a Budget-Friendly Friendsgiving Charcuterie Board with Fall Fruit. It’s the kind of spread that looks like you spent a fortune, but your wallet knows the truth.
Why You’ll Love This Recipe
This isn’t your average cheese board. It’s a strategy. A way to feed a hungry crowd of friends with a gorgeous spread that feels festive and fancy, all while sticking to a budget that won’t make you wince. I’ve tested this approach at my own Friendsgiving for the last three years, and it’s become the thing everyone asks for. Here’s why it works so well:
- Easy on the Wallet: We’re using smart swaps and seasonal produce to get the most bang for your buck. No one needs to know that cheese was on sale or that you hit up the bulk bins.
- Simple Ingredients, Big Flavor: You don’t need imported prosciutto or a wheel of aged gouda. Simple, good-quality cheddar, a log of goat cheese, and crisp fall fruit do all the heavy lifting.
- Perfect for Friendsgiving: This board is the ultimate communal meal. Everyone can grab what they like, it encourages conversation, and it’s way less stressful than cooking a full turkey dinner for a crowd.
- Crowd-Pleaser Guaranteed: There’s something for everyone—savory, sweet, crunchy, creamy. It’s the kind of spread that disappears in minutes, with people coming back for “just one more bite.”
- Unbelievably Beautiful: The colors of fall fruit—crimson apples, deep purple figs, golden pears—make this board a visual stunner. It looks like a masterpiece, but it’s really just a matter of good arranging.
This recipe is different because it’s built on a foundation of resourcefulness. It’s not about the most expensive ingredients; it’s about the best combination of textures and flavors. It’s comfort food for a gathering—warm, inviting, and made to be shared without the stress of a huge price tag.
What Ingredients You Will Need
This Budget-Friendly Friendsgiving Charcuterie Board with Fall Fruit uses simple, seasonal ingredients to create a stunning spread. The key is to choose a few really good items rather than a dozen mediocre ones. Here’s what you’ll need to pull it off:
For the Cheese (The Star of the Board):
- Sharp Cheddar (8 oz): A block of good, sharp cheddar is a workhorse. It’s affordable, flavorful, and everyone loves it. Cut it into cubes or slices. (I find the store brand is just as good as the fancy stuff for this).
- Goat Cheese Log (4-5 oz): This adds a creamy, tangy element that’s a perfect contrast to the sharp cheddar and sweet fruit. It’s also surprisingly inexpensive and looks elegant. Let it come to room temperature for easier spreading.
- Smoked Gouda or Havarti (optional, 6 oz): If you can swing it, one “splurge” cheese like smoked gouda adds a whole new layer of flavor. It’s not mandatory, but it’s a nice touch. I often grab a small wedge on sale.
For the Fall Fruit (The Seasonal Magic):
- Honeycrisp or Fuji Apples (2): Their sweetness and crunch hold up beautifully on a board. Slice them just before serving and give them a squeeze of lemon juice to keep them from browning.
- Bosc or Anjou Pears (2): Their firm texture and delicate sweetness are perfect for pairing with cheese. Slice them thin.
- Red or Green Grapes (1 large bunch): Grapes are a budget-friendly crowd-pleaser. They add color and a burst of juice that cleanses the palate between bites.
- Dried Figs or Apricots (1/2 cup): Dried fruit is a concentrated burst of sweetness and a great alternative to fresh figs, which can be pricey. Look for them in the bulk section for the best deal.
For the Savory Bites (The Salty Crunch):
- Genoa Salami or Summer Sausage (8 oz): Skip the expensive prosciutto. A good-quality salami or summer sausage is much more affordable and just as delicious. Slice it into thin rounds or cubes.
- Mixed Olives (1 cup): A jar of mixed olives from the olive bar or a can of black olives adds a briny, savory punch. They’re a must-have for any board.
- Marcona Almonds or Roasted, Salted Almonds (1 cup): Nuts add essential crunch. Marcona almonds are a little special, but regular roasted almonds are perfect. You can also use pecans or walnuts.
For the Carbs (The Vessel):
- Good Crackers (1 box): Choose a sturdy cracker that can hold up to cheese and spreads. Water crackers, whole wheat crackers, or even a baguette sliced thin are all great options.
- Bread or Baguette (1/2 loaf): Slices of a crusty baguette are perfect for the goat cheese and honey combo. Toast them lightly for extra crunch.
For the Finishing Touches (The Glue):
- Honey (for drizzling): A small bowl of honey is a game-changer. Drizzle it over the goat cheese or a slice of apple with cheddar. Trust me.
- Fresh Rosemary or Thyme (for garnish): A few sprigs of fresh herbs add a pop of green and make the board look incredibly professional. It’s a tiny detail with a big impact.
Equipment Needed
You don’t need a lot of fancy tools to build a stunning charcuterie board. Here’s what I use to make it come together:
- A Large Cutting Board or Wooden Board: This is your canvas. A large wooden board, a marble slab, or even a clean baking sheet lined with parchment paper works perfectly. I use a big, inexpensive butcher block I found at a home goods store.
- Small Bowls and Ramekins: You’ll need a few small bowls for the olives, honey, and nuts. They help keep the board organized and prevent wet items from making the crackers soggy.
- Cheese Knives: A small, sharp knife for the hard cheese and a spreader for the goat cheese are helpful. If you don’t have cheese knives, a butter knife works just fine.
- Paring Knife: For slicing the apples, pears, and salami. A sharp knife makes all the difference.
- Cutting Board for Prep: A separate board for slicing your fruit and meat keeps things clean and efficient.
Don’t stress if you don’t have a specific board. A large dinner plate or a sheet pan works in a pinch. The goal is to have a flat surface where you can arrange everything beautifully.
Preparation Method
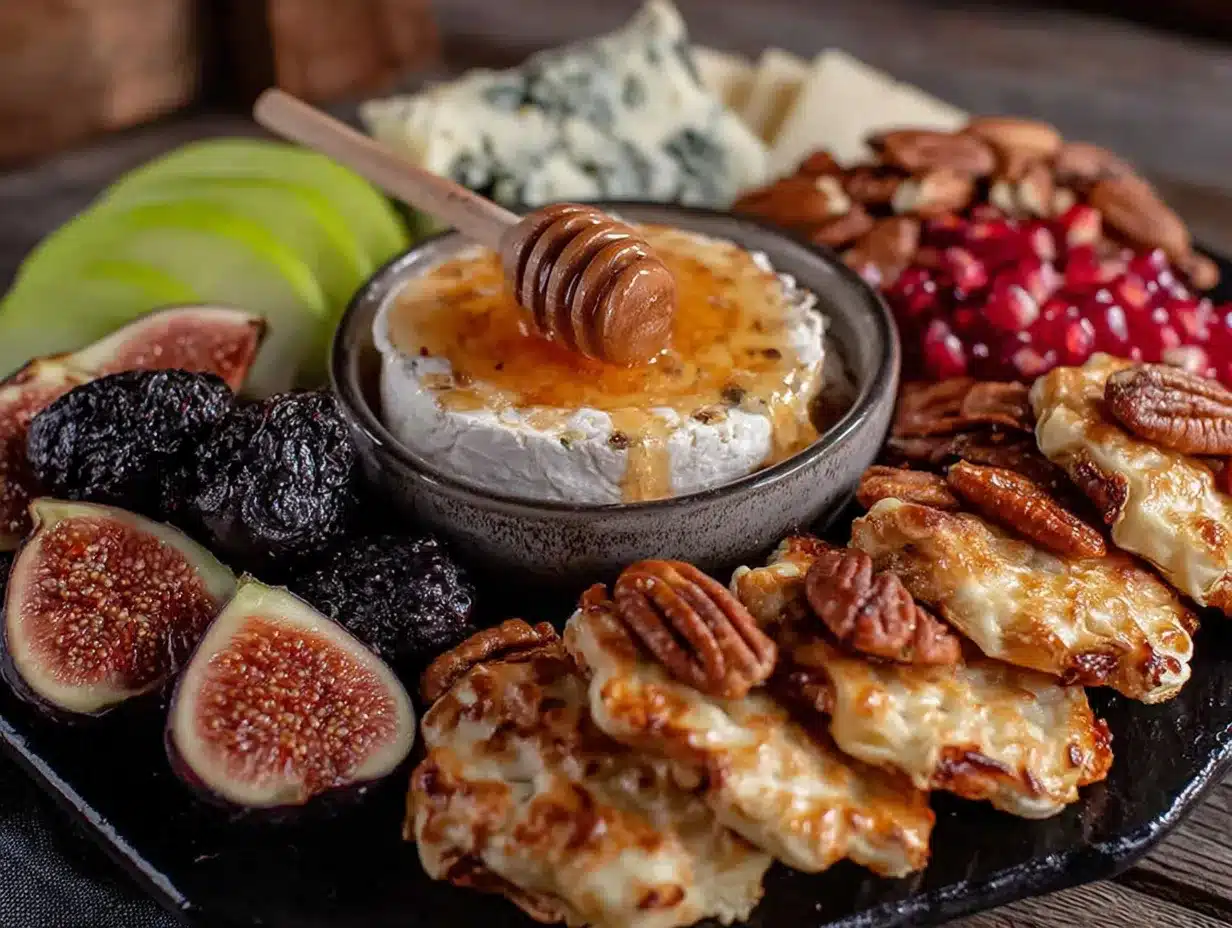
Building this Budget-Friendly Friendsgiving Charcuterie Board with Fall Fruit is more about assembly than actual cooking. It’s a relaxing process, and the payoff is huge. Here’s my step-by-step method to get it right:
- Start with the Bowls (5 minutes): Place your small bowls or ramekins on the board first. This is key! Arrange them in a way that feels balanced—maybe one in the center and two on the sides. Fill one bowl with the honey, one with the mixed olives, and one with the almonds. This sets the anchor points for your design.
- Add the Cheese (5 minutes): Place the blocks of cheddar and the goat cheese log on the board. Don’t put them right next to each other. Space them out so there are different “cheese stations” around the board. Cut the cheddar into cubes or thick slices. The goat cheese can stay whole for people to slice into, or you can pre-slice it into rounds. I like to leave the goat cheese whole with a knife next to it.
- Layer the Meat (3 minutes): Fold or roll your salami slices and place them in a pile or a small fan shape near one of the cheese blocks. The folds create texture and make it look like you put in more effort than you did.
- Add the Fruit (5 minutes): Now, tuck in the grapes, apple slices, pear slices, and dried figs. Scatter them around the board, filling in the gaps between the cheese and meat. Don’t group all the apples together. Spread them out so there’s fruit near every cheese. A squeeze of lemon juice on the apple and pear slices will keep them from turning brown.
- Fill the Gaps with Crackers and Bread (3 minutes): This is the final puzzle piece. Arrange your crackers and baguette slices in the empty spaces. Some can be piled up, others can be fanned out. This is what makes the board look full and abundant.
- Garnish and Drizzle (2 minutes): Sprinkle the fresh rosemary or thyme sprigs over the board. They add a beautiful green contrast. Just before serving, drizzle a little honey over the goat cheese log and maybe a few apple slices. It’s the final touch that makes everything look intentional.
A quick note: The apples and pears will start to brown after a while, so slice them as close to serving time as possible. If you’re prepping ahead, you can slice them and toss them in a bowl of water with a little lemon juice, then drain and pat dry before adding them to the board.
Cooking Tips & Techniques
I’ve made my share of sad, messy boards. It’s a learning process. Here are the tricks I’ve picked up to make this Budget-Friendly Friendsgiving Charcuterie Board with Fall Fruit look like a million bucks without the stress:
- The “Tuck and Fill” Method: Don’t just place items on the board. Tuck them in. Slide a cracker under a piece of cheese. Nestle a fig between two folds of salami. This creates a cohesive, full look where nothing feels lonely. It’s the secret to that “abundant” aesthetic.
- Go for Variety in Texture, Not Quantity: You don’t need five types of cheese. Three is plenty if they offer different textures: a hard cheese (cheddar), a soft cheese (goat cheese), and a semi-soft cheese (gouda or havarti). The same goes for the meat and fruit. A few high-quality, contrasting items are more impressive than a dozen mediocre ones.
- Don’t Be Afraid of the Bulk Bins: This is my number one budget hack. Buy your nuts, dried fruit, and even some crackers from the bulk section of your grocery store. You buy exactly what you need, and it’s almost always cheaper than the pre-packaged versions.
- Prep Everything Before You Start Arranging: Have all your fruit sliced, your cheese cubed, and your salami folded. Once you start placing things on the board, you want to be in a flow state. Stopping to slice an apple mid-arrangement throws off your rhythm.
- Make It Ahead (Sort Of): You can assemble the whole board up to two hours in advance. Just cover it loosely with plastic wrap and keep it in the fridge. Take it out 30 minutes before serving to let the cheese come to room temperature. The only thing I add at the last minute are the apple and pear slices so they stay fresh and crisp.
Variations & Adaptations
One of the best things about a charcuterie board is how flexible it is. This Budget-Friendly Friendsgiving Charcuterie Board with Fall Fruit is a template you can adapt to your own tastes, dietary needs, and what you have on hand. Here are a few ways to switch it up:
- Make It Vegetarian: Simply skip the salami. Load up on extra roasted vegetables (like honey-roasted carrots or balsamic Brussels sprouts), marinated artichoke hearts, and a few more types of cheese. Roasted chickpeas are also a great, crunchy, protein-packed addition.
- Add a Warm Element: For a cozy fall twist, add a small bowl of warm, spiced nuts or a little dish of roasted garlic. A small pot of fig jam or apple butter is another incredible addition that feels extra special.
- Switch Up the Fruit: Not a fan of pears? Use only apples. In late fall, you can add pomegranate seeds for a pop of color and tartness. Sliced persimmons are also a gorgeous and delicious option if you can find them.
- Go Gluten-Free: This is easy. Just swap the crackers and bread for gluten-free crackers, rice cakes, or vegetable sticks like cucumber rounds, bell pepper strips, and endive leaves. The rest of the board is naturally gluten-free.
- Turn It Into Dessert: Swap the salami for dark chocolate squares. Keep the cheese (cheddar and goat cheese are still great), but add some dark chocolate, dried cherries, and a drizzle of balsamic glaze instead of honey. It’s a whole new board!
I once tried a version with a spicy honey drizzle instead of regular honey, and it was a huge hit. It added a little warmth that paired perfectly with the sharp cheddar. Don’t be afraid to experiment!
Serving & Storage Suggestions
This board is best served at room temperature, so plan to take it out of the fridge about 30 minutes before your guests arrive. The cheese will be creamier and more flavorful, and the fruit will taste less cold and muted.
For Serving: Place the board in the center of your table or coffee table. Make sure everyone has a small plate and a napkin. I like to put out a few extra small forks or toothpicks for the olives and dried fruit. Let people know there’s honey for drizzling—it’s a fun, interactive element that people love.
For Storage: Leftovers are a beautiful thing. Separate the components into airtight containers. The cheese, salami, nuts, and dried fruit will keep for several days. The crackers should be stored in a separate bag or container to keep them from getting stale. The fresh fruit (apples and pears) will get soft, so I usually just snack on them or toss them into a salad the next day.
For Reheating: There’s nothing to reheat here. Just enjoy the leftovers cold. The flavors actually meld together overnight. I love making a little leftover board for my own lunch the next day—it’s the best part of hosting.
A word of caution: Don’t leave the board out at room temperature for more than two hours. After that, the cheese and meat should be refrigerated for food safety. It’s a good idea to put out smaller amounts and refresh the board if your party goes long.
Nutritional Information & Benefits
While a charcuterie board is a treat, it can also offer some surprising nutritional benefits thanks to the whole foods involved. Here’s a rough estimate for a serving that includes a little bit of everything (about 1-2 oz cheese, a few slices of meat, a handful of nuts, and some fruit):
- Calories: Approximately 450-550 per serving
- Protein: 20-25 grams (from cheese and salami)
- Healthy Fats: 30-35 grams (from cheese, nuts, and olives)
- Fiber: 5-7 grams (from apples, pears, and nuts)
- Sugar: 15-20 grams (natural sugars from fruit and honey)
Health Benefits: The apples and pears are packed with fiber and vitamin C. Nuts provide healthy monounsaturated fats and vitamin E. Cheese is a great source of calcium and protein. Olives offer healthy fats and antioxidants. This board is a balanced, satisfying meal that provides sustained energy—perfect for a long evening of catching up with friends.
Dietary Considerations: This board is naturally low-carb (if you skip the crackers and bread) and can easily be made gluten-free. It contains dairy and meat, so it’s not vegan or vegetarian as written, but the variations above offer easy swaps. The main allergens are dairy (cheese) and tree nuts (almonds).
I love that this board feels indulgent but is actually made from real, whole foods. It’s a treat you can feel good about sharing.
Conclusion
This Budget-Friendly Friendsgiving Charcuterie Board with Fall Fruit is proof that you don’t need a lot of money or a culinary degree to create something truly special for your friends. It’s about the thought, the arrangement, and the joy of sharing good food with the people you care about. The casual, unpretentious energy from Rachel’s kitchen that day is exactly what this board captures.
I honestly love this recipe because it takes the pressure off. You’re not cooking a complicated meal; you’re curating an experience. The colors of the fruit, the smell of the cheese, the crunch of the nuts—it all comes together to create a moment of warmth and connection. It’s my favorite way to say “thank you” to my friends for being in my life.
So go ahead, grab a board, hit the grocery store with your budget in mind, and make this your own. Swap in your favorite fruit, add a little something you love, and don’t be afraid to get a little messy with the honey drizzle. I’d love to hear how it turns out! Drop a comment below and tell me what you put on your board, or share a photo with me. Happy Friendsgiving, friends! Make it a good one.
Frequently Asked Questions
Can I make this charcuterie board ahead of time?
Yes, you can assemble the entire board up to two hours in advance. Just cover it loosely with plastic wrap and keep it in the fridge. Take it out 30 minutes before serving to let the cheese come to room temperature. Add the sliced apples and pears at the last minute to keep them from browning.
How much food do I need per person for a charcuterie board?
A good rule of thumb is to plan for about 3-4 ounces of cheese, 2-3 ounces of meat, and a generous handful of fruit and nuts per person. This recipe is designed to feed a crowd of 6-8 people as a main meal, or up to 12 as a hearty appetizer.
What are the best budget-friendly cheeses for a board?
Sharp cheddar, a log of goat cheese, and a block of smoked gouda or havarti are excellent budget-friendly choices. They offer great flavor and texture without the high price tag of imported cheeses. Store brands are often just as good as the fancy ones for this purpose.
How do I keep the apple and pear slices from turning brown?
Toss the sliced apples and pears in a bowl of water with a squeeze of fresh lemon juice. Let them sit for a minute or two, then drain them and pat them dry with a paper towel before adding them to the board. The lemon juice slows down the oxidation process.
Can I use this board for a non-Friendsgiving gathering?
Absolutely! This board is perfect for any fall gathering, a game day snack, a casual dinner party, or even a cozy night in. Just swap the “Friendsgiving” theme for whatever occasion you’re celebrating. It’s endlessly versatile.
Pin This Recipe!
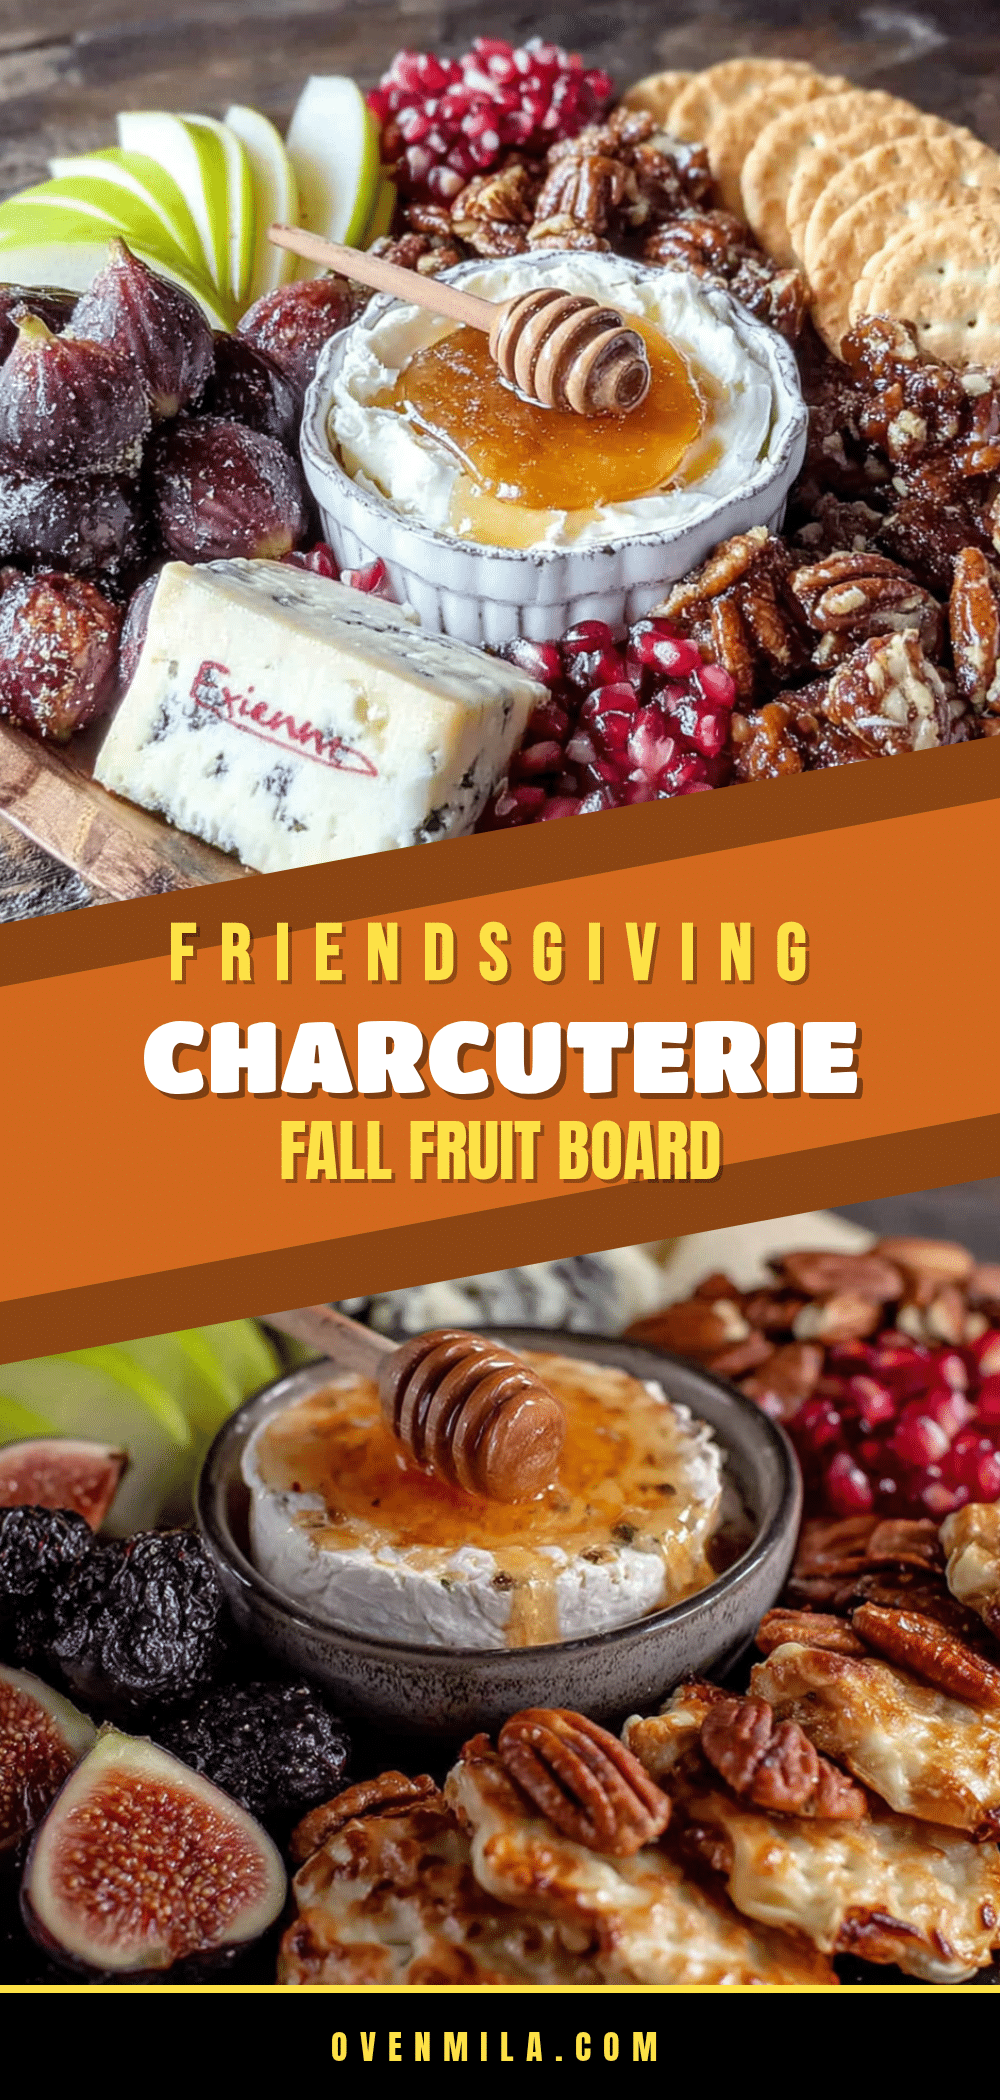
Budget-Friendly Friendsgiving Charcuterie Board with Fall Fruit
A stunning, budget-friendly charcuterie board perfect for Friendsgiving or any fall gathering. Featuring sharp cheddar, creamy goat cheese, seasonal fruit, and savory bites, this easy-to-assemble spread looks like a million bucks without breaking the bank.
- Prep Time: 20 minutes
- Cook Time: 0 minutes
- Total Time: 20 minutes
- Yield: 6-8 servings 1x
- Category: Appetizer
- Cuisine: American
Ingredients
- 8 oz sharp cheddar cheese
- 4–5 oz goat cheese log
- 6 oz smoked gouda or havarti (optional)
- 2 Honeycrisp or Fuji apples
- 2 Bosc or Anjou pears
- 1 large bunch red or green grapes
- 1/2 cup dried figs or apricots
- 8 oz Genoa salami or summer sausage
- 1 cup mixed olives
- 1 cup Marcona almonds or roasted salted almonds
- 1 box good crackers (e.g., water crackers, whole wheat crackers)
- 1/2 loaf bread or baguette
- Honey for drizzling
- Fresh rosemary or thyme for garnish
Instructions
- Place small bowls or ramekins on the board first. Fill one with honey, one with mixed olives, and one with almonds.
- Place blocks of cheddar and goat cheese log on the board, spaced apart. Cut cheddar into cubes or thick slices. Leave goat cheese whole or pre-slice into rounds.
- Fold or roll salami slices and place in a pile or fan shape near one cheese block.
- Tuck grapes, apple slices, pear slices, and dried figs around the board, filling gaps between cheese and meat. Squeeze lemon juice on apple and pear slices to prevent browning.
- Arrange crackers and baguette slices in empty spaces, piling or fanning them out.
- Garnish with fresh rosemary or thyme sprigs. Just before serving, drizzle honey over goat cheese log and a few apple slices.
Notes
Slice apples and pears as close to serving time as possible to prevent browning. If prepping ahead, toss sliced fruit in water with lemon juice, then drain and pat dry. The board can be assembled up to 2 hours in advance; cover loosely with plastic wrap and refrigerate. Remove 30 minutes before serving to bring cheese to room temperature. Leftovers can be stored in airtight containers for several days.
Nutrition
- Serving Size: 1 serving (about 1-2
- Calories: 500
- Sugar: 18
- Sodium: 800
- Fat: 32
- Saturated Fat: 12
- Carbohydrates: 35
- Fiber: 6
- Protein: 22
Keywords: charcuterie board, Friendsgiving, fall fruit, budget-friendly, cheese board, appetizer, party food


