There used to be a tiny café on the corner of Elm and 4th in my old neighborhood called The Gilded Spoon. They made a banana bread that was so deeply caramelized, so impossibly moist, that people would drive across town for it. When they closed—suddenly, with a hand-written sign taped to the door one rainy Tuesday—I felt a real, almost embarrassing sense of loss. I mean, I actually stood there in the rain, staring at that sign, clutching a paper bag I’d brought for my usual loaf.
After twelve tries—twelve! including one that I swear could have been used as a doorstop—I finally got it. The secret, I discovered, wasn’t some fancy mixer or a secret ingredient flown in from abroad. It was browned butter and a wooden spoon. Let me tell you, that first successful bite was a genuine moment. The nutty, toasted flavor of the butter, the tender crumb, the way it made the whole kitchen smell like comfort itself… it was all there. This isn’t just another banana bread recipe. This is the one that brought The Gilded Spoon back to life in my own kitchen, and honestly, maybe you’ve been looking for that exact feeling, too.
Why You’ll Love This Recipe
This isn’t your average banana bread. It’s the result of real kitchen trials, a few happy accidents, and one very determined home cook. I’ve tested this recipe more times than I care to admit, tweaking the butter temperature and the ripeness of the bananas until everything clicked perfectly. Here’s why it’s become my absolute go-to:
- No Mixer Needed: You don’t need a stand mixer or a hand mixer. Just a bowl, a whisk, and a sturdy spatula. It’s almost meditative to make.
- Deep, Nutty Flavor: The browned butter is the star. It adds a toffee-like richness that plain butter just can’t touch. It’s the kind of flavor that makes people ask, “What did you put in this?”
- Perfectly Moist Every Time: The combination of very ripe bananas and the right fat content from the butter creates a crumb that’s tender and stays moist for days—if it lasts that long.
- Simple Pantry Ingredients: You likely have everything you need right now. No trips to a specialty store for hard-to-find flours or extracts.
- Instant Comfort: This is the recipe you make when you need a hug. It’s for a slow Sunday afternoon, a rainy evening, or just because the house felt too quiet. It’s soul-soothing satisfaction in a loaf pan.
This recipe is different because it focuses on one simple technique—browning the butter—to create an exponentially more complex flavor. It’s not about adding more sugar or extra ingredients. It’s about coaxing the absolute best out of what you already have. It’s comfort food, reimagined to be a little bit more sophisticated, but with the same warm, familiar heart.
What Ingredients You Will Need
This recipe uses simple, wholesome ingredients to deliver a bold, nutty flavor and a perfectly tender texture. You’ll be surprised how much magic you can create with a few pantry staples and a little technique. Here’s what you need and why it matters.
- Unsalted Butter (½ cup / 1 stick / 113g): This is the heart of the flavor. We’ll be browning it, which transforms its flavor from creamy to intensely nutty and toasty. I prefer using unsalted so I can control the salt level myself.
- Ripe Bananas (3 medium, about 1 cup / 240g mashed): The riper, the better. You want them to be heavily speckled with brown spots, even mostly brown. This is where the natural sweetness and moisture come from. If they’re not ripe enough, your bread will be less flavorful and more dense.
- All-Purpose Flour (1 ½ cups / 180g): Provides the structure. For the best texture, spoon the flour into your measuring cup and level it off with a knife. Don’t scoop directly from the bag—you’ll pack in too much flour and end up with a dry loaf.
- Granulated Sugar (½ cup / 100g): Adds sweetness and helps create a tender crumb.
- Light Brown Sugar (¼ cup / 50g, packed): Adds moisture and a subtle molasses flavor that pairs beautifully with the browned butter.
- Large Eggs (2, room temperature): They bind the ingredients together and add richness. Let them sit on the counter for 15-20 minutes before starting so they incorporate more smoothly into the batter.
- Plain Yogurt or Sour Cream (¼ cup / 60g): This is my secret for an extra-tender loaf. The acid in the yogurt tenderizes the gluten, resulting in a softer, more delicate crumb. Full-fat is best, but low-fat works too.
- Vanilla Extract (1 teaspoon): Enhances all the other flavors. Use pure vanilla extract if you have it for the best taste.
- Baking Soda (1 teaspoon): Our leavening agent. It reacts with the acid in the yogurt and the bananas to help the bread rise.
- Salt (½ teaspoon): Balances the sweetness and enhances the nutty flavor of the browned butter.
Ingredient Tips: I always use Land O’Lakes unsalted butter for its consistent quality. For the yogurt, I love Fage Total 5% for its thickness, but any plain Greek yogurt will work. If you only have salted butter, reduce the added salt in the recipe to ¼ teaspoon.
Equipment Needed
The beauty of this recipe is that it requires almost no special equipment. Here’s what you’ll need to pull it off:
- Medium Loaf Pan (9×5-inch): This is the standard size. A metal pan will give you a darker, more even crust. Glass or ceramic pans work too, but you may need to bake for 5-10 minutes longer.
- Small Light-Colored Saucepan: A light-colored pan is essential for browning the butter because you can easily see the color change as the milk solids turn golden brown. A dark pan makes it hard to judge.
- Large Mixing Bowl: For combining all your ingredients.
- Wooden Spoon or Sturdy Silicone Spatula: For mixing everything by hand. A whisk is handy for the eggs and sugar, but the final mixing should be done with a spatula to avoid over-mixing.
- Parchment Paper: Lining the pan makes for easy removal and clean-up. If you don’t have it, you can grease the pan thoroughly with butter or non-stick spray.
- Cooling Rack: Essential for letting the bread cool evenly so it doesn’t get a soggy bottom.
If you don’t have a light-colored saucepan, don’t worry! You can use a regular one, just pay close attention to the color and smell of the butter. A cheap, basic metal loaf pan from the grocery store works perfectly—no need for expensive bakeware here.
Preparation Method
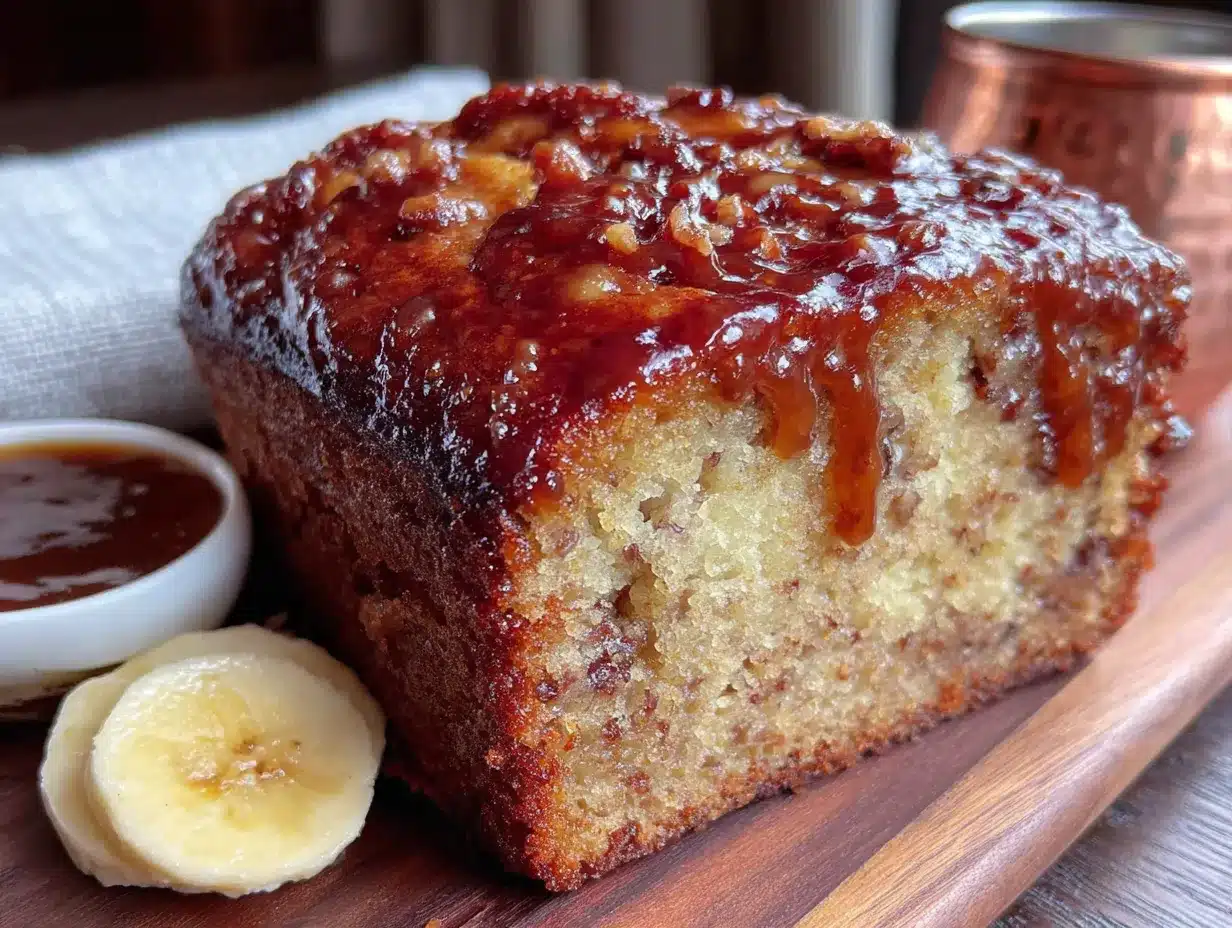
Let’s get to the fun part. This process is straightforward, but paying attention to a few key steps will make all the difference. Take your time, and enjoy the process.
- Preheat and Prep: First, preheat your oven to 350°F (175°C). While it’s heating, line your 9×5-inch loaf pan with a strip of parchment paper, leaving a little overhang on the two long sides. This will create little handles for lifting the bread out later. Set the pan aside.
- Brown the Butter: Place your stick of butter (½ cup) in the small, light-colored saucepan over medium heat. Let it melt completely, then continue cooking, swirling the pan occasionally. First, it will foam up, then it will become quiet, and you’ll see little brown specks forming at the bottom. Keep a close eye on it—it can go from perfectly browned to burnt in seconds. Once it smells nutty and the specks are a warm, golden-brown color, remove it from the heat immediately. Pour the browned butter into a small, heat-safe bowl to stop it from cooking further. Let it cool for 5 minutes.
- Mash the Bananas: In your large mixing bowl, mash the three ripe bananas with a fork until they’re mostly smooth but still have a few small lumps. You want about 1 cup of mashed banana. A little chunkiness is fine—it adds texture to the final bread.
- Mix Wet Ingredients: To the mashed bananas, add the cooled browned butter (make sure to scrape in all those delicious brown bits!), both sugars (granulated and brown), the two room-temperature eggs, the yogurt (or sour cream), and the vanilla extract. Whisk everything together until it’s smooth and well combined. The mixture will look a little glossy.
- Add Dry Ingredients: Sprinkle the flour, baking soda, and salt over the top of the wet mixture. Using your rubber spatula, gently fold the dry ingredients into the wet. Stir just until you see the last streak of flour disappear. Do not over-mix! Over-mixing develops the gluten and will make your banana bread tough. A few small lumps are perfectly okay.
- Bake: Pour the batter into your prepared loaf pan and spread it into an even layer. Give the pan a gentle tap on the counter to release any air bubbles. Bake for 50-60 minutes, or until a toothpick inserted into the center comes out clean or with just a few moist crumbs attached. If the top is getting too dark at the 40-minute mark, loosely tent it with a piece of aluminum foil.
- Cool and Enjoy: Once baked, place the pan on a cooling rack and let it cool in the pan for 15 minutes. Then, use the parchment paper handles to lift the bread out of the pan and transfer it directly to the cooling rack to cool completely. I know it’s tempting, but slicing it while it’s still warm can make it crumble. Patience pays off!
Sensory Cue: When it’s done, the house will smell like a perfect, cozy bakery—all nutty butter and sweet banana. The top of the loaf should be a deep golden brown, and it will feel firm to the touch but spring back slightly when you press it.
Cooking Tips & Techniques
I’ve made this recipe more times than I can count, and I’ve learned a few things the hard way. Here are my best tips to ensure your banana bread is perfect every single time.
- Don’t Walk Away from the Butter: This is the most important tip. Browning butter is a fast process. The moment you see the color change and smell that nutty aroma, pull it off the heat. I once got distracted by a phone call and ended up with black, acrid butter. The whole batch had to be tossed. It was a sad day.
- Room Temperature Eggs are Key: Cold eggs can seize up the butter and create a lumpy batter. If you forget to take them out ahead of time, place them in a bowl of warm (not hot) water for 5 minutes. It works like a charm.
- The “Muffin Method” Works Here: Mixing the wet and dry ingredients separately and then combining them gently is the same technique used for tender muffins. It prevents over-mixing, which is the number one cause of tough, dense banana bread.
- Check for Doneness with a Thermometer: For absolute certainty, an instant-read thermometer is your best friend. The internal temperature of a perfectly baked banana bread should be around 200-205°F (93-96°C). This is a game-changer for avoiding a gummy center.
- Let It Cool Completely: I know, I know. The smell is intoxicating. But cutting into it too early releases all the steam that’s still setting the crumb. It will be gummy and might even collapse. Give it at least an hour on the rack. Your patience will be rewarded with perfect slices.
My biggest failure? I once forgot the sugar entirely. The resulting bread was… an experience. It was a dense, sad, slightly salty brick. It taught me to always, always double-check my ingredients before I start mixing!
Variations & Adaptations
This recipe is a fantastic base for your own creations. Here are a few of my favorite ways to switch it up, depending on my mood or what I have on hand.
- Chocolate Chip Banana Bread: This is my most-requested variation. After you fold in the flour, gently fold in ¾ cup (130g) of semi-sweet or dark chocolate chips. The warm, melted pockets of chocolate against the nutty banana bread are pure bliss.
- Nutty & Crunchy: For a lovely textural contrast, fold in ½ cup (60g) of toasted, chopped walnuts or pecans. Toasting the nuts first in a dry pan for 2-3 minutes really brings out their flavor. You can also sprinkle a few on top of the batter before baking for a pretty finish.
- Gluten-Free Adaptation: I’ve had great success using a 1:1 gluten-free all-purpose flour blend, like Bob’s Red Mill. No other changes are needed. The yogurt and bananas help keep it wonderfully moist, so it doesn’t suffer from the dryness that can plague gluten-free baking.
- Spiced Version: Add 1 teaspoon of ground cinnamon and ¼ teaspoon of ground nutmeg to the flour mixture. It gives the bread a lovely, warming spice profile that’s perfect for fall and winter. A pinch of cardamom is also a fantastic addition.
- Vegan Option: To make this vegan, substitute the butter with a high-quality vegan butter (like Miyoko’s) for browning. Use 2 flax eggs (2 tablespoons ground flaxseed mixed with 6 tablespoons water, let sit for 5 minutes to thicken) in place of the chicken eggs, and use a plant-based yogurt, like coconut or soy yogurt.
I once tried a version with shredded zucchini added in the summer, and it was surprisingly wonderful—it made the bread even more moist. Don’t be afraid to experiment!
Serving & Storage Suggestions
This banana bread is wonderful in so many ways. Here’s how to serve it and keep it at its best.
Serving: It’s absolutely perfect served slightly warm or at room temperature. For a truly decadent treat, toast a thick slice and slather it with a pat of salted butter. The contrast of the warm, toasted bread and the cold, melting butter is incredible. It’s also fantastic with a dollop of Greek yogurt and a drizzle of honey for a quick breakfast.
Storage: To keep your banana bread moist, wrap it tightly in plastic wrap or store it in an airtight container at room temperature. It will stay fresh for up to 4 days. The flavors actually tend to meld and deepen after the first day, so it might taste even better on day two!
Freezing: This bread freezes beautifully. You can freeze the whole loaf, or slice it first and freeze the individual slices. Wrap it tightly in a layer of plastic wrap, then a layer of aluminum foil. It will keep well for up to 3 months. To thaw, just let a slice sit at room temperature for about 30 minutes, or pop it in the toaster directly from frozen.
Reheating: The toaster is your best friend for reviving slices. A quick 2-3 minute toast brings back the crispy edges and warm, soft center. You can also reheat a slice in the microwave for 15-20 seconds, but the texture will be softer and less crisp.
Honestly, I think this bread is even better the next day. The browned butter flavor has had time to fully soak into the crumb, and it becomes incredibly rich and satisfying.
Nutritional Information & Benefits
While this is definitely a treat, it’s made with wholesome ingredients that offer some surprising benefits. Here’s a general overview.
Estimated Nutritional Values (per slice, based on 10 slices):
- Calories: ~280
- Fat: ~14g
- Carbohydrates: ~38g
- Fiber: ~2g
- Sugar: ~20g
- Protein: ~5g
Health Highlights:
- Bananas: Packed with potassium, which is great for heart health and muscle function. They also provide natural sweetness and fiber, which helps with digestion.
- Yogurt: Adds a dose of protein and calcium, and the live cultures can be beneficial for gut health.
- Browned Butter: While still butter, the browning process develops a rich flavor that allows you to use less sugar overall, as the flavor is so satisfying on its own.
Dietary Considerations: This recipe is vegetarian. For gluten-free or vegan options, please see the Variations section above. It does contain dairy (butter, yogurt) and gluten (flour), as well as eggs.
I love that this recipe feels indulgent but is made from real, recognizable ingredients. It’s a treat you can feel good about sharing with your family.
Conclusion
This Cozy No-Mixer Banana Bread with Browned Butter is more than just a recipe—it’s a little piece of happiness you can bake in your own kitchen. It’s the kind of thing that turns a regular Tuesday into something special. The process is simple, the ingredients are humble, but the result is anything but. It’s a warm, nutty, perfectly moist loaf that tastes like it came from a fancy bakery, but it was made by you, with your own two hands and a wooden spoon.
I truly hope you give this recipe a try. Don’t be afraid to make it your own—add chocolate chips, toss in some nuts, or just enjoy it as is. I promise, the first time you smell that browned butter and banana filling your kitchen, you’ll understand why I was so determined to get it right. Please come back and let me know how it turned out! Leave a comment below or tag me in your photos. I can’t wait to hear about your cozy banana bread moments.
Happy baking, friends. You’ve got this.
Frequently Asked Questions
Can I use frozen bananas for this recipe?
Absolutely! Frozen bananas are perfect for banana bread. Thaw them completely, then drain off any excess liquid before mashing. They will be very soft and almost syrupy, which is exactly what you want for maximum moisture and flavor.
Why did my banana bread turn out dry?
The most common reason for dry banana bread is over-mixing the batter. Once you add the flour, mix only until it’s just combined. Another culprit is using too much flour. Make sure you’re spooning it into your measuring cup and leveling it off, not scooping directly from the bag.
Can I make this recipe into muffins?
Yes, definitely! This batter works wonderfully as muffins. Line a 12-cup muffin tin with paper liners and fill each cup about ¾ full. Bake at 350°F (175°C) for 18-22 minutes, or until a toothpick inserted into the center of a muffin comes out clean.
How do I know when my butter is properly browned?
You’re looking for two signs: color and smell. The butter will first melt, then foam, and then you’ll see small, golden-brown specks forming at the bottom of the pan. At the same time, the smell will change from milky to intensely nutty and toasty. As soon as you see and smell that, remove it from the heat.
Can I skip the yogurt or sour cream?
The yogurt or sour cream adds a lot of moisture and tenderness to the crumb. If you don’t have it, you can substitute it with an equal amount of buttermilk or even plain milk. The texture will be slightly less tender, but it will still be delicious. You could also use the same amount of mashed banana, but you’ll need to reduce the sugar slightly as it will be a lot sweeter.
Pin This Recipe!
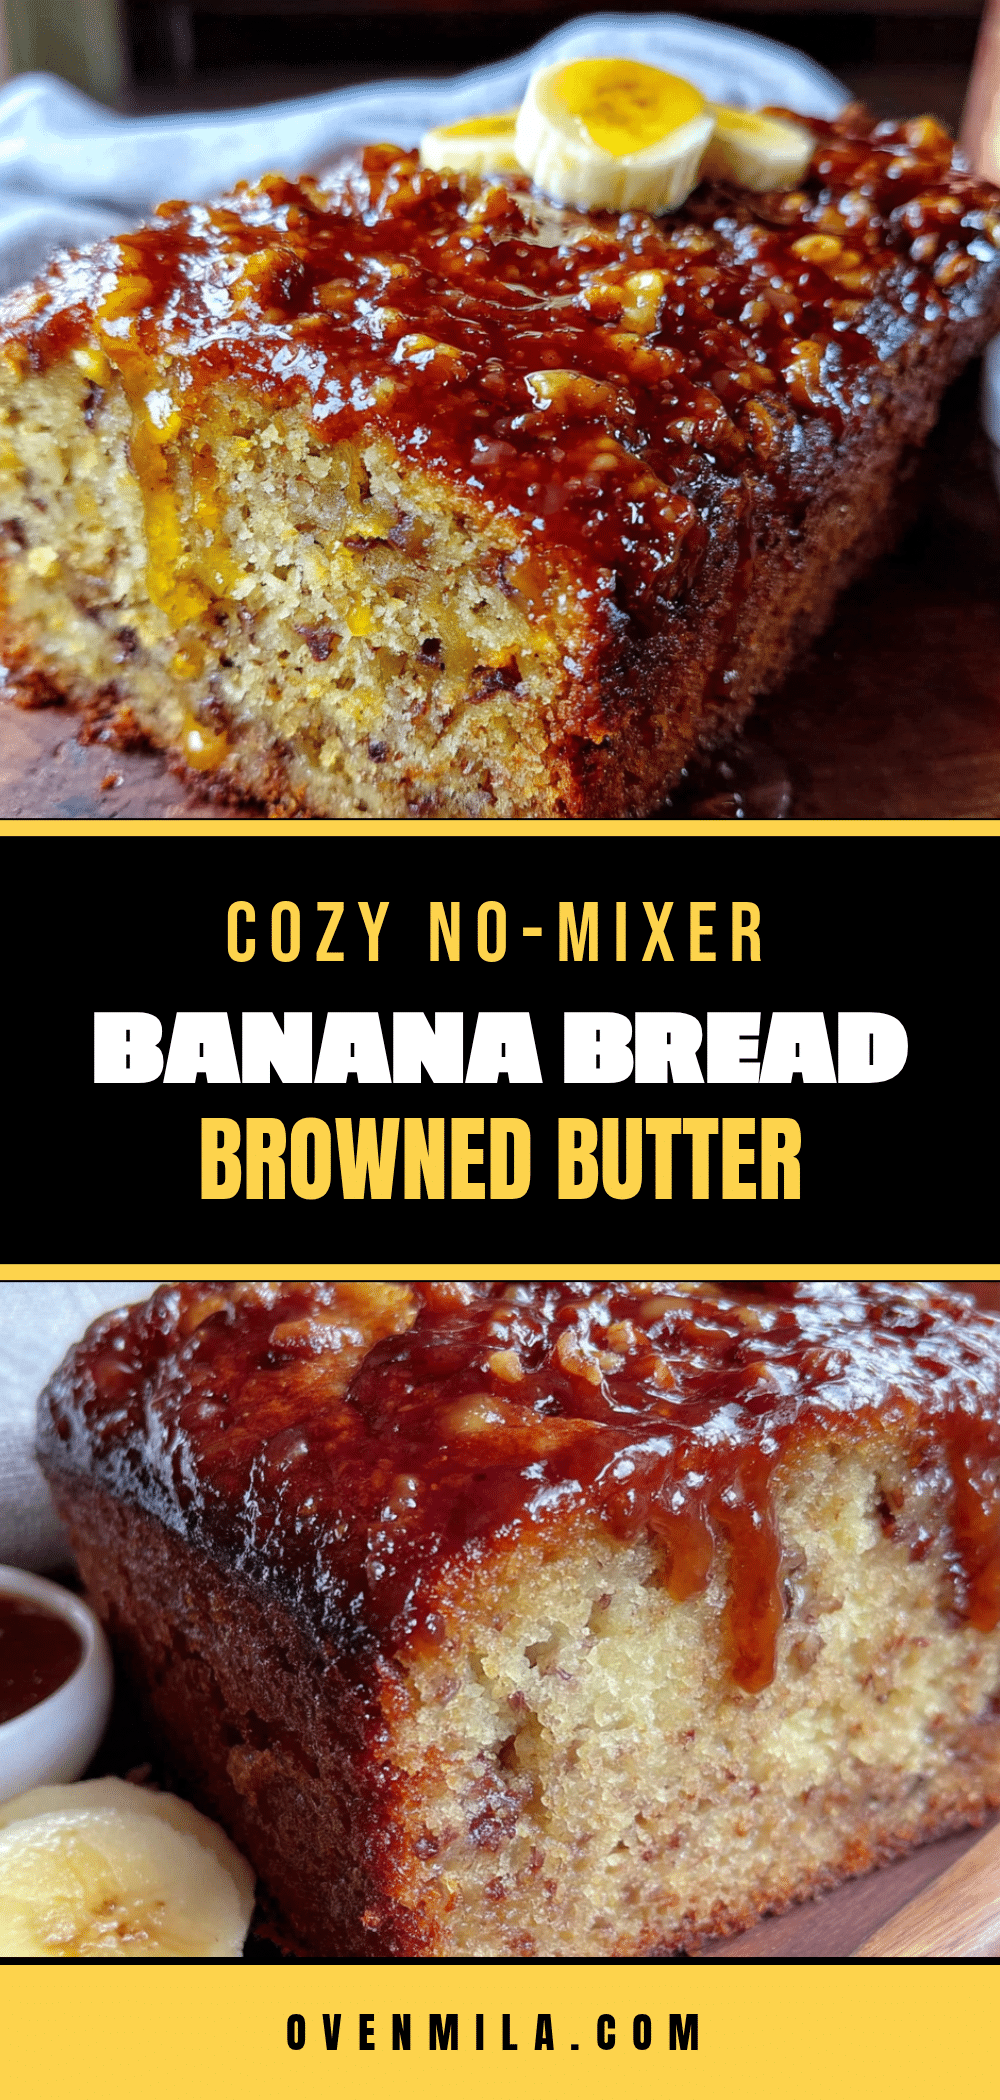
Cozy No-Mixer Banana Bread with Browned Butter
This deeply caramelized, impossibly moist banana bread gets its nutty, toffee-like richness from browned butter. Made with a wooden spoon and simple pantry ingredients, it’s the ultimate comfort food that tastes like it came from a fancy bakery.
- Prep Time: 15 minutes
- Cook Time: 55 minutes
- Total Time: 1 hour 10 minutes
- Yield: 10 servings 1x
- Category: Dessert
- Cuisine: American
Ingredients
- ½ cup (1 stick / 113g) unsalted butter
- 3 medium ripe bananas (about 1 cup / 240g mashed)
- 1 ½ cups (180g) all-purpose flour
- ½ cup (100g) granulated sugar
- ¼ cup (50g) light brown sugar, packed
- 2 large eggs, room temperature
- ¼ cup (60g) plain yogurt or sour cream
- 1 teaspoon vanilla extract
- 1 teaspoon baking soda
- ½ teaspoon salt
Instructions
- Preheat oven to 350°F (175°C). Line a 9×5-inch loaf pan with parchment paper, leaving overhang on the long sides.
- Brown the butter: In a small light-colored saucepan over medium heat, melt the butter. Continue cooking, swirling occasionally, until it foams, then becomes quiet and golden-brown specks form at the bottom. When it smells nutty, remove from heat immediately and pour into a heat-safe bowl. Let cool for 5 minutes.
- In a large mixing bowl, mash the bananas with a fork until mostly smooth with a few lumps.
- Add the cooled browned butter (including all brown bits), granulated sugar, brown sugar, eggs, yogurt/sour cream, and vanilla extract. Whisk until smooth and glossy.
- Sprinkle flour, baking soda, and salt over the wet mixture. Gently fold with a rubber spatula until just combined—do not over-mix. A few lumps are fine.
- Pour batter into prepared pan and spread evenly. Tap pan gently on the counter to release air bubbles.
- Bake for 50-60 minutes, until a toothpick inserted in the center comes out clean or with a few moist crumbs. If top browns too quickly, tent loosely with foil at 40 minutes.
- Cool in pan on a rack for 15 minutes, then lift out using parchment handles and cool completely on the rack before slicing.
Notes
Don’t walk away from the butter while browning—it can burn quickly. Use room temperature eggs for smooth incorporation. For absolute doneness, internal temperature should reach 200-205°F (93-96°C). Let cool completely before slicing to avoid a gummy texture.
Nutrition
- Serving Size: 1 slice
- Calories: 280
- Sugar: 20
- Sodium: 280
- Fat: 14
- Saturated Fat: 8
- Carbohydrates: 38
- Fiber: 2
- Protein: 5
Keywords: banana bread, browned butter, no mixer, easy banana bread, moist banana bread, comfort food, homemade banana bread


