I was standing in the dairy aisle of the grocery store last Wednesday, staring at a block of Gruyère like it held the secrets to the universe, when the smell hit me. It wasn’t the cheese—it was the faint, almost-ghost scent of nutmeg and warm milk, drifting from somewhere. And suddenly I was seven years old, sitting on a wobbly stool at my Aunt Carol’s kitchen counter, watching her grate a mountain of cheddar while the radio played old country songs. She was wearing that faded apron with the sunflower on it, and she kept sneaking me tiny cubes of cheese when she thought no one was looking. I’d forgotten that. I’d forgotten her. Honestly, I’d forgotten the way her kitchen smelled on Thanksgiving morning—a mix of butter, sage, and something deeply cheesy that felt like a hug you could eat.
That memory stopped me right there in the aisle, cart blocking traffic, probably looking like I’d lost my mind. But that’s the thing about food, right? It sneaks up on you. One minute you’re just shopping for dinner, and the next you’re trying to hold onto a feeling that’s already slipping away. Aunt Carol passed a few years back, and her mac and cheese—the one she never wrote down, the one she just made—went with her. Or so I thought. I’ve been trying to recreate that dish ever since, and let me tell you, it’s been a journey of burnt roux and clumpy sauces. But this year, something clicked. Maybe it’s the four cheeses working together, or maybe it’s the fact that I finally stopped trying to copy her and started making it my own.
This baked four-cheese mac and cheese is that memory, reimagined. It’s the dish I’ll be bringing to my sister’s place this Thanksgiving, the one I hope makes people close their eyes after the first bite. And if you’ve got a Thanksgiving table to fill, or just a Tuesday night that needs a little comfort, maybe this is the one for you too.
Why You’ll Love This Recipe
Look, there are a million mac and cheese recipes out there. I’ve tried most of them—the boxed stuff, the ultra-fancy ones with truffle oil, the ones that promise to be “the best ever” and then turn out watery. This one is different. It’s the one I’ve tested and tweaked over three Thanksgivings, and it’s finally where I want it to be. Here’s why you’ll love it:
- Rich, Complex Flavor: Four cheeses—sharp cheddar, creamy Gruyère, nutty Gouda, and a touch of Parmesan—create layers of flavor that a single cheese just can’t deliver. Each bite is a little different.
- Perfectly Creamy, Never Soupy: The secret is a slightly thicker béchamel base and not overcooking the pasta. You get that luscious, velvety sauce that clings to every noodle without turning into a puddle on your plate.
- That Golden, Crunchy Topping: A buttery panko and Parmesan crust gives you the crackly, golden top that everyone fights over. It’s non-negotiable in my book.
- Make-Ahead Friendly: You can assemble this whole dish the day before Thanksgiving and just pop it in the oven while the turkey rests. It’s a lifesaver for holiday stress.
- Crowd-Pleasing Classic: Kids love it, adults love it, and even that picky uncle who “doesn’t like fancy cheese” will go back for seconds. Trust me on this one.
What really sets this recipe apart is the technique. I blend the cheeses into a béchamel that’s seasoned with a whisper of nutmeg and Dijon mustard—two ingredients that don’t scream “cheese” but make the cheese taste more like itself. It’s not just another mac and cheese; it’s the one that makes you pause mid-bite and wonder what’s different. It’s comfort food, yes, but it’s also a little bit of magic on a fork.
What Ingredients You Will Need
This recipe uses simple, wholesome ingredients to deliver bold flavor and satisfying texture without the fuss. Most of these are pantry staples or easy to find at any grocery store, especially around the holidays.
- 1 pound (450g) elbow macaroni – or any short pasta like cavatappi or shells. I prefer Barilla for its sturdy texture, but any brand works. Cook it al dente—it’ll finish cooking in the oven.
- 4 tablespoons (56g) unsalted butter – for the roux. I use Land O’Lakes, but Kerrygold adds a nice richness if you’re feeling fancy.
- 1/4 cup (31g) all-purpose flour – this thickens the béchamel. Use a gluten-free blend if needed, but note the texture may be slightly less creamy.
- 3 cups (710ml) whole milk – whole milk gives the creamiest result. You can use 2%, but avoid skim—it gets watery. For a dairy-free version, try unsweetened oat milk, though it won’t be as rich.
- 1 cup (240ml) heavy cream – this is what makes it extra luxurious. If you’re watching calories, you can use all milk, but you’ll lose some of that velvety texture.
- 2 cups (226g) sharp cheddar cheese, shredded – I recommend Cabot or Tillamook for a sharp, tangy kick. Always shred your own; pre-shredded cheese has anti-caking agents that affect melting.
- 1 cup (113g) Gruyère cheese, shredded – adds a nutty, slightly sweet depth. It melts like a dream.
- 1 cup (113g) Gouda cheese, shredded – use smoked Gouda for a subtle smoky note, or regular for a milder flavor.
- 1/2 cup (50g) Parmesan cheese, freshly grated – for the sauce and the topping. Don’t use the stuff in a green can; it won’t melt properly.
- 1 teaspoon Dijon mustard – sounds weird, I know, but it enhances the cheese flavor without tasting like mustard. Trust the process.
- 1/2 teaspoon ground nutmeg – just a pinch. It adds a warm, cozy note that’s perfect for Thanksgiving.
- 1/2 teaspoon garlic powder – optional, but I love the subtle savory boost.
- 1/2 teaspoon salt, plus more for pasta water – don’t skip salting the pasta water; it’s your only chance to season the noodles themselves.
- 1/4 teaspoon black pepper – freshly ground, please.
- For the Topping:
- 1 cup (100g) panko breadcrumbs – they stay crunchier than regular breadcrumbs. I use Ian’s brand.
- 2 tablespoons (28g) unsalted butter, melted – to toast the panko.
- 1/4 cup (25g) Parmesan cheese, grated – for extra flavor and crunch.
Substitution note: If you can’t find Gruyère, try fontina or Swiss. No Gouda? Use more cheddar. The beauty of this recipe is its flexibility—just keep the total cheese weight the same.
Equipment Needed
You don’t need a ton of fancy tools for this, but a few key items make the process smoother. Here’s what I use:
- Large pot (6-8 quart): For boiling the pasta. I love my enameled cast iron Dutch oven for this, but any large pot works.
- Medium saucepan: For the béchamel sauce. A heavy-bottomed one prevents scorching.
- Whisk: Essential for a lump-free roux. A silicone-coated one won’t scratch your pans.
- Wooden spoon or spatula: For stirring the pasta and sauce together.
- Box grater or food processor: For shredding cheese. I used to buy pre-shredded, but honestly, the texture difference is night and day. A food processor with a grating disc makes it fast.
- 9×13-inch baking dish: A glass or ceramic dish works best. I’ve used a metal one before, and the edges got a bit too dark.
- Mixing bowls: A couple of medium bowls for holding shredded cheese and panko.
- Measuring cups and spoons: For accuracy.
If you don’t have a 9×13 dish, you can use two smaller dishes or even a cast iron skillet. Just adjust the baking time slightly. And pro tip: let the dish sit for 10 minutes after baking—it sets the sauce and makes serving cleaner.
Preparation Method
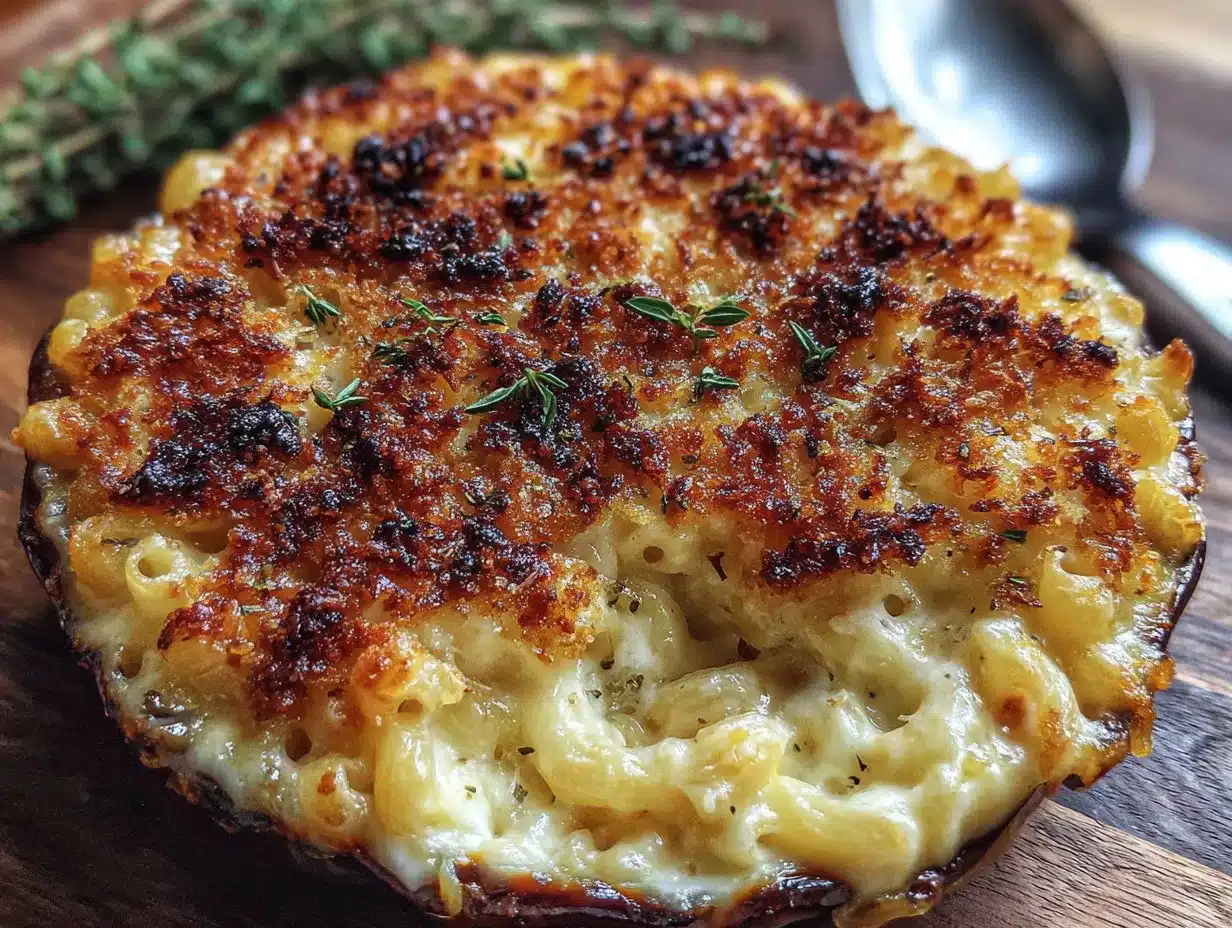
Alright, let’s get cooking. This recipe takes about 45 minutes from start to finish, plus 20 minutes of baking. Here’s how I do it:
- Preheat your oven to 375°F (190°C). While it’s heating, bring a large pot of salted water to a boil. I use about 1 tablespoon of salt per 4 quarts of water—it should taste like the sea.
- Cook the pasta: Add the elbow macaroni and cook according to package directions until al dente, usually about 7-8 minutes. Don’t overcook—it’ll continue cooking in the oven. Drain and set aside. I don’t rinse it; the starch helps the sauce stick.
- Make the béchamel: In a medium saucepan over medium heat, melt the 4 tablespoons of butter. Once it’s foaming, whisk in the flour. Cook for 1-2 minutes, whisking constantly, until the mixture turns a pale golden color and smells nutty. This is your roux.
- Add the milk and cream: Slowly pour in the milk and heavy cream while whisking vigorously to prevent lumps. Keep whisking until the sauce thickens, about 5-7 minutes. It should coat the back of a spoon. If it’s too thick, add a splash more milk.
- Season the sauce: Remove the saucepan from heat. Whisk in the Dijon mustard, nutmeg, garlic powder, salt, and pepper. Taste it—it should be well-seasoned but not salty, since the cheese will add saltiness.
- Melt in the cheeses: Add the shredded cheddar, Gruyère, Gouda, and 1/2 cup of Parmesan to the warm sauce. Whisk until completely melted and smooth. If the sauce seems too thick, don’t worry—the pasta will absorb some moisture in the oven.
- Combine pasta and sauce: Pour the cooked macaroni into a large mixing bowl. Pour the cheese sauce over it and stir gently with a wooden spoon until every noodle is coated. This is the moment where it all comes together—take a second to appreciate the smell.
- Assemble in the baking dish: Transfer the mac and cheese to your greased 9×13-inch baking dish. Spread it evenly with a spatula.
- Make the topping: In a small bowl, mix the panko breadcrumbs with the melted butter and remaining 1/4 cup of Parmesan. Sprinkle this evenly over the top of the mac and cheese. Don’t press it down—you want it to stay crunchy.
- Bake: Place the dish on the middle rack of your preheated oven. Bake for 18-22 minutes, until the sauce is bubbly around the edges and the topping is golden brown. If the top browns too quickly, tent it with foil for the last 5 minutes.
- Rest and serve: Let the mac and cheese sit for 10 minutes before serving. I know it’s hard to wait, but this step is crucial—it allows the sauce to set so you get clean, creamy scoops instead of a soupy mess.
One thing I learned the hard way: don’t skip the resting time. My first Thanksgiving attempt, I served it straight from the oven, and it was like cheese soup with noodles floating in it. The 10-minute rest is non-negotiable.
Cooking Tips & Techniques
I’ve made this recipe probably a dozen times, and I’ve messed it up in almost every way possible. Here’s what I’ve learned:
- Don’t rush the roux: Cooking the flour and butter together for a full 2 minutes removes the raw flour taste. If you skip this, your sauce will taste pasty. Trust me, I’ve done it.
- Shred your own cheese: I know it’s tempting to buy the bagged stuff, but pre-shredded cheese is coated in cellulose and potato starch to prevent clumping. That same coating prevents it from melting smoothly into your sauce. Your homemade shreds will melt like a dream.
- Watch your heat: When making the béchamel, keep the heat at medium. Too high, and you’ll scorch the milk. Too low, and it takes forever. Medium is the sweet spot.
- Season in layers: Salt the pasta water, season the béchamel, and let the cheese do its thing. Each layer builds flavor. I once forgot to salt the pasta water, and the final dish tasted flat no matter how much salt I added later.
- Don’t overbake: The mac and cheese is done when it’s bubbly and golden. Overbaking dries out the sauce and makes the pasta mushy. Set a timer!
- Make it ahead: If you’re prepping for Thanksgiving, assemble the dish completely (including the topping) up to 24 hours in advance. Cover and refrigerate. Add about 10 minutes to the baking time since you’re starting from cold.
One more thing—if your sauce looks grainy or separated, you might have overheated the cheese. Always remove the pan from the heat before adding cheese, and whisk gently. Low and slow is the way to go.
Variations & Adaptations
This recipe is a great base, but feel free to make it your own. Here are some variations I’ve tried:
- Add some protein: Stir in 1 cup of cooked, crumbled bacon or diced ham before baking. I did this for a post-Thanksgiving brunch, and it was a hit.
- Veggie boost: Sauté 1 cup of finely chopped broccoli or spinach and fold it into the pasta. My sister adds roasted butternut squash cubes—it’s very on-theme for Thanksgiving.
- Spicy kick: Add 1/2 teaspoon of cayenne pepper or a diced jalapeño to the béchamel. My brother-in-law loves this version, though I think it masks the cheese flavor a bit.
- Gluten-free option: Use gluten-free pasta and a 1:1 gluten-free flour blend for the roux. The texture is slightly less creamy, but it still hits the spot.
- Lighter version: Swap the heavy cream for an additional cup of milk and use reduced-fat cheese. It won’t be as rich, but it’s still good. I’ve done this on a random Tuesday when I didn’t want to feel too indulgent.
- Different cheese combos: Try fontina instead of Gruyère, or add a handful of blue cheese for a funkier flavor. Just keep the total cheese weight the same.
My personal favorite variation? I add a pinch of smoked paprika and a handful of caramelized onions on top before the panko crust. It adds a sweetness that plays beautifully with the sharp cheddar. Give it a try if you’re feeling adventurous.
Serving & Storage Suggestions
This mac and cheese is best served warm, straight from the oven after its 10-minute rest. I like to scoop it onto plates with a large spoon, making sure each serving gets some of that crunchy topping. It’s the perfect side dish for Thanksgiving turkey, but honestly, it’s hearty enough to be a main course with a simple green salad on the side.
For Thanksgiving, I serve it alongside roasted turkey, green bean casserole, and cranberry sauce. The creamy, cheesy richness balances the tartness of the cranberries beautifully. If you’re serving it as a main, pair it with a crisp arugula salad dressed with lemon vinaigrette—the acidity cuts through the richness.
Storage: Leftovers keep well in an airtight container in the refrigerator for up to 4 days. The topping will lose some crunch, but the flavor is still there. To reheat, I prefer the oven: place individual portions in a small baking dish, cover with foil, and warm at 350°F for 10-15 minutes. The microwave works in a pinch, but it can make the pasta rubbery.
Freezing: You can freeze the assembled but unbaked mac and cheese for up to 3 months. Wrap the dish tightly in plastic wrap and then foil. To bake from frozen, add about 30-40 minutes to the baking time, covering with foil for the first half. I’ve done this for a friend’s post-baby meal train, and it was a lifesaver.
One thing I’ve noticed: the flavors actually meld and deepen overnight. Leftovers the next day might taste even better than the fresh dish. Not that I’m advocating for skipping the fresh experience, but just saying—cold mac and cheese straight from the fridge at midnight is a guilty pleasure I fully support.
Nutritional Information & Benefits
Let’s be real: this is a comfort food indulgence, not a health food. But here’s the estimated nutritional breakdown per serving (based on 12 servings):
- Calories: Approximately 480-520
- Protein: 18-22g
- Fat: 30-35g
- Carbohydrates: 35-40g
- Fiber: 1-2g
- Sugar: 5-7g
- Sodium: 600-700mg
That said, there are some nutritional perks. The cheese provides calcium and protein, and the milk adds vitamin D. If you use whole ingredients, you’re getting real food without preservatives. For a holiday meal, it’s a worthy splurge—just keep your portions reasonable and balance it with lighter sides.
If you’re watching your sodium, you can use low-sodium cheese and reduce the added salt. But honestly, for Thanksgiving, I say go for it. It’s one day a year, and this mac and cheese is worth every calorie.
Conclusion
This baked four-cheese mac and cheese is more than just a side dish—it’s a little piece of comfort that belongs on your Thanksgiving table. It’s the dish that brings people together, that makes them slow down and savor the moment. Whether you’re recreating a childhood memory like I was, or starting a new tradition of your own, this recipe delivers.
I love this recipe because it’s forgiving. It adapts to what you have in your fridge, it welcomes substitutions, and it always, always makes people happy. The first time I made it for my family, my dad—who never compliments food—said, “This is good.” Coming from him, that’s a five-star review.
So go ahead, give it a try. Make it for Thanksgiving, or make it for a random Tuesday when you need a hug in a bowl. And when you do, I’d love to hear about it. Leave a comment below, share your twist on the recipe, or tag me in your photos. Let’s keep this comfort food tradition alive, one cheesy bite at a time.
Frequently Asked Questions
Can I use pre-shredded cheese for this recipe?
You can, but I don’t recommend it. Pre-shredded cheese has anti-caking agents that prevent it from melting smoothly, which can make your sauce grainy. For the creamiest result, shred your own cheese from a block.
How do I prevent my mac and cheese from becoming dry?
The key is not overbaking it. Bake just until bubbly and golden, about 18-22 minutes. Also, make sure your sauce is slightly thinner than you think it should be before baking—the pasta absorbs some moisture in the oven.
Can I make this recipe dairy-free?
Yes, with some adjustments. Use unsweetened oat milk or full-fat coconut milk instead of dairy milk and cream. Use dairy-free butter and vegan cheese shreds. The texture won’t be exactly the same, but it’s still delicious.
What’s the best pasta shape for mac and cheese?
Elbow macaroni is classic, but cavatappi, shells, or rotini work great too. The key is to choose a shape with nooks and crannies that hold onto the sauce. Avoid long, thin pasta like spaghetti.
How far ahead can I assemble this dish?
You can assemble it completely (including the topping) up to 24 hours in advance. Cover and refrigerate. When ready to bake, add about 10 minutes to the baking time since you’re starting from cold. Let it rest for 10 minutes before serving.
Pin This Recipe!
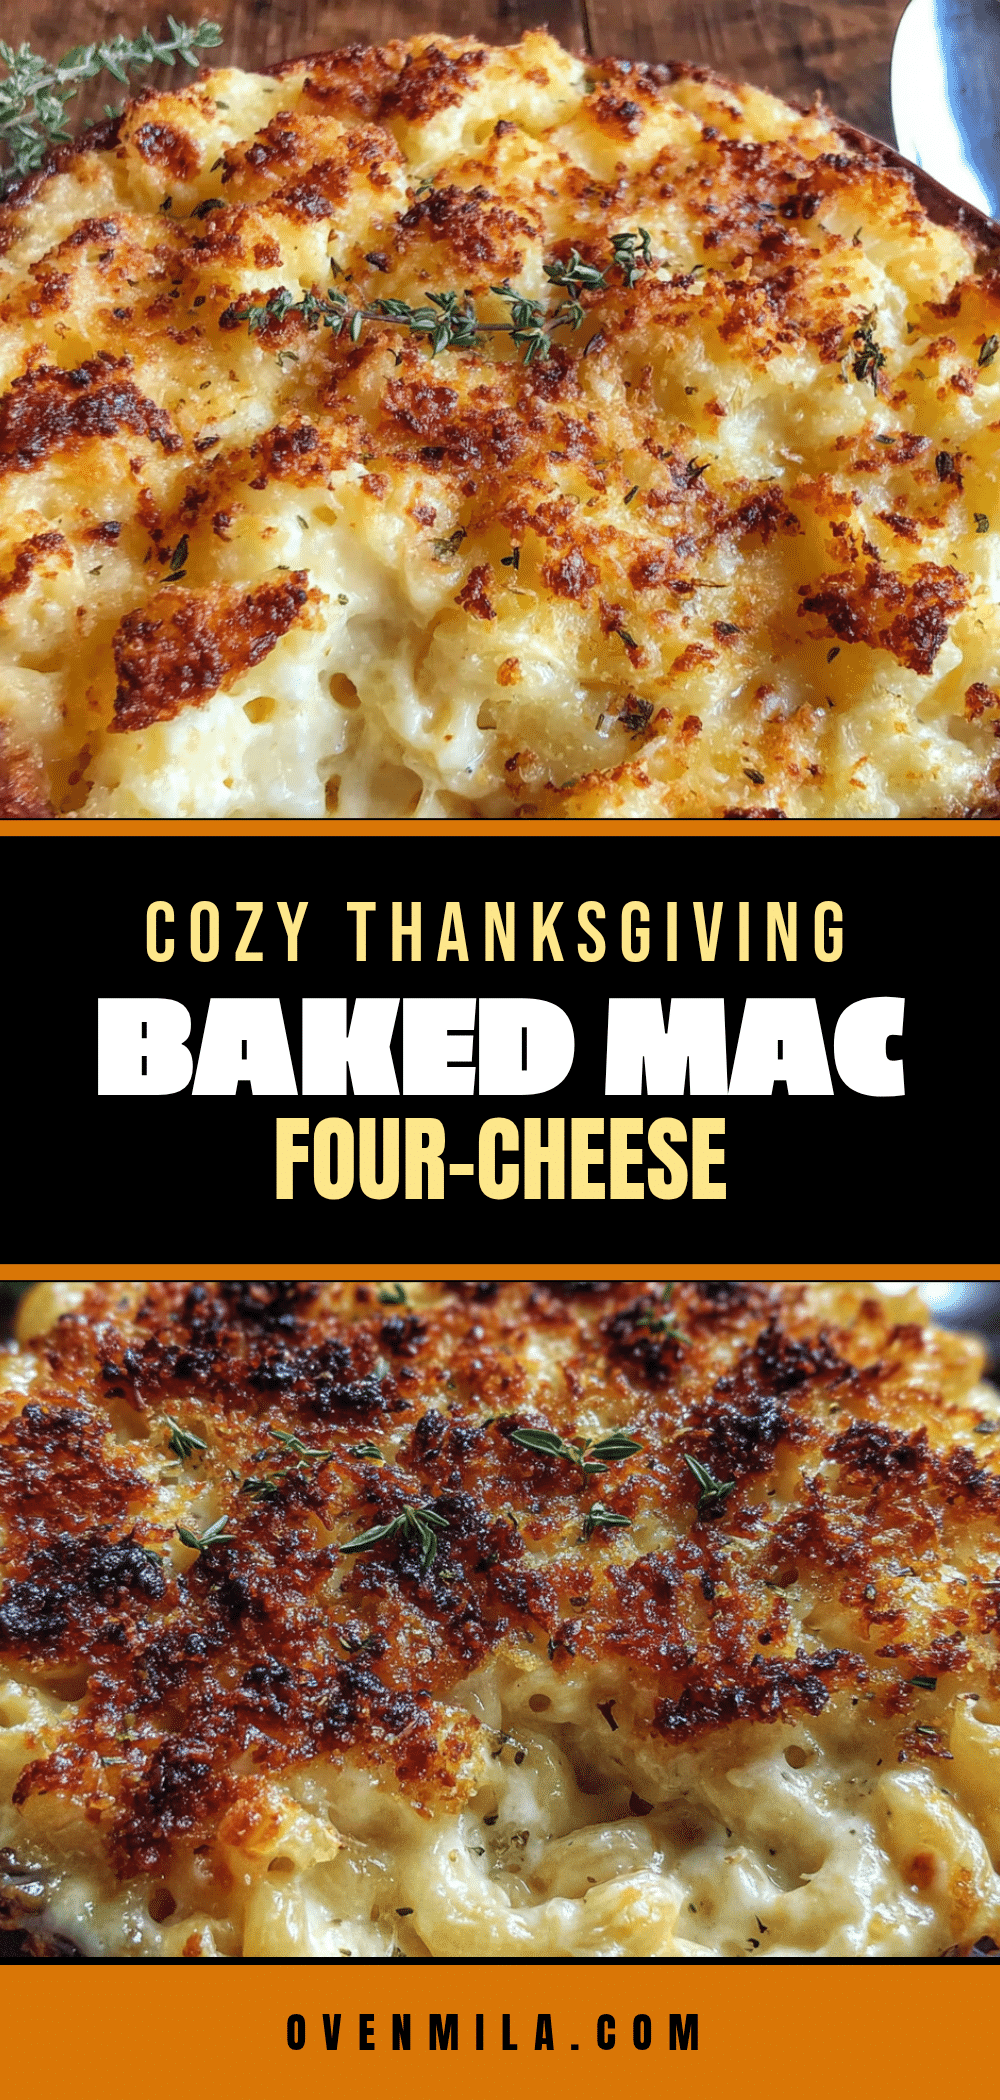
Cozy Thanksgiving Baked Four-Cheese Mac and Cheese
This baked four-cheese mac and cheese is a creamy, indulgent side dish perfect for Thanksgiving or any comforting meal. With a blend of sharp cheddar, Gruyère, Gouda, and Parmesan, it features a golden, crunchy panko topping and a velvety sauce that’s never soupy.
- Prep Time: 15 minutes
- Cook Time: 30 minutes
- Total Time: 45 minutes
- Yield: 12 servings 1x
- Category: Side Dish
- Cuisine: American
Ingredients
- 1 pound (450g) elbow macaroni
- 4 tablespoons (56g) unsalted butter
- 1/4 cup (31g) all-purpose flour
- 3 cups (710ml) whole milk
- 1 cup (240ml) heavy cream
- 2 cups (226g) sharp cheddar cheese, shredded
- 1 cup (113g) Gruyère cheese, shredded
- 1 cup (113g) Gouda cheese, shredded
- 1/2 cup (50g) Parmesan cheese, freshly grated
- 1 teaspoon Dijon mustard
- 1/2 teaspoon ground nutmeg
- 1/2 teaspoon garlic powder
- 1/2 teaspoon salt, plus more for pasta water
- 1/4 teaspoon black pepper
- 1 cup (100g) panko breadcrumbs
- 2 tablespoons (28g) unsalted butter, melted
- 1/4 cup (25g) Parmesan cheese, grated
Instructions
- Preheat your oven to 375°F (190°C). Bring a large pot of salted water to a boil.
- Cook the elbow macaroni according to package directions until al dente, about 7-8 minutes. Drain and set aside.
- In a medium saucepan over medium heat, melt 4 tablespoons of butter. Whisk in the flour and cook for 1-2 minutes until pale golden and nutty.
- Slowly pour in the milk and heavy cream while whisking vigorously. Continue whisking until the sauce thickens, about 5-7 minutes.
- Remove from heat. Whisk in Dijon mustard, nutmeg, garlic powder, salt, and pepper.
- Add the shredded cheddar, Gruyère, Gouda, and 1/2 cup of Parmesan. Whisk until melted and smooth.
- Pour the cooked macaroni into a large mixing bowl. Pour the cheese sauce over it and stir until every noodle is coated.
- Transfer the mac and cheese to a greased 9×13-inch baking dish and spread evenly.
- In a small bowl, mix panko breadcrumbs with melted butter and remaining 1/4 cup of Parmesan. Sprinkle evenly over the top.
- Bake for 18-22 minutes, until bubbly and golden brown. If the top browns too quickly, tent with foil for the last 5 minutes.
- Let the mac and cheese rest for 10 minutes before serving.
Notes
Don’t skip the resting time after baking—it allows the sauce to set for clean, creamy scoops. For make-ahead, assemble completely (including topping) up to 24 hours in advance and refrigerate; add about 10 minutes to baking time. Shred your own cheese for best melting.
Nutrition
- Serving Size: 1 serving
- Calories: 500
- Sugar: 6
- Sodium: 650
- Fat: 32
- Saturated Fat: 19
- Carbohydrates: 38
- Fiber: 1
- Protein: 20
Keywords: mac and cheese, baked mac and cheese, four-cheese mac and cheese, Thanksgiving side dish, comfort food, cheesy pasta


