I was hunched over a display of vintage Pyrex at a flea market last October when the woman running the booth—a tiny, silver-haired lady named Marge who looked like she could have been a retired schoolteacher or a former roller derby queen—started talking about Thanksgiving cookies. I hadn’t asked. I was just trying to decide between a butter dish shaped like a hen and a set of avocado-green mixing bowls. But Marge, without missing a beat, said, “You know, the secret to a good sugar cookie for the holidays is letting the dough rest overnight. My grandmother taught me that.” And then she pulled out a stained, spiral-bound notebook from under the counter and flipped to a page titled “Turkey Cookies.”
Now, I wasn’t expecting a baking masterclass from a flea market vendor, but there I was, clutching a hen-shaped butter dish, listening to her explain exactly how to get the royal icing feathers just right. Honestly, I almost walked away. I mean, the notebook smelled like mothballs and old coffee. But Marge had this look in her eye—the kind that said she wasn’t going to let me leave without the recipe. So I bought the notebook for five bucks, along with the butter dish, and went home to test her theory.
The result? These cozy Thanksgiving sugar cookies. They’re not just cute—they’re the kind of cookie that makes you feel like you’ve got your act together, even if you’re running on three hours of sleep and a questionable amount of caffeine. The dough is buttery and soft, the royal icing sets up smooth and shiny, and the turkey design is forgiving enough that even my first attempt looked like a bird, not a blob. Maybe you’ve been there—staring at a Pinterest board full of perfect cookies and thinking, “Yeah, right.” I get it. But this recipe? It’s the one that changed my mind. Let me tell you, it’s worth every sticky finger and powdered sugar cloud.
Why You’ll Love This Recipe
I’ve tested this recipe more times than I care to admit—through sticky summer days and chilly autumn evenings—and I can tell you with confidence that this is the version you want for your Thanksgiving table. It’s not just another sugar cookie recipe floating around the internet. Here’s what makes it stand out:
- Simple Ingredients: You probably have most of these in your pantry right now. No need for a specialty grocery run for obscure extracts or hard-to-find flours.
- No Chill Time Required: I know, I know—most cut-out cookie recipes make you wait. This one doesn’t. You can mix, roll, and bake in under an hour.
- Forgiving Royal Icing: The icing recipe is practically foolproof. It flows nicely for flooding but holds its shape for details, so your turkey feathers won’t turn into a puddle.
- Crowd-Pleaser: I’ve brought these to three different Friendsgivings and a classroom party. They disappear fast—kids and adults both grab them.
- Freezer-Friendly: Bake the cookies ahead, freeze them, and decorate later. It’s a lifesaver when you’re juggling a full Thanksgiving menu.
What makes this recipe different from the rest is the texture. The cookies are sturdy enough to hold up to decorating but still tender when you bite into them. No rock-hard hockey pucks here. Plus, the turkey design is deceptively simple—you don’t need a piping bag or a steady hand. A zip-top bag with a snipped corner works just fine. This is comfort food reimagined: festive enough for a holiday spread but easy enough for a Tuesday night baking session with the kids. It’s the kind of recipe that makes you close your eyes after the first bite, remembering why you love baking in the first place.
What Ingredients You Will Need
This recipe uses straightforward, wholesome ingredients to deliver a buttery, slightly crisp cookie with a tender crumb. The royal icing sets up with a beautiful matte finish that’s perfect for decorating. Here’s what you’ll need:
For the Sugar Cookies
- 2 ¾ cups (345g) all-purpose flour (I prefer King Arthur for consistent results)
- 1 teaspoon baking powder
- ½ teaspoon salt
- 1 cup (226g) unsalted butter, softened (use European-style butter for extra richness)
- 1 ½ cups (300g) granulated sugar
- 1 large egg, room temperature
- 2 teaspoons vanilla extract (pure, not imitation—it makes a difference)
- ½ teaspoon almond extract (optional, but adds a lovely depth)
For the Turkey Royal Icing
- 4 cups (480g) powdered sugar, sifted
- 3 tablespoons meringue powder (I use Wilton brand)
- 6-7 tablespoons warm water (adjust as needed)
- 1 teaspoon vanilla extract or clear vanilla (for a bright white base)
- Gel food coloring: brown, orange, red, yellow, and green (Americolor or Wilton work great)
- Black food coloring pen or edible marker (for eyes)
Ingredient Tips & Substitutions:
- If you don’t have meringue powder, you can substitute 3 large egg whites (pasteurized) for the meringue powder and water combo. The texture will be slightly different but still workable.
- For a dairy-free version, swap the butter with a high-quality vegan butter stick (like Earth Balance). The cookies will be a bit less crisp but still delicious.
- Almond extract is optional but adds a subtle nuttiness that pairs beautifully with the butter. If you’re allergic, just skip it.
- Look for gel food coloring, not liquid. Liquid colors will thin out your icing and make it harder to control.
- If you’re short on time, you can use store-bought sugar cookie dough, but honestly, homemade is worth the extra 10 minutes.
Equipment Needed
You don’t need a professional bakery setup for these cookies, but a few key tools will make your life easier:
- Stand mixer or hand mixer: A stand mixer with a paddle attachment is ideal for creaming butter and sugar, but a hand mixer works perfectly fine.
- Rolling pin: I prefer a French-style tapered rolling pin for better control. If you don’t have one, a wine bottle works in a pinch—I’ve done it.
- Turkey cookie cutter: You can find these online or at craft stores. If you don’t have one, use a 3-inch round cutter and pipe the turkey shape freehand with icing.
- Parchment paper or silicone baking mats: Silicone mats give the most even browning, but parchment is great too and easier to clean up.
- Piping bags or zip-top bags: For the royal icing. I actually prefer zip-top bags with a tiny corner snipped off—they’re less intimidating than piping bags.
- Small round piping tips: A #2 or #3 tip works well for outlining and detail work.
- Offset spatula or butter knife: For spreading icing if you’re not piping.
- Cooling rack: Essential for letting cookies cool completely before decorating.
Budget-Friendly Tip: Skip the fancy turkey cutter and use a simple round cutter. Pipe the turkey shape with brown icing and add feathers with different colors. It’s actually easier and gives you more creative freedom.
Preparation Method
Step 1: Make the Sugar Cookie Dough
In a medium bowl, whisk together the flour, baking powder, and salt. Set aside. In the bowl of your stand mixer, beat the softened butter and granulated sugar on medium speed until light and fluffy—about 3 to 4 minutes. You want it to look pale and slightly aerated. Scrape down the sides of the bowl halfway through.
Add the egg, vanilla extract, and almond extract (if using). Beat on medium speed until fully incorporated, about 1 minute. The mixture might look a little curdled at this point—don’t panic, that’s normal.
With the mixer on low speed, gradually add the flour mixture, mixing just until the dough comes together. Stop as soon as you don’t see any more streaks of flour. Overmixing will make your cookies tough. The dough should be soft but not sticky. If it feels too sticky, add a tablespoon more flour.
Step 2: Roll and Cut the Cookies
Lightly flour your work surface and rolling pin. Roll the dough out to about ¼-inch thickness. If you want thicker, chewier cookies, go for ⅓-inch—just adjust the baking time by a minute or two. Use your turkey cookie cutter to cut out shapes, pressing straight down and lifting without twisting. Twisting can seal the edges and prevent even baking.
Place the cut-out cookies on a parchment-lined baking sheet, spacing them about 2 inches apart. Gather the scraps, gently press them together, and re-roll. You can get about 18 to 24 cookies depending on your cutter size.
Step 3: Bake the Cookies
Preheat your oven to 350°F (175°C). Bake the cookies for 8 to 10 minutes, rotating the baking sheet halfway through. The cookies should be just barely golden around the edges—the centers will look slightly puffy and pale. Don’t overbake them, or they’ll be dry and crumbly.
Let the cookies cool on the baking sheet for 5 minutes, then transfer them to a wire rack to cool completely. Important: Do not even think about decorating until they are 100% cool. Warm cookies will melt your royal icing into a sad, sticky mess.
Step 4: Prepare the Royal Icing
In the bowl of your stand mixer, combine the sifted powdered sugar and meringue powder. Add 6 tablespoons of warm water and the vanilla extract. Beat on low speed until combined, then increase to medium-high speed and beat for 5 to 7 minutes. The icing should be thick, glossy, and hold a stiff peak when you lift the beater.
For the flooding consistency (the icing you’ll use to fill in the turkey), add water a teaspoon at a time until the icing slowly settles into a smooth surface within 10 to 15 seconds when you drizzle it. You want it to flow but not be runny.
Divide the icing into small bowls. Color one portion brown (for the turkey body), one orange (for the beak and feet), one red (for the wattle), one yellow (for the feathers), and one green (for more feathers). Leave a small portion white for the eyes. Cover each bowl with a damp paper towel to prevent the icing from drying out while you work.
Step 5: Decorate the Turkey Cookies
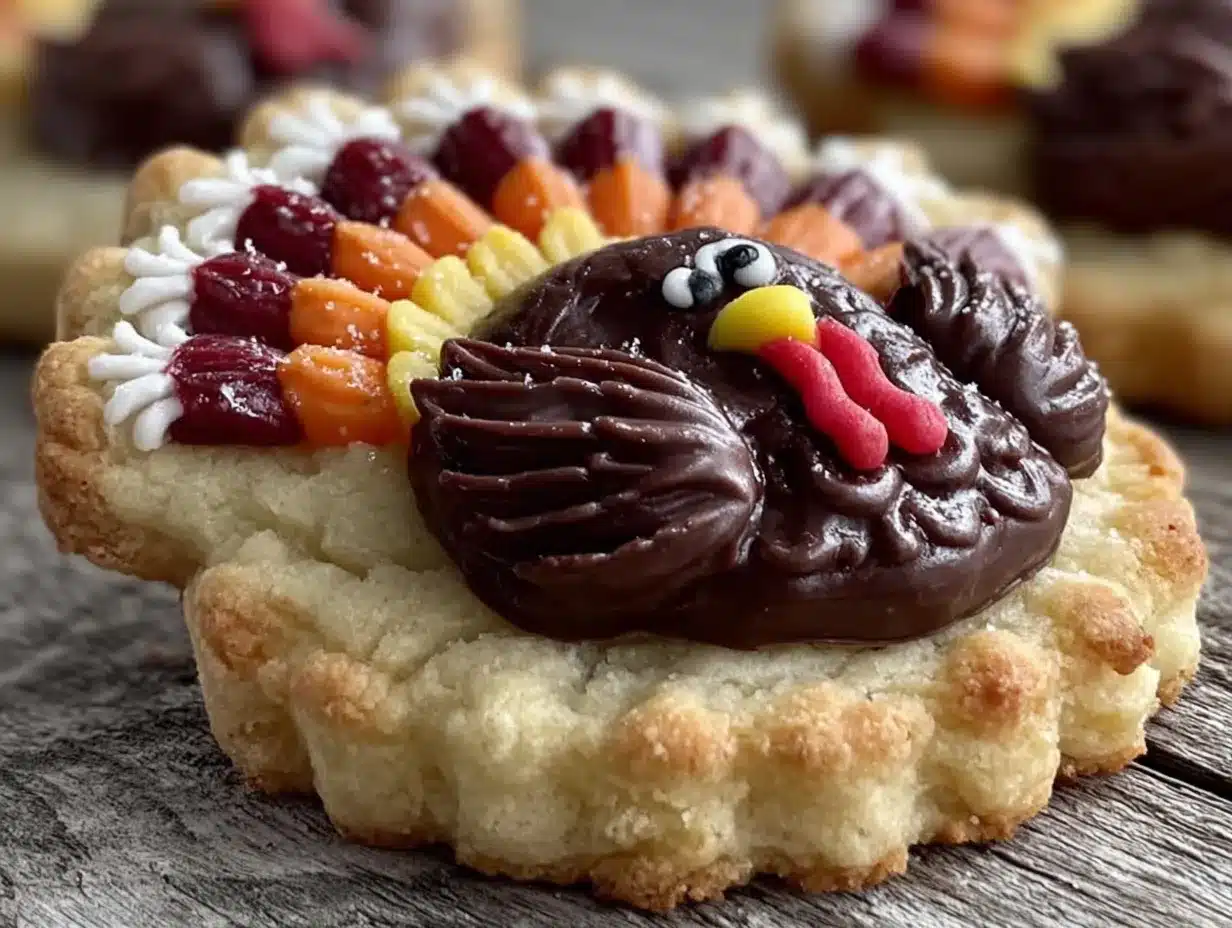
Fit a piping bag with a #2 tip and fill it with brown icing. Outline the turkey body and then flood it with the same icing. Use a toothpick to spread the icing into the corners and pop any air bubbles. Let this set for about 15 minutes.
For the feathers, use the yellow and green icing to pipe small dots or lines around the back of the turkey. You can do alternating colors or a gradient—whatever feels right. Let the feathers set for 10 minutes.
Pipe the orange beak and red wattle on the face. Use the black food coloring pen to draw two tiny eyes. If you don’t have a pen, use a toothpick dipped in black gel food coloring mixed with a drop of water.
Let the decorated cookies sit at room temperature for at least 2 hours to allow the icing to harden completely. If you’re impatient like me, you can speed this up by placing them in front of a fan—just don’t let dust land on them.
Cooking Tips & Techniques
I’ve made plenty of mistakes with sugar cookies, and I’m happy to share them so you don’t have to repeat them. Here are the lessons I learned the hard way:
- Don’t skip the sifting: I know, sifting powdered sugar feels like a waste of time. But lumps in your royal icing will clog your piping tip and ruin your flow. Sift it. Your future self will thank you.
- Room temperature ingredients matter: If your butter or egg is too cold, the dough won’t cream properly and your cookies will spread. Leave the butter out for at least an hour before starting. If you forgot, cut it into small cubes and microwave for 5-second bursts until just softened—not melted.
- Use a light hand with flour: When rolling out the dough, use just enough flour to prevent sticking. Too much flour will make the cookies dry and dense. I use a pastry cloth for rolling—it reduces the amount of flour needed.
- Chill if you have time: Even though this recipe doesn’t require chilling, popping the cut-out cookies in the fridge for 15 minutes before baking helps them hold their shape better, especially if your kitchen is warm.
- Royal icing consistency is everything: If your icing is too thick, it won’t spread smoothly. Too thin, and it’ll run off the cookie. Test it by lifting your spoon—the ribbon of icing should disappear into the bowl within 10 seconds.
- Work in batches: Don’t try to decorate all 24 cookies at once. Work with 6 at a time, keeping the rest of the icing covered. Royal icing dries out fast, and you’ll end up with crusty lumps if you’re not careful.
Variations & Adaptations
This recipe is surprisingly flexible. Here are some ways to make it your own:
- Gluten-Free Version: Substitute the all-purpose flour with a 1:1 gluten-free baking flour blend (I like Bob’s Red Mill). Add ½ teaspoon xanthan gum if your blend doesn’t already include it. The texture will be slightly more tender, but they’ll still hold up well for decorating.
- Vegan Adaptation: Use vegan butter sticks (not tub margarine) and replace the egg with a flax egg (1 tablespoon ground flaxseed mixed with 3 tablespoons water, let sit for 5 minutes). For the royal icing, use aquafaba (the liquid from a can of chickpeas) instead of meringue powder and water—3 tablespoons of aquafaba whipped to stiff peaks works beautifully.
- Spiced Sugar Cookies: Add 1 teaspoon cinnamon, ½ teaspoon nutmeg, and ¼ teaspoon cloves to the flour mixture. It gives the cookies a warm, autumnal flavor that pairs perfectly with the turkey theme.
- Different Shapes: Don’t limit yourself to turkeys. Use the same dough and icing to make pumpkin, leaf, or acorn shapes for a full Thanksgiving cookie platter.
- Chocolate Version: Replace ½ cup of the flour with ½ cup of unsweetened cocoa powder. The chocolate cookies look amazing with bright royal icing feathers.
I once tried a variation with orange zest in the dough—it was a happy accident when I mistook the orange for a lemon. Honestly, it was delicious. The citrus cut through the sweetness beautifully. So don’t be afraid to experiment.
Serving & Storage Suggestions
These cookies are best served at room temperature. The royal icing should be fully set and firm to the touch, which takes about 2 to 3 hours after decorating. Arrange them on a festive platter or tiered stand for a stunning Thanksgiving dessert table.
Storage: Store undecorated cookies in an airtight container at room temperature for up to 1 week. They actually get a little softer and more tender after a day or two. Once decorated, layer the cookies between sheets of parchment paper in an airtight container. They’ll stay fresh for up to 2 weeks—though they rarely last that long.
Freezing: You have two options here. Freeze the unbaked dough (wrapped tightly in plastic wrap) for up to 3 months. Thaw overnight in the fridge before rolling and baking. Or freeze the baked, undecorated cookies for up to 3 months. Thaw at room temperature, then decorate. Do not freeze decorated cookies—the icing can develop condensation and get sticky.
Flavor Development: Here’s a little secret—these cookies actually taste better the next day. The flavors meld together, and the texture becomes perfectly tender. So feel free to bake them a day or two ahead of your Thanksgiving gathering.
Nutritional Information & Benefits
Let’s be honest—these are cookies, not health food. But here’s the estimated nutritional breakdown per cookie (based on a 3-inch turkey cutter, decorated):
- Calories: 185
- Total Fat: 8g
- Saturated Fat: 5g
- Cholesterol: 25mg
- Sodium: 95mg
- Total Carbohydrates: 28g
- Sugar: 18g
- Protein: 2g
Health Benefits: On the bright side, the butter provides a small amount of vitamin A, and the eggs contribute protein and choline. If you use the vegan or gluten-free versions, you can accommodate dietary restrictions without sacrificing flavor. The almond extract adds a touch of vitamin E, which is good for skin health. But honestly, these are about joy, not nutrition. They’re a treat for the soul, meant to be enjoyed in moderation alongside a balanced meal.
Allergen Note: This recipe contains wheat (gluten), dairy, eggs, and tree nuts (almond extract). Adjust substitutions as needed for your guests.
Conclusion
These cozy Thanksgiving sugar cookies are more than just a dessert—they’re a little piece of holiday magic you can hold in your hand. The buttery, tender cookie paired with the crisp, glossy royal icing creates a texture contrast that’s downright addictive. And the turkey design? It’s charming enough to impress your guests but simple enough that you won’t stress over it.
I’ve made these cookies for three Thanksgivings in a row now, and they’ve become a tradition in my house. My niece, who claims she “doesn’t like baking,” actually asked to help decorate them last year. That’s the power of a good recipe—it brings people together, even the reluctant ones.
So go ahead, give these a try. Customize the colors, experiment with the flavors, and make them your own. I’d love to hear how they turn out for you. Drop a comment below or tag me in your photos—I genuinely get excited seeing your creations. Happy Thanksgiving, and happy baking!
Frequently Asked Questions
Can I make the dough ahead of time?
Absolutely. Wrap the dough tightly in plastic wrap and refrigerate for up to 3 days. Let it sit at room temperature for 10 minutes before rolling—it will be easier to work with.
Why did my cookies spread in the oven?
This usually happens if the butter was too soft or the dough wasn’t chilled. Next time, chill the cut-out cookies for 15 minutes before baking. Also, make sure your butter is softened, not melted.
Can I use liquid food coloring instead of gel?
You can, but it will thin out your royal icing. You’ll need to add more powdered sugar to compensate, which can throw off the consistency. Gel colors are much more concentrated and won’t affect the texture.
How do I get smooth royal icing without air bubbles?
After flooding the cookie, gently tap the baking sheet on the counter to bring bubbles to the surface. Then use a toothpick to pop them. Working slowly also helps prevent bubbles from forming in the first place.
Can I skip the meringue powder?
Yes. Use 3 pasteurized egg whites instead of the meringue powder and water. The icing will be slightly less stable but still workable. Just be aware that raw egg whites carry a small risk of salmonella, so use pasteurized eggs if serving to children, elderly, or immunocompromised individuals.
Pin This Recipe!
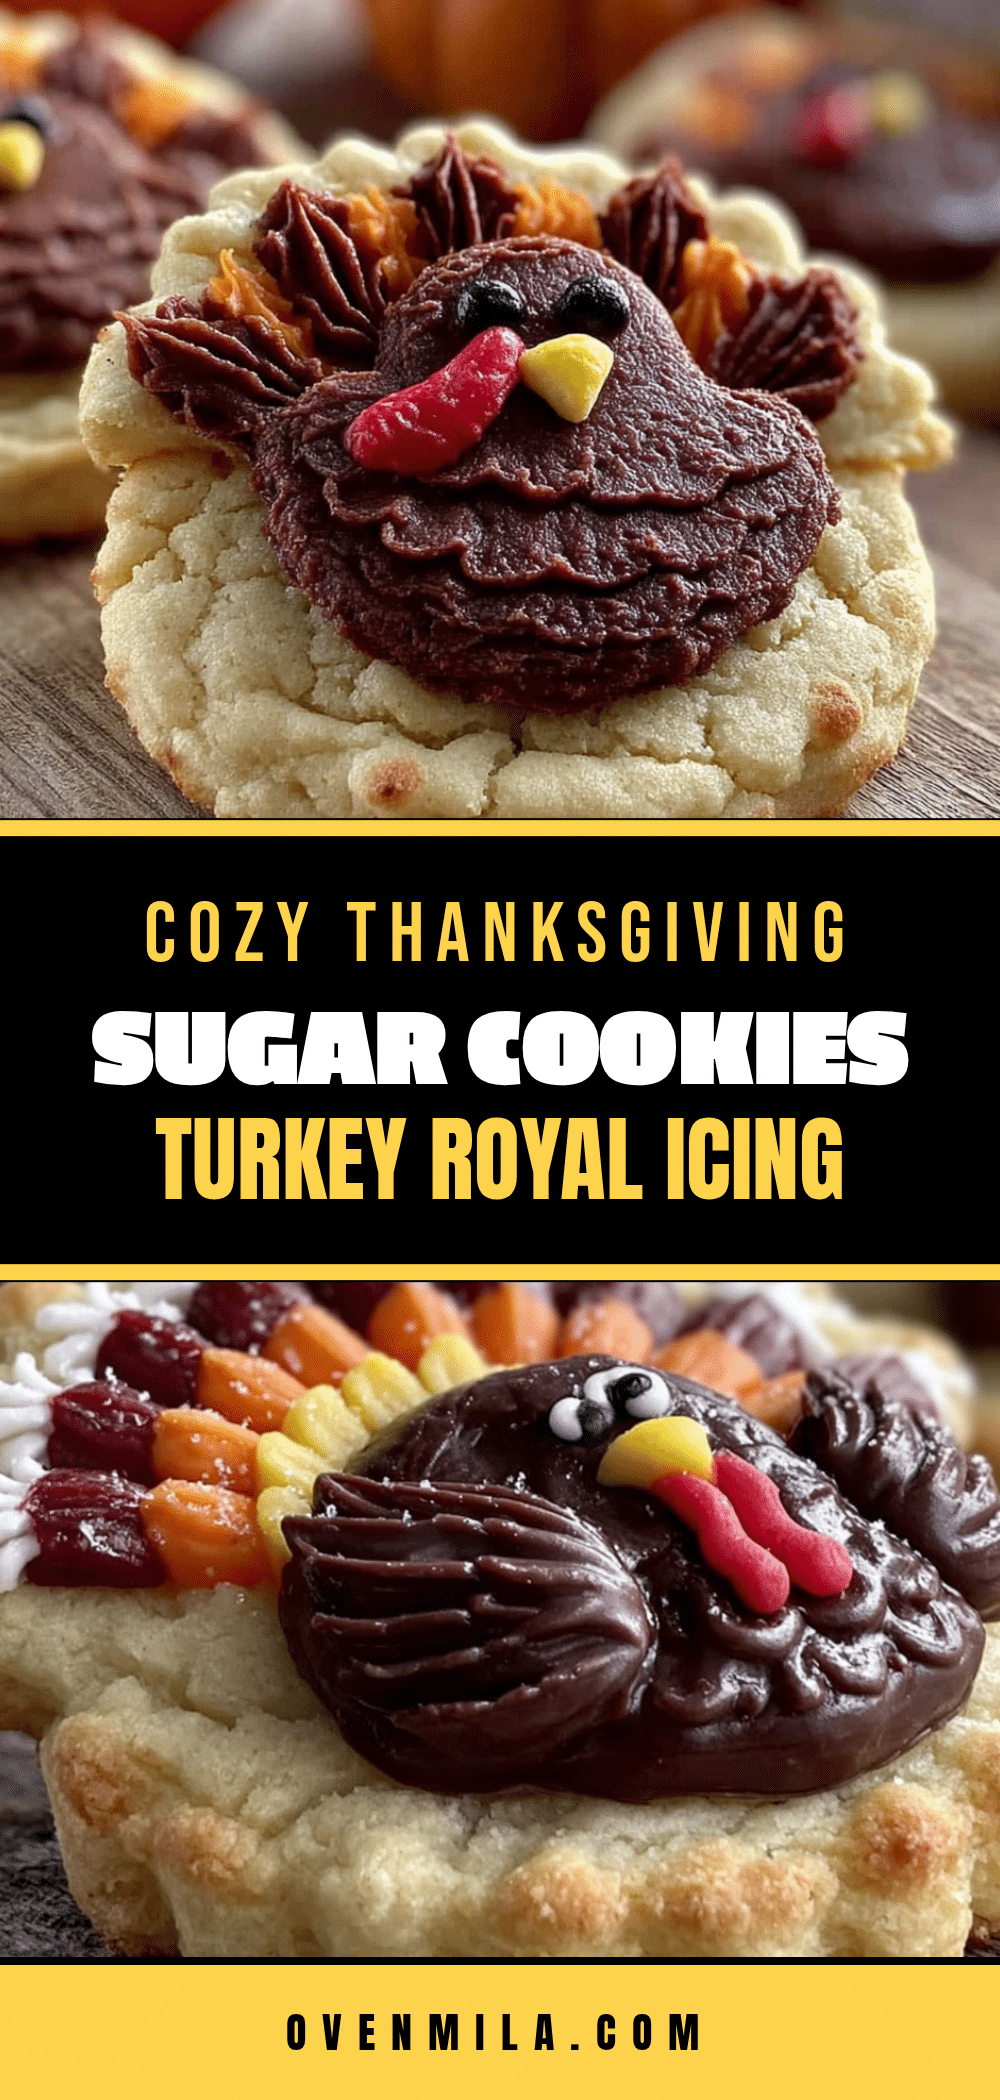
Cozy Thanksgiving Sugar Cookies with Easy Turkey Royal Icing

Buttery, soft sugar cookies topped with smooth, glossy royal icing in a charming turkey design. This forgiving recipe requires no chill time and uses simple ingredients, making it perfect for holiday baking with kids or for impressing guests at your Thanksgiving table.
- Prep Time: 30 minutes
- Cook Time: 10 minutes
- Total Time: 2 hours 40 minutes (includes decorating and setting time)
- Yield: 18-24 cookies 1x
- Category: Dessert
- Cuisine: American
Ingredients
- 2 ¾ cups (345g) all-purpose flour
- 1 teaspoon baking powder
- ½ teaspoon salt
- 1 cup (226g) unsalted butter, softened
- 1 ½ cups (300g) granulated sugar
- 1 large egg, room temperature
- 2 teaspoons vanilla extract
- ½ teaspoon almond extract (optional)
- 4 cups (480g) powdered sugar, sifted
- 3 tablespoons meringue powder
- 6–7 tablespoons warm water
- 1 teaspoon vanilla extract or clear vanilla
- Gel food coloring: brown, orange, red, yellow, and green
- Black food coloring pen or edible marker
Instructions
- In a medium bowl, whisk together flour, baking powder, and salt. Set aside.
- In a stand mixer, beat softened butter and granulated sugar on medium speed until light and fluffy, about 3-4 minutes. Scrape down sides.
- Add egg, vanilla extract, and almond extract (if using). Beat on medium speed until fully incorporated, about 1 minute.
- With mixer on low, gradually add flour mixture, mixing just until dough comes together. Do not overmix.
- Lightly flour work surface and rolling pin. Roll dough to ¼-inch thickness.
- Use turkey cookie cutter to cut out shapes. Place on parchment-lined baking sheet, spacing 2 inches apart. Gather scraps and re-roll.
- Preheat oven to 350°F (175°C). Bake cookies for 8-10 minutes, rotating sheet halfway through. Edges should be barely golden.
- Let cookies cool on baking sheet for 5 minutes, then transfer to wire rack to cool completely.
- For royal icing: In stand mixer, combine sifted powdered sugar and meringue powder. Add 6 tablespoons warm water and vanilla. Beat on low, then medium-high for 5-7 minutes until thick and glossy.
- For flooding consistency, add water a teaspoon at a time until icing settles into a smooth surface within 10-15 seconds when drizzled.
- Divide icing into bowls. Color one portion brown, one orange, one red, one yellow, and one green. Leave a small portion white.
- Fit piping bag with #2 tip and fill with brown icing. Outline and flood turkey body. Let set 15 minutes.
- Use yellow and green icing to pipe dots or lines for feathers. Let set 10 minutes.
- Pipe orange beak and red wattle. Use black food coloring pen to draw eyes.
- Let decorated cookies sit at room temperature for at least 2 hours to harden icing.
Notes
Dough does not require chilling, but chilling cut-out cookies for 15 minutes before baking helps them hold shape. Royal icing consistency is key: test by lifting spoon – ribbon should disappear into bowl within 10 seconds. Work in batches of 6 cookies at a time to prevent icing from drying out. Cookies taste better the next day as flavors meld.
Nutrition
- Serving Size: 1 cookie
- Calories: 185
- Sugar: 18
- Sodium: 95
- Fat: 8
- Saturated Fat: 5
- Carbohydrates: 28
- Protein: 2
Keywords: Thanksgiving cookies, sugar cookies, royal icing, turkey cookies, holiday baking, cut-out cookies, easy decorating


