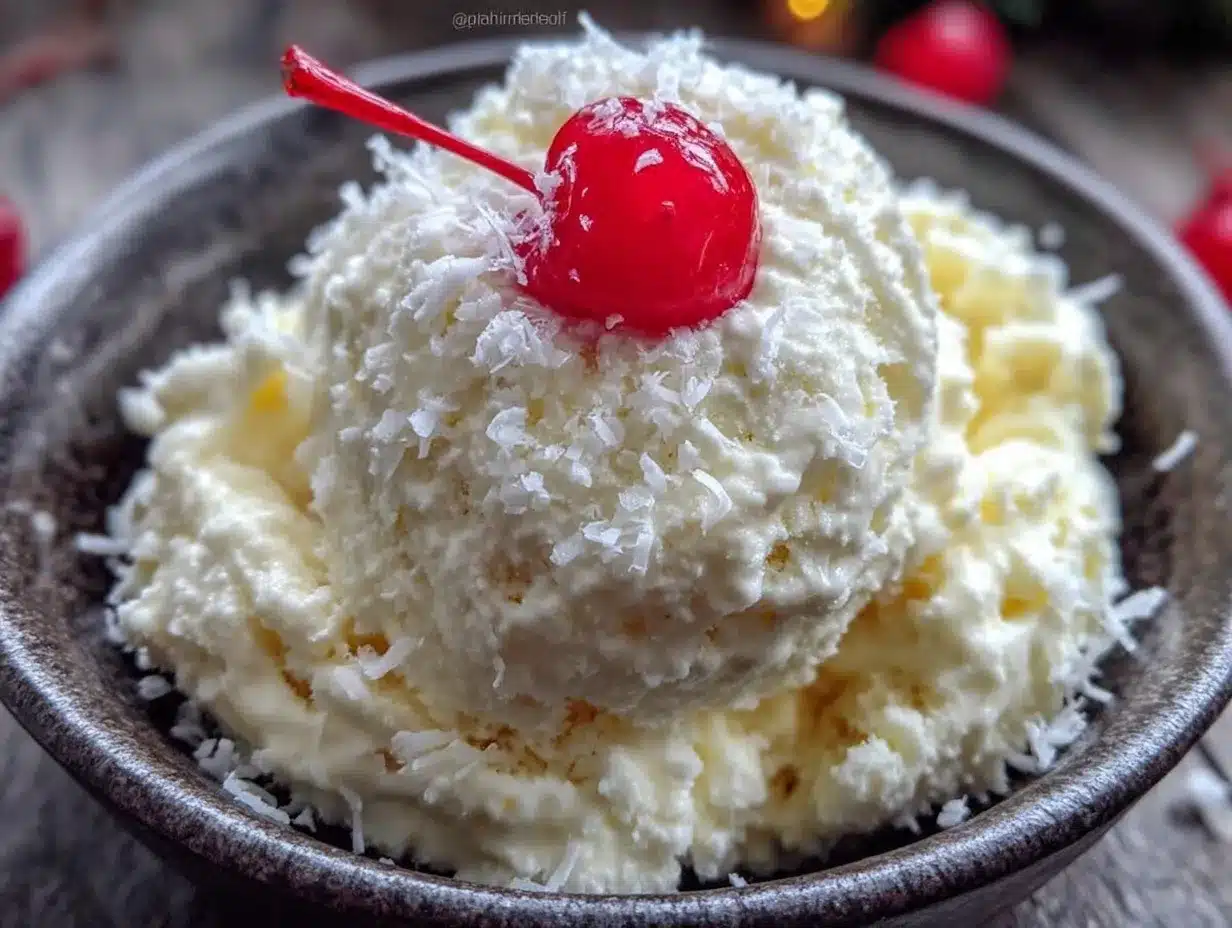
There used to be a little diner off Route 9 in upstate New York called The Frosty Spoon that made snow ice cream that tasted like frozen clouds and childhood dreams rolled into one. When they closed in 2019—the owner retired, just like that—I honestly felt a little pang of grief. I mean, it sounds silly to mourn a bowl of ice cream, but it was *that* good. After 12 tries—12! Some were watery, some were gritty, some just tasted like frozen sugar water—I finally got it. And let me tell you, the secret was ditching the eggs and cream entirely. It’s just three ingredients, and it’s the dish that steals the table at every winter gathering I host.
I remember the first time I served my recreation at a potluck. My neighbor, Carol, took one bite and said, “This tastes like the snow we ate as kids, but… better.” And that’s exactly the feeling I was chasing. The texture is light, almost fluffy, with a creamy sweetness that hits just right. You know that feeling when you find a recipe that feels like a secret weapon? This is it. It’s the kind of thing that makes people lean in and ask, “Wait, how did you make this?”
So if you’ve been hunting for a way to turn a snowy day into something memorable, or if you’re hosting a crowd and want a dessert that sparks joy and conversation without hours of work, this is your recipe. It’s nostalgic, it’s simple, and honestly, it’s a little bit magic.
Why You’ll Love This Recipe
This isn’t just another snow ice cream recipe. After countless batches—some that turned into slush, some that were way too sweet—I landed on a version that’s foolproof and absolutely delicious. Here’s why it’s a winner:
- Quick & Easy: Comes together in under 10 minutes. Perfect for a spontaneous winter treat or when the kids are begging to go outside and play.
- Simple Ingredients: You only need three things—fresh snow, sweetened condensed milk, and vanilla extract. No fancy grocery trips required.
- Perfect for Gatherings: This is the ultimate party trick for a winter potluck, a holiday get-together, or a cozy dinner with friends. It’s a conversation starter every single time.
- Crowd-Pleaser: Kids love it, adults love it, and everyone is amazed that it’s made from actual snow. It’s a guaranteed hit.
- Unbelievably Delicious: The texture is light and creamy, not icy or watery. The sweetened condensed milk gives it a rich, caramel-like sweetness that pairs perfectly with the clean taste of fresh snow.
What makes this recipe different from all the others? It’s the ratio. I’ve tested this with different amounts of milk and vanilla, and this specific balance creates a scoopable, creamy texture that doesn’t melt into a puddle in five minutes. It’s not just a novelty—it’s genuinely good ice cream.
This recipe is the kind that makes you close your eyes after the first bite. It’s comfort food reimagined—nostalgic, simple, and soul-soothing. Perfect for impressing guests without any stress, or turning a snowy afternoon into something truly special.
What Ingredients You Will Need
This recipe uses just three simple, wholesome ingredients to deliver a dessert that’s surprisingly rich and satisfying. No eggs, no cream, no complicated steps—just pure, snowy magic.
For the Snow Ice Cream Base
- 8 cups fresh, clean snow (packed lightly, not compacted) — This is the star of the show. Make sure you collect it from a clean area, away from roads or any discolored patches. Freshly fallen snow is best. I personally like to use snow that’s been falling for at least an hour, so it’s nice and fluffy.
- 1 can (14 ounces) sweetened condensed milk — This is your sweetener and your creaminess. It adds a rich, thick texture that regular milk just can’t match. I recommend using Eagle Brand or Borden for consistent results. Don’t try to substitute with evaporated milk—it won’t be sweet enough, and the texture will be off.
- 1 teaspoon vanilla extract — This adds warmth and depth. Use pure vanilla extract if you have it; it makes a noticeable difference. Nielsen-Massey is my go-to brand. If you’re feeling adventurous, you can use vanilla bean paste for those beautiful little specks.
Optional Add-Ins (For When You Want to Get Fancy)
- 1/4 cup chocolate chips — Fold these in at the end for a chocolate chip version. Mini chips work best because they distribute evenly.
- 1/4 cup sprinkles — For a birthday-party vibe. Add them right before serving so they don’t bleed their color.
- A pinch of salt — A tiny pinch of flaky sea salt (like Maldon) balances the sweetness beautifully. Trust me on this one.
Substitution Guidance: If you need a dairy-free option, you can use a can of full-fat coconut milk mixed with 1/2 cup of sugar or maple syrup. The texture will be slightly different—a bit icier—but still delicious. For a lower-sugar version, you can use a sugar-free sweetened condensed milk alternative, though I haven’t tested this myself.
Equipment Needed
You don’t need much for this recipe, which is part of its charm. Here’s what you’ll need:
- A large mixing bowl: A metal or glass bowl works best. I prefer a wide, shallow bowl because it makes mixing easier. I’ve used everything from a fancy ceramic bowl to a simple Pyrex mixing bowl, and they all work fine.
- A sturdy spatula or wooden spoon: You’ll need something strong enough to fold the snow into the condensed milk without crushing it too much. A silicone spatula is my favorite—it’s gentle and easy to scrape the bowl clean.
- A measuring cup: To measure your snow. I know it sounds silly, but using a consistent measurement is key to getting the texture right. I use a standard 2-cup liquid measuring cup.
- A freezer-safe container: If you’re not serving the ice cream immediately, you’ll need a container to store it. A standard loaf pan or a quart-sized deli container works perfectly.
- Optional: An ice cream scoop: For that perfect round scoop. Not necessary, but it makes for a prettier presentation.
Budget-Friendly Tip: Don’t run out and buy a fancy mixing bowl. A clean, large plastic bowl from your kitchen cabinet will work just as well. The key is that it’s big enough to give you room to mix without snow flying everywhere.
Preparation Method
Making this snow ice cream is almost too easy, but follow these steps carefully for the best results. The key is working quickly—snow melts fast!
- Collect your snow. Head outside with a large, clean bowl and gather about 8 cups of fresh, fluffy snow. Pack it lightly—don’t press it down. You want it airy. I like to collect it from the top of a clean surface, like a patio table or a freshly fallen drift. Avoid snow that’s been sitting for days or has any dirt or debris. (Prep time: 5 minutes)
- Chill your bowl. Before you start, pop your mixing bowl in the freezer for about 10 minutes. This helps keep the snow from melting too quickly when you add the other ingredients. Honestly, I forgot to do this my first few times and ended up with soup. Lesson learned.
- Mix the base. In your chilled bowl, pour the entire can of sweetened condensed milk and add the vanilla extract. Stir them together until they’re well combined. The mixture will be thick and sticky—that’s perfect.
- Add the snow. Now, gently fold the snow into the condensed milk mixture. Add it in batches—about 2 cups at a time—and fold gently with your spatula. Don’t stir vigorously; you want to incorporate the snow without crushing it. You’ll see the mixture transform from a thick paste into a light, fluffy ice cream. (Mixing time: 2-3 minutes)
- Check the texture. The ice cream should be scoopable and creamy, not runny or icy. If it’s too thick, you can add a tablespoon of milk or a tiny bit more snow. If it’s too thin, add a little more snow, a quarter cup at a time. I’ve had batches that looked perfect and then turned soupy because I used old, wet snow. Fresh, powdery snow is your best friend here.
- Serve immediately. This ice cream is best eaten right away, while it’s still light and fluffy. Scoop it into bowls and enjoy the looks of pure delight on your guests’ faces. If you need to store it, see the storage section below.
- Optional: Add mix-ins. If you’re adding chocolate chips or sprinkles, fold them in gently at the very end, just before serving. Don’t overmix, or they’ll sink to the bottom.
Sensory Cues: As you fold the snow in, you’ll hear a soft, squishy sound—that’s the snow being incorporated. The mixture will change from a thick, golden-white paste to a pale, fluffy cloud. It should feel light and airy in the bowl. If it feels heavy or wet, you’ve added too much snow or the snow was too wet.
My Personal Tip: Work in a cold room if you can. I once made this in a warm kitchen, and the ice cream started melting before I even finished mixing. If your kitchen is warm, take your bowl outside for a few minutes during the mixing process. It makes a huge difference.
Cooking Tips & Techniques
I’ve made this recipe more times than I can count, and I’ve learned a few things the hard way. Here are my best tips for success:
- The snow matters more than you think. Fresh, powdery snow that falls when it’s below freezing (around 20°F or -6°C) creates the lightest, fluffiest ice cream. Wet, heavy snow from a warmer day will make your ice cream dense and icy. I learned this after a disappointing batch that tasted like a frozen snowball.
- Don’t overmix. Once the snow is incorporated, stop. Overmixing crushes the snow crystals and turns your ice cream into a slushy mess. Fold gently, just until you don’t see streaks of white snow anymore.
- Chill your tools. A cold bowl and a cold spatula help keep the snow from melting. I keep my mixing bowl and spatula in the freezer while I’m collecting the snow. It’s a small step that makes a big difference.
- Work fast. Snow melts. The longer you take, the more watery your ice cream will be. Have all your ingredients measured and ready before you bring the snow inside. I like to have the condensed milk and vanilla already mixed in the chilled bowl so I can add the snow immediately.
- Adjust sweetness to taste. Some people like it sweeter. If you’re using a less sweet brand of condensed milk, or if you just have a sweet tooth, you can add an extra tablespoon of sugar or a drizzle of maple syrup. I’ve done both, and they work beautifully.
A Failure I Learned From: My third attempt was a disaster. I used snow that had been sitting on the ground for two days, and it was dirty and icy. The ice cream tasted like… dirt. Seriously. Since then, I only use snow that’s freshly fallen and collected from a clean, elevated surface. Don’t make my mistake.
Variations & Adaptations
This recipe is a blank canvas. Here are a few ways to make it your own:
- Chocolate Snow Ice Cream: Add 2 tablespoons of unsweetened cocoa powder to the condensed milk mixture before adding the snow. Stir until smooth, then fold in the snow. It’s like a frozen hot chocolate. I made this for a kids’ party, and it was gone in minutes.
- Mint Chocolate Chip: Add 1/2 teaspoon of peppermint extract instead of vanilla, and fold in 1/4 cup of mini chocolate chips at the end. It’s refreshing and festive—perfect for a winter holiday gathering.
- Vegan Version: Use a can of full-fat coconut milk mixed with 1/2 cup of maple syrup or agave nectar. The texture will be slightly different—a bit more icy—but still delicious. I’ve served this to vegan friends, and they were thrilled.
- Fruity Snow Ice Cream: Fold in 1/2 cup of crushed frozen berries (like raspberries or strawberries) at the end. The berries add a tartness that balances the sweetness. This is my go-to for a summer-in-winter treat.
- Spiced Snow Ice Cream: Add 1/2 teaspoon of cinnamon and a pinch of nutmeg to the condensed milk mixture. It tastes like a snow day in a bowl. I love this version with a drizzle of caramel sauce on top.
Serving & Storage Suggestions
Serving: This snow ice cream is best served immediately, right after it’s made. Scoop it into chilled bowls or cups for a beautiful presentation. I like to top it with a sprinkle of cinnamon, a few chocolate shavings, or a drizzle of warm caramel sauce. For a gathering, serve it in a large, chilled bowl with a scoop, and let guests help themselves. It’s a fun, interactive dessert that always gets people talking.
What to Serve Alongside: This ice cream pairs beautifully with warm desserts. Try it alongside a slice of warm apple pie, a brownie, or a piece of gingerbread. The contrast between the cold, creamy ice cream and the warm, spiced cake is heavenly. For a drink pairing, a hot cup of coffee or a mug of spiced cider is perfect.
Storage: If you have leftovers (unlikely, but possible!), transfer the ice cream to a freezer-safe container. Press a piece of plastic wrap directly onto the surface to prevent ice crystals from forming. Seal the container and freeze for up to 2 weeks. The texture will change—it will become denser and more like traditional ice cream—but it will still be delicious.
Reheating: You don’t reheat ice cream, but if it’s been frozen and become too hard, let it sit at room temperature for 5-10 minutes before scooping. You can also microwave it for 10-15 seconds to soften it slightly.
Flavor Development: Honestly, this ice cream is best fresh. The flavor is brightest and the texture is lightest right after you make it. If you freeze it, the vanilla flavor mellows out a bit, and the sweetness becomes more pronounced. It’s still good, but it’s not the same magical experience.
Nutritional Information & Benefits
This is a treat, so it’s not exactly health food, but here’s the breakdown:
Estimated Nutritional Values (per 1/2 cup serving):
- Calories: 180
- Fat: 4g
- Carbohydrates: 34g
- Sugar: 32g
- Protein: 4g
- Calcium: 12% of the Daily Value
Health Benefits: The main ingredient, snow, is essentially pure water, so this is a hydrating dessert! The sweetened condensed milk provides calcium and protein, which is more than you’d get from a typical ice cream. Plus, making this with fresh snow means you’re avoiding the artificial additives and preservatives found in store-bought ice cream.
Dietary Considerations: This recipe is vegetarian and can be made gluten-free easily (just check your vanilla extract). For a dairy-free version, use the coconut milk substitute mentioned above. It’s not low-sugar, but you can reduce the sweetness by using a sugar-free condensed milk alternative. Keep in mind that this recipe is not suitable for vegans in its original form due to the condensed milk.
My Personal Perspective: I love that this recipe uses real, natural ingredients. There’s something wholesome about making dessert from snow—it connects you to the season in a fun, playful way. Plus, it’s a great way to get kids excited about winter and cooking.
Conclusion
This crowd-pleasing 3-ingredient snow ice cream is more than just a recipe—it’s an experience. It’s the kind of dessert that makes people smile, that sparks memories of childhood snow days, and that turns a simple winter afternoon into something special. Whether you’re hosting a dinner party, a potluck, or just looking for a fun activity with the kids, this recipe delivers every single time.
I love this recipe because it’s proof that you don’t need fancy equipment or a long list of ingredients to create something truly wonderful. It’s simple, honest, and absolutely delicious. And honestly, there’s something magical about turning a snowy day into a bowl of creamy, sweet perfection.
So go ahead—grab a bowl, head outside, and make some snow ice cream. And when you do, I’d love to hear about it! Leave a comment below and tell me how it turned out, or share your own twist on the recipe. Don’t forget to pin this for later and share it with your friends. Happy snow day, friends!
Frequently Asked Questions
Can I use snow that has been on the ground for a few days?
I don’t recommend it. Snow that’s been sitting for a while can collect dirt, debris, and even pollutants. Always use fresh, clean snow that has just fallen for the best flavor and safety.
What if I don’t have sweetened condensed milk?
You can substitute it with 1 cup of heavy cream mixed with 1/2 cup of sugar, or use a can of full-fat coconut milk with 1/2 cup of maple syrup. The texture will be different, but it will still work.
Can I make this without a freezer?
This recipe is designed to be made with snow, so you don’t need a freezer to make it. However, if you want to store leftovers, you’ll need a freezer. If you don’t have one, just make a smaller batch and eat it all right away!
How do I know if the snow is clean enough to eat?
Collect snow from a clean, elevated surface like a patio table, a clean deck, or a freshly fallen drift. Avoid snow that’s near roads, has any discoloration, or has been touched by animals. When in doubt, use fresh snow that’s been falling for at least an hour.
Can I double this recipe for a large crowd?
Absolutely! This recipe scales up beautifully. Just double or triple the ingredients and use a larger bowl. The key is to work in batches if your bowl isn’t big enough—don’t try to mix too much snow at once, or it will melt before it’s incorporated.
Pin This Recipe!
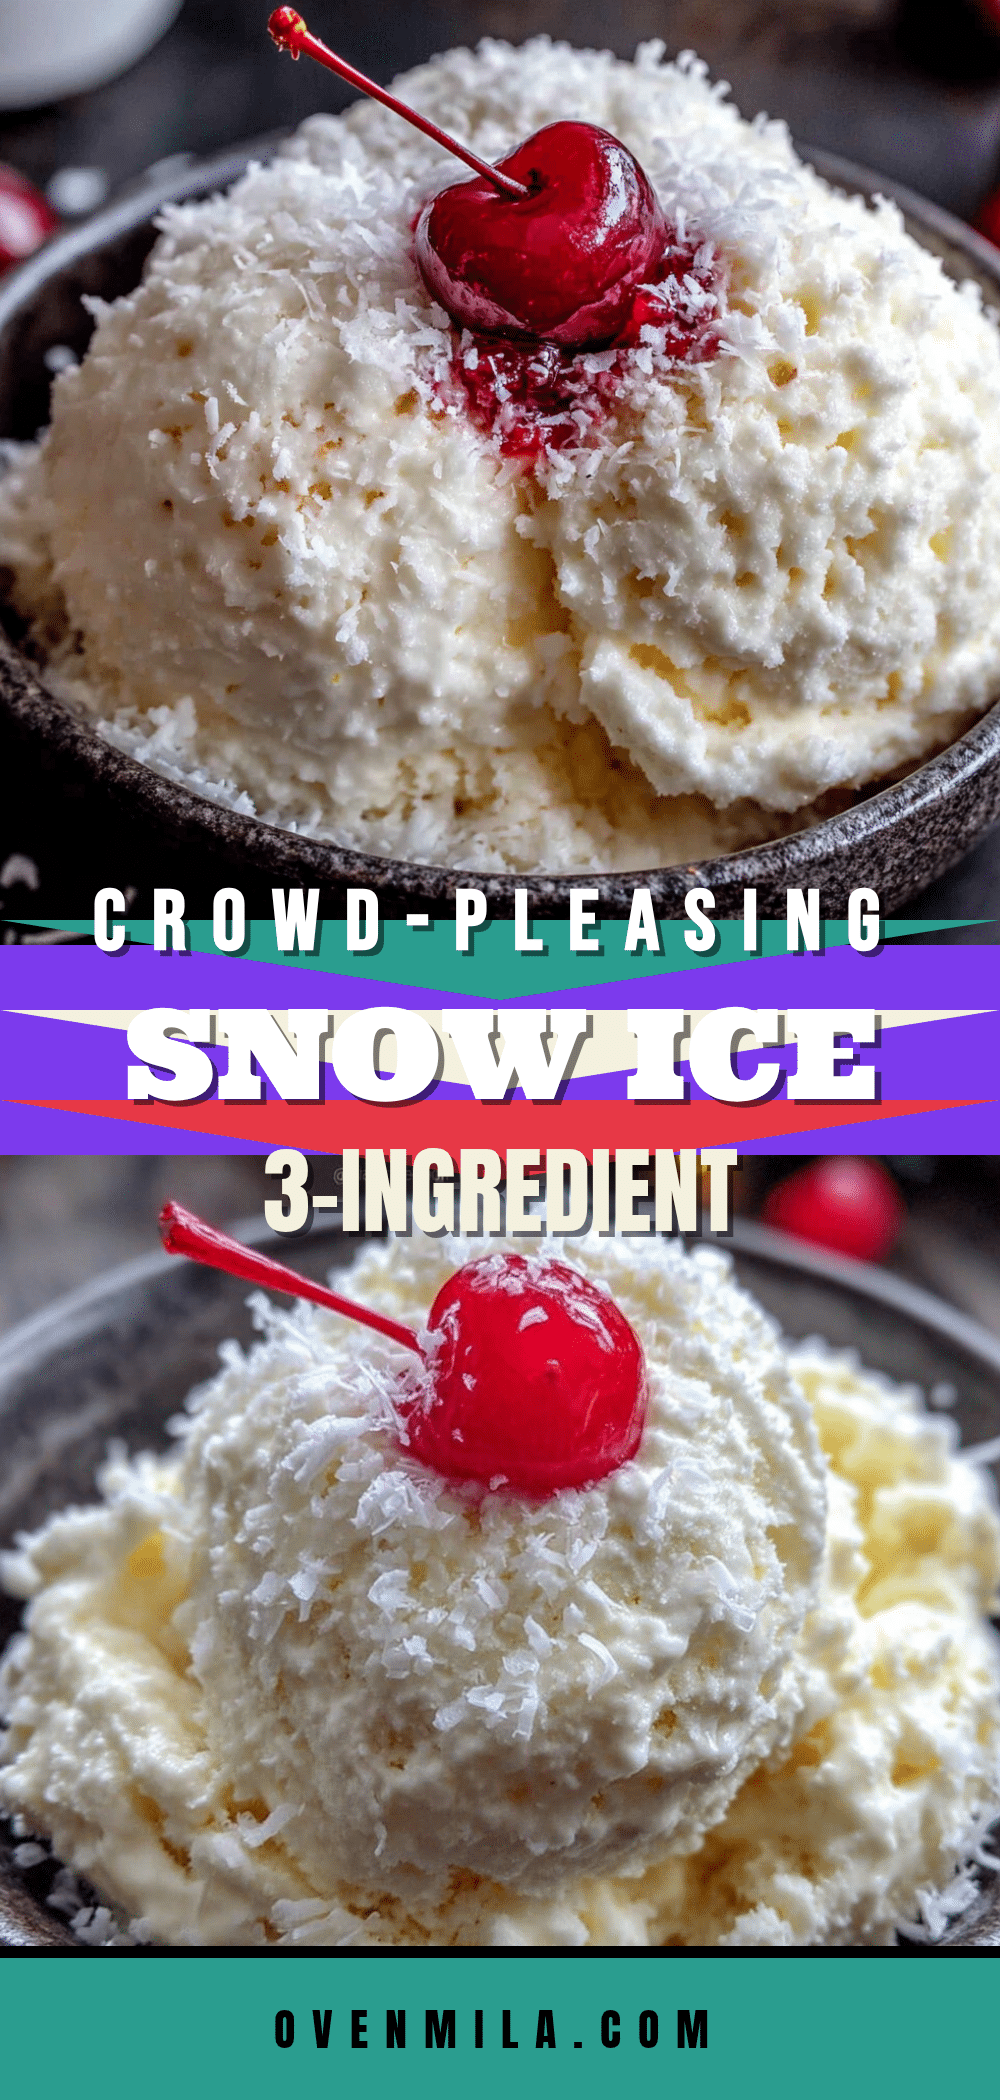
Crowd-Pleasing 3-Ingredient Snow Ice Cream

This nostalgic snow ice cream uses just three ingredients—fresh snow, sweetened condensed milk, and vanilla extract—to create a light, fluffy, and creamy dessert that’s perfect for winter gatherings. It’s a foolproof recipe that tastes like frozen clouds and childhood dreams.
- Prep Time: 10 minutes
- Cook Time: 0 minutes
- Total Time: 10 minutes
- Yield: 4 servings 1x
- Category: Dessert
- Cuisine: American
Ingredients
- 8 cups fresh, clean snow (packed lightly, not compacted)
- 1 can (14 ounces) sweetened condensed milk
- 1 teaspoon vanilla extract
- 1/4 cup chocolate chips (optional)
- 1/4 cup sprinkles (optional)
- A pinch of flaky sea salt (optional)
Instructions
- Collect your snow. Head outside with a large, clean bowl and gather about 8 cups of fresh, fluffy snow. Pack it lightly—don’t press it down. You want it airy. I like to collect it from the top of a clean surface, like a patio table or a freshly fallen drift. Avoid snow that’s been sitting for days or has any dirt or debris.
- Chill your bowl. Before you start, pop your mixing bowl in the freezer for about 10 minutes. This helps keep the snow from melting too quickly when you add the other ingredients.
- Mix the base. In your chilled bowl, pour the entire can of sweetened condensed milk and add the vanilla extract. Stir them together until they’re well combined. The mixture will be thick and sticky—that’s perfect.
- Add the snow. Now, gently fold the snow into the condensed milk mixture. Add it in batches—about 2 cups at a time—and fold gently with your spatula. Don’t stir vigorously; you want to incorporate the snow without crushing it. You’ll see the mixture transform from a thick paste into a light, fluffy ice cream.
- Check the texture. The ice cream should be scoopable and creamy, not runny or icy. If it’s too thick, you can add a tablespoon of milk or a tiny bit more snow. If it’s too thin, add a little more snow, a quarter cup at a time.
- Serve immediately. This ice cream is best eaten right away, while it’s still light and fluffy. Scoop it into bowls and enjoy.
- Optional: Add mix-ins. If you’re adding chocolate chips or sprinkles, fold them in gently at the very end, just before serving. Don’t overmix, or they’ll sink to the bottom.
Notes
Work quickly as snow melts fast. Use fresh, powdery snow collected from a clean, elevated surface. Chill your bowl and tools beforehand for best results. For a dairy-free version, use full-fat coconut milk mixed with maple syrup. The ice cream is best served immediately but can be frozen for up to 2 weeks.
Nutrition
- Serving Size: 1/2 cup
- Calories: 180
- Sugar: 32
- Sodium: 65
- Fat: 4
- Saturated Fat: 2.5
- Carbohydrates: 34
- Protein: 4
Keywords: snow ice cream, 3-ingredient ice cream, winter dessert, easy ice cream, snow day recipe, homemade ice cream, no-churn ice cream


