The fall brunch was in two hours and I had nothing. I mean, nothing. My neighbor Jen had been planning her pumpkin spice latte cheesecake bars for a week. My sister-in-law was bringing a homemade caramel apple tart she’d seen on some fancy baking show. And me? I’d completely spaced on the whole thing until my phone buzzed with a “see you soon!” text. I stood in my kitchen, staring into the fridge like it owed me something. And honestly, it kind of did.
I spotted a bottle of cheap sparkling cider from last month’s apple picking trip, a carton of apple cider that was about to expire, and some random citrus fruit rolling around in the crisper drawer. My first thought was panic. My second thought? Well, I remembered a mimosa bar I’d thrown together for a summer brunch once, and I thought—why not do a fall version? I mean, how hard could it be? I grabbed a bag of frozen cranberries from the back of the freezer, found some cinnamon sticks hiding behind the baking soda, and just started throwing things together. No plan, no fancy ingredients, just a whole lot of hope and a little bit of desperation.
The funniest part? This thrown-together, last-minute, what-was-I-thinking apple cider mimosa bar ended up being the star of the party. People kept coming back for refills. They asked for the recipe. They took pictures. Jen’s cheesecake bars sat half-eaten, but my little drink station was a full-on situation. And I just stood there, slightly embarrassed, admitting that I’d literally made it up that morning out of panic and whatever I had on hand. Maybe you’ve been there—that moment when you accidentally win at something you barely tried to do. That’s this recipe. It’s the underdog, the happy accident, the reason I now keep sparkling cider in my pantry at all times.
Why You’ll Love This Recipe
Let’s be real—there are a million mimosa recipes out there. But this one? It’s different. It’s built for fall, designed for crowds, and it practically begs for customization. Here’s why this easy apple cider mimosa bar deserves a spot at your next gathering:
- Quick & Easy: This comes together in under 10 minutes. Seriously. You just set out the ingredients and let people build their own drinks. No bartending skills required.
- Simple Ingredients: You probably already have most of this stuff—apple cider, sparkling wine or cider, some fruit, and a few spices. No weird syrups or specialty items needed.
- Perfect for Fall Gatherings: Whether it’s a Thanksgiving brunch, a cozy Friendsgiving, or just a Saturday morning with the girls, this mimosa bar fits right in. It’s festive without being fussy.
- Crowd-Pleaser: I’ve served this to everyone from my health-conscious sister to my bourbon-loving uncle, and they all went back for seconds. It’s that approachable.
- Unbelievably Delicious: The combination of tart apple cider, crisp bubbles, and warm cinnamon is next-level. It tastes like autumn in a glass—but lighter and more refreshing than you’d expect.
What makes this recipe different from every other mimosa bar out there? It’s the balance. Most fall cocktails are heavy, sweet, and leave you feeling sluggish. This one is bright, bubbly, and surprisingly light. The apple cider adds natural sweetness without needing extra sugar, and the sparkling wine (or non-alcoholic cider) keeps things crisp. Plus, the mix-in options let everyone customize their drink exactly how they like it. It’s not just another version—it’s the best version. Trust me, I’ve tested it on a lot of people.
This recipe isn’t just good—it’s the kind that makes you close your eyes after the first sip. It’s comfort food reimagined: healthier, faster, but with the same soul-soothing satisfaction. Perfect for impressing guests without stress, or turning a simple brunch into something memorable.
What Ingredients You Will Need
This recipe uses simple, wholesome ingredients to deliver bright, fall-inspired flavor without the fuss. Most of these are pantry staples or easy to find at any grocery store during apple season. Here’s what you’ll need to set up your mimosa bar:
For the Base
- Apple cider, 2 cups (chilled) – This is your flavor backbone. Look for fresh, unfiltered apple cider for the best taste. I prefer Martinelli’s or a local orchard brand when I can find it.
- Sparkling wine, one 750ml bottle (chilled) – Prosecco or cava works great. They’re affordable and crisp. If you want to skip the alcohol, use a good quality sparkling apple cider instead.
- Sparkling water, 2 cups (chilled) – For a lighter option or for anyone who wants to cut the sweetness. Plain or lightly flavored works best.
For the Flavor Add-Ins
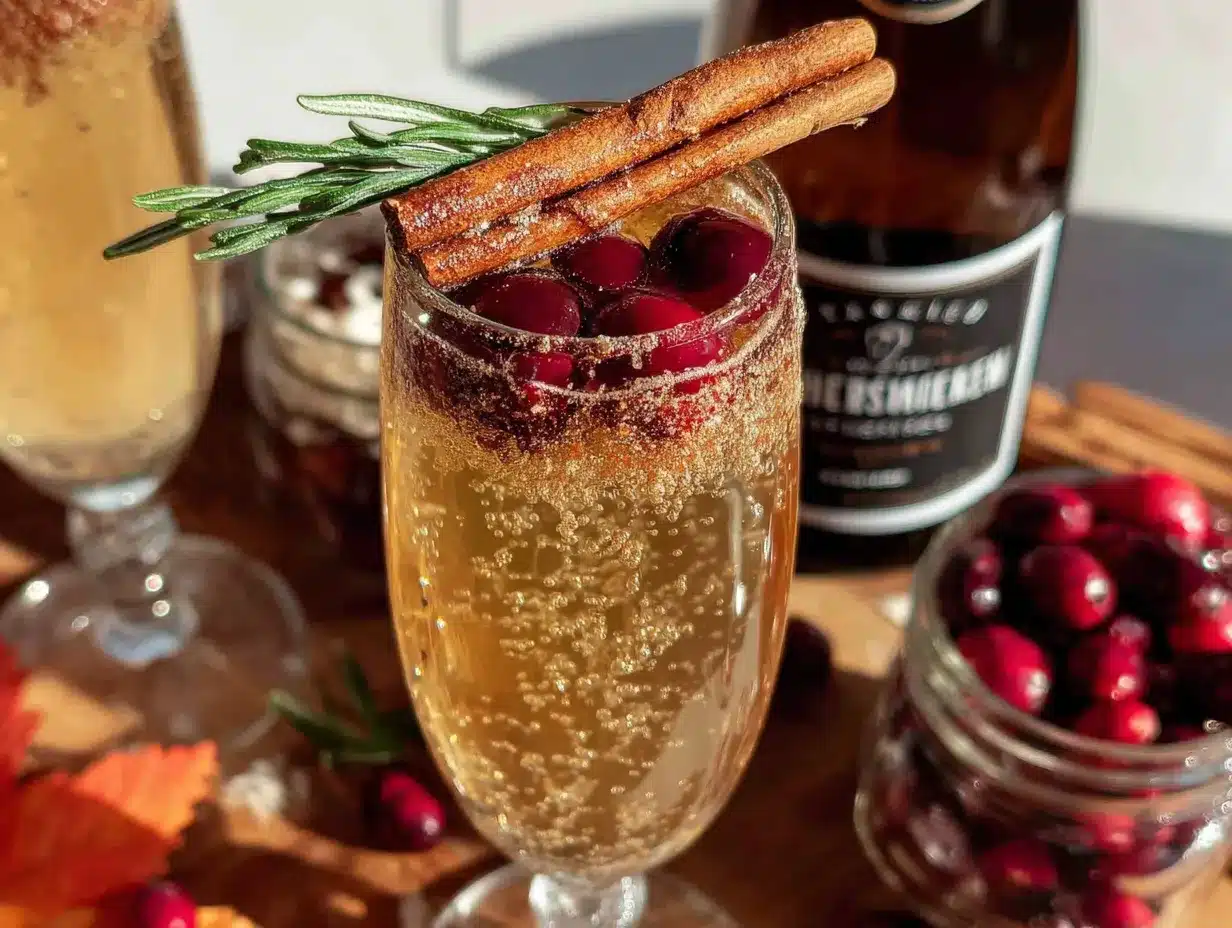
- Cinnamon sticks, 4-6 – These add warmth and make the drinks look gorgeous. Plus, they double as a stirrer.
- Fresh cranberries, 1 cup – They add a pop of color and a tart bite that balances the sweet cider. Frozen works too, just thaw them first.
- Orange slices, 1-2 oranges, thinly sliced – The citrus brightens everything up. Blood oranges or cara caras are beautiful if you can find them.
- Apple slices, 1-2 apples, thinly sliced – Use Honeycrisp or Fuji for sweetness, or Granny Smith for extra tartness. Toss them in a little lemon juice to prevent browning.
- Fresh rosemary sprigs, 4-6 – Sounds weird, I know, but trust me. The herbal note cuts through the sweetness and makes it taste fancy.
- Pure maple syrup, ¼ cup (optional) – For anyone who wants a sweeter drink. Grade A amber is my go-to.
- Vanilla extract, 1 teaspoon (optional) – A tiny splash adds a cozy, almost baked-good flavor. Don’t skip this if you have it.
For the Rim (Optional but Highly Recommended)
- Cinnamon sugar, ¼ cup – Mix 2 tablespoons of granulated sugar with 1 tablespoon of ground cinnamon. Run an orange slice around the rim of each glass, then dip in the mixture.
- Caramel sauce, for drizzling (optional) – A thin drizzle on the rim or inside the glass adds a decadent touch. Use store-bought or make your own.
Substitution Guidance: If you’re gluten-free, this recipe naturally is. For a vegan option, skip the caramel sauce or use a vegan version. For a low-sugar version, use a dry sparkling wine and skip the maple syrup. The apple cider itself has natural sugar, but it’s not overwhelming.
Equipment Needed
You don’t need much for this mimosa bar, which is part of the beauty. Here’s what I recommend having on hand:
- Champagne flutes or wine glasses – Flutes keep the bubbles longer, but any glass works. I’ve used mason jars in a pinch and they look adorable.
- A large pitcher or drink dispenser – For the apple cider base. A glass dispenser with a spigot makes it easy for guests to serve themselves.
- Small bowls or ramekins – For the add-ins like cranberries, orange slices, and cinnamon sticks. I use little tapas plates or even small mason jars.
- A small plate for the rim mixture – A shallow bowl or saucer works perfectly for the cinnamon sugar.
- A paring knife and cutting board – For slicing the fruit. Nothing fancy needed.
- Measuring cups and spoons – For the maple syrup and vanilla if you’re using them.
- Ice bucket or cooler – To keep the sparkling wine and water chilled. Nobody likes warm bubbles.
I picked up a simple glass drink dispenser at Target for like $15 and it’s been a game-changer for parties. If you don’t have one, a large pitcher works just fine. And honestly, I’ve used a clean plastic water jug before when I was camping—it’s not pretty, but it gets the job done.
Preparation Method
This is less of a recipe and more of a setup, but I’ll walk you through it step by step so you feel confident. The whole thing takes about 10 minutes, I promise.
- Chill everything: At least 2 hours before serving, put your apple cider, sparkling wine, and sparkling water in the fridge. Nothing ruins a mimosa faster than warm bubbles. Trust me on this one.
- Prep the fruit: Wash and dry your cranberries. Slice your oranges and apples into thin rounds—about ¼-inch thick. If you’re using apples, toss them in a little lemon juice so they don’t turn brown. I learned this the hard way after serving sad, brown apples at a brunch once.
- Make the cinnamon sugar rim: In a small shallow bowl, mix 2 tablespoons of granulated sugar with 1 tablespoon of ground cinnamon. Set aside.
- Set up your rim station: Take an orange slice and run it around the rim of each glass. Dip the wet rim into the cinnamon sugar mixture, twisting slightly to coat evenly. Tap off any excess. This step is optional but honestly, it makes the drink look and taste incredible.
- Arrange the add-ins: Place your cranberries, orange slices, apple slices, cinnamon sticks, and rosemary sprigs in separate small bowls. Arrange them in a row on your serving table so guests can see everything at once.
- Fill the drink dispenser: Pour the chilled apple cider into your dispenser or pitcher. If you’re using the vanilla extract and maple syrup, stir them into the cider now. Taste it—it should be lightly sweet and cozy, not overpowering.
- Set up the bubbly: Place your chilled sparkling wine and sparkling water in an ice bucket or cooler right next to the cider. Guests will mix their own, so make sure both are easy to grab.
- Create a serving flow: Arrange your glasses at the start, then the rim station, then the cider dispenser, then the bubbles, then the add-ins. This way guests can build their drink in a logical order without a traffic jam.
- Let guests build their own: The standard ratio is about ⅓ apple cider mixture to ⅔ sparkling wine or water, but let people adjust to their taste. I like mine more cider-heavy, while my husband loads up on bubbles. To each their own.
- Garnish and enjoy: Encourage guests to add a cinnamon stick as a stirrer, a few cranberries for color, a slice of apple or orange, and a sprig of rosemary for that fancy touch. The rosemary looks gorgeous and smells amazing.
Pro tip: If you’re making these for a crowd, set up a small sign that says “Fill ⅓ with cider, then top with bubbles!” It saves you from answering the same question fifteen times. Not that I’ve done that or anything.
Cooking Tips & Techniques
Look, this isn’t exactly a complicated recipe, but I’ve made enough mistakes to know where things can go wrong. Here’s what I’ve learned the hard way so you don’t have to:
Temperature is everything. I once served a mimosa bar at a Friendsgiving where I forgot to chill the sparkling wine. The result? Flat, sad drinks that nobody touched. Make sure everything is properly chilled—at least 2 hours in the fridge. If you’re in a rush, you can stick the bottles in a ice-water bath for 30 minutes, but don’t skip this step.
Don’t oversweeten the cider base. The apple cider is already naturally sweet. If you add too much maple syrup or vanilla, it becomes cloying. Start with less than you think you need, then taste and adjust. You can always add more, but you can’t take it out.
Slice your fruit thin. Thick chunks of apple or orange look clumsy and don’t release as much flavor. Aim for ¼-inch slices. They should be thin enough to see through but thick enough to hold their shape. Use a sharp knife—a dull one will bruise the fruit and make it look sad.
Keep the add-ins separate until serving. If you mix everything together ahead of time, the fruit gets soggy and the rosemary loses its punch. Set everything out in individual bowls and let guests customize. It looks prettier and tastes better.
Don’t skip the rosemary. I know it sounds weird, but the herbal note from fresh rosemary completely transforms this drink. It cuts through the sweetness and adds a layer of complexity that makes people say “what’s in this?” in a good way. Just don’t eat the sprig—it’s for aroma, not consumption.
Make extra cinnamon sugar. People will want to re-dip their glasses. Trust me. Make double what you think you need.
Variations & Adaptations
One of the best things about this mimosa bar is how easy it is to adapt. Here are some of my favorite variations:
Non-Alcoholic Version: This is my go-to for brunches with pregnant friends or early morning gatherings. Simply swap the sparkling wine for a good quality sparkling apple cider or a crisp sparkling water. I like Spindrift’s apple flavor, but plain works too. The drink is still festive and delicious—nobody will miss the alcohol.
Spiced Pear Version: In the late fall, when pears are at their peak, swap the apple cider for pear cider or pear nectar. Add a few slices of fresh pear and a star anise pod for a warm, aromatic twist. It’s slightly less sweet than the apple version and feels incredibly elegant.
Pomegranate Apple Version: Add ¼ cup of pomegranate juice to the apple cider base, and toss in a handful of fresh pomegranate arils instead of cranberries. The color is stunning—deep ruby red—and the tartness of the pomegranate balances the sweet apple perfectly. This one always gets photographed.
Maple Bourbon Kick: For an adult-only brunch, add a splash of bourbon (about 1 tablespoon per glass) to the cider base. The smoky warmth of the bourbon pairs beautifully with the apple and cinnamon. Use a good quality bourbon—nothing fancy, but not the bottom shelf either. I like Bulleit or Maker’s Mark for this.
Dairy-Free Caramel Rim: If you want that caramel drizzle but need it dairy-free, use a vegan caramel sauce. I’ve found that date syrup also works beautifully—it’s thick, sticky, and has a natural caramel flavor. Just drizzle a thin line on the rim and dip in cinnamon sugar.
I’ve personally tried the pomegranate version at a Thanksgiving brunch and it was a hit. The color alone made people grab their phones for pictures. Don’t be afraid to experiment—the whole point of a bar is customization.
Serving & Storage Suggestions
Serving Temperature: Serve everything ice-cold. The apple cider base should be straight from the fridge, and the sparkling wine should be chilled for at least 2 hours. If you’re serving outdoors in cool fall weather, keep the bottles in an ice bucket to maintain temperature.
Presentation: Arrange everything on a large tray or counter in a logical flow: glasses, rim station, cider base, sparkling options, then add-ins. Use small jars or ramekins for the add-ins to keep things organized. A little chalkboard sign with “Build Your Own Fall Mimosa” adds a nice touch.
Complementary Dishes: This mimosa bar pairs beautifully with savory brunch items like a frittata, breakfast casserole, or a simple arugula salad with shaved parmesan. The acidity of the drink cuts through rich, eggy dishes perfectly. For a sweet pairing, try pumpkin muffins or a simple apple crisp.
Storage: The apple cider base (without bubbles) can be made up to 24 hours in advance and stored in the fridge. The fruit add-ins should be sliced no more than 2 hours before serving to stay fresh. Leftover sparkling wine can be stored with a wine stopper for 1-2 days, but it will lose its fizz. Use it for cooking or just drink it straight.
Reheating: Don’t. This is a cold drink. If you want a warm fall cocktail, make mulled cider instead.
Flavor Development: The apple cider base actually gets better after sitting for a few hours in the fridge—the cinnamon and vanilla meld together beautifully. Just don’t add the bubbles until you’re ready to serve, or you’ll lose all the fizz.
Nutritional Information & Benefits
This mimosa bar is surprisingly light compared to most fall cocktails. Here’s a rough estimate per serving (one glass, using sparkling wine and no added sweetener):
- Calories: 120-150
- Carbohydrates: 15-18g (mostly from natural fruit sugars)
- Sugar: 12-15g (no added sugar if you skip the maple syrup)
- Alcohol: Approximately 0.5-1 standard drink per glass
Health Benefits: Apple cider is rich in antioxidants and polyphenols, which support gut health and reduce inflammation. Cinnamon is known for its anti-inflammatory properties and can help regulate blood sugar. Cranberries are packed with vitamin C and antioxidants. Even the rosemary has cognitive benefits—it’s been shown to improve memory and concentration. So technically, this is a health drink. I’m not a doctor, but I’m going with that.
Dietary Considerations: This recipe is naturally gluten-free, dairy-free (skip the caramel), and vegan (skip the honey and use a vegan caramel). For a low-sugar option, use a dry sparkling wine and skip the maple syrup and caramel. The apple cider itself has natural sugar, but it’s not excessive.
Potential Allergens: None of the common allergens are present in the base recipe. However, if you’re using a caramel sauce, check for dairy. Some sparkling wines may use fining agents derived from fish or eggs, but this is rare and typically not listed on the label.
Conclusion
This apple cider mimosa bar is proof that you don’t need a complicated recipe or a pantry full of fancy ingredients to impress people. Sometimes the best things come from a moment of panic and a willingness to experiment. I honestly make this for every fall gathering now—it’s become my signature, and people expect it. And every time, I smile a little, remembering that morning when I had nothing and accidentally created something everyone loved.
I hope you give this a try, whether it’s for a big Thanksgiving brunch or just a quiet Saturday morning with someone you love. Customize it, make it your own, and don’t stress about perfection. That’s the whole point. If you make it, I’d love to hear how it went—drop a comment below or tag me in your photos. And if you have a favorite add-in I haven’t tried, please share it. I’m always looking for new ideas.
Now go pour yourself a glass. You’ve earned it.
Frequently Asked Questions
Can I make this apple cider mimosa bar ahead of time?
Yes! You can prep the apple cider base (with cinnamon and vanilla) up to 24 hours in advance and store it in the fridge. Slice the fruit no more than 2 hours before serving to keep it fresh. Just don’t add the bubbles until your guests are ready to pour.
What’s the best sparkling wine for this recipe?
Prosecco or cava are my go-to choices. They’re affordable, crisp, and widely available. You don’t need an expensive champagne—the apple cider is the star here. Look for a brut or extra brut style to keep the drink from being too sweet.
Can I use bottled apple juice instead of fresh apple cider?
You can, but the flavor won’t be as rich. Fresh, unfiltered apple cider has a deeper, more complex apple taste and a slightly thicker texture. Bottled apple juice is thinner and sweeter. If you’re in a pinch, it works, but I recommend seeking out real cider.
How do I keep the apple slices from turning brown?
Toss them in a little lemon juice or lime juice right after slicing. The acid prevents oxidation. You can also use a commercial fruit preserver like Fruit-Fresh, but lemon juice works just fine and adds a nice bright note.
Is this recipe kid-friendly?
Absolutely! Just set out sparkling apple cider or sparkling water instead of the wine. Kids love building their own drinks with the fun add-ins. The cinnamon sugar rim is always a hit with the little ones—just be prepared for sticky fingers.
Pin This Recipe!
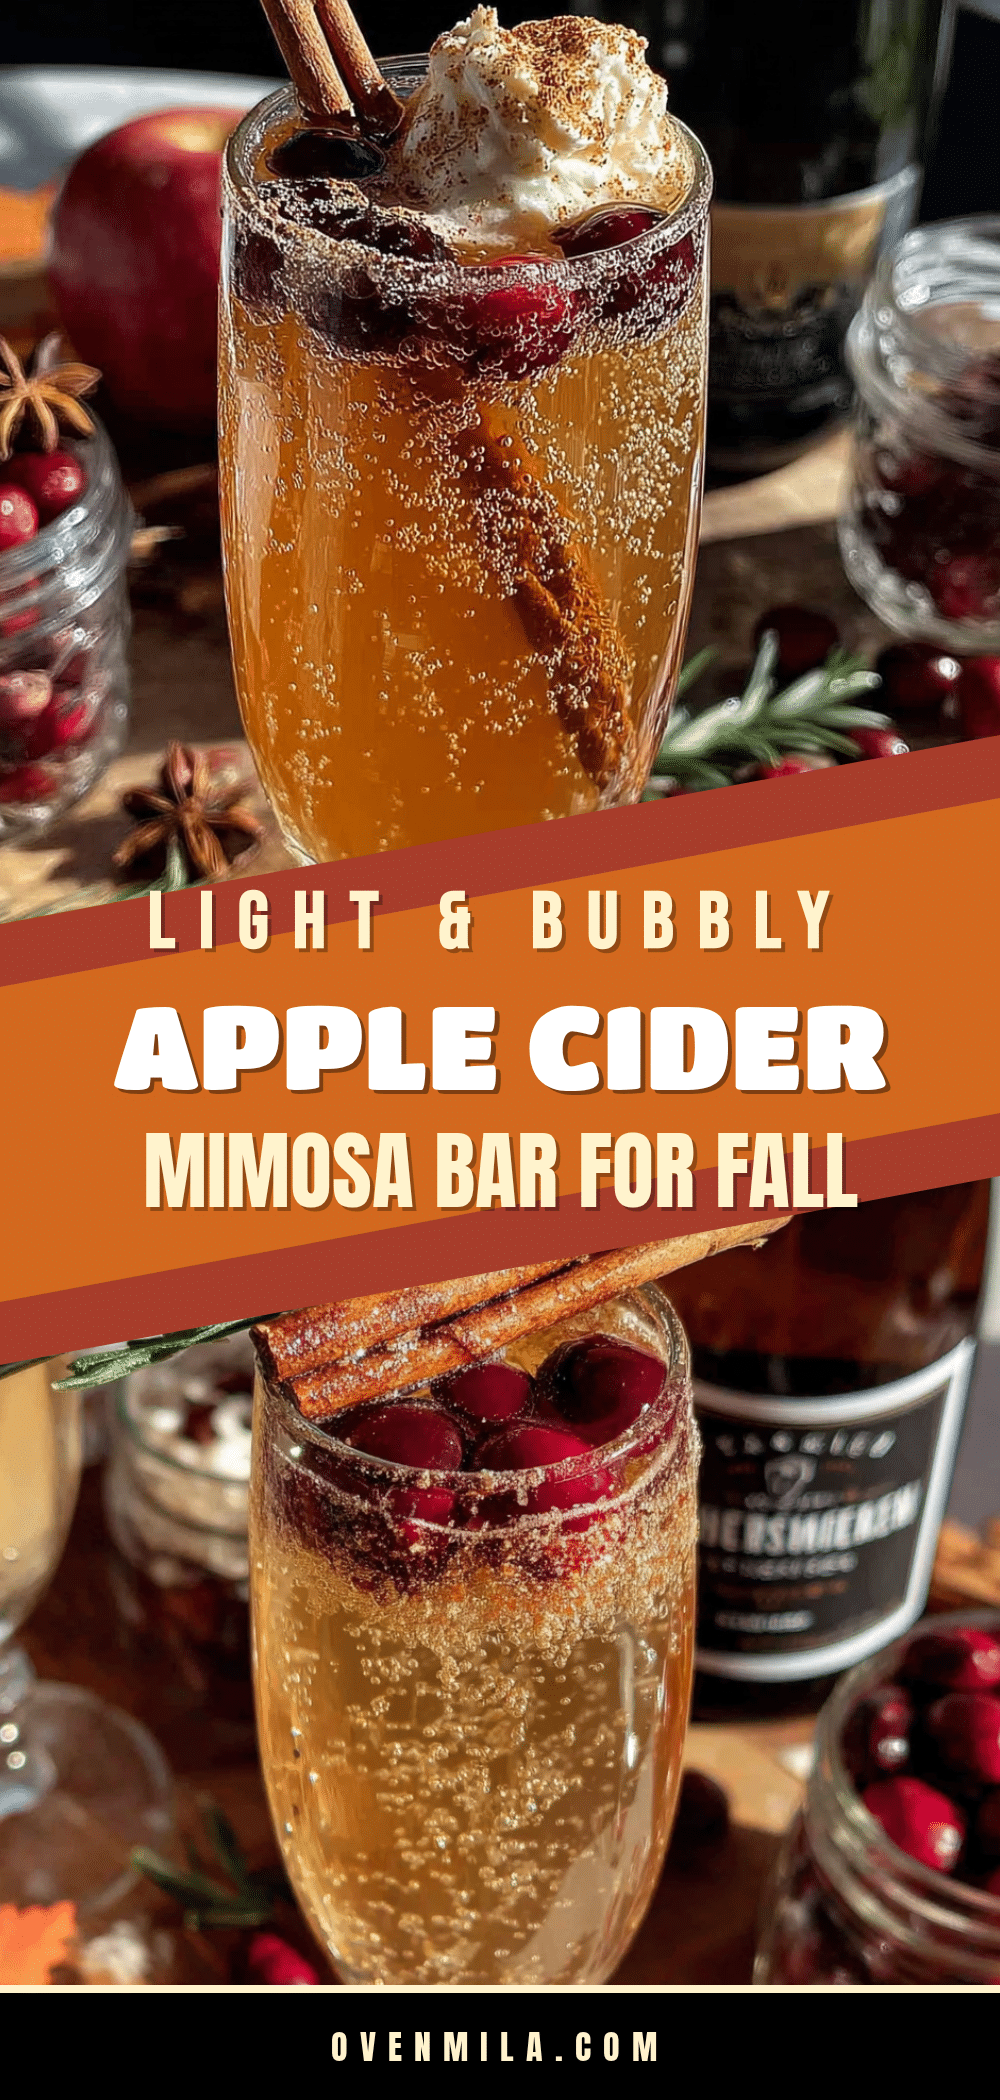
Easy & Bubbly Apple Cider Mimosa Bar

A quick and easy fall mimosa bar made with apple cider, sparkling wine, and festive add-ins like cinnamon sticks, cranberries, and rosemary. Perfect for brunches and gatherings, this customizable drink station is a crowd-pleaser that comes together in under 10 minutes.
- Prep Time: 10 minutes
- Cook Time: 0 minutes
- Total Time: 10 minutes
- Yield: 8 servings 1x
- Category: Beverage
- Cuisine: American
Ingredients
- 2 cups apple cider, chilled
- 1 bottle (750ml) sparkling wine (Prosecco or cava), chilled
- 2 cups sparkling water, chilled
- 4–6 cinnamon sticks
- 1 cup fresh cranberries
- 1–2 oranges, thinly sliced
- 1–2 apples (Honeycrisp, Fuji, or Granny Smith), thinly sliced
- 4–6 fresh rosemary sprigs
- ¼ cup pure maple syrup (optional)
- 1 teaspoon vanilla extract (optional)
- ¼ cup cinnamon sugar (2 tablespoons granulated sugar + 1 tablespoon ground cinnamon)
- Caramel sauce for drizzling (optional)
Instructions
- Chill apple cider, sparkling wine, and sparkling water for at least 2 hours before serving.
- Wash and dry cranberries. Slice oranges and apples into ¼-inch thick rounds. Toss apple slices in lemon juice to prevent browning.
- In a small shallow bowl, mix 2 tablespoons granulated sugar with 1 tablespoon ground cinnamon to make cinnamon sugar.
- Run an orange slice around the rim of each glass, then dip into cinnamon sugar mixture to coat evenly. Tap off excess.
- Place cranberries, orange slices, apple slices, cinnamon sticks, and rosemary sprigs in separate small bowls for serving.
- Pour chilled apple cider into a drink dispenser or pitcher. If using, stir in vanilla extract and maple syrup. Taste and adjust sweetness.
- Place chilled sparkling wine and sparkling water in an ice bucket or cooler next to the cider.
- Arrange glasses, rim station, cider dispenser, bubbles, and add-ins in a logical serving flow.
- Let guests build their own drinks: fill glass about ⅓ with apple cider mixture, then top with sparkling wine or water to taste.
- Garnish with a cinnamon stick, a few cranberries, a slice of apple or orange, and a rosemary sprig. Enjoy immediately.
Notes
Chill all ingredients thoroughly for best results. The apple cider base can be made up to 24 hours in advance. Slice fruit no more than 2 hours before serving. For a non-alcoholic version, substitute sparkling wine with sparkling apple cider or sparkling water. For a low-sugar option, use dry sparkling wine and skip the maple syrup. The rosemary sprig is for aroma, not consumption.
Nutrition
- Serving Size: 1 glass (about 8 oz)
- Calories: 120150
- Sugar: 1215
- Sodium: 10
- Carbohydrates: 1518
- Fiber: 1
Keywords: apple cider mimosa, fall mimosa bar, brunch cocktail, easy mimosa recipe, apple cider cocktail, fall brunch drink


