I was standing in line at the hardware store, of all places, holding a new showerhead and trying to remember if I needed plumber’s tape, when the woman behind me—a retired schoolteacher named Carol with a perfectly sensible beige coat—started talking about Halloween. Not about costumes or candy, but about dinner. She was muttering to herself about how her grandkids always refused to eat before trick-or-treating, and how she’d finally cracked the code. I half-turned, and she launched into this description of hot dogs wrapped in crescent dough with little cheese faces, and I honestly forgot about the plumber’s tape. I just stood there, holding my showerhead, completely captivated by the idea of mummy hot dogs that actually made kids sit down and eat before the sugar frenzy began.
Carol wasn’t a food blogger or a chef. She was just a grandma who had figured out that if you cut little eyes into cheese and wrap a hot dog in dough strips, suddenly dinner becomes an event. She told me she’d been making them for six years, ever since her oldest grandson refused to eat anything that wasn’t “Halloween-themed” on October 31st. I scribbled her instructions on the back of my grocery list—right between “bananas” and “dish soap”—and that night, I made them for my own kids. Let me tell you, the silence that fell over the kitchen table was nothing short of miraculous. No complaints, no negotiations, just the sound of happy chewing and requests for more “mummies.”
I’ve tweaked Carol’s original version over the years, adding a little garlic powder to the dough and switching to mini cheese slices for the eyes because they’re easier to handle. But the heart of the recipe is still hers—simple, affordable, and so ridiculously fun that even the pickiest eater forgets to be suspicious. Maybe you’ve been there, standing in your kitchen on Halloween night, wondering how you’re going to get real food into your kids before they inhale a pound of candy. Honestly, I’ve been there more times than I can count. That’s why this recipe stuck with me. It’s not fancy, it’s not complicated, and it doesn’t require a trip to a specialty grocery store. It’s just a smart, kind-of-silly dinner that actually works.
Why You’ll Love This Recipe
Look, I’ve tested a lot of Halloween recipes over the years. Some are too complicated, some fall apart, and some just don’t taste good enough to justify the effort. These Easy Cheesy Mummy Hot Dogs are different. They hit that sweet spot where fun meets genuinely good food, and they do it without breaking your budget or your sanity.
- Quick & Easy: From start to table in under 25 minutes. That’s faster than ordering pizza, and honestly, cheaper too. Perfect for those chaotic Halloween evenings when you’re juggling costumes, homework, and the constant question of “when can we go trick-or-treating?”
- Simple Ingredients: You need exactly five things—hot dogs, refrigerated crescent roll dough, cheese slices, and a couple of pantry seasonings. No special trips to the store, no obscure ingredients you’ll never use again.
- Perfect for Halloween: This is the ultimate Halloween dinner. It’s themed without being gimmicky, fun without being messy, and substantial enough to fill little bellies before the candy onslaught.
- Crowd-Pleaser: I’ve served these at Halloween parties, school events, and plain old Tuesday dinners. Kids devour them. Adults sneak them when they think no one is looking. There’s something about the combination of salty hot dog, buttery dough, and melty cheese that appeals to every age.
- Unbelievably Delicious: The crescent dough gets golden and flaky, the hot dog stays juicy, and that little square of cheese melts into a gooey surprise. It’s comfort food with a costume on.
What makes this recipe different from the dozens of other mummy hot dog recipes out there? It’s the details. I’ve tested the dough-to-hot-dog ratio so you get perfectly wrapped mummies every time. I’ve figured out the best way to cut the cheese eyes so they look cute without falling off. I’ve even worked out the ideal baking temperature to get the dough cooked through without drying out the hot dogs. This isn’t just another version—it’s the version I’ve perfected over years of Halloween dinners, and I’m pretty proud of it.
This recipe is the kind that makes you close your eyes after the first bite, not because it’s fancy, but because it’s exactly right. It’s Halloween comfort food reimagined—faster, simpler, but with the same soul-soothing satisfaction of a warm, buttery, cheesy dinner. Perfect for impressing your kids without stress, or turning a chaotic Halloween night into something memorable.
What Ingredients You Will Need
This recipe keeps things refreshingly simple. You probably already have most of these ingredients in your kitchen, which is exactly how I like it. Here’s what you’ll need and why each one matters.
- 1 package (8 count) hot dogs — I recommend using your favorite brand here. I personally like beef hot dogs for their richer flavor, but turkey or chicken hot dogs work beautifully too. If you’re feeding picky eaters, stick with standard-sized hot dogs rather than jumbo ones—they’re easier for little hands to hold and the dough wraps around them more evenly. Look for hot dogs that are relatively straight if you can, though honestly, a slightly curved mummy just looks more authentic.
- 1 can (8 ounces) refrigerated crescent roll dough — This is the backbone of your mummy wrappings. I’ve tested this with several brands, and Pillsbury is my go-to for consistent results. The dough rolls out evenly, bakes up golden and flaky, and has just enough butteriness to complement the hot dog without overwhelming it. You can use store-brand crescent dough in a pinch, but check the expiration date—fresher dough rolls out more easily and puffs up better in the oven. For best results, keep the dough refrigerated until you’re ready to use it.
- 4 slices cheddar cheese — You want good melting cheese here. I use medium cheddar because it melts smoothly without getting greasy, and the flavor is mild enough for kids but noticeable enough for adults. Pre-sliced cheese is fine, but if you can, grab a block and slice it yourself—it melts more evenly. For the mummy eyes, you’ll cut each slice into 6 small squares, so you’ll end up with 24 tiny cheese eyes total. Pro tip: use a pizza cutter or a sharp knife for clean edges.
- 1 large egg — This is for the egg wash that gives the dough that beautiful golden-brown finish. You’ll beat it with a tablespoon of water and brush it over the wrapped mummies before baking. If you’re out of eggs, you can skip this step—the dough will still bake up nicely, just without that glossy sheen. But honestly, the egg wash makes them look so much more appetizing, and it helps the little mustard dots stick better.
- 1 tablespoon water — Just regular tap water to thin out the egg wash. Nothing fancy here.
- Mustard (yellow or Dijon) — This is for the mummy eyes. You’ll dab a tiny dot of mustard onto each cheese square after baking to create the pupils. Yellow mustard gives a more classic “Halloween” look, but Dijon works too and has a slightly milder flavor. My kids actually prefer the yellow mustard because it looks more like a cartoon eye. You’ll only need a tiny amount—maybe a teaspoon total.
Optional additions: Sometimes I sprinkle a little garlic powder or everything bagel seasoning over the dough before baking. It adds a subtle flavor boost that adults appreciate, and kids don’t seem to mind. If you want to get really fancy, you can add a thin strip of red bell pepper as a “tongue” peeking out from the wrappings, but that’s entirely optional and mostly just for fun.
Equipment Needed
You don’t need anything fancy for this recipe, which is part of its charm. Here’s what you’ll need:
- Baking sheet — A standard half-sheet pan works perfectly. I like to line mine with parchment paper for easy cleanup, but aluminum foil works too (just give it a quick spray of cooking oil to prevent sticking). If you’re using a dark-colored baking sheet, keep an eye on the bottoms—they can brown faster.
- Sharp knife or pizza cutter — You’ll need this to cut the crescent dough into strips. A pizza cutter makes quick work of it, but a sharp chef’s knife does the job just fine. I’ve used both, and honestly, the pizza cutter is easier for getting even strips.
- Pastry brush — For applying the egg wash. If you don’t have one, you can use a clean paintbrush (dedicated to kitchen use) or even just dab the egg wash on with a paper towel. It won’t be as even, but it works in a pinch.
- Small bowl — For beating the egg and water together.
- Cutting board — For cutting the hot dogs and cheese. A plastic or wooden board works fine.
- Toothpicks — Optional, but helpful if you want to secure any loose dough ends before baking. I’ve only needed them a couple of times when my dough strips were a little too long.
That’s it. No stand mixer, no food processor, no special pans. Just basic kitchen tools that you probably already own. If you’re making these for a party and need to double the recipe, just use two baking sheets and bake them in batches or on separate racks.
Preparation Method
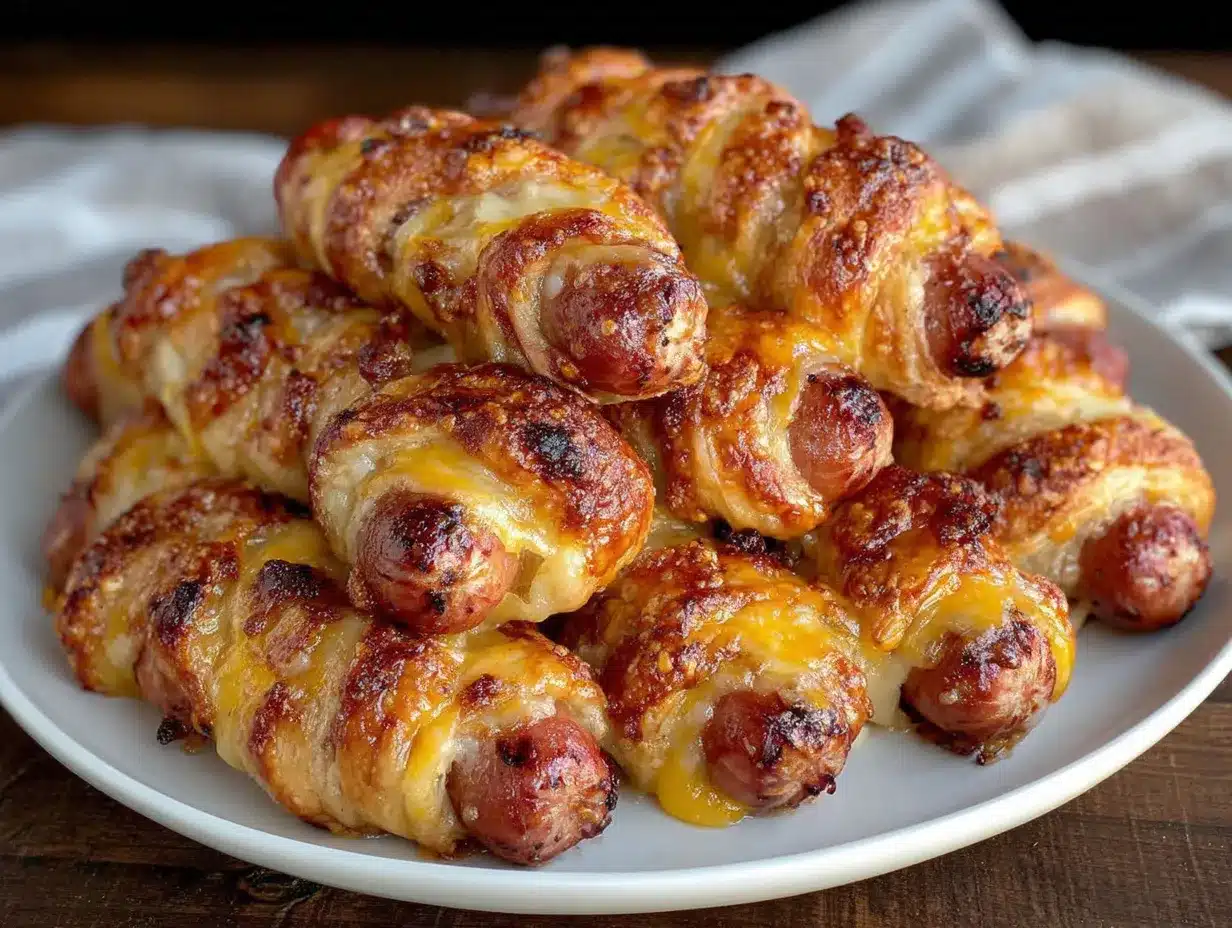
Alright, let’s make some mummies. This whole process takes about 20 minutes of active time and 10-12 minutes of baking, so it’s perfect for those nights when you’re short on time but still want something special.
- Preheat your oven to 375°F (190°C). Line a baking sheet with parchment paper or aluminum foil. Getting the oven ready first ensures it’s fully heated by the time your mummies are assembled. I’ve made the mistake of rushing this step, and the dough doesn’t puff up as nicely if the oven isn’t hot enough.
- Prepare your hot dogs. Pat them dry with a paper towel. This helps the dough stick better. If your hot dogs are very long, you can trim about half an inch off each end—they’ll fit more neatly on the baking sheet and look more proportional when wrapped. Don’t skip this step if you’re using jumbo hot dogs; they need about 2 extra minutes of baking time.
- Cut the cheese into eyes. Take your 4 slices of cheddar cheese and cut each one into 6 small squares, roughly 1 inch by 1 inch. You’ll end up with 24 tiny cheese squares. Set them aside on a plate. If the cheese is sticking to your knife, try spraying the blade with a little cooking spray—it makes the cuts much cleaner.
- Prepare the crescent dough. Open the can of crescent roll dough (pop that tube carefully—it always startles me) and unroll it onto a clean cutting board. Pinch the perforated seams together to create one solid sheet of dough. You should have a rectangle roughly 12 inches by 8 inches. If the dough is too cold to work with, let it sit at room temperature for 2-3 minutes, but don’t let it get too warm or it’ll become sticky and hard to handle.
- Cut the dough into strips. Using a sharp knife or pizza cutter, slice the dough lengthwise into 8 strips, each about 1 inch wide. You want them thin enough to wrap around the hot dogs but thick enough to hold their shape during baking. If your strips are uneven, don’t worry—mummies are supposed to look a little messy. In fact, uneven strips give them a more authentic “wrapped” appearance.
- Wrap the mummies. Take one strip of dough and wrap it around a hot dog, starting at one end and working your way to the other. Leave a small gap about 1 inch wide near the top of the hot dog—this is where the mummy’s face will go. Overlap the dough slightly as you wrap, but don’t pull it too tight or the dough will tear during baking. Press the end of the dough strip gently to seal it. Repeat with the remaining hot dogs and dough strips. You should have exactly 8 mummies.
- Place on baking sheet. Arrange the wrapped hot dogs on your prepared baking sheet, leaving about 2 inches of space between each one. Make sure the seam side is facing down so the dough doesn’t unravel during baking.
- Add the cheese eyes. Gently press two cheese squares onto the exposed section of each hot dog, positioning them like eyes. Press them down slightly so they stick to the hot dog. Don’t worry if they look a little crooked—mummies with uneven eyes are actually cuter.
- Apply the egg wash. In a small bowl, beat the egg with 1 tablespoon of water until well combined. Using a pastry brush, gently brush the egg wash over the dough strips. Be careful not to brush the cheese eyes—the egg wash will make them slide off. This step gives the dough that beautiful golden-brown color and helps the mustard dots stick later.
- Bake. Place the baking sheet in the preheated oven and bake for 10-12 minutes, or until the dough is golden brown and the hot dogs are heated through. The cheese eyes will have melted slightly, which is exactly what you want. If you’re using jumbo hot dogs, add 2 extra minutes to the baking time.
- Add the pupils. Remove the mummies from the oven and let them cool for 2-3 minutes on the baking sheet. Using a toothpick or the tip of a knife, dab a tiny dot of mustard onto each cheese square to create the pupils. Don’t add the mustard before baking—it will dry out and lose that bright yellow color.
- Serve immediately. Transfer the mummies to a serving platter and watch them disappear. They’re best enjoyed warm, when the cheese is still melty and the dough is at its flakiest.
Cooking Tips & Techniques
After making these Easy Cheesy Mummy Hot Dogs more times than I can count (and definitely more times than I’d like to admit), I’ve picked up a few tricks that make the process smoother and the results better. Let me share what I’ve learned the hard way so you don’t have to.
Don’t overwork the dough. Crescent roll dough is forgiving, but it has its limits. If you handle it too much, it becomes tough and doesn’t puff up as nicely. When you’re pinching the seams together, use gentle pressure. When you’re wrapping the hot dogs, keep your movements quick and light. The less you handle the dough, the flakier your mummies will be.
Keep the dough cold. Warm dough is sticky dough, and sticky dough is a pain to work with. If you’re taking your time assembling the mummies, keep the unused dough strips in the refrigerator. If the dough starts feeling tacky, pop it in the fridge for 5 minutes to firm up. I learned this one the hard way during a particularly hot October when my kitchen was basically a sauna.
Leave enough space for the face. The first time I made these, I wrapped the dough too tightly and the mummy’s face was barely visible. Leave a good 1-inch gap at the top of the hot dog for the cheese eyes. This isn’t just about appearance—it also ensures the cheese melts directly onto the hot dog rather than onto the dough, which gives you that nice gooey bite.
Watch the baking time. Ovens vary, so start checking your mummies at the 9-minute mark. You want the dough to be golden brown, not dark brown. If the bottoms are browning too quickly, move the baking sheet to a higher rack in the oven. If the tops are browning too fast, tent them loosely with aluminum foil for the last few minutes.
Make ahead tip. You can assemble the mummies up to 4 hours ahead of time and keep them covered in the refrigerator. Just add the egg wash right before baking. This is a lifesaver on Halloween when you’re juggling a million things at once. I’ve even frozen assembled, unbaked mummies for up to a month—just bake them straight from frozen, adding 3-4 minutes to the baking time.
Double batch strategy. If you’re feeding a crowd, double the recipe and bake on two racks. Rotate the baking sheets halfway through for even browning. I’ve served these at Halloween parties with six dozen mummies, and they disappeared in about 15 minutes.
Variations & Adaptations
One of the best things about this recipe is how easily it adapts to different tastes, dietary needs, and occasions. Here are some variations I’ve tried and loved.
Cheese variations: While cheddar is classic, you can use any melting cheese you like. Mozzarella gives a milder flavor and stretchier melt. Pepper jack adds a little kick for adults (my husband’s favorite). For a dairy-free version, use vegan cheese slices—just be aware they won’t melt as smoothly. I’ve also used cream cheese cut into tiny cubes, which gives a rich, tangy surprise inside the mummy wrappings.
Protein swaps: Not a hot dog fan? No problem. These work beautifully with cooked sausages (kielbasa or bratwurst cut into hot dog-sized pieces), chicken or turkey sausages, or even vegetarian hot dogs. For a breakfast version, use cooked breakfast sausages and serve with maple syrup for dipping. I’ve even made mini mummies using cocktail sausages for appetizers—just cut the dough strips into smaller pieces and reduce baking time to 6-8 minutes.
Dough alternatives: If you don’t have crescent roll dough, you can use puff pastry (cut into thin strips), refrigerated pizza dough, or even homemade pie crust. Each gives a slightly different texture—puff pastry is flakier, pizza dough is chewier, and pie crust is more buttery. I’ve also used whole wheat crescent dough for a slightly healthier version, though it doesn’t puff up quite as much.
Flavor boosters: Before wrapping, brush the hot dogs with a little barbecue sauce, honey mustard, or sriracha for extra flavor. You can also sprinkle the dough with sesame seeds, poppy seeds, or flaky sea salt before baking. My kids love when I add a tiny strip of bacon under the dough wrappings—it’s indulgent, but hey, it’s Halloween.
Dip it: Serve these with a variety of dipping sauces. Ketchup is the obvious choice, but my kids also love ranch dressing, honey mustard, and even queso. For a grown-up twist, try spicy mayo or chimichurri. I’ve found that having multiple dips makes the meal feel more interactive and fun for kids.
Serving & Storage Suggestions
These Easy Cheesy Mummy Hot Dogs are best served warm, straight from the oven, when the dough is golden and flaky and the cheese is still melty. But life happens, and sometimes you need to plan ahead or deal with leftovers. Here’s what I’ve learned.
Serving temperature: Serve these within 10 minutes of coming out of the oven for the best texture. If you’re making a large batch, keep the finished mummies warm on a baking sheet in a 200°F oven while you finish the rest. Arrange them on a platter with a little bowl of mustard or ketchup in the center for dipping. For Halloween parties, I like to serve them on a black platter with fake spider webs around the edges—it’s a small touch that makes a big impression.
What to serve with them: These mummies are hearty enough to be a meal on their own, but they pair beautifully with simple sides. A crisp green salad with ranch dressing, carrot and celery sticks with hummus, or a bowl of apple slices all work well. For a full Halloween spread, serve them alongside spooky spider deviled eggs and a bowl of roasted pumpkin seeds. My kids love when I add a side of creamy pumpkin soup in little cups—it makes the whole dinner feel like an event.
Storage: Leftover mummies can be stored in an airtight container in the refrigerator for up to 3 days. The dough will soften slightly, but they’re still delicious. To reheat, place them on a baking sheet in a 350°F oven for 5-7 minutes, or until heated through. I don’t recommend microwaving them—the dough becomes soggy and the hot dogs can get rubbery.
Freezing: These freeze beautifully, both baked and unbaked. To freeze baked mummies, let them cool completely, then place them in a single layer on a baking sheet and freeze until solid. Transfer to a freezer-safe bag or container for up to 3 months. Reheat from frozen in a 350°F oven for 8-10 minutes. To freeze unbaked mummies, assemble them without the egg wash, place on a baking sheet, and freeze until solid. Transfer to a freezer bag, then bake straight from frozen, adding 3-4 minutes to the baking time and brushing with egg wash before baking.
How flavors develop: Honestly, these are best fresh. The magic is in that contrast between the hot, melty cheese and the flaky, buttery dough. That said, leftover mummies make a surprisingly good cold snack straight from the fridge—my kids have been known to sneak them for lunch the next day.
Nutritional Information & Benefits
Let’s be real—these are not health food. They’re a fun, indulgent treat for a special occasion. But if you’re curious about what’s in them, here’s a rough breakdown per mummy (based on using standard beef hot dogs and cheddar cheese):
- Calories: Approximately 280-320 calories per mummy
- Protein: 10-12 grams
- Fat: 18-22 grams
- Carbohydrates: 18-20 grams
- Sodium: 700-800 mg
These numbers will vary depending on the specific brands you use. Turkey hot dogs will be lower in fat and calories, while jumbo hot dogs will be higher. The crescent dough contributes most of the carbohydrates and fat, so if you’re looking to lighten things up, you can use reduced-fat crescent dough or whole wheat dough.
Health benefits (such as they are): Hot dogs do provide some protein and iron, and cheese offers calcium and vitamin D. The crescent dough contains some B vitamins from the enriched flour. But honestly, the real benefit here is that your kids are eating a real meal before a night of candy consumption. That’s a win in my book.
Dietary considerations: This recipe contains gluten (from the crescent dough), dairy (from the cheese), and eggs (from the egg wash). For a gluten-free version, use gluten-free crescent dough or gluten-free puff pastry. For a dairy-free version, use vegan cheese and skip the egg wash. For an egg-free version, brush the dough with milk or melted butter instead of egg wash.
Allergen note: Crescent dough is typically made with wheat, milk, and soy. Check the label if you have specific allergies. The cheese contains milk. The mustard is generally allergen-free, but check the label if you have concerns about specific additives.
Conclusion
I know it’s just hot dogs wrapped in dough. I know it’s not fancy or complicated or the kind of recipe that wins cooking competitions. But honestly? That’s exactly why I love it. These Easy Cheesy Mummy Hot Dogs are proof that you don’t need elaborate plans or expensive ingredients to make dinner fun. Sometimes the simplest ideas are the ones that stick—the ones that become traditions.
Every time I make these, I think about Carol in the hardware store, holding her own shopping list and sharing her secret with a complete stranger. That’s the kind of cooking I believe in—real people sharing real solutions that make life a little easier and a lot more fun. So go ahead, customize these mummies however you like. Add different cheeses, try different dips, make them your own. That’s what cooking is all about.
I’d love to hear how yours turn out. Drop a comment below and tell me about your Halloween dinner plans, or share a photo of your mummies on Pinterest with the hashtag #EasyCheesyMummies. And if you have a favorite dipping sauce that I haven’t tried, please share it—I’m always looking for new ideas. Happy Halloween, and happy cooking!
Frequently Asked Questions
Can I make these ahead of time for a party?
Absolutely! You can assemble the mummies up to 4 hours ahead and keep them covered in the refrigerator. Just add the egg wash right before baking. You can also freeze them unbaked for up to 3 months—bake straight from frozen, adding a few extra minutes to the cooking time.
What if I don’t have crescent roll dough?
No problem! You can use puff pastry cut into thin strips, refrigerated pizza dough, or even homemade pie crust. Each will give a slightly different texture, but all work beautifully. Just adjust the baking time as needed—puff pastry bakes faster, while pizza dough takes a couple of extra minutes.
Can I use turkey or vegetarian hot dogs?
Yes, both work great. Turkey hot dogs are lower in fat and cook in the same amount of time. Vegetarian hot dogs can be a bit more delicate, so handle them gently when wrapping. I’ve also used chicken sausages and even cooked bratwurst slices with excellent results.
How do I prevent the cheese eyes from falling off?
Press the cheese squares firmly onto the hot dog before baking, and make sure the dough isn’t covering the area where you’re placing them. Avoid brushing egg wash on the cheese—it makes them slide off. The cheese will melt slightly during baking, which actually helps it adhere better.
What dipping sauces go best with these mummies?
Ketchup is the classic choice, but my kids love ranch dressing, honey mustard, and barbecue sauce. For a grown-up twist, try spicy mayo or sriracha. I’ve also served them with queso for dipping, which is indulgent but absolutely delicious. The possibilities are endless!
Pin This Recipe!
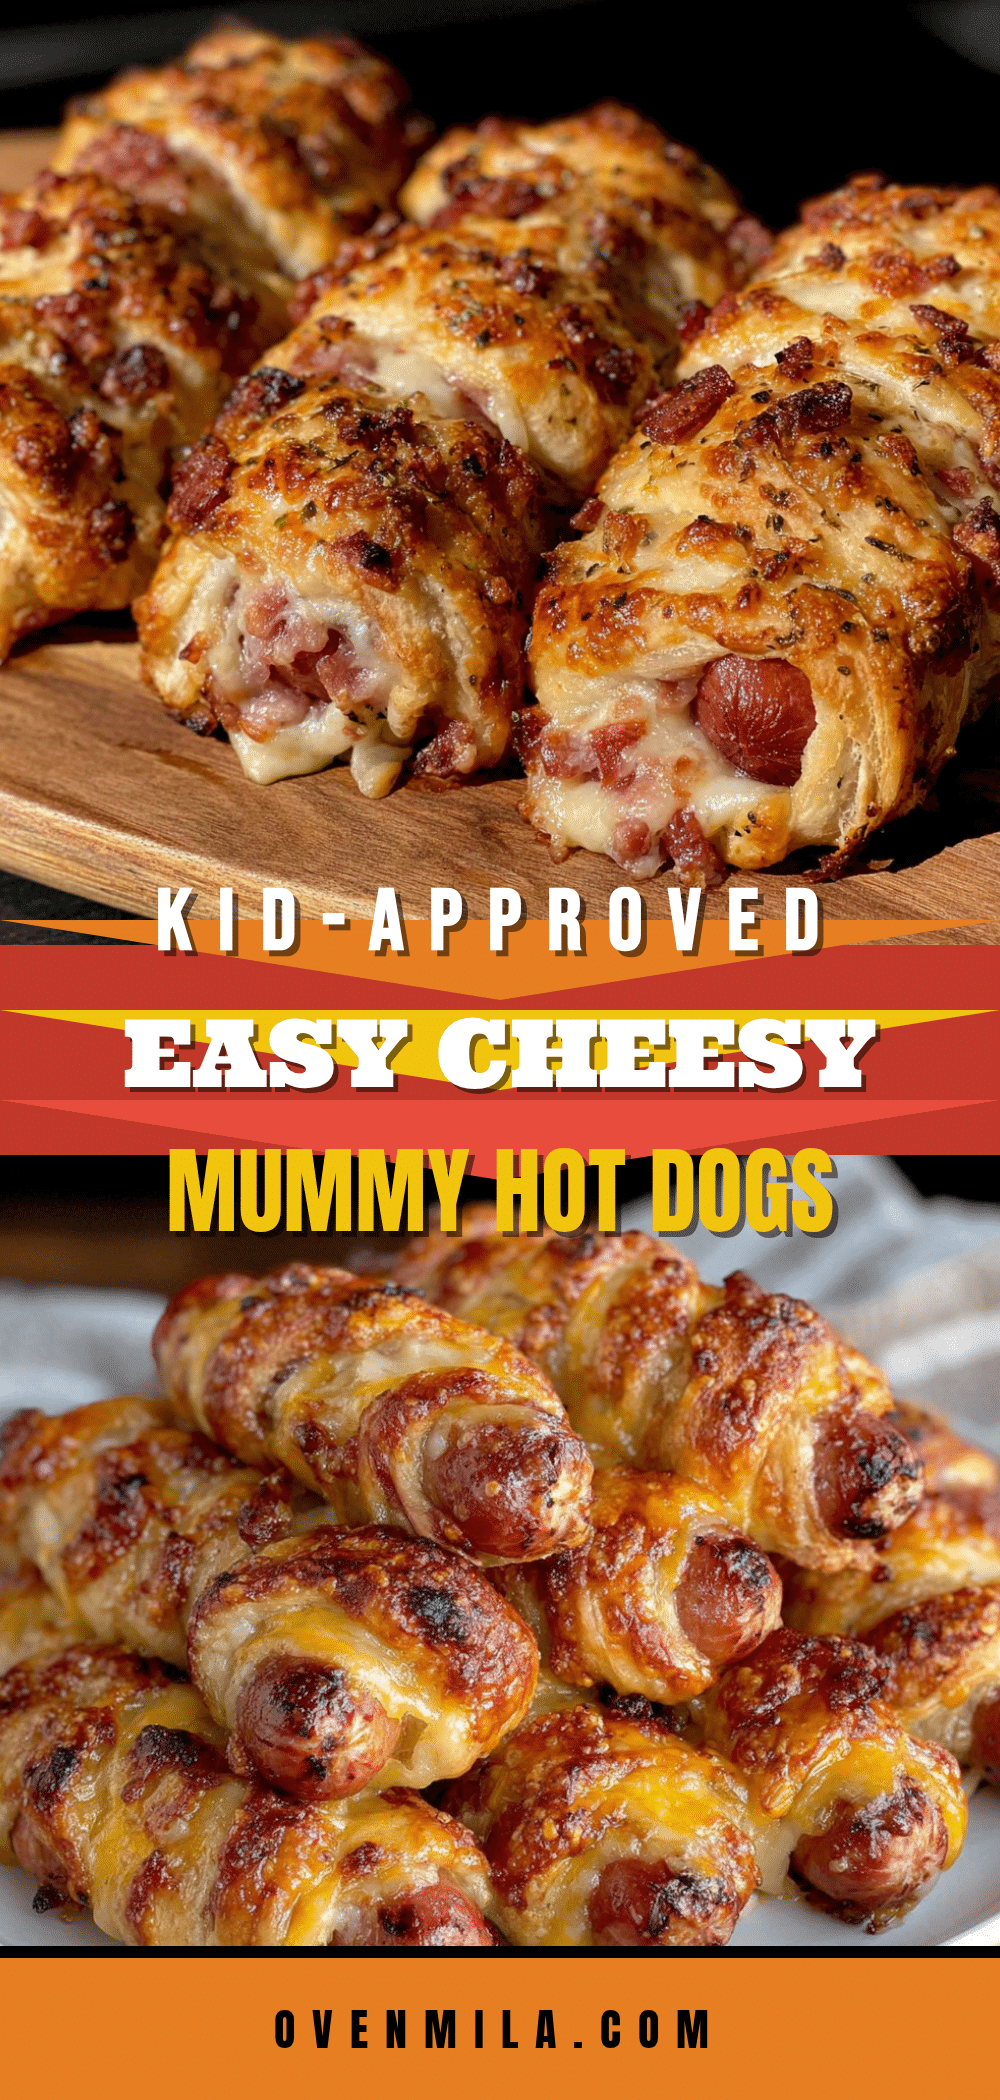
Easy Cheesy Mummy Hot Dogs: Kid-Approved Halloween Dinner

These Easy Cheesy Mummy Hot Dogs are a fun, quick, and kid-approved Halloween dinner. Hot dogs are wrapped in crescent dough with cheese eyes, baked until golden, and served with mustard pupils for a spooky, delicious meal that takes under 25 minutes.
- Prep Time: 15 minutes
- Cook Time: 12 minutes
- Total Time: 27 minutes
- Yield: 8 servings 1x
- Category: Main Course
- Cuisine: American
Ingredients
- 1 package (8 count) hot dogs
- 1 can (8 ounces) refrigerated crescent roll dough
- 4 slices cheddar cheese
- 1 large egg
- 1 tablespoon water
- Mustard (yellow or Dijon), for eyes
Instructions
- Preheat your oven to 375°F (190°C). Line a baking sheet with parchment paper or aluminum foil.
- Pat the hot dogs dry with a paper towel. If they are very long, trim about half an inch off each end.
- Cut each of the 4 cheese slices into 6 small squares (about 1 inch by 1 inch) to make 24 tiny cheese eyes. Set aside.
- Open the can of crescent roll dough and unroll it onto a clean cutting board. Pinch the perforated seams together to create one solid sheet of dough (roughly 12×8 inches).
- Using a sharp knife or pizza cutter, slice the dough lengthwise into 8 strips, each about 1 inch wide.
- Take one strip of dough and wrap it around a hot dog, starting at one end and working to the other. Leave a 1-inch gap near the top for the face. Overlap the dough slightly but don’t pull too tight. Press the end to seal. Repeat with remaining hot dogs and dough strips.
- Place the wrapped hot dogs on the prepared baking sheet, seam side down, leaving about 2 inches of space between each.
- Gently press two cheese squares onto the exposed section of each hot dog to form eyes.
- In a small bowl, beat the egg with 1 tablespoon of water. Using a pastry brush, gently brush the egg wash over the dough strips, avoiding the cheese eyes.
- Bake for 10-12 minutes, or until the dough is golden brown and the hot dogs are heated through. For jumbo hot dogs, add 2 extra minutes.
- Remove from the oven and let cool for 2-3 minutes. Using a toothpick or knife tip, dab a tiny dot of mustard onto each cheese square to create pupils.
- Serve immediately while warm.
Notes
For best results, keep the dough cold until ready to use. You can assemble the mummies up to 4 hours ahead and refrigerate; add egg wash just before baking. To freeze unbaked mummies, assemble without egg wash, freeze on a baking sheet, then transfer to a freezer bag. Bake from frozen, adding 3-4 minutes to the baking time. For a gluten-free version, use gluten-free crescent dough. For dairy-free, use vegan cheese and skip the egg wash.
Nutrition
- Serving Size: 1 mummy
- Calories: 300
- Sugar: 3
- Sodium: 750
- Fat: 20
- Saturated Fat: 7
- Carbohydrates: 19
- Protein: 11
Keywords: Halloween dinner, mummy hot dogs, kid-friendly, easy recipe, crescent dough, hot dogs, cheese, quick dinner, spooky food


