My sister-in-law, Jen, wasn’t trying to impress anyone that December afternoon. I’d stopped by to drop off a Christmas gift and maybe steal a cookie, and the sight of these little cups hit me before I even got my coat off. She had a dozen clear plastic cups lined up on her counter, each one looking like a tiny, edible gift box. There were cubes of sharp cheddar, folds of salami, and a single, perfect strawberry on top of each one. She just shrugged when I gasped, saying they were for her kids’ class party. “Takes ten minutes,” she said, not even looking up from the fruit tray. Honestly, I was a little offended by how casual she was about something so brilliant. I mean, I’ve spent hours on appetizers that didn’t look half as good. Maybe you’ve been there, too—the frantic last-minute scramble for a dish that looks festive but doesn’t require a culinary degree. This was the answer, sitting right there in a plastic cup.
That moment stuck with me. It wasn’t a fancy dinner party or a Pinterest-perfect photoshoot. It was a mom, on a regular Tuesday, making something special without any fuss. The genius is in the simplicity. You don’t need fancy boards or special knives. You just need a few good ingredients and a cup. The best part? Every single person gets their own perfectly portioned snack. No double-dipping, no fighting over the last piece of prosciutto. It’s the ultimate crowd-pleaser, especially when that crowd is full of little hands. I tweaked the idea a bit, adding some kid-friendly crackers and a sweet touch that makes them feel extra festive. Now, I make these for every holiday gathering, and they disappear faster than anything else on the table.
Why You’ll Love This Recipe
These Easy Christmas Charcuterie Cups are a total game-changer for holiday hosting. They solve the age-old problem of feeding a crowd without creating a mess or a mountain of dishes. Here’s why they’ve become my go-to appetizer:
- Quick & Easy: This comes together in under 15 minutes. Seriously. It’s faster than making a batch of cookies and way more impressive.
- Simple Ingredients: You don’t need to hunt down anything fancy. We’re using classic charcuterie staples that are easy to find at any grocery store.
- Perfect for Holidays: These are great for Christmas parties, school celebrations, or even a festive movie night at home.
- Crowd-Pleaser: Kids love the fun, individual portions, and adults appreciate the thoughtful, grab-and-go setup. It’s a guaranteed hit.
- Unbelievably Delicious: The combination of salty meats, creamy cheese, crunchy crackers, and sweet fruit is a classic for a reason. It’s pure comfort food in a cup.
What makes this recipe different from the rest is the intentional layering. I’m not just throwing stuff in a cup. The order matters. Putting the crackers at the bottom keeps them from getting soggy from the fruit. The cheese and meat are stacked for easy grabbing. And that single strawberry on top? It’s the perfect, festive finishing touch that makes everyone smile. This isn’t just another appetizer—it’s your best version of a stress-free, beautiful, and delicious holiday snack.
Honestly, this recipe is the kind that makes you close your eyes after the first bite. It’s comfort food reimagined—faster, easier, but with the same soul-soothing satisfaction. Perfect for impressing guests without stress, or turning a simple family gathering into something memorable.
What Ingredients You Will Need
This recipe uses simple, wholesome ingredients to deliver bold flavor and satisfying texture without the fuss. Most of these are things you might already have in your fridge or pantry during the holidays.
- For the Base:
- Crackers (about 24): I love using a mix of buttery Ritz and salty pretzel sticks. The Ritz provide a sturdy, rich base, while the pretzels add a nice crunch and saltiness. (Use gluten-free crackers if needed)
- For the Meat:
- Salami (about 6 oz): Look for a hard salami that’s easy to slice or buy pre-sliced. I like Genoa salami for its mild, slightly spicy flavor. You’ll need about 24 small pieces or slices, folded into quarters.
- Pepperoni (about 4 oz): Mini pepperonis are perfect here. They’re the right size for little hands and add a familiar, kid-approved flavor.
- For the Cheese:
- Cheddar Cheese (about 6 oz): Cut into small cubes, about ½ inch. A sharp white cheddar looks beautiful and has a strong flavor that stands up to the salami. (Use your favorite cheese, like Colby Jack or Gouda)
- String Cheese (2-3 sticks): Peeled and cut into small rounds. This is a huge hit with kids because it’s soft, mild, and fun to eat. It also adds a nice creamy texture.
- For the Sweet & Festive Touch:
- Seedless Red Grapes (about 1 cup): These add a pop of color and a burst of sweetness. They’re also a great, healthy option for kids.
- Fresh Strawberries (about 12): Hulled and sliced in half or quarters, depending on size. The bright red color is so festive for Christmas. I recommend using fresh, firm berries for the best texture.
- Optional Garnishes:
- Fresh Rosemary Sprigs: A small sprig tucked into each cup looks like a tiny Christmas tree. It’s purely for decoration, but it makes the cups look so professional.
- Mini Candy Canes: For an extra sweet treat, you can tuck a tiny candy cane into the side of the cup. The kids will lose their minds.
Equipment Needed
You don’t need any fancy gadgets for this recipe. That’s part of the beauty of it. Here’s what you’ll need:
- Clear Plastic Cups (12-16 oz): These are the star of the show. I recommend using sturdy, clear cups so everyone can see the beautiful layers inside. You can find them at any grocery or party supply store. (Dollar store cups work great!)
- Cutting Board: For chopping your cheese and fruit.
- Sharp Knife: A good chef’s knife makes cutting cheese and fruit a breeze.
- Small Bowl (optional): For holding your garnishes like rosemary sprigs.
That’s it! No baking sheets, no mixing bowls, no complicated tools. Just a simple assembly line. I’ve made these on a paper plate before when I was camping, and they still turned out perfect. The key is just having a clean, flat surface to work on.
Preparation Method
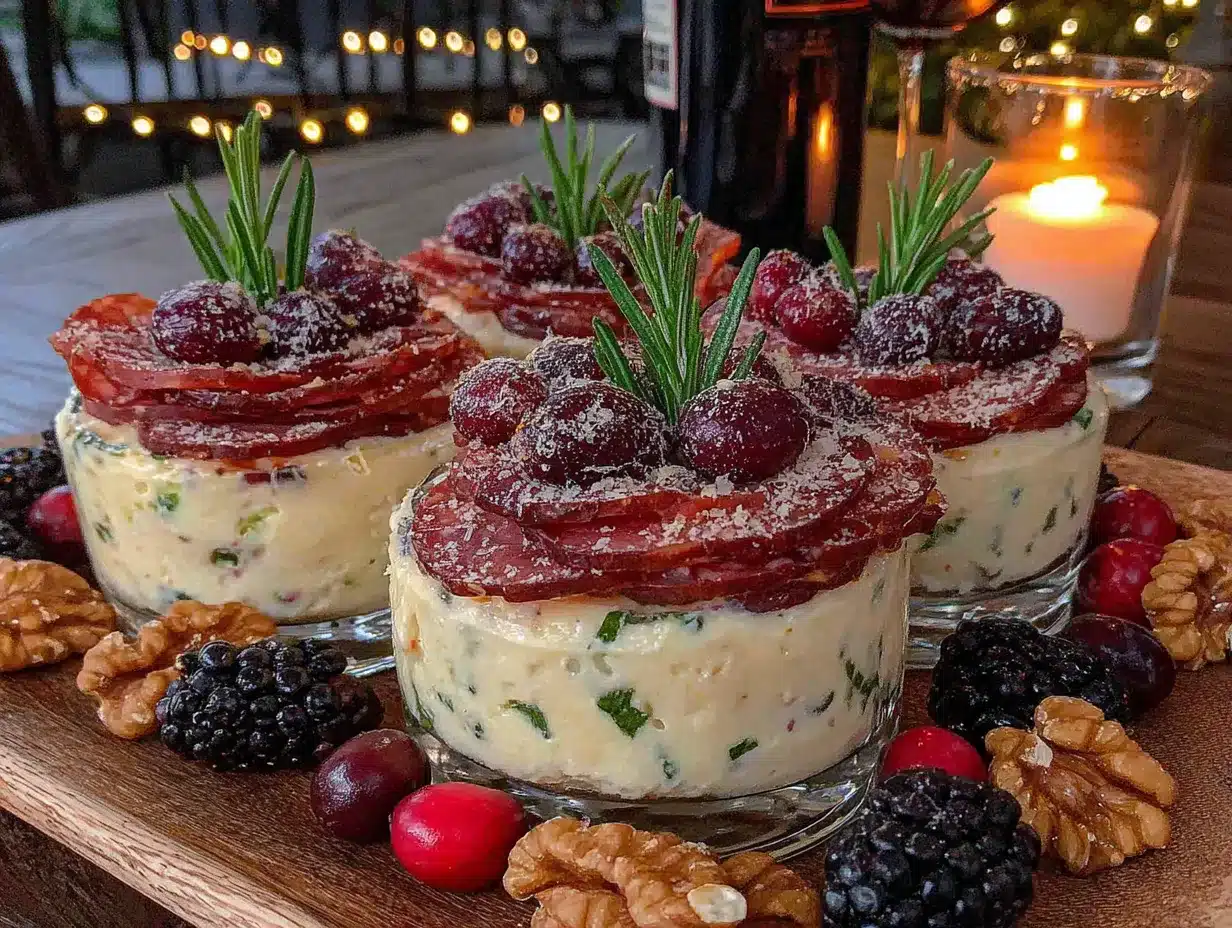
Let’s get to the fun part—making these adorable little cups! The whole process is an assembly line, so I like to set everything out before I start. It makes it go even faster.
- Prep Your Ingredients (5 minutes): First, wash and dry your grapes and strawberries. Hull the strawberries and slice them in half (or into quarters if they’re very large). Cut your cheddar cheese into small, bite-sized cubes, about ½ inch. Peel your string cheese sticks and cut them into ½-inch rounds. If your salami isn’t pre-sliced, slice it into thin rounds, then cut each round into quarters.
- Set Up Your Assembly Line (2 minutes): Arrange your ingredients in the order you’ll be adding them to the cups. I like to go: crackers, meat, cheese, fruit. Have your cups lined up and ready to go.
- Layer the Base (2 minutes): Place 2-3 crackers at the bottom of each cup. I usually use two Ritz crackers and one pretzel stick, but you can use all Ritz or all pretzels. The crackers create a stable base that soaks up any juices from the fruit later, so they get soft and delicious instead of soggy.
- Add the Meat (3 minutes): Next, add your salami and pepperoni. For the salami, take a quartered piece and fold it into a little triangle or a small roll. Place it on top of the crackers. Then, add 2-3 mini pepperonis. The meat adds a hearty, savory element that kids love.
- Add the Cheese (3 minutes): Now for the cheese! Drop in 2-3 cubes of cheddar cheese and 2-3 rounds of string cheese. The mix of sharp and creamy cheese is perfect. Make sure they are nestled in between the meat pieces so the cup looks full and colorful.
- Top with Fruit (3 minutes): This is where the magic happens. Add 2-3 red grapes on top of the cheese and meat. Then, crown the whole thing with a strawberry half, cut-side up. The bright red fruit is the perfect festive touch and adds a sweet, juicy finish to every bite.
- Garnish and Serve (2 minutes): Finally, if you’re using them, tuck a small sprig of fresh rosemary into the side of each cup. It looks like a tiny Christmas tree! You can also add a mini candy cane for an extra-special treat. Serve immediately or cover and refrigerate until ready to serve.
The total time is about 15 minutes for 12 cups. I told you it was fast! The key is to not overthink it. Just layer the ingredients and let the colors do the work. If a strawberry is a little too big, just push it in gently. It all tastes the same.
Cooking Tips & Techniques
Over the years, I’ve learned a few tricks to make these cups even better. Here are my best tips for success:
- Don’t Overfill: It’s tempting to cram as much as possible into each cup, but you want it to look neat and inviting. Leave a little room at the top so the strawberry can be the star. If the cup is too full, it will be hard to grab the pieces without spilling everything.
- Keep the Fruit Dry: This is a big one. If your grapes or strawberries are wet, they will make the crackers at the bottom soggy very quickly. After washing them, pat them dry with a clean kitchen towel or paper towels before adding them to the cups.
- Use a Variety of Textures: The best charcuterie cups have a mix of textures. The crunchy crackers, the chewy salami, the firm cheese, and the soft, juicy fruit. Don’t skip any of these elements. They all work together to create the perfect bite.
- Make-Ahead Tip: You can absolutely make these a few hours ahead of time. Assemble the cups completely, but leave the fruit off. Store them in the fridge, and then add the grapes and strawberries right before serving. This keeps everything super fresh and crunchy.
- My Biggest Failure: I once made these for a party and used a really soft, creamy cheese like brie. It was a disaster. It squished out of the cup and made a huge mess. Stick with firmer cheeses like cheddar, Gouda, or Colby Jack. The string cheese is soft enough, but it holds its shape in the cup.
Variations & Adaptations
These cups are incredibly versatile. Here are a few ways you can change them up to suit your family’s tastes or what you have on hand.
- Dietary Adaptations: For a gluten-free version, simply swap the crackers for gluten-free crackers or pretzels. For a low-carb version, skip the crackers entirely and add extra cheese or cucumber slices at the bottom. You can also use turkey pepperoni and low-fat cheese for a lighter option.
- Flavor Twists: Try a “Taco” Version by using small tortilla chips at the bottom, adding seasoned ground beef or black beans, cheddar cheese, and a dollop of sour cream and salsa on top. For a “Caprese” Version, use cherry tomatoes, fresh mozzarella balls, and basil leaves, with a drizzle of balsamic glaze.
- Seasonal Swaps: In the summer, swap the strawberries and grapes for fresh blueberries and watermelon cubes. In the fall, try using apple slices (tossed in lemon juice to prevent browning) and sharp cheddar. The possibilities are endless!
- Sweet Tooth Version: For a dessert charcuterie cup, fill the bottom with mini pretzels, add chocolate chips and marshmallows, and top with a strawberry and a drizzle of melted white chocolate. It’s a huge hit with the kids.
Serving & Storage Suggestions
These cups are best served cold or at room temperature. I recommend taking them out of the fridge about 15 minutes before serving so the cheese can soften slightly and the flavors can come together.
- Presentation: Arrange the cups on a large platter or a pretty tray. They look so festive lined up in rows. You can even put a little sign next to them that says “Reindeer Snacks” or “Santa’s Cups” for a fun touch.
- Complementary Dishes: These cups pair beautifully with other finger foods. Think mini quiches, pigs in a blanket, or a warm bowl of soup. They’re also great alongside a festive punch or hot cocoa for the kids.
- Storage: If you have leftovers (which is rare in my house!), you can store the cups in the refrigerator for up to 24 hours. The crackers will soften a bit, but they still taste great. Do not freeze them.
- Reheating: You don’t need to reheat these. They are meant to be served cold. If the meat or cheese feels a bit too firm from the fridge, let them sit at room temperature for 10-15 minutes.
Nutritional Information & Benefits
While these are a treat, they do offer some nutritional benefits from the whole food ingredients. Here’s a rough estimate per cup (based on one serving):
- Calories: Approximately 180-220 calories per cup
- Protein: 10-12 grams (from the cheese and meat)
- Carbohydrates: 12-15 grams (from the fruit and crackers)
- Fat: 12-15 grams (from the cheese and meat)
The cheese and meat provide a good source of protein and calcium, which helps keep little bellies full. The fresh fruit adds natural sweetness and essential vitamins. This is a balanced snack that feels indulgent but isn’t loaded with processed sugar. It’s a great way to get kids to eat some fruit without a fight! As with any treat, portion control is key, but these cups are a much better choice than a plate of cookies.
Conclusion
These Easy Christmas Charcuterie Cups are more than just a snack—they’re a stress-free solution to holiday hosting. They’re quick, they’re beautiful, and they make everyone feel special. I love that I can make them in the time it takes to wrap one gift, and they always get the biggest reaction from the crowd. The best part is how customizable they are. You can make them exactly how your family loves them.
So, this holiday season, give yourself a break. Skip the complicated recipes and the messy cheese boards. Grab some cups, your favorite ingredients, and make these adorable little appetizers. I promise you, they will be the talk of the party. I’d love to hear how yours turn out! Drop a comment below and tell me what fun variations you came up with. Did the kids help you make them? Share a photo on social media and tag me—I can’t wait to see your creations. Happy Holidays, and happy snacking!
Frequently Asked Questions
1. Can I make these charcuterie cups the night before?
Yes, you can! To keep the crackers from getting soggy, assemble the cups with everything except the fruit. Store them in the fridge, and then add the grapes and strawberries right before you serve them. This keeps everything fresh and crunchy.
2. What kind of cups should I use?
I recommend using clear plastic cups that are about 12-16 ounces. The clear cups let the beautiful layers show through. You can find them at any grocery store, party supply store, or even the dollar store. Just make sure they are sturdy enough to hold the ingredients.
3. Can I use different types of meat and cheese?
Absolutely! This recipe is super flexible. You can swap the salami for prosciutto, ham, or turkey. For cheese, try using Gouda, Colby Jack, or even small cubes of mozzarella. Just stick with firmer cheeses so they hold their shape in the cup.
4. How do I keep the fruit from making the crackers soggy?
The key is to make sure your fruit is completely dry before adding it to the cups. After washing your grapes and strawberries, pat them dry with a clean kitchen towel or paper towels. This will prevent excess moisture from seeping down to the crackers.
5. Are these cups kid-friendly?
They are the most kid-friendly appetizer I know! The individual portions are perfect for little hands, and they love the fun, colorful presentation. You can even set up a “charcuterie cup bar” and let the kids build their own. It’s a great activity for a holiday party!
Pin This Recipe!
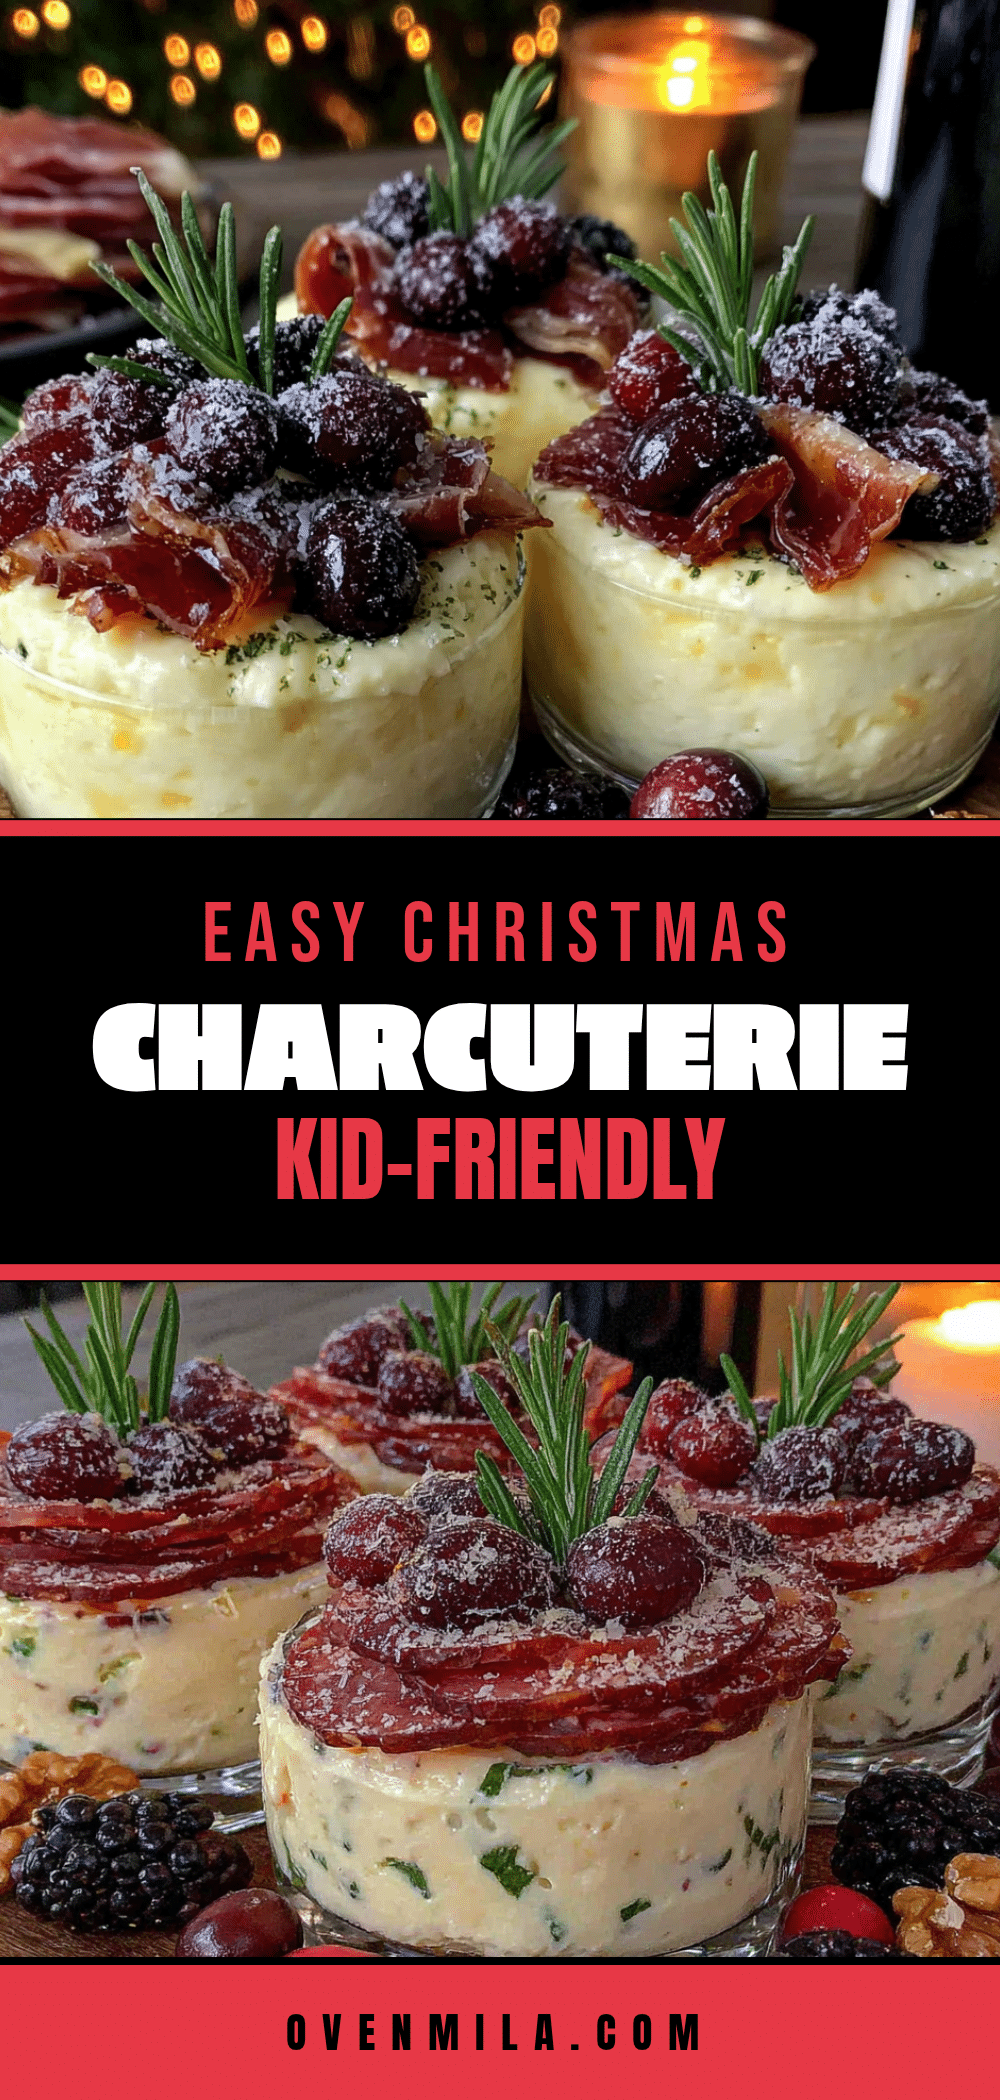
Easy Christmas Charcuterie Cups: Best Holiday Appetizer

These Easy Christmas Charcuterie Cups are a total game-changer for holiday hosting. They solve the age-old problem of feeding a crowd without creating a mess or a mountain of dishes.
- Prep Time: 15 minutes
- Cook Time: 0 minutes
- Total Time: 15 minutes
- Yield: 12 servings
- Category: Appetizer
- Cuisine: American
Ingredients
- Crackers (about 24), such as Ritz and pretzel sticks
- Salami (about 6 oz), sliced and quartered
- Pepperoni (about 4 oz), mini pepperonis
- Cheddar Cheese (about 6 oz), cut into ½-inch cubes
- String Cheese (2-3 sticks), peeled and cut into ½-inch rounds
- Seedless Red Grapes (about 1 cup)
- Fresh Strawberries (about 12), hulled and halved or quartered
- Fresh Rosemary Sprigs (optional, for garnish)
- Mini Candy Canes (optional, for garnish)
Instructions
- Prep Your Ingredients (5 minutes): Wash and dry grapes and strawberries. Hull strawberries and slice in half or quarters. Cut cheddar cheese into ½-inch cubes. Peel string cheese and cut into ½-inch rounds. If salami isn’t pre-sliced, slice into thin rounds, then cut each round into quarters.
- Set Up Your Assembly Line (2 minutes): Arrange ingredients in order: crackers, meat, cheese, fruit. Line up cups.
- Layer the Base (2 minutes): Place 2-3 crackers at the bottom of each cup (e.g., two Ritz and one pretzel stick).
- Add the Meat (3 minutes): Add salami (folded into triangles or rolls) and 2-3 mini pepperonis on top of crackers.
- Add the Cheese (3 minutes): Drop in 2-3 cubes of cheddar cheese and 2-3 rounds of string cheese, nestled between meat pieces.
- Top with Fruit (3 minutes): Add 2-3 red grapes, then crown with a strawberry half, cut-side up.
- Garnish and Serve (2 minutes): Tuck a small rosemary sprig into the side of each cup (optional). Add a mini candy cane if desired. Serve immediately or refrigerate.
Notes
To keep crackers from getting soggy, assemble cups without fruit and add fruit just before serving. Pat fruit dry thoroughly. Use firmer cheeses like cheddar or Gouda to avoid mess. Can be made up to 24 hours ahead (without fruit).
Nutrition
- Serving Size: 1 cup
- Calories: 200
- Sugar: 6
- Sodium: 600
- Fat: 13.5
- Saturated Fat: 6
- Carbohydrates: 13.5
- Fiber: 1
- Protein: 11
Keywords: Christmas charcuterie cups, holiday appetizer, easy appetizer, charcuterie cups, individual charcuterie, kid-friendly appetizer, Christmas party food


