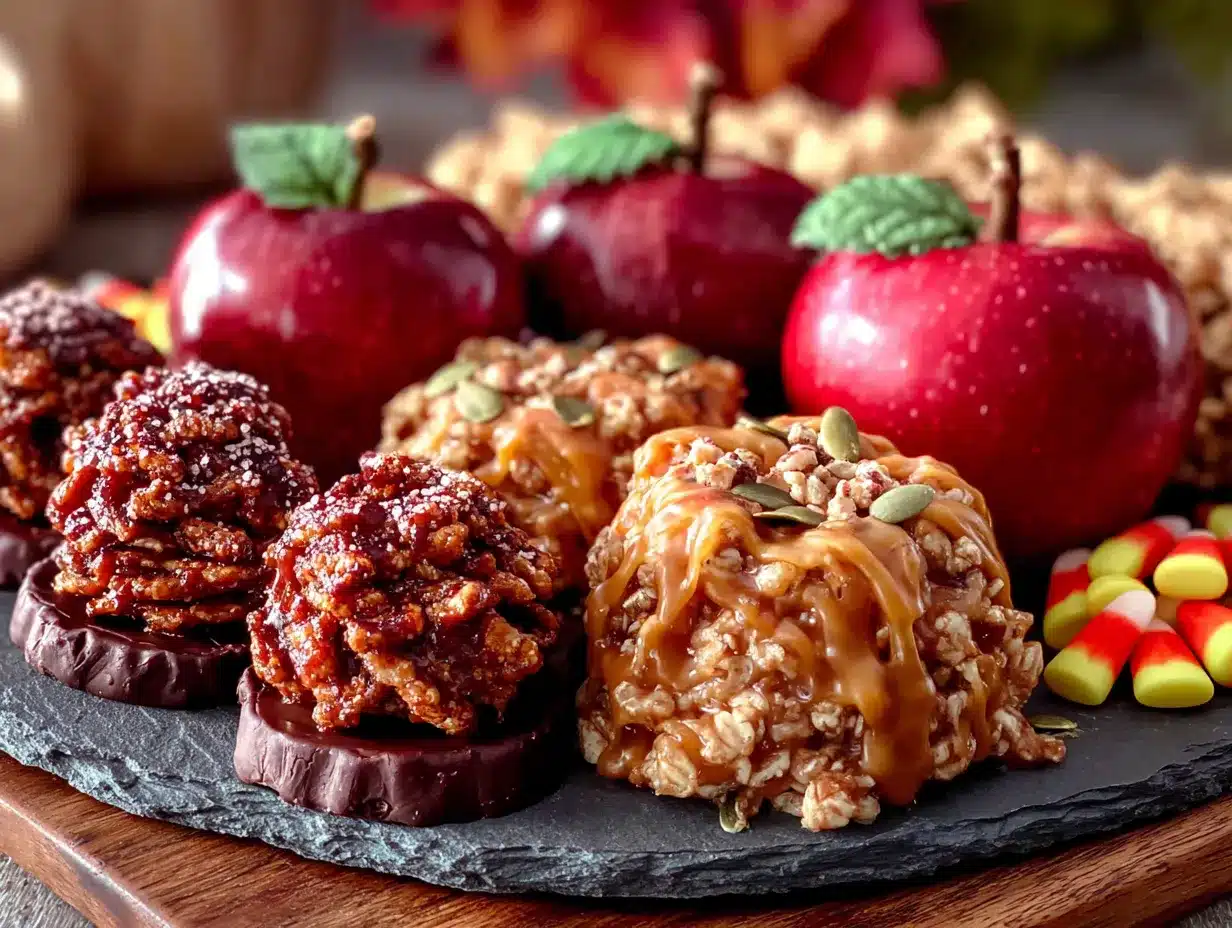
I completely forgot the candy corn last year. I had the board all laid out—caramel apples glistening, pretzel sticks standing up like little fence posts, ghost-shaped cheese slices staring blankly at the ceiling. And right in the middle, a sad little empty space where the candy corn was supposed to go. My kids walked in, took one look, and my youngest said, “Mom, where’s the Halloween part?” That’s when I realized a Halloween charcuterie board isn’t just about putting snacks on a platter. It’s about the colors, the contrast, the sticky-sweet nostalgia that makes October 31st feel like magic. So I ran back to the store, grabbed three bags of candy corn, and rebuilt the whole thing. This Easy Halloween Charcuterie Board with Candy Corn and Caramel Apples is the result of that chaotic, slightly embarrassing moment. It’s the board that finally got a “woah, cool” out of my kids—and honestly, that’s the highest compliment I can get.
The thing about this board is it does double duty. It works as a pre-trick-or-treat snack to fuel up the little monsters, but it also looks impressive enough for an adult Halloween party. I’ve brought it to a costume party and watched grown adults argue over who gets the last caramel apple wedge. There’s something about the mix of sweet, salty, crunchy, and creamy that just works. And the best part? You don’t have to cook a single thing. No oven, no stove, no complicated recipes. Just a cutting board, some bowls, and a little bit of arranging patience.
I’ve made this board three times now, and each time I tweak it a little. The first time I overdid the chocolate. The second time I went light on the cheese and regretted it. But this version—the one I’m sharing with you—is the Goldilocks of Halloween snack boards. It’s balanced, it’s festive, and it’s forgiving. You can swap things out based on what you have or what your crowd likes. But the candy corn and caramel apples? Non-negotiable. They’re the stars of the show.
Why You’ll Love This Recipe
- No Cooking Required : Seriously, zero heat. This board comes together in about 15 minutes flat. Perfect for when you’re scrambling to get costumes on and the doorbell is about to start ringing.
- Simple Ingredients : Everything on this board is stuff you can grab at any grocery store. No specialty shops, no obscure cheeses, no hunting down weird seasonal items.
- Perfect for Halloween Parties : Whether it’s a kid-friendly gathering or an adult costume shindig, this board fits right in. It’s shareable, snackable, and totally photogenic.
- Crowd-Pleaser : I’ve seen picky eaters, cheese snobs, and candy-corn-haters all go back for seconds. The mix of flavors means there’s something for everyone.
- Unbelievably Festive : The orange, black, white, and yellow color palette is pure Halloween. It looks like a party on a platter, and it makes people smile before they even take a bite.
What makes this board different from the rest? It’s the balance. Most Halloween boards lean too heavy on candy or too heavy on cheese. This one hits that sweet spot where you can grab a piece of sharp cheddar, a caramel apple slice, and a handful of candy corn in one trip. The flavors bounce off each other—tangy, sweet, salty, creamy. It’s not just a snack board; it’s an experience. And honestly, it’s the kind of board that makes you feel like you’ve got your life together, even if you forgot the candy corn the first time around.
What Ingredients You Will Need
This recipe uses simple, crowd-friendly ingredients that come together to create a visually striking and delicious Halloween snack board. Most of these are pantry staples or easy to find in the seasonal aisle. Here’s what you’ll need:
For the Sweet Elements
- Caramel apples – 2 large, cut into wedges (store-bought or homemade; I like the ones from the bakery section for convenience)
- Candy corn – 1 cup (the classic brach’s brand works great, but any brand is fine)
- Chocolate-covered pretzels – 1 cup (orange and black sprinkles on top add extra Halloween flair)
- Ghost-shaped marshmallows – 1 cup (or regular marshmallows cut into shapes)
- Orange jelly beans – ½ cup (adds a pop of color and chewy texture)
- Mini peanut butter cups – ½ cup (the unwrapped kind, for easy grabbing)
For the Savory Elements
- Sharp cheddar cheese – 6 ounces, cut into cubes or sliced into Halloween shapes using cookie cutters (ghosts, pumpkins, bats)
- Gouda cheese – 4 ounces, sliced thin (smoked gouda adds a nice depth)
- Salami slices – 4 ounces, folded into triangles or rolled into roses (I use genoa salami for its peppery kick)
- Pepperoni slices – 3 ounces (mini pepperonis work great for small boards)
- Green olives stuffed with pimento – ½ cup (the green color contrasts beautifully with the orange and yellow)
- Black olives – ½ cup (for that classic Halloween black color)
For the Crunch and Dippers
- Pretzel sticks – 1 cup (they look like little witch fingers or fence posts)
- Apple slices – 1 large apple, sliced thin (granny smith works best for tartness)
- Pear slices – 1 large pear, sliced thin (adds a soft sweetness)
- Crackers – 1 cup (assorted shapes; I like buttery rounds and wheat squares)
- Breadsticks – ½ cup (the thin, crunchy kind)
For the Dips and Spreads
- Caramel dip – ½ cup (for the apple slices and pretzels)
- Chocolate hazelnut spread – ¼ cup (a small bowl for dipping marshmallows or pretzels)
- Honey – 2 tablespoons (drizzle over the gouda or pears)
Ingredient Tips
I recommend using Brach’s candy corn for the classic flavor and texture—it’s the one most people recognize and expect. For the cheese, Cabot sharp cheddar is my go-to because it holds its shape well when cut into shapes. If you’re making this board ahead of time, keep the apple and pear slices in lemon water for a few minutes to prevent browning. And for a gluten-free option, swap the pretzels and breadsticks for gluten-free crackers or veggie sticks. You can also use dairy-free cheese if needed, though the texture will be slightly different.
Equipment Needed
You don’t need much to put this board together, which is part of its charm. Here’s what you’ll need:
- Large wooden cutting board or serving platter – At least 16 inches wide to fit everything comfortably. I use a round wooden board I picked up at a home goods store for $15.
- Small bowls – 3 to 4 small bowls for dips, olives, and loose candies. Ramekins work perfectly.
- Sharp knife – For slicing apples, pears, and cheese. A good chef’s knife makes all the difference.
- Halloween-shaped cookie cutters – Optional but highly recommended for cutting cheese into fun shapes. Ghost, pumpkin, and bat shapes are my favorites.
- Cheese knife or small spreader – For serving the soft cheeses and dips.
- Tongs or small spoons – For serving olives and jelly beans.
- Parchment paper – Optional, but helps with cleanup if you’re using a wooden board.
If you don’t have Halloween cookie cutters, no worries—just cube the cheese into small squares. The board will still look festive. I’ve also used a small pizza pan in a pinch when my board was in the dishwasher. It works fine, just not as photogenic. For budget-friendly options, check dollar stores for small bowls and cookie cutters. You don’t need fancy equipment to make this look good.
Preparation Method
This board comes together in about 15 minutes. I’ll break it down step by step so you can follow along without stress.
- Prep the caramel apples (5 minutes)
Slice each caramel apple into 8 wedges. Remove the core and seeds from each wedge. If the caramel is sticky, dip the knife in warm water between cuts to keep it from sticking. Place the wedges in a small bowl or arrange them in a fan shape on the board. They’ll be one of the first things people grab, so give them a prominent spot. - Cut the cheese (3 minutes)
Slice the sharp cheddar into ½-inch cubes or use Halloween cookie cutters to press out shapes. For gouda, slice it into thin triangles or rectangles. If using cookie cutters, press firmly and wiggle slightly to release the shape. Place the cheese in clusters around the board. I like to group the shaped cheddar together so it stands out. - Prep the meats (2 minutes)
Fold each salami slice into a triangle by folding it in half, then in half again. For pepperoni, just leave them as is or stack them in small piles. Arrange the meats in small clusters near the cheese. The salami roses look fancy but take extra time—simple triangles work just fine. - Slice the fresh fruit (3 minutes)
Core the apple and pear, then slice them into thin wedges. Toss them in a bowl with a squeeze of lemon juice to prevent browning. Pat them dry with a paper towel before placing them on the board. Arrange the slices in a fan pattern or scatter them around the board for color contrast. - Arrange the dips and spreads (2 minutes)
Spoon the caramel dip into a small bowl and place it near the apple slices. Spoon the chocolate hazelnut spread into another small bowl and place it near the marshmallows and pretzels. Drizzle honey over the gouda or pears just before serving. Place these bowls in the center or at the edges of the board. - Fill in with candies and crunch (3 minutes)
Sprinkle the candy corn in small piles around the board. Add the chocolate-covered pretzels, ghost marshmallows, orange jelly beans, and mini peanut butter cups in small clusters. Don’t spread them evenly—clusters look more natural and inviting. Scatter the pretzel sticks like little logs or fences. Add the green and black olives in small bowls or directly on the board. - Add the crackers and breadsticks (2 minutes)
Fill in any empty spaces with crackers and breadsticks. Tuck them around the edges or stack them in small piles. This fills out the board and gives people something to scoop up the dips and cheese. Make sure there are enough crackers for the amount of cheese and spreads. - Final check and serve (1 minute)
Step back and look at the board. Fill any bare spots with extra candy corn or crackers. The board should look abundant but not overcrowded. Serve immediately or cover with plastic wrap and refrigerate for up to 2 hours. If refrigerating, add the fresh fruit and caramel apples just before serving to prevent browning.
Troubleshooting tip: If the caramel apples are too sticky to cut, pop them in the freezer for 10 minutes before slicing. They’ll cut much cleaner. Also, if your cheese shapes break, just cube them—nobody will notice once they’re on the board with everything else.
Cooking Tips & Techniques
I’ve made this board enough times to know where things can go wrong. Here are my best tips to make sure yours turns out perfect.
Don’t overcrowd the board. I know it’s tempting to pile everything on, but a crowded board looks messy and makes it hard for people to grab what they want. Leave a little breathing room between clusters. If you have too much food, use a second small board or plate.
Balance colors and textures. Halloween is all about contrast. Pair the bright orange candy corn with dark black olives. Put the creamy gouda next to the crunchy pretzels. The visual variety makes the board more appealing and encourages people to try different combinations.
Cut cheese and fruit just before serving. Cheese dries out and fruit browns quickly. If you’re prepping ahead, cut everything except the cheese and fruit, then add them right before the party starts. This keeps everything looking fresh and appetizing.
Use small bowls for loose items. Candy corn, jelly beans, and olives will roll off the board if you just scatter them. Small bowls or ramekins keep them contained and make the board look more intentional. Plus, they’re easier for guests to grab from.
Make it interactive. Leave a few empty spaces where guests can build their own mini boards. I like to put a small pile of crackers and a separate pile of cheese so people can assemble their own bites. It feels more engaging than a pre-assembled platter.
Learn from my mistakes. The first time I made this, I put the caramel apples in the center and they got squished by everything else. Now I place them on the edge where they stay intact. I also used to put the candy corn in one big pile, but it looked boring. Clusters are way more visually interesting.
Variations & Adaptations
This board is super flexible. Here are some ways to switch it up based on your crowd or dietary needs.
Kid-Friendly Version
Swap the salami and olives for more sweet options. Add gummy worms, candy pumpkins, and chocolate coins. Use mild cheddar instead of sharp cheddar. Skip the honey drizzle and add a small bowl of sprinkles for decorating marshmallows. Kids love the interactive element.
Adult-Only Version
Add a small bowl of bourbon caramel dip for the apples. Include a wedge of aged gouda or blue cheese. Add prosciutto instead of salami for a more sophisticated flavor. A few dried figs or candied pecans add texture and elegance. Serve with a side of cozy caramel apple cider sangria for a perfect fall pairing.
Gluten-Free Version
Replace crackers and pretzels with gluten-free crackers, rice cakes cut into shapes, or veggie sticks. Use gluten-free breadsticks if available. Most candies are naturally gluten-free, but double-check labels on the chocolate-covered pretzels and candy corn. Brach’s candy corn is gluten-free, so you’re good there.
Vegan Version
Use vegan cheese slices or cubes (violife or follow your heart work well). Swap the salami for roasted chickpeas or spiced nuts. Use dairy-free caramel dip and chocolate hazelnut spread. Add extra fruit like grapes or dried apricots for sweetness. The board will still look and taste amazing.
Spooky Savory Twist
Add a small bowl of crispy baked buffalo cauliflower bites on the side for a hot element. The spicy buffalo flavor contrasts beautifully with the sweet caramel apples. It also gives the board a heartier feel if you’re serving it as a meal.
Serving & Storage Suggestions
This board is best served at room temperature, so take it out of the fridge about 20 minutes before guests arrive. The cheese softens slightly and the flavors come alive. Arrange everything on the board just before serving to keep the fruit fresh and the pretzels crunchy.
What to serve alongside: This board pairs beautifully with a warm drink like better than starbucks homemade pumpkin spice latte or a cold apple cider. For a heartier spread, add a bowl of cozy slow cooker white chicken chili with roasted pumpkin on the side. The chili adds warmth and protein to balance all the sweets.
Storage: Leftovers can be stored separately. Place the caramel apples and fresh fruit in an airtight container in the fridge for up to 2 days. Cheese and meats go in separate containers and last 3-4 days. Candy and pretzels can be stored in a ziplock bag at room temperature for up to a week. Don’t store the assembled board—everything will get soggy and sad.
Reheating: Nothing on this board needs reheating, but if you’re using a warm dip like queso or chili, reheat that separately and add it to the board just before serving. The caramel apples are best cold or room temperature.
Flavor development: The cheese and meats actually taste better the next day if stored separately. The flavors meld and deepen. But the fresh fruit and caramel apples are best eaten the same day. So if you’re planning ahead, prep the cheese, meats, and candies the night before, then add the fruit and apples right before serving.
Nutritional Information & Benefits
This board is more of a treat than a health food, but it does have some redeeming qualities. Here’s a rough estimate per serving (about ¼ of the board):
- Calories: Approximately 450-550
- Protein: 12-15 grams (from cheese and salami)
- Fat: 25-30 grams (mostly from cheese and chocolate)
- Carbohydrates: 50-60 grams (from fruit, candy, and crackers)
- Fiber: 3-5 grams (from apples, pears, and pretzels)
- Sugar: 30-40 grams (mostly from candy and caramel)
Health benefits: The apples and pears provide vitamin C and fiber. Cheese offers calcium and protein. Dark chocolate (if you use it) has antioxidants. Even the candy corn has a tiny bit of iron from the corn syrup. It’s not a health food, but it’s a fun treat that can be part of a balanced diet.
Dietary considerations: This board contains dairy, gluten (from crackers and pretzels), and nuts (peanut butter cups). For allergen-friendly versions, see the variations section above. The candy corn is gluten-free and nut-free, which is a win for many.
Personal perspective: I don’t stress about the sugar content on Halloween. It’s one day, and the joy of sharing food with loved ones outweighs the nutritional nitpicking. That said, I always make sure there are enough savory options so people don’t go into a sugar coma before the doorbell even rings.
Conclusion
This Easy Halloween Charcuterie Board with Candy Corn and Caramel Apples is the kind of recipe that saves the day. It’s quick, it’s festive, and it makes you look like a Halloween hero without breaking a sweat. Whether you’re feeding a crowd of little goblins or hosting a spooky soiree, this board delivers on flavor, presentation, and pure fun.
I love how forgiving this board is. You can swap ingredients, change the layout, or add your own touches, and it still works. It’s not about perfection—it’s about sharing something delicious and a little bit silly with the people you care about. And honestly, that’s what Halloween is all about.
So go ahead and build your board. Forget the candy corn the first time like I did, then run back to the store and get it. Trust me, it’s worth it. And when you make yours, I’d love to hear about it. Drop a comment below and tell me what you added or swapped. Did you go heavy on the chocolate? Did you add ghost-shaped cheese? Let me know! And if you’re looking for more fall inspiration, check out our cozy sourdough discard pumpkin bread with honey butter for a perfect post-Halloween breakfast. Happy haunting!
Frequently Asked Questions
Can I make this board ahead of time?
Yes, partially. You can prep the cheese, meats, and candies the night before and store them separately. Add the fresh fruit and caramel apples just before serving to keep them from browning or getting soggy. The board itself should be assembled no more than 2 hours before serving.
How do I keep the apple slices from turning brown?
Toss the apple and pear slices in a bowl with a tablespoon of lemon juice or a splash of pineapple juice. Let them sit for 2 minutes, then pat them dry with a paper towel. This buys you about 4-6 hours before they start browning. You can also use a commercial fruit freshener like Fruit-Fresh.
What if I don’t have Halloween cookie cutters?
No problem! Just cube the cheese into small squares or cut it into thin rectangles. The board will still look festive because of the colors and candies. You can also use a small knife to freehand simple shapes like triangles or stars—it doesn’t have to be perfect.
How much do I need for a crowd of 10 people?
Double the quantities listed in the ingredient section. For a larger crowd, use a bigger board or two separate boards. Add extra crackers and pretzels since those go fast. Also, consider adding a second dip like a warm queso or spinach artichoke dip to fill out the spread.
Can I use homemade caramel apples instead of store-bought?
Absolutely! Homemade caramel apples are amazing and worth the extra effort. Just make sure they’re fully set before slicing—about 30 minutes in the fridge after dipping. Use granny smith apples for the best tart-sweet balance. Store-bought works great too, especially if you’re short on time.
Pin This Recipe!
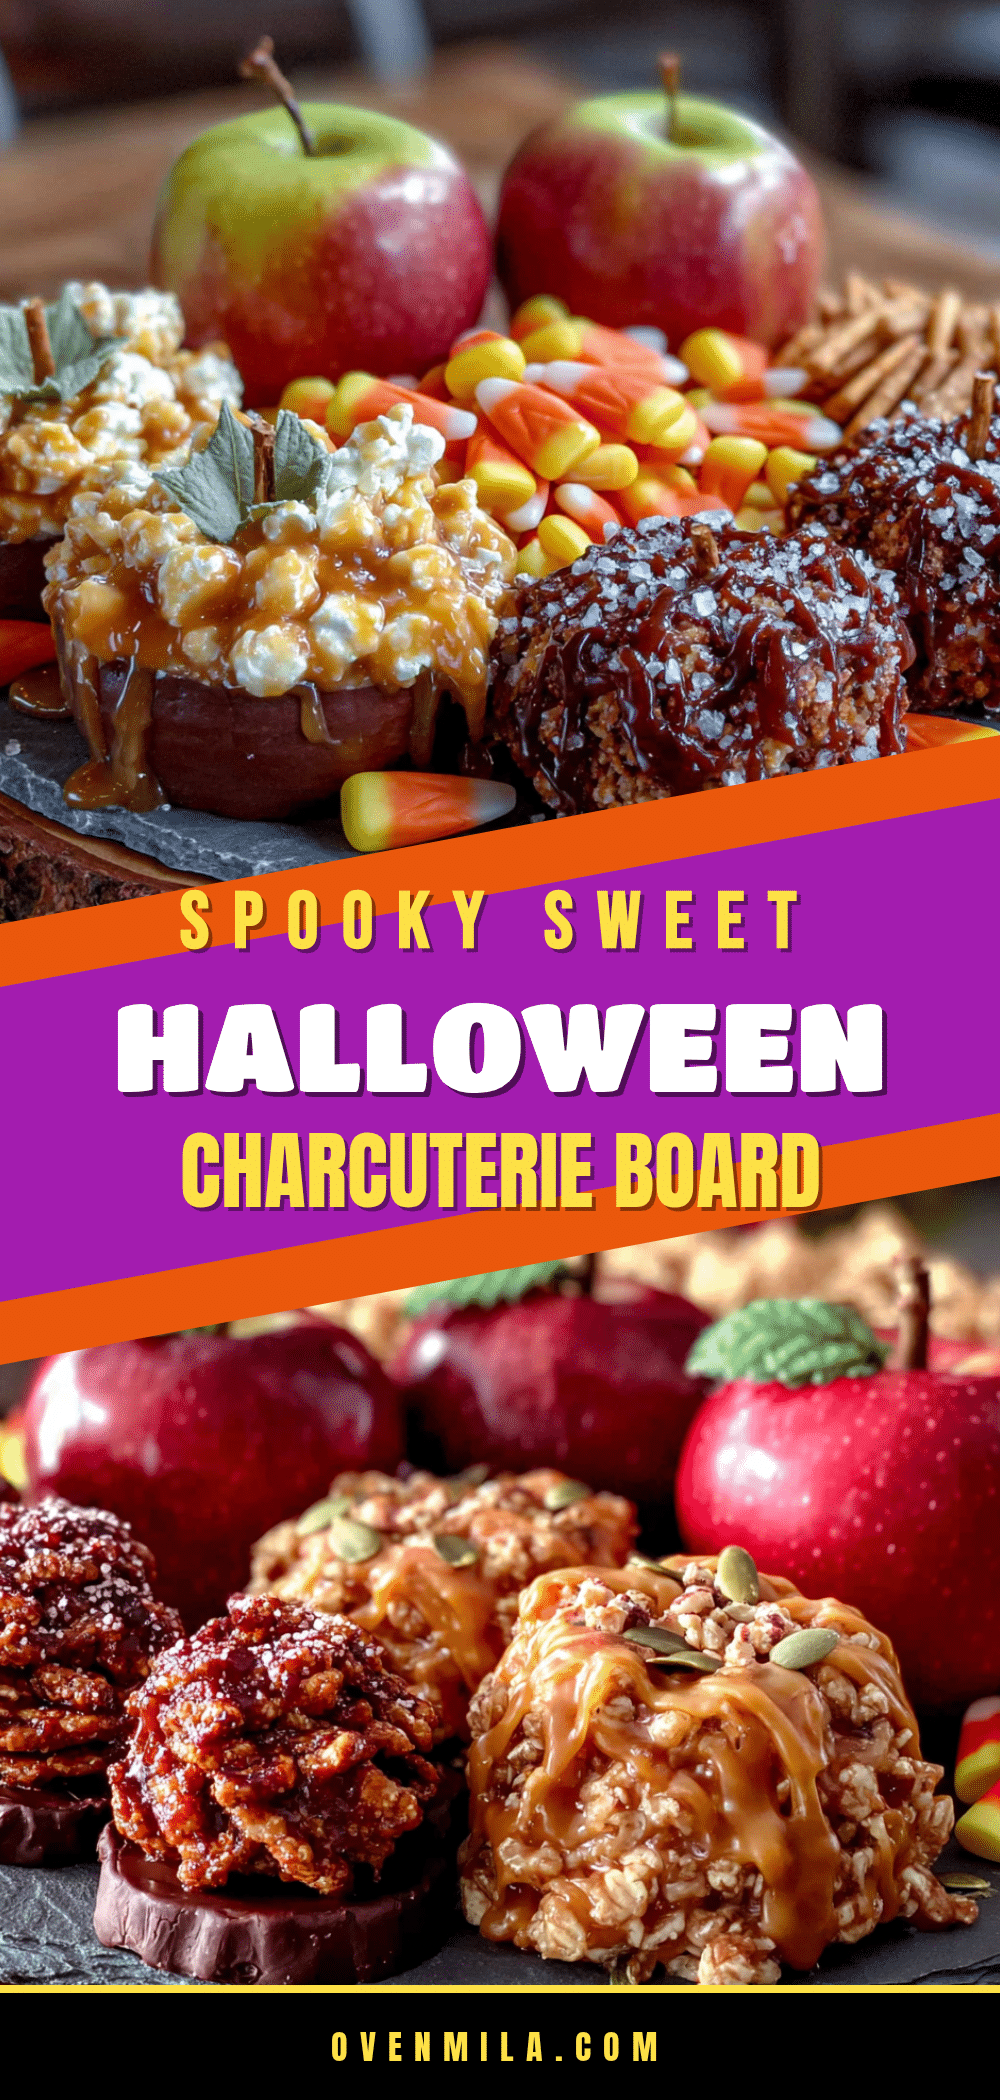
Easy Halloween Charcuterie Board with Candy Corn & Caramel Apples
A festive, no-cook Halloween snack board featuring sweet and savory elements like caramel apples, candy corn, cheese, and salami. Perfect for pre-trick-or-treat fueling or adult Halloween parties.
- Prep Time: 15 minutes
- Cook Time: 0 minutes
- Total Time: 15 minutes
- Yield: 8 servings 1x
- Category: Appetizer
- Cuisine: American
Ingredients
- 2 large caramel apples, cut into wedges
- 1 cup candy corn
- 1 cup chocolate-covered pretzels
- 1 cup ghost-shaped marshmallows
- ½ cup orange jelly beans
- ½ cup mini peanut butter cups
- 6 ounces sharp cheddar cheese, cubed or cut into Halloween shapes
- 4 ounces gouda cheese, sliced thin
- 4 ounces salami slices, folded into triangles
- 3 ounces pepperoni slices
- ½ cup green olives stuffed with pimento
- ½ cup black olives
- 1 cup pretzel sticks
- 1 large apple (Granny Smith), sliced thin
- 1 large pear, sliced thin
- 1 cup assorted crackers
- ½ cup breadsticks
- ½ cup caramel dip
- ¼ cup chocolate hazelnut spread
- 2 tablespoons honey
Instructions
- Slice each caramel apple into 8 wedges, remove core and seeds. Place in a fan shape on the board.
- Cut sharp cheddar into ½-inch cubes or use Halloween cookie cutters to make shapes. Slice gouda into thin triangles. Arrange in clusters on the board.
- Fold each salami slice into a triangle (fold in half, then in half again). Leave pepperoni as is or stack in small piles. Arrange near the cheese.
- Core and slice apple and pear into thin wedges. Toss with lemon juice to prevent browning, pat dry, and arrange in a fan pattern on the board.
- Spoon caramel dip into a small bowl and place near apple slices. Spoon chocolate hazelnut spread into another small bowl near marshmallows and pretzels. Drizzle honey over gouda or pears just before serving.
- Sprinkle candy corn in small piles around the board. Add chocolate-covered pretzels, ghost marshmallows, orange jelly beans, and mini peanut butter cups in clusters. Scatter pretzel sticks like logs. Add green and black olives in small bowls or directly on the board.
- Fill empty spaces with crackers and breadsticks, tucking them around the edges or stacking in small piles.
- Step back and check the board. Fill any bare spots with extra candy corn or crackers. Serve immediately or cover with plastic wrap and refrigerate for up to 2 hours. Add fresh fruit and caramel apples just before serving if refrigerated.
Notes
For gluten-free, swap pretzels and breadsticks for gluten-free crackers or veggie sticks. For vegan, use vegan cheese, dairy-free caramel dip, and chocolate hazelnut spread. Keep apple and pear slices in lemon water to prevent browning. If caramel apples are too sticky to cut, freeze for 10 minutes before slicing.
Nutrition
- Serving Size: 1/4 of the board
- Calories: 500
- Sugar: 35
- Sodium: 800
- Fat: 28
- Saturated Fat: 12
- Carbohydrates: 55
- Fiber: 4
- Protein: 14
Keywords: Halloween charcuterie board, candy corn, caramel apples, no-cook snack, Halloween party food, easy appetizer


