I was standing in the spice aisle of our local grocery store last Tuesday when a woman walked by carrying a bag of oranges. The sharp, sweet burst of citrus hit me — and suddenly I was seven years old in my tía Carmen’s tiny kitchen in San Antonio, watching her roll out dough on a floured counter while the radio played ranchera music in the background. She’d let me press my thumb into the soft dough balls before they went into the oven, and I’d always sneak a piece of the orange-scented raw dough when she turned her back. She passed away three years ago, and I haven’t had her pan de muerto since. But that smell in the grocery store — it hit me so hard I almost dropped my shopping basket. I stood there for a solid minute, eyes closed, trying to hold onto the memory. And I knew right then I had to figure out how to make it myself, even on a busy weeknight. Honestly, I was a little scared I’d mess it up. Pan de muerto feels sacred, you know? Like it belongs to someone else’s family traditions, not mine. But I bought the oranges anyway, cleared off my counter that evening, and gave it a shot. Let me tell you — the first batch came out lopsided and a little too brown on top, but the taste? It was her. Maybe you’ve been there too — chasing a flavor you can almost but not quite remember. This quick homemade pan de muerto sweet bread is my attempt to hold onto that memory, and I keep making it because it brings her back to me, even for just a few minutes.
Why You’ll Love This Recipe
This isn’t just another pan de muerto recipe — it’s the one that actually works on a Tuesday night when you’re tired and short on time. I tested this version at least six times before I got it right, tweaking the rise times and the orange ratio until it felt like tía Carmen’s without taking all day.
- Quick & Easy: Comes together in under 2 hours from start to finish, with only about 20 minutes of active hands-on time. Perfect for a weeknight baking session when you’re craving something special.
- Simple Ingredients: No fancy grocery trips needed. You likely already have flour, sugar, butter, eggs, and an orange in your kitchen right now.
- Perfect for Día de Muertos or Any Day: Great for celebrating the holiday, but honestly? It’s too good to make just once a year. I make it for cozy fall evenings, weekend breakfasts, and whenever I need a little comfort.
- Crowd-Pleaser: The soft, slightly sweet orange-scented bread always gets rave reviews. Kids love the fun bone-shaped decorations on top, and adults appreciate the authentic flavor.
- Unbelievably Delicious: The texture is pillowy soft with a tender crumb, and the orange zest and anise give it that unmistakable pan de muerto taste. It’s next-level comfort food.
What makes this recipe different from the rest? It uses a clever technique of blooming the yeast in warm milk with a pinch of sugar to speed up the rise, and I add a bit of orange blossom water for that floral note that makes it taste like it came from a real panadería. This isn’t just another version — it’s my best version, perfected for busy people who still want something meaningful on their table.
This bread is the kind that makes you close your eyes after the first bite. It’s comfort food reimagined — faster, simpler, but with the same soul-soothing satisfaction as the traditional version. Perfect for impressing your family on a weeknight without spending hours in the kitchen.
What Ingredients You Will Need
This quick homemade pan de muerto sweet bread uses simple, wholesome ingredients to deliver that authentic bakery flavor without the fuss. Most of these are pantry staples, and I’ve included notes on substitutions where they work well.
For the Dough
- All-purpose flour — 3 ½ cups (440g) — I prefer Gold Medal or King Arthur for consistent results
- Active dry yeast — 2 ¼ teaspoons (one packet) — Look for a fresh packet; stale yeast is the #1 reason bread fails
- Warm milk — ½ cup (120ml) — Whole milk gives the richest flavor, but 2% works fine
- Granulated sugar — ½ cup (100g) — This is a sweet bread, so don’t reduce it too much
- Unsalted butter — 6 tablespoons (85g), softened — Let it come to room temperature for easier mixing
- Large eggs — 2, room temperature — Cold eggs will shock the dough and slow the rise
- Orange zest — from 1 medium orange — This is essential for that signature pan de muerto flavor
- Orange juice — 2 tablespoons (30ml) — Fresh squeezed is best, but bottled works in a pinch
- Orange blossom water — 1 teaspoon — Optional but highly recommended; adds that floral bakery note
- Anise seed — ½ teaspoon, crushed slightly — Traditional and gives that subtle licorice undertone
- Salt — ½ teaspoon — Balances the sweetness
For the Topping & Glaze
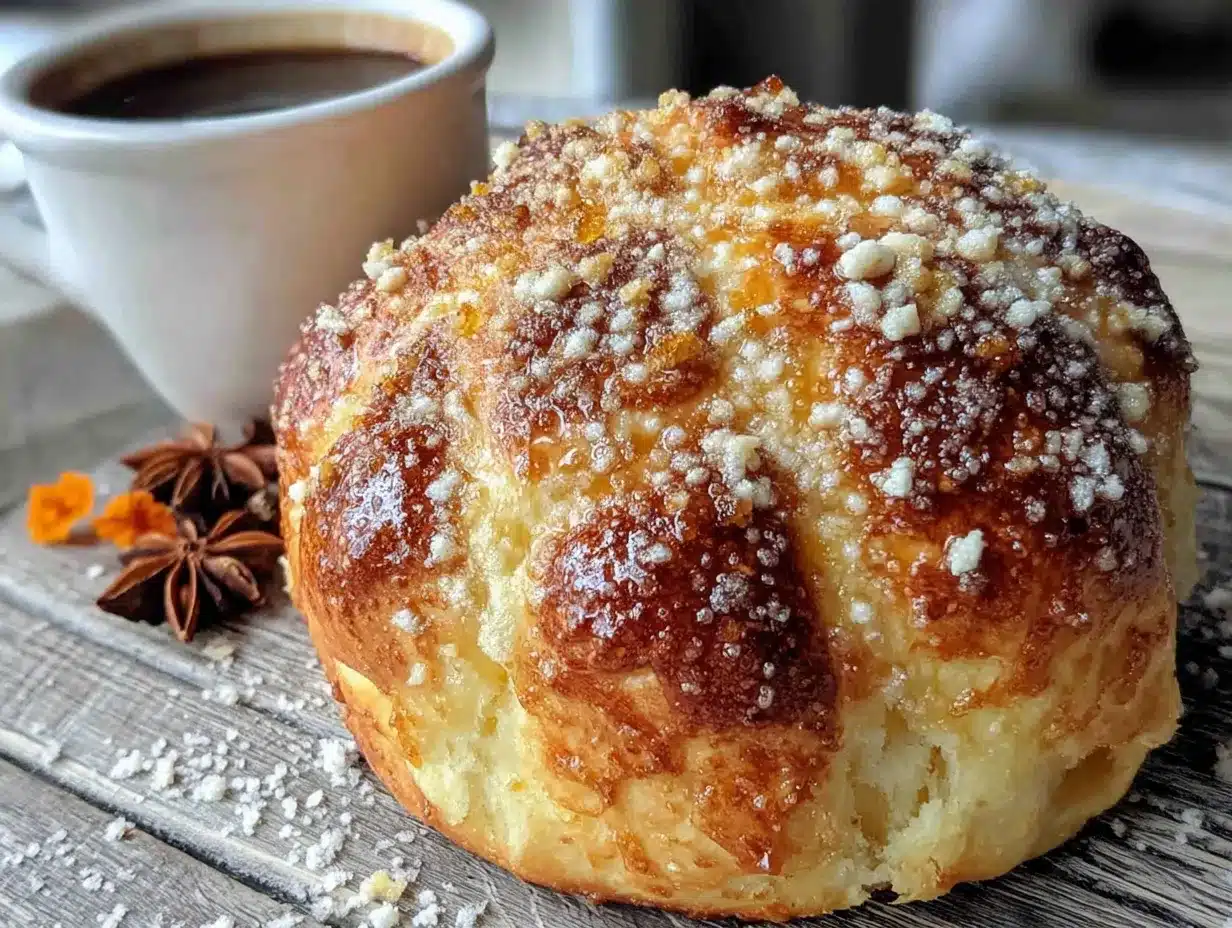
- Egg wash — 1 egg beaten with 1 tablespoon water — For that golden brown shine
- Granulated sugar — ¼ cup (50g) — For sprinkling on top after baking
- Melted butter — 2 tablespoons — Brushed on while warm for extra richness
A few quick tips: If you don’t have orange blossom water, you can substitute with vanilla extract, but the flavor will be different. For a dairy-free version, use warm oat milk and vegan butter — I’ve tested this and it works, though the texture is slightly less tender. And please, don’t skip the anise seed. It seems like a small thing, but it’s what makes pan de muerto taste authentic rather than just orange sweet bread.
I recommend using a microplane for zesting the orange — you get fine zest without the bitter white pith. And if you can find Mexican vanilla extract, use it. The difference is subtle but real.
Equipment Needed
- Large mixing bowl — Glass or stainless steel works best; avoid plastic as it can hold odors
- Stand mixer with dough hook — Makes kneading much easier, but you can absolutely do this by hand
- Measuring cups and spoons — For dry and wet ingredients
- Kitchen scale — Optional but highly recommended for consistent results with flour
- Microplane or fine grater — For zesting the orange
- Rolling pin — For shaping the bone decorations
- Baking sheet — 13×18 inch, lined with parchment paper
- Pastry brush — For egg wash and melted butter
- Clean kitchen towel — For covering the dough while it rises
- Wire cooling rack — Essential for preventing soggy bottoms
If you don’t have a stand mixer, you can knead the dough by hand for about 8-10 minutes. It’s actually a nice arm workout, and I’ve done it plenty of times when I didn’t feel like hauling out the mixer. Just make sure to flour your hands well — this dough is a bit sticky. Also, a cheap plastic bench scraper is a lifesaver for cleaning up floury counters.
Preparation Method
This quick homemade pan de muerto sweet bread comes together faster than you’d think. Here’s how to do it, step by step, with all the little details I wish someone had told me the first time.
- Bloom the yeast (5 minutes): In a small bowl, combine the warm milk (about 110°F — it should feel like warm bathwater on your wrist) with 1 tablespoon of the sugar and the active dry yeast. Stir gently and let it sit for 5 minutes until foamy. If it doesn’t foam, your yeast is dead — start over with fresh yeast. Trust me, I learned this the hard way.
- Mix the dry ingredients (2 minutes): In a large mixing bowl or the bowl of your stand mixer, whisk together the all-purpose flour, remaining sugar, crushed anise seed, and salt. Make a well in the center.
- Combine wet ingredients (3 minutes): In a separate small bowl, whisk together the room temperature eggs, orange zest, orange juice, and orange blossom water if using. Pour this mixture and the bloomed yeast into the well of dry ingredients.
- Knead the dough (8-10 minutes): Using the dough hook attachment on low speed, mix until a shaggy dough forms. Increase to medium speed and knead for 8 minutes, or until the dough is smooth and elastic. If kneading by hand, turn the dough onto a floured surface and knead for 10 minutes. The dough should be soft and slightly tacky but not sticky — add flour 1 tablespoon at a time if needed. Add the softened butter in pieces, one at a time, while the mixer runs. The dough will look messy at first but will come together into a smooth, shiny ball.
- First rise (45-60 minutes): Place the dough in a lightly greased bowl, turning once to coat. Cover with a clean kitchen towel and let rise in a warm, draft-free spot until doubled in size. I usually put mine in the microwave (turned off) with a cup of hot water next to it. It should take about 45 minutes if your kitchen is warm, up to 60 if it’s cooler.
- Shape the bread (10 minutes): Punch down the dough gently. Transfer to a lightly floured surface. Cut off about ¼ of the dough and set aside for the decorations. Divide the remaining dough into two equal pieces and shape each into a smooth round ball. Place them on the prepared baking sheet, spaced about 4 inches apart. For the decorations, roll the reserved dough into a long rope about ½ inch thick. Cut into 4-inch lengths for the “bones” — make small indentations on each end with your finger to create the classic bone shape. Roll small balls for the top knob. Lightly press 3-4 bone pieces onto each round of dough in a cross pattern, and place a small ball in the center.
- Second rise (25-30 minutes): Cover the shaped loaves loosely with the towel and let rise again until puffy, about 25-30 minutes. Don’t overproof here — you want them to hold their shape.
- Bake (18-22 minutes): Preheat your oven to 350°F (175°C) during the last 15 minutes of the second rise. Brush each loaf gently with the egg wash, being careful not to deflate the dough. Bake for 18-22 minutes, rotating the pan halfway through, until the tops are deep golden brown and the loaves sound hollow when tapped on the bottom.
- Finish (5 minutes): Let the bread cool on the baking sheet for 2 minutes, then transfer to a wire rack. While still warm, brush with melted butter and sprinkle generously with granulated sugar. The butter helps the sugar stick and adds that beautiful sheen.
A quick note: The dough will feel softer and stickier than regular bread dough — that’s normal. The high fat and sugar content make it more tender. Don’t be tempted to add too much flour or you’ll end up with dense bread.
Cooking Tips & Techniques
After making this quick homemade pan de muerto sweet bread more times than I can count, here are the things I wish I’d known from the start.
Temperature matters more than you think. Cold ingredients will shock the yeast and slow your rise. I learned this the hard way when I used cold eggs straight from the fridge and my dough took almost two hours to double. Let your eggs and butter sit out for at least 30 minutes before starting. And if your kitchen is cold (like mine in winter), warm your mixing bowl with hot water and dry it before adding the dough.
Don’t overthink the shaping. The bone decorations are supposed to look a little rustic — that’s part of their charm. When I first made this, I spent 15 minutes trying to make perfect symmetrical bones and ended up overworking the dough. Now I just roll the rope, cut it, and press the ends with my finger. Imperfect is authentic here.
The egg wash trick. Brush gently — I mean really gently. I once pressed too hard and deflated one of my loaves right before baking. It still tasted good, but it looked sad and flat. Use a light hand and only one coat.
Multitasking strategy: While the dough is doing its first rise, clean up your kitchen and set out your egg wash ingredients. During the second rise, preheat your oven and line your baking sheet. This way, you’re never standing around waiting.
My biggest failure: The time I forgot the orange zest entirely. The bread was still sweet and soft, but it tasted like plain brioche — completely missing that floral, citrusy soul. Don’t skip it. It’s what makes pan de muerto special.
Variations & Adaptations
This quick homemade pan de muerto sweet bread is surprisingly flexible. Here are some variations I’ve tried and loved.
Classic vs. Chocolate: For a chocolate version, replace ¼ cup of the flour with unsweetened cocoa powder and add ½ teaspoon of cinnamon. It’s not traditional, but it’s absolutely delicious. My kids request this version for their birthday breakfasts.
Dairy-Free Adaptation: Use warm oat milk and vegan butter. I’ve tested this with Miyoko’s vegan butter and it works well — the texture is slightly less tender, but the flavor is still wonderful. Just make sure your vegan butter is softened, not melted.
Gluten-Free Option: I won’t lie — this is tricky. Gluten-free flours don’t develop the same elastic structure. If you need gluten-free, use a 1:1 gluten-free flour blend that includes xanthan gum, and expect a denser, more cake-like texture. Add an extra tablespoon of milk to compensate for the drier flour.
Flavor Twists: Add 1 teaspoon of vanilla extract along with the orange juice for a warmer flavor profile. Or try substituting the anise seed with ½ teaspoon of ground cinnamon and ¼ teaspoon of nutmeg for a more wintery spice blend. I made this version last December and it smelled like Christmas morning.
Savory Option: Okay, this is a stretch, but I once accidentally forgot the sugar and ended up with a slightly sweet dinner roll. It was actually pretty good with butter and honey. Not recommended if you’re going for authentic, but interesting if you’re experimenting.
Serving & Storage Suggestions
This quick homemade pan de muerto sweet bread is best served warm, the same day you bake it. The texture is softest within the first 12 hours, and the butter-sugar topping stays perfectly crunchy.
Serving: Serve at room temperature or slightly warm. I like to reheat individual slices in the microwave for 10 seconds — just enough to soften without making it soggy. Pair it with a cup of Mexican hot chocolate or café de olla for the full experience. It’s also lovely with a simple cup of black coffee or a glass of cold milk.
Storage: Store in an airtight container at room temperature for up to 3 days. Do not refrigerate — the cold air will dry out the bread and make it stale faster. If you live in a humid climate, add a paper towel to the container to absorb excess moisture.
Freezing: This bread freezes beautifully. Wrap each loaf tightly in plastic wrap, then in aluminum foil, and freeze for up to 2 months. To serve, thaw at room temperature for about 2 hours, then reheat in a 300°F oven for 5-7 minutes. I always freeze one loaf for later — it’s a lifesaver when I need something special but don’t have time to bake.
Flavor development: Interestingly, the orange and anise flavors become more pronounced on the second day. I actually prefer day-old pan de muerto for this reason — the flavors have had time to meld and deepen. Just warm it slightly before serving.
Nutritional Information & Benefits
This quick homemade pan de muerto sweet bread is a treat, not a health food, but here’s what you should know.
Estimated per serving (1/8 of a loaf): 280 calories, 10g fat, 42g carbohydrates, 2g fiber, 18g sugar, 6g protein.
Ingredient benefits: Oranges provide vitamin C and antioxidants, and the anise seed has been used traditionally to aid digestion. The eggs add high-quality protein and healthy fats. That said, this is a sweet bread — it’s meant to be enjoyed in moderation as part of a balanced diet.
Dietary considerations: This recipe contains gluten, dairy, and eggs. For allergen-friendly versions, see the variations section. It’s not low-carb or keto-friendly due to the flour and sugar content.
My perspective: I believe food like this has value beyond its nutritional profile. It connects us to our culture, our memories, and the people we love. That matters. So enjoy a slice without guilt, and maybe share one with someone you care about.
Conclusion
This quick homemade pan de muerto sweet bread is more than just a recipe — it’s a way to bring a little bit of tradition into your busy weeknight kitchen. It’s soft, fragrant, and deeply satisfying, with that unmistakable orange and anise flavor that makes it so special. I’ve made it for Día de Muertos altars, for cozy fall evenings, and for no reason at all except that I was craving it. Every time, it brings me back to that tiny kitchen in San Antonio.
I’d love for you to try this recipe and make it your own. Maybe add a little extra orange zest, or shape the bones differently, or serve it with your favorite hot drink. Don’t be afraid to experiment — that’s how family traditions evolve. When you make it, come back and let me know how it turned out. Leave a comment below, share a photo, or tell me about your own food memories. I read every single one, and honestly, they make my day.
Happy baking, and may your kitchen smell like oranges and warmth. Buen provecho.
Frequently Asked Questions
Can I make this pan de muerto ahead of time?
Yes! You can prepare the dough through the first rise, then punch it down and refrigerate it overnight. The next day, let it come to room temperature for about 30 minutes before shaping and proceeding with the second rise. The flavor actually improves with this slow fermentation.
Why didn’t my dough rise?
Most likely, your yeast was old or your milk was too hot. Yeast dies at temperatures above 130°F. Always test your milk temperature on your wrist — it should feel like warm bathwater, not hot. Also, check the expiration date on your yeast packet. If in doubt, buy fresh yeast.
Can I use bread flour instead of all-purpose flour?
You can, but the texture will be chewier and less tender. Pan de muerto is supposed to be soft and pillowy, like a slightly sweet brioche. All-purpose flour gives the best result for this style of bread. If you only have bread flour, reduce it by 2 tablespoons per cup.
How do I know when the bread is fully baked?
The top should be deep golden brown, and the loaf should sound hollow when you tap the bottom. You can also use an instant-read thermometer — the internal temperature should reach 190°F. If the top is browning too quickly, tent loosely with foil for the last 5 minutes of baking.
Can I skip the anise seed?
You can, but it won’t taste like authentic pan de muerto. The anise gives that subtle licorice undertone that balances the orange. If you really don’t like anise, try substituting with ½ teaspoon of vanilla extract or a pinch of ground cinnamon. It will still be delicious, just different.
Pin This Recipe!
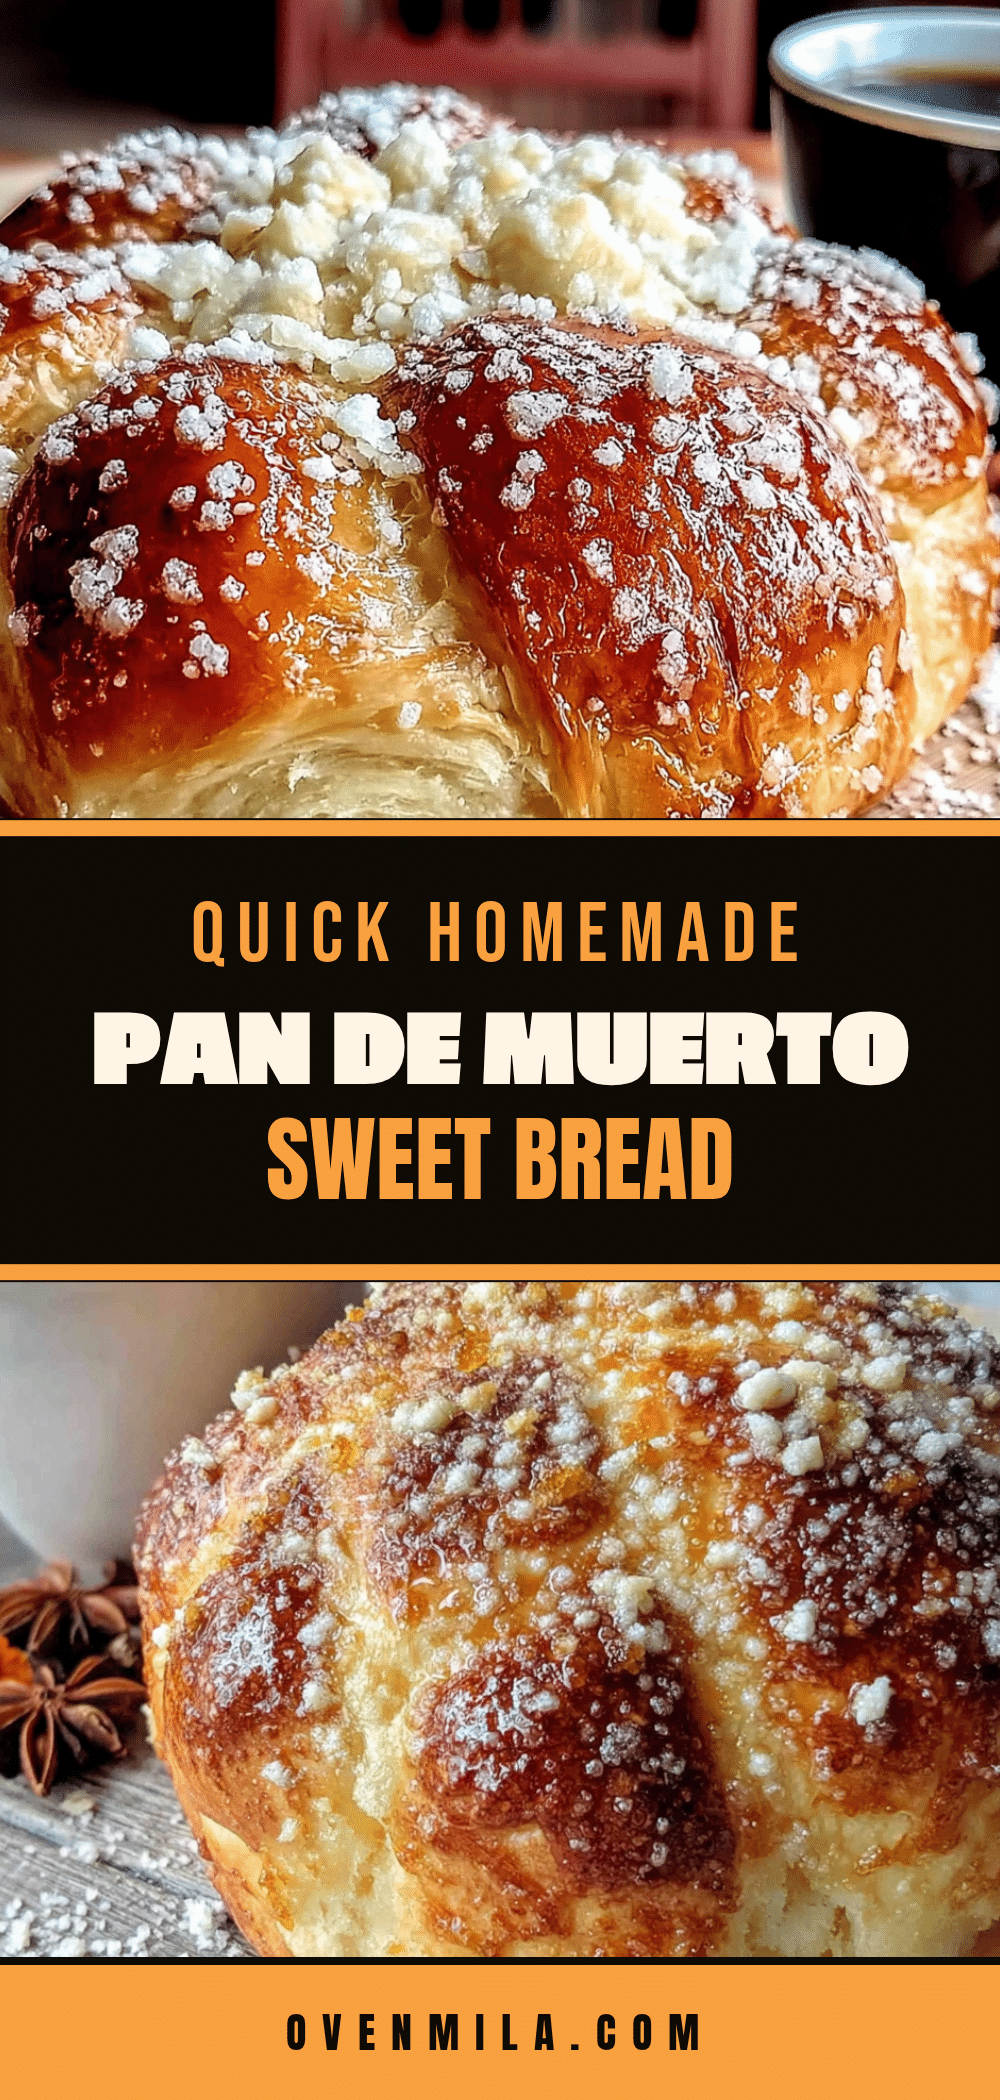
Easy Homemade Pan de Muerto Recipe | Best Sweet Bread

This quick homemade pan de muerto sweet bread is soft, fragrant, and deeply satisfying, with that unmistakable orange and anise flavor. It comes together in under 2 hours with simple ingredients, perfect for a weeknight baking session.
- Prep Time: 20 minutes
- Cook Time: 20 minutes
- Total Time: 1 hour 40 minutes
- Yield: 8 servings 1x
- Category: Bread
- Cuisine: Mexican
Ingredients
- 3 ½ cups (440g) all-purpose flour
- 2 ¼ teaspoons (one packet) active dry yeast
- ½ cup (120ml) warm milk
- ½ cup (100g) granulated sugar
- 6 tablespoons (85g) unsalted butter, softened
- 2 large eggs, room temperature
- Zest of 1 medium orange
- 2 tablespoons (30ml) orange juice
- 1 teaspoon orange blossom water (optional)
- ½ teaspoon anise seed, crushed
- ½ teaspoon salt
- 1 egg beaten with 1 tablespoon water (for egg wash)
- ¼ cup (50g) granulated sugar (for topping)
- 2 tablespoons melted butter (for brushing)
Instructions
- Bloom the yeast: In a small bowl, combine warm milk (about 110°F) with 1 tablespoon of the sugar and the active dry yeast. Stir gently and let sit for 5 minutes until foamy.
- Mix dry ingredients: In a large mixing bowl, whisk together flour, remaining sugar, crushed anise seed, and salt. Make a well in the center.
- Combine wet ingredients: In a separate bowl, whisk together eggs, orange zest, orange juice, and orange blossom water. Pour this mixture and the bloomed yeast into the well of dry ingredients.
- Knead the dough: Using a dough hook on low speed, mix until a shaggy dough forms. Increase to medium speed and knead for 8 minutes, or until smooth and elastic. Add softened butter pieces one at a time while mixing. The dough should be soft and slightly tacky.
- First rise: Place dough in a lightly greased bowl, turning once to coat. Cover with a clean kitchen towel and let rise in a warm, draft-free spot until doubled in size, about 45-60 minutes.
- Shape the bread: Punch down dough. Transfer to a lightly floured surface. Cut off about ¼ of the dough for decorations. Divide remaining dough into two equal pieces and shape into smooth rounds. Place on a parchment-lined baking sheet, spaced 4 inches apart. For decorations, roll reserved dough into a ½-inch thick rope, cut into 4-inch lengths, and press ends with finger to create bone shapes. Press 3-4 bones onto each round in a cross pattern and place a small ball in the center.
- Second rise: Cover shaped loaves loosely with towel and let rise until puffy, about 25-30 minutes.
- Bake: Preheat oven to 350°F (175°C) during the last 15 minutes of second rise. Brush loaves gently with egg wash. Bake for 18-22 minutes, rotating pan halfway, until deep golden brown and loaves sound hollow when tapped.
- Finish: Let bread cool on baking sheet for 2 minutes, then transfer to a wire rack. While still warm, brush with melted butter and sprinkle generously with granulated sugar.
Notes
The dough will feel softer and stickier than regular bread dough due to high fat and sugar content. Don’t add too much flour. For dairy-free, use warm oat milk and vegan butter. For gluten-free, use a 1:1 gluten-free flour blend with xanthan gum and expect a denser texture. The orange and anise flavors become more pronounced on the second day.
Nutrition
- Serving Size: 1/8 of a loaf
- Calories: 280
- Sugar: 18
- Sodium: 150
- Fat: 10
- Saturated Fat: 6
- Carbohydrates: 42
- Fiber: 2
- Protein: 6
Keywords: pan de muerto, sweet bread, Mexican bread, Día de Muertos, orange bread, anise bread, easy bread recipe


