My friend Jen asked me why I couldn’t just throw everything in one pan and call it a day. I had been explaining my elaborate multi-step process for honey garlic chicken—sear the thighs, remove them, make the sauce in a separate bowl, deglaze, reduce, return the chicken. It was a whole production. She watched me pull out a second skillet and just said, “Why not put it all in that one pan and skip the bowl?” I started to explain why that wouldn’t work—then stopped. Honestly, I had no good reason. I just assumed the sauce would burn or the chicken wouldn’t get crispy. But I was tired, it was a Tuesday, and I didn’t have the energy to argue. So I tried it her way. And let me tell you, I’ve never been so happy to be wrong.
The chicken came out perfectly caramelized. The sauce thickened right in the pan, coating every piece in that sticky, savory-sweet glaze without a single extra dish to wash. I stood there at the stove, spatula in hand, feeling a little sheepish. All those years of making extra work for myself, and the answer was just… one pan. You know that feeling when you realize you’ve been overcomplicating something for no reason? That was this moment. Now this Easy One Pan Honey Garlic Chicken Thighs recipe is my go-to weeknight dinner. It’s fast, it’s forgiving, and it makes me look like I have my life together even when I definitely don’t.
Why You’ll Love This Recipe
This isn’t just another chicken thigh recipe. After testing this dish about six times in two weeks (my neighbors were very happy), I can confidently say this version hits different. The honey garlic glaze caramelizes just right without burning, the chicken stays juicy, and the whole thing comes together faster than you can order takeout. Here is why this one stands out:
- Quick & Easy: From fridge to table in 30 minutes flat. No marinating, no complicated steps, no waiting around.
- Simple Ingredients: You probably have everything in your kitchen right now. Honey, soy sauce, garlic, chicken thighs—that’s it.
- Perfect for Weeknights: This is the dinner you make when you’re tired, hungry, and don’t want to think. It just works.
- Crowd-Pleaser: My picky-eater nephew asked for seconds. Then thirds. I’m not kidding.
- Unbelievably Delicious: The sauce gets thick and glossy, coating each thigh in that perfect sweet-savory balance. It’s comfort food that feels a little fancy but takes almost no effort.
What makes this recipe different is the technique. Instead of making the sauce separately, you build it right in the pan with the chicken. The honey caramelizes with the rendered fat, creating a glaze that clings to every bite. No separate bowl, no extra whisking, no sticky saucepan to scrub later. It’s the kind of recipe that makes you wonder why you ever did it any other way.
What Ingredients You Will Need
This recipe uses simple, everyday ingredients to build big flavor without the fuss. Most of these are probably already in your pantry, which is exactly how weeknight cooking should be.
- Chicken Thighs: 6 bone-in, skin-on chicken thighs (about 2 pounds). The skin gets crispy in the pan, and the bone keeps the meat juicy. You can use boneless thighs, but reduce cooking time by about 5 minutes.
- Honey: 1/3 cup of good-quality honey. I prefer a local wildflower honey for its floral notes, but any liquid honey works. Avoid crystallized honey unless you warm it first.
- Soy Sauce: 1/4 cup low-sodium soy sauce. Regular works too, but the dish can get salty fast. If using regular, cut back to 3 tablespoons.
- Garlic: 4 cloves, minced fresh. Please don’t use the jarred stuff here—fresh garlic makes a real difference in the glaze.
- Chicken Broth: 1/4 cup low-sodium chicken broth. This thins the sauce just enough so it doesn’t burn before the chicken cooks through.
- Rice Vinegar: 1 tablespoon. Adds a subtle tang that balances the sweetness. Apple cider vinegar works in a pinch.
- Sesame Oil: 1 teaspoon, for finishing. Totally optional but adds a lovely nutty aroma.
- Cornstarch: 1 teaspoon mixed with 1 tablespoon water (slurry). Only if you want a thicker glaze—I usually skip it.
- Salt and Pepper: To taste. Go easy on the salt since soy sauce adds plenty.
- Green Onions: 2-3, sliced, for garnish. Adds color and freshness.
- Sesame Seeds: 1 tablespoon, toasted, for garnish. Optional but pretty.
For the oil, use something with a high smoke point like avocado or vegetable oil. Olive oil can burn at the high heat we need for searing.
Equipment Needed
You don’t need much for this one, which is kind of the point. Here’s what you’ll need:
- Large Skillet: A 12-inch skillet with a lid is ideal. Cast iron works beautifully for even browning, but a good non-stick or stainless steel pan works too. I’ve made this in all three, and cast iron gives the crispiest skin.
- Tongs: For flipping the chicken without splattering hot oil everywhere. Trust me on this.
- Measuring Cups and Spoons: For the sauce ingredients. Nothing fancy needed.
- Small Bowl: For mixing the sauce. Technically you could mix it right in the pan, but a bowl makes it easier to pour.
- Knife and Cutting Board: For mincing garlic and slicing green onions.
- Lid: Your skillet needs a lid for the last few minutes of cooking. If you don’t have one, foil works as a makeshift cover.
If you don’t have a 12-inch skillet, use a Dutch oven or even a large sauté pan. Just make sure the chicken fits in a single layer without crowding—crowding leads to steaming instead of searing.
Preparation Method
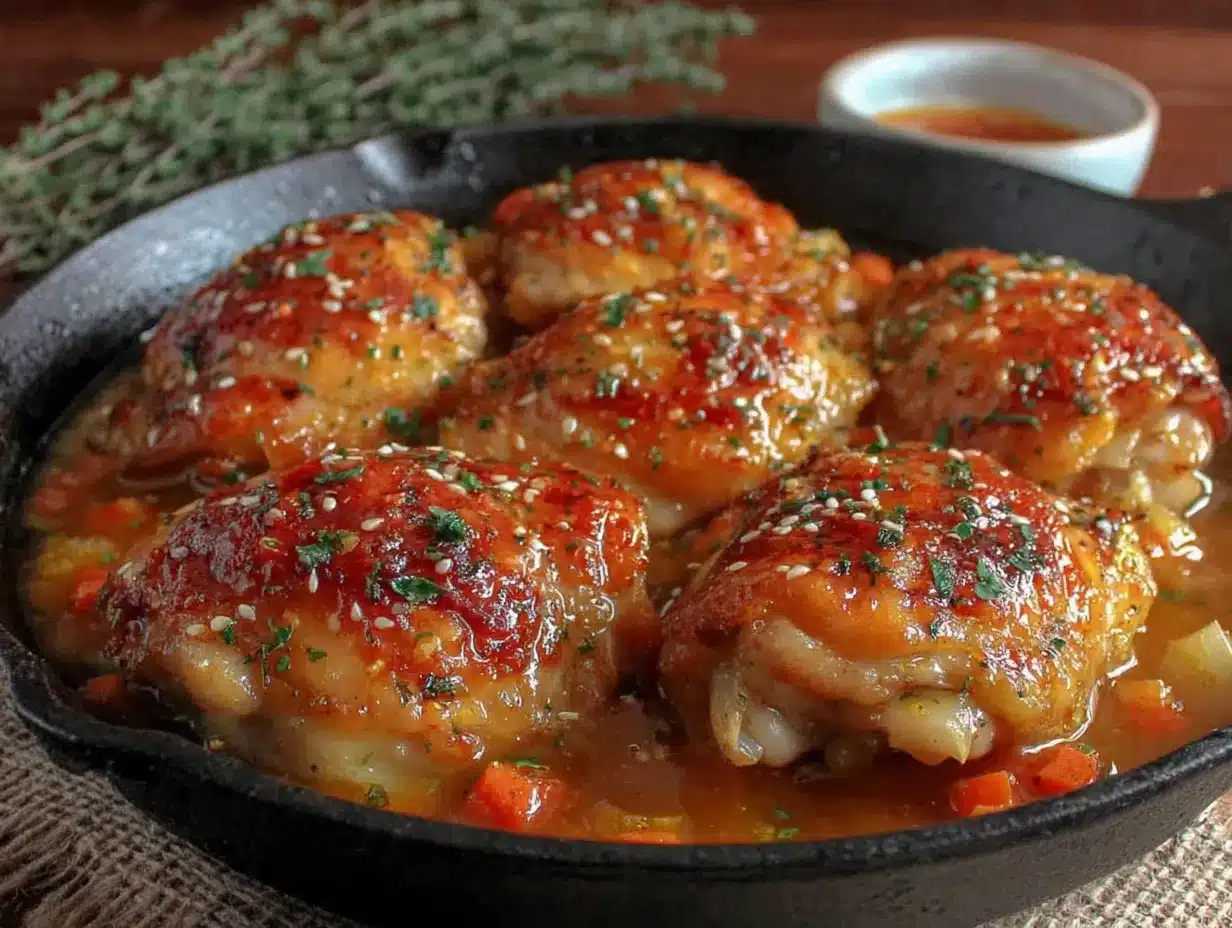
- Pat the chicken dry. Use paper towels to remove as much moisture as possible from the chicken thighs. This is the most important step for crispy skin. Wet skin steams; dry skin sears.
- Season the chicken. Sprinkle both sides generously with salt and pepper. Don’t skip this—the skin needs seasoning.
- Mix the sauce. In a small bowl, whisk together the honey, soy sauce, minced garlic, chicken broth, and rice vinegar. Set it near the stove so it’s ready to go.
- Heat the skillet. Place your skillet over medium-high heat and add 1 tablespoon of oil. Wait until the oil shimmers—about 2 minutes.
- Sear the chicken. Place the chicken thighs skin-side down in the hot skillet. Listen for that satisfying sizzle. Cook without moving them for 5-6 minutes, until the skin is deep golden brown and crispy. The chicken should release easily from the pan—if it sticks, it’s not ready.
- Flip and sear the other side. Use tongs to flip each thigh. Cook for another 3-4 minutes on the second side. The skin should be beautifully browned.
- Pour in the sauce. Carefully pour the honey garlic mixture around the chicken, not directly over the skin (you want to keep that crispy top). The sauce will bubble immediately—that’s good.
- Simmer and cover. Reduce heat to medium-low, cover the skillet, and let it simmer for 10 minutes. The chicken should reach an internal temperature of 165°F at the thickest part.
- Uncover and thicken. Remove the lid and let the sauce bubble for 2-3 more minutes, spooning it over the chicken as it thickens. The sauce should coat the back of a spoon.
- Rest and garnish. Remove from heat. Let the chicken rest in the pan for 5 minutes—this lets the juices redistribute. Sprinkle with sliced green onions and sesame seeds before serving.
A few things to watch for: If the sauce starts getting too thick before the chicken is done, add a splash of water or broth. If the chicken isn’t browning after 6 minutes, your pan might not be hot enough. And if you’re using boneless thighs, start checking for doneness at the 8-minute mark.
Cooking Tips & Techniques
The first time I made this, I made the classic mistake of cranking the heat too high. The honey burned before the chicken was even close to done. Burnt honey has this bitter, acrid taste that ruins everything—learn from my failure. Medium-high for searing, then medium-low for simmering. That’s the sweet spot.
Another thing I learned the hard way: don’t crowd the pan. If your chicken thighs are touching each other, they’ll steam instead of sear. You want that golden, crispy skin, and that only happens when each piece has room to breathe. If you need to, cook in two batches. It adds 5 minutes but makes a huge difference.
For the crispiest skin, pat those thighs dry like your dinner depends on it. I mean really dry. Then let them sit uncovered on a plate in the fridge for 10 minutes if you have time. That dries the skin even further. It’s a trick I picked up from a Chinese restaurant cookbook, and it works every time.
When you add the sauce, pour it around the chicken, not over the top. The crispy skin is your prize—don’t drown it. The sauce will bubble up and coat the edges anyway. Spoon it over the top right before serving.
If you want a thicker glaze, mix 1 teaspoon cornstarch with 1 tablespoon cold water and stir it into the sauce during the last 2 minutes of cooking. I usually skip this because the honey naturally thickens, but some people like that extra glossy finish.
Variations & Adaptations
This recipe is surprisingly flexible. Here are a few ways I’ve changed it up depending on what I had on hand:
Spicy Honey Garlic Chicken: Add 1 teaspoon sriracha or red pepper flakes to the sauce. The heat cuts through the sweetness beautifully. My husband loves this version—I think he adds extra chili flakes when I’m not looking.
Garlic Lover’s Version: Double the garlic. Use 8 cloves instead of 4. I did this once when I had a cold and wanted something punchy. It was ridiculous and wonderful.
Lemon Honey Garlic Chicken: Replace the rice vinegar with 2 tablespoons fresh lemon juice and add a teaspoon of lemon zest to the sauce. It brightens everything up and feels lighter for spring.
Baked Version: Sear the chicken in an oven-safe skillet, then pour the sauce around it and bake at 375°F for 20 minutes instead of simmering on the stove. The oven heat is more gentle and gives you time to make rice or steam some broccoli.
Gluten-Free Adaptation: Use tamari or coconut aminos instead of soy sauce. Both work perfectly—coconut aminos are slightly sweeter, so you might want to reduce the honey by a tablespoon.
Low-Carb Version: Replace honey with a sugar-free honey substitute or use 2 tablespoons of monk fruit sweetener mixed with 2 tablespoons water. It won’t caramelize quite the same way, but it’s still delicious.
I’ve also made this with chicken drumsticks and boneless thighs. Drumsticks take about 5 minutes longer; boneless thighs cook about 5 minutes faster. Just adjust your timing and check with a thermometer.
Serving & Storage Suggestions
This honey garlic chicken is best served hot, straight from the pan, with that glossy sauce spooned over the top. I like to serve it over steamed jasmine rice or fluffy white rice to soak up every drop of that sauce. The combination is pure comfort.
For a complete meal, add a simple steamed vegetable on the side. Broccoli, green beans, or snap peas all work beautifully. The slight bitterness of greens balances the sweet glaze perfectly. If you’re feeling ambitious, a quick cucumber salad with rice vinegar and sesame oil makes a refreshing side.
Leftovers keep well in an airtight container in the refrigerator for up to 4 days. The flavors actually meld together overnight, so day-two chicken might be even better. Just reheat gently in a skillet over medium-low heat with a splash of water to loosen the sauce. Microwaving works too, but the skin won’t be crispy—honestly, the skin never stays crispy after refrigeration, so don’t stress about it.
You can freeze this dish for up to 3 months. Place the cooled chicken and sauce in a freezer-safe container. Thaw overnight in the refrigerator, then reheat in a covered skillet over low heat. The sauce might separate slightly, so stir in a teaspoon of honey or broth to bring it back together.
One thing I love about this recipe is that the sauce thickens as it sits. If you’re meal-prepping, make the chicken a day ahead and reheat it gently. The glaze gets even stickier and more flavorful overnight.
Nutritional Information & Benefits
Here’s the approximate nutritional breakdown per serving (one chicken thigh with sauce, no rice or sides):
- Calories: 385
- Protein: 28g
- Fat: 22g
- Carbohydrates: 18g
- Fiber: 0g
- Sugar: 16g
- Sodium: 720mg
Chicken thighs are higher in fat than breasts, but that fat is what keeps them juicy and flavorful. They’re also rich in B vitamins, particularly B6 and B12, which support energy metabolism. Honey provides natural antioxidants and has antibacterial properties, though let’s be real—we’re eating it because it tastes amazing.
If you’re watching your sodium, use low-sodium soy sauce and skip the added salt. If you’re watching sugar, reduce the honey to 1/4 cup and add an extra tablespoon of broth. The dish won’t be as sticky, but it’ll still be tasty.
This recipe is dairy-free and nut-free as written. For gluten-free, use tamari. For low-carb, try the sugar-free honey substitute mentioned in the variations section.
FAQs
Can I use chicken breasts instead of thighs?
You can, but chicken breasts cook faster and dry out more easily. Use boneless, skinless breasts and reduce the simmering time to about 8 minutes. Check for doneness at 160°F and let carryover cooking bring it to 165°F.
Why is my sauce burning?
Your heat is too high. Honey burns quickly at high temperatures. After searing the chicken, reduce to medium-low before adding the sauce. If the sauce starts smoking, add a splash of broth immediately to cool it down.
Can I make this in advance?
Yes! This recipe is great for meal prep. Cook the chicken completely, let it cool, and store it in an airtight container in the fridge for up to 4 days. Reheat gently in a skillet with a splash of water or broth.
How do I get the skin extra crispy?
Pat the chicken extremely dry with paper towels. Let it sit uncovered in the fridge for 10 minutes before cooking. Sear it skin-side down without moving it for at least 5-6 minutes. Don’t pour the sauce directly over the skin.
Can I double this recipe?
Absolutely. Use a larger skillet or cook in batches. If your pan is crowded, the chicken won’t sear properly. Cook in two batches, then combine everything in the pan with the sauce for the simmering step.
Conclusion
This Easy One Pan Honey Garlic Chicken Thighs has become my weeknight hero. It’s the recipe I turn to when I’m tired, hungry, and don’t want to think. It’s the recipe I make when I want something that feels special but takes almost no effort. And honestly? It’s the recipe that taught me to stop overcomplicating things in the kitchen.
I still think about that Tuesday night when Jen asked me why I couldn’t just use one pan. I’m so glad I listened. Sometimes the best cooking advice comes from the people who don’t overthink it—they just ask the simple question we’re all afraid to ask. So go ahead, throw everything in one pan, and see what happens. I think you’ll be surprised.
If you try this recipe, let me know how it goes. Leave a comment below or tag me in your photos—I love seeing your versions. And if you have your own one-pan tricks, share them in the comments. We’re all learning together here.
Pin This Recipe!
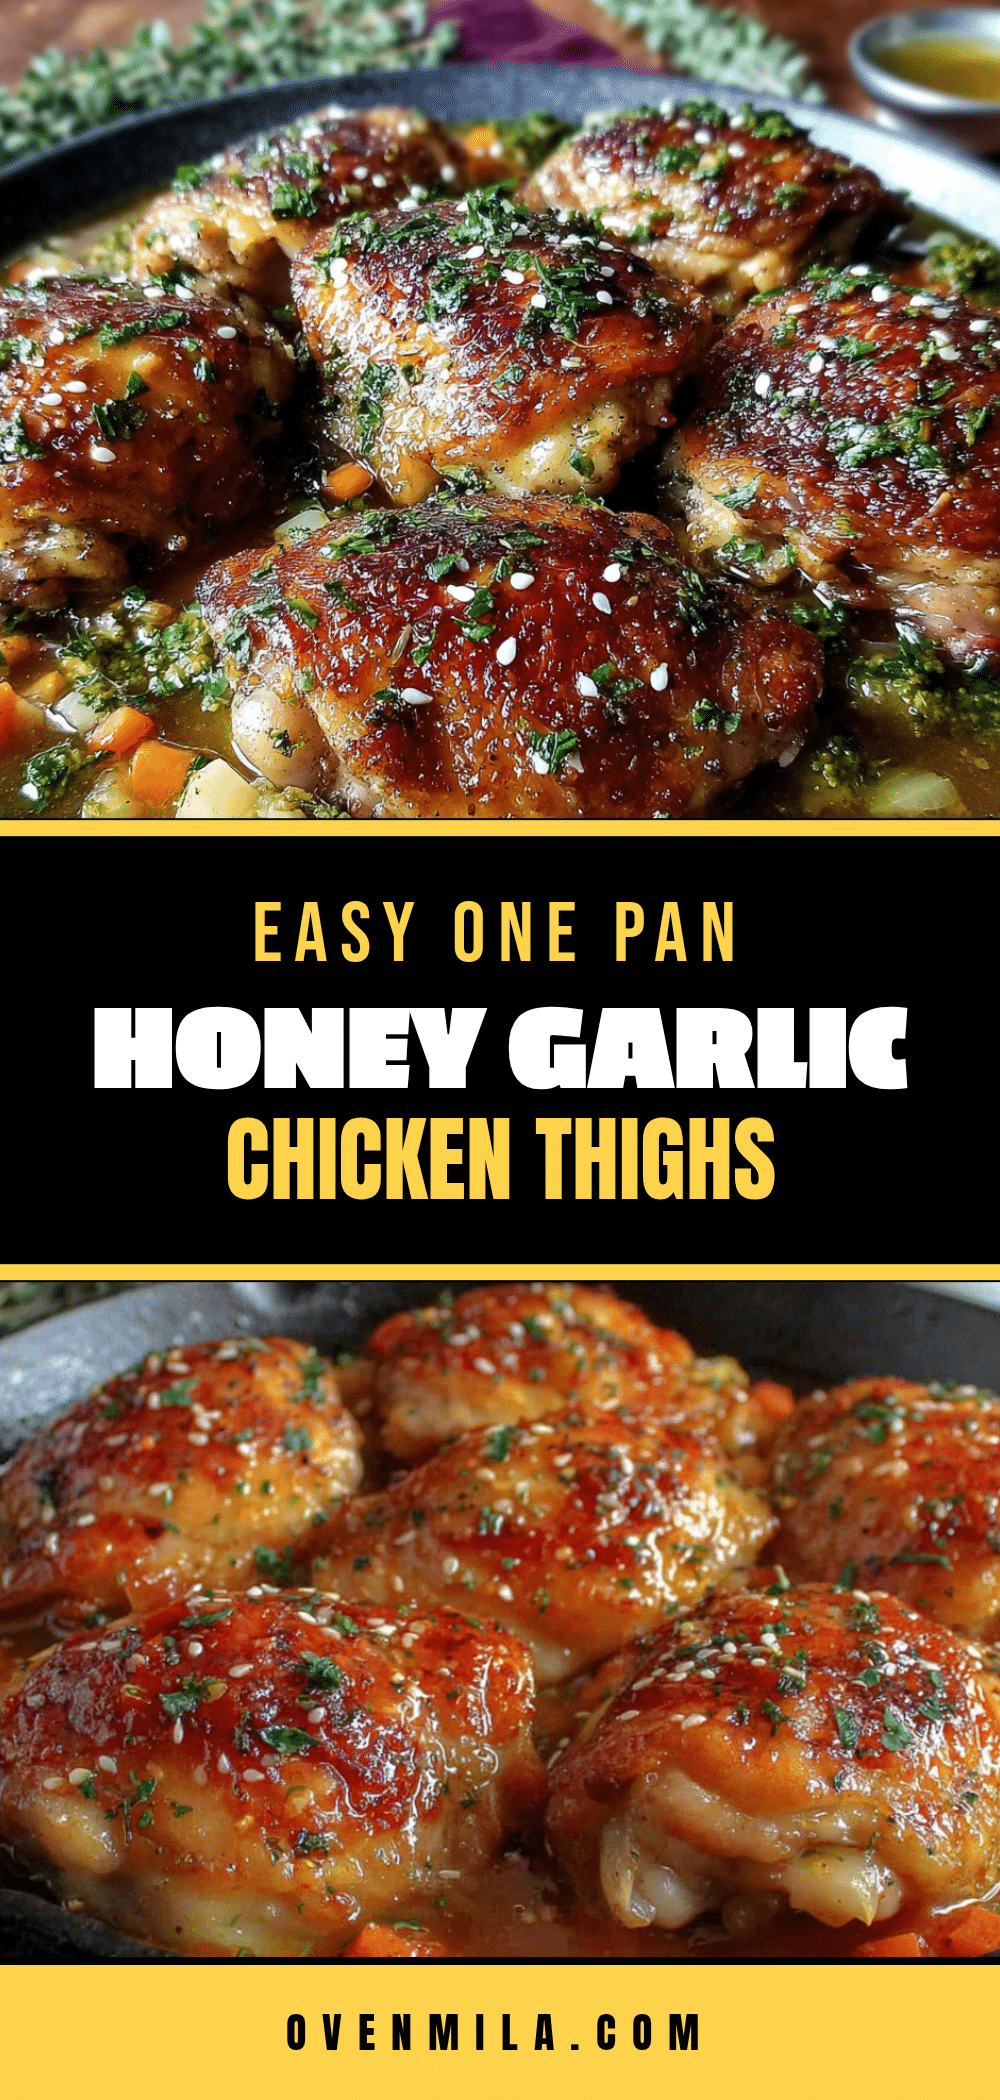
Easy One Pan Honey Garlic Chicken Thighs – Best 30-Minute Dinner
This Easy One Pan Honey Garlic Chicken Thighs recipe is a quick and forgiving weeknight dinner. The honey garlic glaze caramelizes perfectly without burning, the chicken stays juicy, and the whole thing comes together in 30 minutes with minimal cleanup.
- Prep Time: 10 minutes
- Cook Time: 20 minutes
- Total Time: 30 minutes
- Yield: 6 servings 1x
- Category: Main Course
- Cuisine: Asian-inspired
Ingredients
- 6 bone-in, skin-on chicken thighs (about 2 pounds)
- 1/3 cup honey
- 1/4 cup low-sodium soy sauce
- 4 cloves garlic, minced
- 1/4 cup low-sodium chicken broth
- 1 tablespoon rice vinegar
- 1 teaspoon sesame oil (optional, for finishing)
- 1 teaspoon cornstarch mixed with 1 tablespoon water (optional, for thicker glaze)
- Salt and pepper to taste
- 2–3 green onions, sliced (for garnish)
- 1 tablespoon toasted sesame seeds (for garnish)
- 1 tablespoon avocado or vegetable oil (for searing)
Instructions
- Pat the chicken thighs dry with paper towels to remove as much moisture as possible.
- Season both sides of the chicken generously with salt and pepper.
- In a small bowl, whisk together the honey, soy sauce, minced garlic, chicken broth, and rice vinegar. Set aside.
- Heat a 12-inch skillet over medium-high heat and add 1 tablespoon of oil. Wait until the oil shimmers, about 2 minutes.
- Place the chicken thighs skin-side down in the hot skillet. Cook without moving them for 5-6 minutes, until the skin is deep golden brown and crispy.
- Flip the chicken using tongs and cook for another 3-4 minutes on the second side.
- Carefully pour the honey garlic mixture around the chicken (not directly over the skin). The sauce will bubble immediately.
- Reduce heat to medium-low, cover the skillet, and let it simmer for 10 minutes, until the chicken reaches an internal temperature of 165°F.
- Remove the lid and let the sauce bubble for 2-3 more minutes, spooning it over the chicken as it thickens. If desired, stir in the cornstarch slurry for a thicker glaze.
- Remove from heat and let the chicken rest in the pan for 5 minutes. Garnish with sliced green onions and sesame seeds before serving.
Notes
For extra crispy skin, pat the chicken very dry and let it sit uncovered in the fridge for 10 minutes before cooking. Do not crowd the pan; cook in batches if necessary. If the sauce starts to burn, add a splash of broth immediately. For a gluten-free version, use tamari or coconut aminos instead of soy sauce.
Nutrition
- Serving Size: 1 chicken thigh with
- Calories: 385
- Sugar: 16
- Sodium: 720
- Fat: 22
- Saturated Fat: 6
- Carbohydrates: 18
- Protein: 28
Keywords: honey garlic chicken, one pan chicken, 30 minute dinner, chicken thighs, easy weeknight dinner, honey garlic glaze


