I was staring at three brown bananas on my counter—the kind that are more freckle than peel—and a jar of peanut butter with maybe two tablespoons left scraped along the bottom. My kid had a field trip the next morning, and the school’s snack policy is basically a brick wall: no nuts in any form, unless it’s sun butter or something equally expensive. So I needed a snack that looked like it had peanuts but definitely did not. That’s the thing about these easy peanut butter banana protein balls for school snacks—they started as a problem I didn’t want to solve, and ended up being the one thing my daughter actually finishes.
I mashed those bananas, grabbed some oats, and dug through the pantry for anything that might hold it all together. The first batch was too sticky, the second too dry. Somewhere around batch three, I stopped measuring and started feeling it out—you know, the way you do when you’ve already made a mess and there’s no going back. These little balls turned into my emergency school snack, the kind you stash in the freezer for mornings when the bus is coming and nobody’s eaten breakfast yet.
Honestly, I didn’t plan to share this recipe. But after the fourth time someone at pickup asked what I packed, I figured maybe this was worth writing down. So here it is—messy, forgiving, and exactly what you need when the bananas are too ripe for anything else.
Why You’ll Love This Recipe
Let’s be real—school mornings are chaos. You’re trying to find matching socks, sign permission slips, and somehow get a kid out the door with something edible. These easy peanut butter banana protein balls for school snacks solve that problem without making you turn on the oven. I’ve tested these through three school years, two daycare transitions, and one very picky summer camp phase. They pass every time.
- No Baking Required : Zero oven time. Just a bowl and your hands. You can make these while waiting for coffee to brew.
- School-Safe Ingredients : Made with sun butter or seed butter instead of peanut butter, so they work for nut-free classrooms. Nobody will know the difference.
- Kid-Approved Texture : Soft, chewy, and just sweet enough from the banana. No weird chunks or dry crumbles.
- Freezer-Friendly : Make a double batch and grab them straight from the freezer. They thaw in about 10 minutes.
- Naturally Sweetened : The banana does all the work. No added sugar needed, which means less guilt when you eat three in a row.
What makes these different from every other protein ball recipe out there? It’s the texture. Most recipes turn out either too sticky or too dry—like you’re eating flavored sawdust or play-dough. These hit that sweet spot where they hold together without being gluey. The secret is letting the oats absorb the moisture from the banana for a few minutes before you roll them. That little pause changes everything.
I love this recipe because it’s the kind of thing that makes you feel like you’ve got your life together, even when you definitely don’t. One batch, five minutes of work, and suddenly snack time is handled for the whole week. That’s the kind of win I’ll take any day.
What Ingredients You Will Need
This recipe uses simple, wholesome ingredients that you probably already have in your kitchen. There’s nothing fancy here—just real food that works together to make something genuinely good. Here’s what you’ll need:
- 2 large ripe bananas (the spotty ones work best—they’re sweeter and mash easier)
- 1 cup rolled oats (old-fashioned oats give the best texture; quick oats work too, but the balls will be softer)
- 1/2 cup sun butter or creamy seed butter (sun butter is my go-to for nut-free schools; if nuts are allowed, creamy peanut butter works great)
- 1/4 cup honey or maple syrup (honey adds a floral sweetness; maple syrup makes them vegan-friendly)
- 1/4 cup ground flaxseed or chia seeds (flaxseed adds fiber and helps bind everything together; chia seeds give a nice little crunch)
- 1/4 cup mini chocolate chips (optional but highly recommended—use dairy-free if needed)
- 1/2 teaspoon vanilla extract (pure vanilla is worth it here; imitation works fine too)
- Pinch of salt (just a tiny pinch to balance the sweetness)
For the sun butter, I really like the SunButter brand—it has a clean flavor and doesn’t separate as much as some other brands. If you’re using peanut butter, Skippy Natural is my favorite because it’s creamy without being too oily. For the oats, Bob’s Red Mill old-fashioned oats are consistently good, but store brands work just fine.
One thing I learned the hard way: don’t use steel-cut oats. They don’t soften enough and the balls turn out crunchy in a bad way. Stick with rolled oats and you’ll be happy.
If you want to swap the honey for something else, agave nectar works well. Just reduce it slightly since agave is sweeter. For a lower-carb option, use Lakanto monk fruit syrup—it’s not as thick, so add an extra tablespoon of oats to balance the moisture.
Equipment Needed
You don’t need much for these easy peanut butter banana protein balls for school snacks. Here’s what I use:
- Large mixing bowl (any bowl works, but a wide one makes mashing easier)
- Fork or potato masher (fork is fine, but a masher saves a minute)
- Measuring cups and spoons (eyeballing works once you’ve made these a few times)
- Spatula or wooden spoon (for mixing everything together)
- Parchment paper or silicone baking mat (makes cleanup way easier)
- Baking sheet or large plate (to hold the balls while they chill)
- Small cookie scoop or tablespoon (for uniform balls—I use a 1.5 tablespoon scoop)
- Air-tight container (for storing in the fridge or freezer)
If you don’t have a cookie scoop, just use a tablespoon and roll the mixture with your hands. The balls won’t be perfectly round, but they’ll taste the same. I actually prefer hand-rolling now because I can feel when the texture is right.
For the baking sheet, any old sheet pan works. I use a Nordic Ware half sheet pan because it’s sturdy and doesn’t warp in the fridge. But honestly, a dinner plate covered in plastic wrap works just fine.
Preparation Method
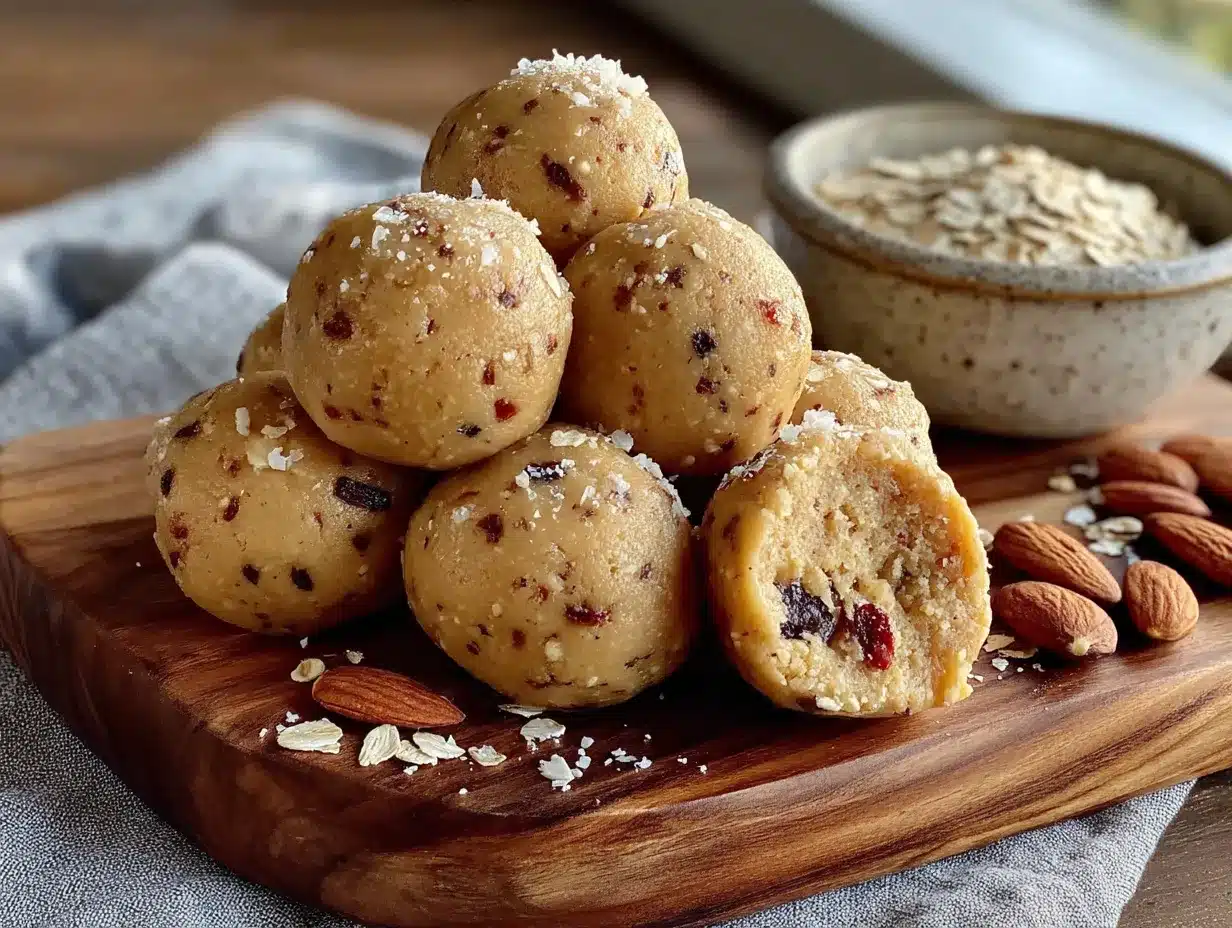
These easy peanut butter banana protein balls for school snacks come together in about 10 minutes of active time. Here’s how to make them:
- Mash the bananas. Peel the bananas and put them in a large mixing bowl. Mash them with a fork or potato masher until they’re mostly smooth—a few small lumps are fine. You want about 1 cup of mashed banana. (Tip: if your bananas aren’t very ripe, microwave them for 20 seconds to soften them up.)
- Add the wet ingredients. Add the sun butter (or seed butter), honey (or maple syrup), and vanilla extract to the mashed bananas. Stir everything together until it’s well combined. The mixture will look a little thick and glossy—that’s perfect.
- Mix in the dry ingredients. Add the rolled oats, ground flaxseed (or chia seeds), and a pinch of salt. Stir until everything is evenly distributed. If you’re using chocolate chips, fold them in now. The mixture should be thick and slightly sticky—it should hold together when you press it between your fingers.
- Let the mixture rest. This is the most important step. Let the mixture sit for 5-10 minutes. This gives the oats time to absorb the moisture from the banana and seed butter. Without this rest, the balls will be too wet and won’t hold their shape. (I learned this the hard way—my first batch turned into flat pancakes on the baking sheet.)
- Roll into balls. Line a baking sheet or large plate with parchment paper. Using a small cookie scoop or a tablespoon, scoop out portions of the mixture. Roll each portion between your palms to form a smooth ball. If the mixture sticks to your hands, lightly wet your palms with water. You should get about 18-20 balls.
- Chill the balls. Place the baking sheet with the rolled balls in the refrigerator for at least 30 minutes. This helps them firm up and hold their shape. If you’re in a hurry, you can pop them in the freezer for 15 minutes instead.
- Store and enjoy. Once the balls are firm, transfer them to an air-tight container. Store them in the refrigerator for up to 1 week, or in the freezer for up to 3 months.
A few things to watch for: if the mixture feels too dry and crumbly, add a teaspoon of water or extra honey. If it feels too wet and sticky, add a tablespoon more oats. The texture should feel like soft cookie dough—you want it to hold together without being gluey.
When you roll the balls, try to make them roughly the same size so they chill evenly. I aim for about 1.5 tablespoons each—big enough to be satisfying, but small enough for little hands to hold.
One more thing: don’t skip the chilling step. I know it’s tempting to eat them right away (I’ve definitely done that), but they’re much better after they’ve had time to set. The flavors meld together and the texture becomes perfectly chewy.
Cooking Tips & Techniques
After making these easy peanut butter banana protein balls for school snacks more times than I can count, I’ve picked up a few tricks that make a real difference. Here are the ones I wish I’d known from the start:
Use really ripe bananas. I mean brown-spotted, almost-too-far-gone bananas. They’re sweeter, softer, and mash into a smoother base. Green bananas don’t mash well and leave the balls tasting starchy. If your bananas aren’t ripe enough, roast them in the oven at 350°F for 10 minutes—it caramelizes the sugars and softens them right up.
Let the mixture rest before rolling. This is non-negotiable. The oats need time to absorb the moisture. If you skip this step, the balls will be sticky and fall apart. I set a timer for 8 minutes and walk away. When I come back, the mixture is perfect.
Wet your hands slightly. If the mixture is sticking to your palms, run your hands under cold water and shake off the excess. The thin layer of water prevents sticking without adding too much moisture. This trick works for any no-bake ball recipe.
Chill the mixture if it’s too soft. On hot days, the seed butter can get really soft and make the mixture hard to handle. Just pop the bowl in the fridge for 15 minutes before rolling. It firms everything up and makes rolling much easier.
Don’t overmix. Stir just until everything comes together. Overmixing breaks down the oats too much and makes the balls dense and gummy. You want some texture left in there.
One mistake I made early on: I used natural peanut butter that had separated. The oil made the mixture too greasy and the balls never firmed up properly. If you’re using natural nut or seed butter, stir it really well before measuring. Or use a no-stir brand to avoid the issue entirely.
Another thing: if you’re adding chocolate chips, fold them in gently at the end. If you stir too aggressively, the chips break apart and leave brown streaks throughout the mixture. Not the end of the world, but it looks prettier when the chips stay whole.
Variations & Adaptations
One of the best things about these easy peanut butter banana protein balls for school snacks is how flexible they are. Here are some variations I’ve tried and loved:
Chocolate Peanut Butter Version: Add 2 tablespoons of unsweetened cocoa powder along with the dry ingredients. Use peanut butter instead of sun butter (if nuts are allowed). The chocolate-banana combo is unbeatable, and it feels like you’re eating dessert for snack.
Vegan and Nut-Free: Use maple syrup instead of honey, and stick with sun butter or tahini for the seed butter. Tahini gives a slightly savory edge that’s surprisingly good with the banana. Add an extra tablespoon of maple syrup if you want it sweeter.
Gluten-Free Option: Use certified gluten-free rolled oats. Most oats are naturally gluten-free, but they can be cross-contaminated during processing. Bob’s Red Mill makes a good gluten-free option. Everything else in the recipe is already gluten-free.
High-Protein Boost: Replace 1/4 cup of the oats with unflavored protein powder. Whey protein works best, but plant-based protein works too—just add an extra tablespoon of water or milk if the mixture feels dry. I like using vanilla protein powder for a little extra sweetness.
Seasonal Twist: In the fall, add 1/2 teaspoon of pumpkin pie spice and swap the chocolate chips for dried cranberries. In the summer, fold in 1/4 cup of finely chopped fresh strawberries (pat them dry first so they don’t add too much moisture).
Coconut Lover’s Version: Add 1/4 cup of unsweetened shredded coconut to the mixture. Roll the finished balls in additional shredded coconut for a pretty finish. This is my daughter’s favorite variation—she calls them “snowballs.”
If you’re making these for a school event, double-check the classroom’s allergy policy. Some schools are okay with sun butter, while others require all snacks to be completely seed-free. In that case, use WowButter (a soy-based spread) or coconut butter (though coconut butter makes the balls firmer, so add an extra tablespoon of honey).
For a fun twist, try rolling the balls in different coatings: cocoa powder, crushed freeze-dried strawberries, or finely chopped nuts (if allowed). It adds visual appeal and a little extra flavor.
Serving & Storage Suggestions
These easy peanut butter banana protein balls for school snacks are best served cold or at room temperature. I like to take them straight from the fridge and pack them in a lunchbox—they thaw perfectly by snack time. If you’re serving them at home, let them sit on the counter for 5 minutes before eating. The texture softens just enough to be extra chewy.
For presentation, I arrange them on a small plate or in a mason jar. Kids love seeing them stacked up like little treats. You can also thread them onto skewers for a fun party snack (just make sure the skewers are safe for little ones).
Storage:
- Refrigerator: Store in an air-tight container for up to 1 week. Place a piece of parchment paper between layers to prevent sticking.
- Freezer: Store in a freezer-safe bag or container for up to 3 months. They freeze beautifully and don’t get icy. Just grab what you need and let them thaw in the fridge overnight or on the counter for 10-15 minutes.
- Counter: You can leave them at room temperature for up to 2 days, but they’ll be softer and more prone to falling apart. I only recommend this if you’re eating them the same day.
Reheating: These are meant to be eaten cold or at room temperature, so no reheating needed. If you want a warm snack, microwave one ball for 8-10 seconds. It gets soft and almost pudding-like—my kid loves it this way.
One thing I’ve noticed: the flavors get better after a day in the fridge. The banana sweetness mellows out and the oats soften even more. So if you can, make these a day ahead. They taste like they’ve been marinating in deliciousness.
These pair wonderfully with a creamy strawberry cheesecake overnight oats for a complete breakfast, or serve them alongside healthy meal prep overnight oats with chia and peach almond butter for a balanced snack combo. For a fun lunchbox addition, pair them with fresh watermelon feta mint skewers for a sweet and savory contrast.
Nutritional Information & Benefits
Here’s the approximate nutritional breakdown for one ball (based on 18 balls per batch, using sun butter and honey):
| Nutrient | Amount per Ball |
|---|---|
| Calories | 95 |
| Protein | 3g |
| Carbohydrates | 12g |
| Fiber | 2g |
| Sugar | 6g |
| Fat | 4g |
| Saturated Fat | 0.5g |
| Sodium | 15mg |
The nutritional values will vary slightly depending on the specific brands and substitutions you use. If you add chocolate chips, expect an extra 10-15 calories per ball.
These little balls pack a surprising nutritional punch. The bananas provide potassium and natural sweetness, while the oats deliver slow-release energy that keeps kids full longer. Ground flaxseed adds omega-3 fatty acids and extra fiber—great for digestion. The seed butter or nut butter offers healthy fats and protein, making this a balanced snack that won’t cause a sugar crash.
From a wellness perspective, I love that these are naturally sweetened. No refined sugar, no artificial ingredients—just real food that happens to taste like a treat. They’re also dairy-free and can easily be made gluten-free and vegan, which makes them a great option for families with different dietary needs.
If you’re watching your sugar intake, use the maple syrup option and skip the chocolate chips. The banana provides enough sweetness on its own, and you’ll save about 3 grams of sugar per ball.
Conclusion
These easy peanut butter banana protein balls for school snacks have become a staple in our house for good reason. They’re fast, forgiving, and actually taste good—not like a compromise you make because you’re trying to be healthy. The bananas do the heavy lifting on sweetness, the oats give them substance, and the seed butter holds it all together in a way that feels almost magical.
What I love most about this recipe is how adaptable it is. You can swap ingredients based on what you have, adjust the sweetness to your liking, and customize it for allergies without losing the core appeal. It’s the kind of recipe that makes you feel resourceful, not restricted.
I’d love to hear how these turn out for you. Did you try a variation I didn’t mention? Did your kids actually eat them? (Mine did, and that’s saying something.) Drop a comment below and let me know—I read every single one. And if you share these on social media, tag me so I can see your creations. Happy snacking!
Frequently Asked Questions
Can I use quick oats instead of rolled oats?
Yes, you can. Quick oats will make the balls softer and slightly less chewy. If you use quick oats, reduce the rest time to 5 minutes since they absorb moisture faster. The balls will still hold together well.
How do I make these without any nut or seed butter?
You can use coconut butter or mashed avocado instead. Coconut butter will make the balls firmer, so add an extra tablespoon of honey. Mashed avocado works surprisingly well—use 1/3 cup of very ripe avocado and increase the oats by 2 tablespoons to balance the moisture.
Can I freeze these for school lunches?
Absolutely. Freeze them in a single layer on a baking sheet, then transfer to a freezer bag. They thaw in about 10-15 minutes at room temperature, so they’re perfect for packing in the morning. By lunchtime, they’ll be perfectly soft and chewy.
Why are my balls falling apart?
This usually happens for one of three reasons: the mixture didn’t rest long enough, the bananas weren’t ripe enough, or you used too little seed butter. Next time, let the mixture sit for 10 minutes before rolling, and make sure your bananas are spotty brown. If the mixture still seems dry, add an extra tablespoon of seed butter.
Can I add protein powder to these?
Yes, but you’ll need to adjust the moisture. Replace 1/4 cup of the oats with protein powder and add an extra tablespoon of honey or water. Whey protein works best, but plant-based protein works too. Just add liquid slowly until the mixture feels like soft dough.
Pin This Recipe!
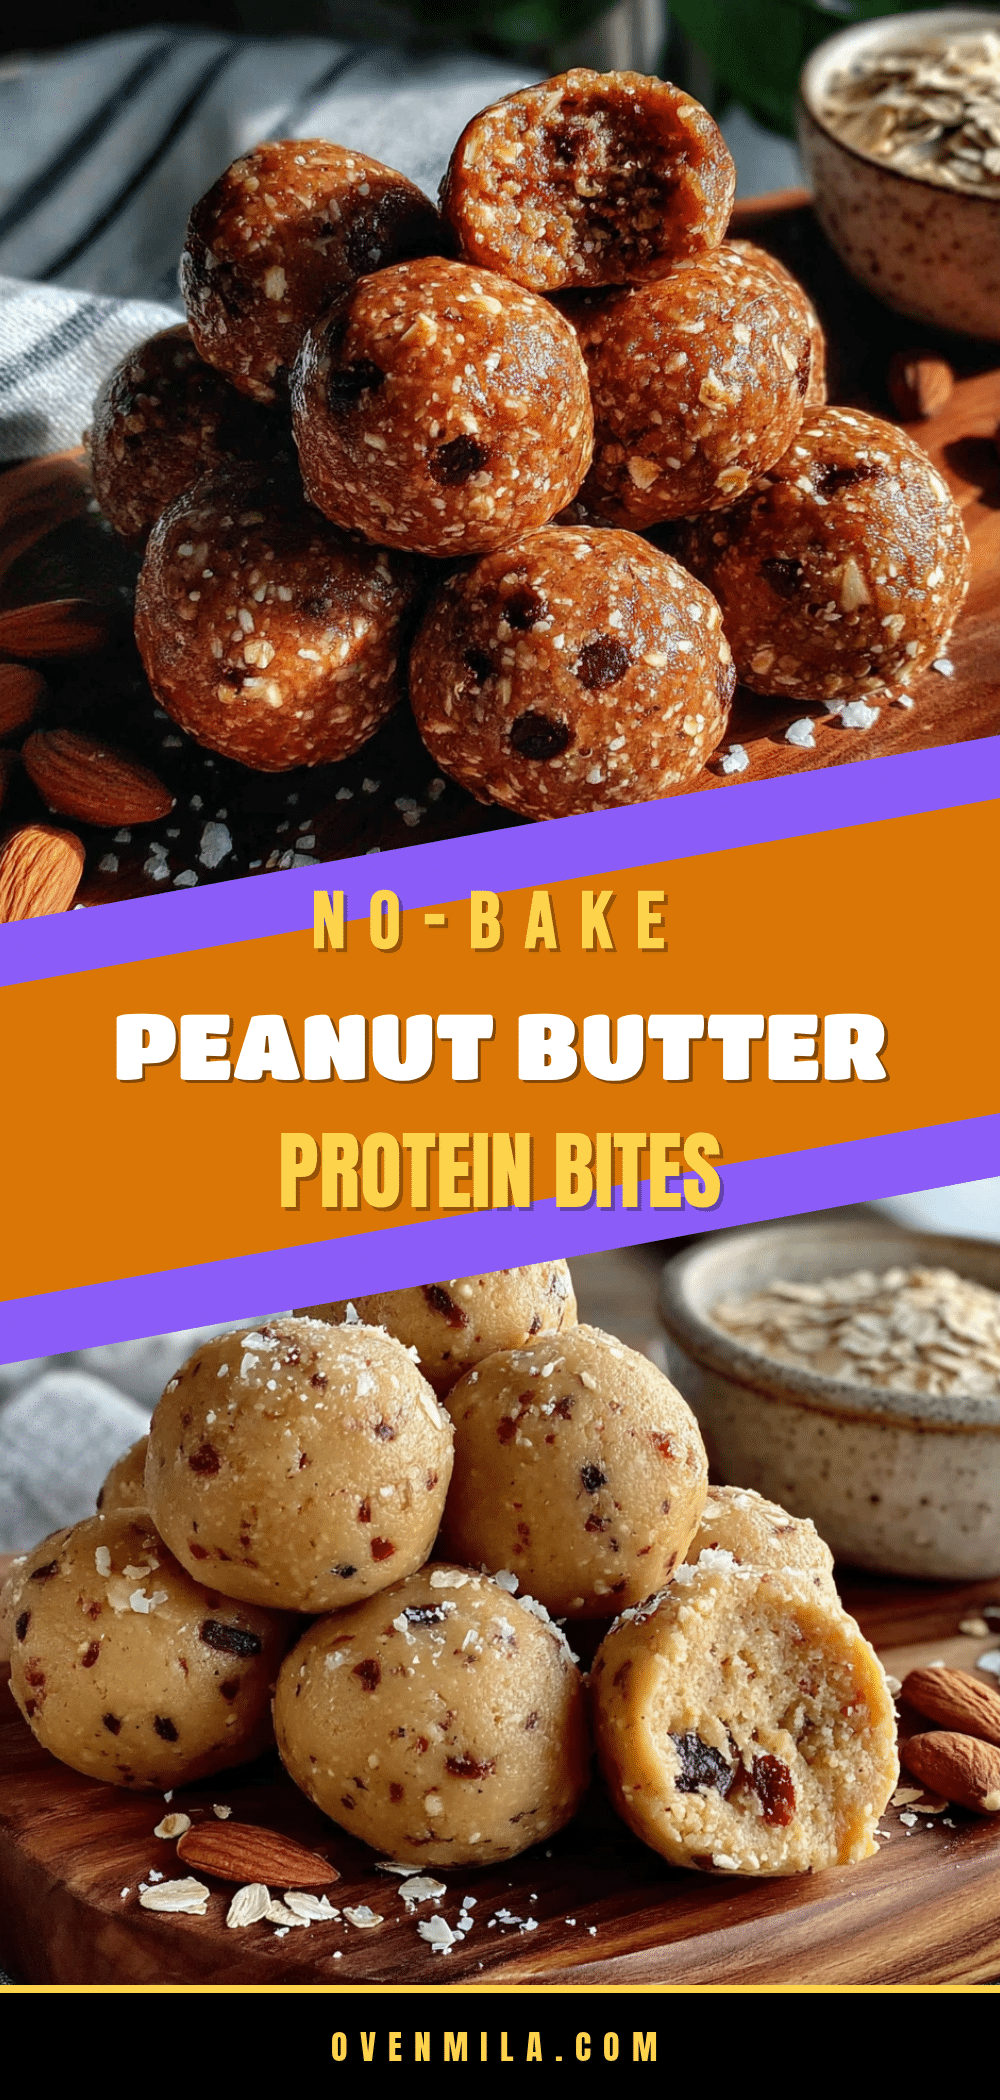
Easy Peanut Butter Banana Protein Balls for School
These no-bake protein balls are made with ripe bananas, oats, and sun butter for a nut-free, school-safe snack. They’re naturally sweetened, freezer-friendly, and perfect for busy mornings or lunchboxes.
- Prep Time: 10 minutes
- Cook Time: 0 minutes
- Total Time: 40 minutes (includes 30 minutes chilling)
- Yield: 18-20 balls 1x
- Category: Snack
- Cuisine: American
Ingredients
- 2 large ripe bananas (spotty ones work best)
- 1 cup rolled oats (old-fashioned oats)
- 1/2 cup sun butter or creamy seed butter
- 1/4 cup honey or maple syrup
- 1/4 cup ground flaxseed or chia seeds
- 1/4 cup mini chocolate chips (optional, use dairy-free if needed)
- 1/2 teaspoon vanilla extract
- Pinch of salt
Instructions
- Mash the bananas in a large mixing bowl until mostly smooth (a few small lumps are fine).
- Add the sun butter, honey (or maple syrup), and vanilla extract to the mashed bananas. Stir until well combined.
- Add the rolled oats, ground flaxseed (or chia seeds), and a pinch of salt. Stir until evenly distributed. If using chocolate chips, fold them in now.
- Let the mixture rest for 5-10 minutes to allow the oats to absorb moisture.
- Line a baking sheet or large plate with parchment paper. Using a small cookie scoop or tablespoon, scoop out portions and roll into smooth balls (about 1.5 tablespoons each).
- Place the baking sheet in the refrigerator for at least 30 minutes (or freezer for 15 minutes) to firm up.
- Transfer to an airtight container. Store in the refrigerator for up to 1 week or in the freezer for up to 3 months.
Notes
Let the mixture rest for 5-10 minutes before rolling to allow oats to absorb moisture. If mixture is too sticky, add more oats; if too dry, add a teaspoon of water or honey. Wet hands slightly to prevent sticking when rolling. For best texture, chill for at least 30 minutes. Flavors improve after a day in the fridge.
Nutrition
- Serving Size: 1 ball
- Calories: 95
- Sugar: 6
- Sodium: 15
- Fat: 4
- Saturated Fat: 0.5
- Carbohydrates: 12
- Fiber: 2
- Protein: 3
Keywords: protein balls, no-bake, school snack, nut-free, banana, peanut butter, healthy snack, kid-friendly, freezer-friendly


