The knobby, pale knuckles and that single slivered almond nail catching the kitchen light—that’s the whole point of these witch finger cookies. Everything else in my Halloween baking history was just practice for getting this one detail right. I spent three Octobers trying different doughs, different finger shapes, different ways to make the knuckles look convincingly arthritic before I landed on this version that actually makes people flinch when they reach for one.
It started because my niece looked me dead in the eye at age six and said, “Auntie, your spider cookies are boring.” Fair. So I went looking for something that would actually creep her out, and landed on these witch fingers. The first batch looked like sad, bloated sausages. The second batch cracked in all the wrong places. But the third batch—the one with the right dough temperature and the proper almond placement—made my sister actually yelp when she walked into the kitchen. That’s the energy we’re chasing here.
These aren’t just cookies. They’re a whole bit. They’re the thing you bring to the Halloween party that makes people do a double-take before they laugh and grab three. They’re the edible centerpiece that costs pennies to make but looks like you spent hours in a haunted bakery. And honestly? They taste like a really good, buttery shortbread with a nutty finish, which means even the kids who are “too cool for Halloween” will keep reaching for them.
I’ve tested this dough six ways from Sunday—chilled versus room temperature, different butter ratios, different chilling times—so you don’t have to. This is the version that holds its shape, bakes without puffing into oblivion, and gives you those perfectly creepy knuckles every single time.
Why You’ll Love This Recipe
Let me tell you what makes these witch finger cookies worth your precious pre-Halloween time. I’ve been making these for years now, and I’ve learned exactly what works and what doesn’t so you can skip the trial-and-error phase entirely.
- Seriously Easy Dough : This is a straightforward shortbread base that comes together in about 10 minutes. No stand mixer required if you have a bowl and a strong wrist. No weird ingredients either—just butter, sugar, flour, and a few pantry staples.
- No Special Equipment : You don’t need cookie cutters, piping bags, or any of that fussy stuff. Your hands are the only tool you need for shaping, and that’s honestly half the fun. Kids love getting their hands in this dough.
- Maximum Creep Factor, Minimum Effort : The almond nails do all the heavy lifting visually. A little red jam at the “cuticle” gives them that freshly-picked-from-the-graveyard look, and a few almond slivers create the most convincing witch nails you’ve ever seen.
- Perfect Make-Ahead Treat : The dough freezes beautifully, so you can prep these weeks before Halloween and just bake them off when you’re ready. I usually double the batch and freeze half the shaped fingers for last-minute party emergencies.
- They Actually Taste Amazing : Look, I’ve had my share of Halloween cookies that look great but taste like sweet cardboard. These are legitimately good shortbread cookies—buttery, slightly crisp on the edges, tender in the middle, with that lovely almond flavor from the extract and the real almond nails.
These are the cookies that get photographed, shared, and remembered. I’ve had friends text me in November asking for the recipe because their kids are still talking about “the gross fingers from the party.” That’s the kind of staying power we’re building here.
What Ingredients You Will Need
This recipe uses simple, honest ingredients that you probably already have in your kitchen. The magic is in how you put them together and shape them, not in hunting down obscure baking supplies.
- Unsalted butter, 1 cup (2 sticks or 226g), softened to room temperature. I use Kerrygold for the flavor, but any good unsalted butter works. Let it sit out for about an hour before you start—you want it soft enough to leave a fingerprint when you press it, but not greasy or melting.
- Powdered sugar, 1 cup (120g). This gives the cookies that tender, melt-in-your-mouth texture that regular granulated sugar just can’t achieve. No need to sift unless your powdered sugar is super clumpy.
- Large egg, 1 whole, room temperature. This helps bind the dough without making it tough. If you forgot to take it out of the fridge, drop it in a bowl of warm water for 5 minutes.
- Vanilla extract, 1 teaspoon. Pure vanilla is worth the splurge here—it rounds out the almond flavor beautifully. Imitation works in a pinch but the flavor is noticeably flatter.
- Almond extract, 1 teaspoon. This is non-negotiable for the witchy vibe. It gives the cookies that subtle marzipan undertone that makes them taste like something special. Use a good quality extract—I like Nielsen-Massey for the clean flavor.
- All-purpose flour, 2 and ½ cups (300g). Spoon and level your flour—don’t scoop directly from the bag or you’ll end up with dry, crumbly dough. If you’re measuring by volume, fluff the flour first with a fork, then spoon it into your measuring cup and level it off.
- Salt, ½ teaspoon. Fine sea salt is my preference. It balances the sweetness and makes the almond flavor pop. Don’t skip it—salty shortbread is superior shortbread.
- Whole raw almonds, about 30-36, for the fingernails. You want the ones with the skin on for that realistic nail color. Pick through and find the ones that are shaped most like fingernails—slightly curved and pointed at one end.
- Red jam or gel food coloring, for the “cuticle” effect. Strawberry or raspberry jam works great for a bloody look. A tiny dab of red gel food coloring mixed with a drop of corn syrup also does the trick. I’ve used both and honestly prefer the jam for the slightly translucent effect.
Equipment Needed
The beauty of this recipe is that you probably already own everything you need. No fancy gadgets required.
- Large mixing bowl — any bowl you’d use for cookie dough works fine
- Electric hand mixer or stand mixer — I’ve made these with both, and even just a wooden spoon in a pinch. The mixer makes creaming the butter and sugar easier, but it’s not essential
- Measuring cups and spoons — accurate measurements matter more in shortbread than in most cookies
- Baking sheets — two standard half-sheet pans work perfectly. Line them with parchment paper for easy cleanup and to prevent sticking
- Parchment paper or silicone baking mats — I prefer parchment because it lets the cookies brown slightly on the bottom, which adds flavor
- Small offset spatula or butter knife — for making those knuckle indentations
- Wire cooling rack — essential for getting the cookies to cool properly without getting soggy on the bottom
If you don’t have an electric mixer, no worries. I made my first batch with a fork and some determination. The dough comes together easily by hand—just make sure your butter is properly softened and you’re willing to put in a minute of elbow grease.
Preparation Method
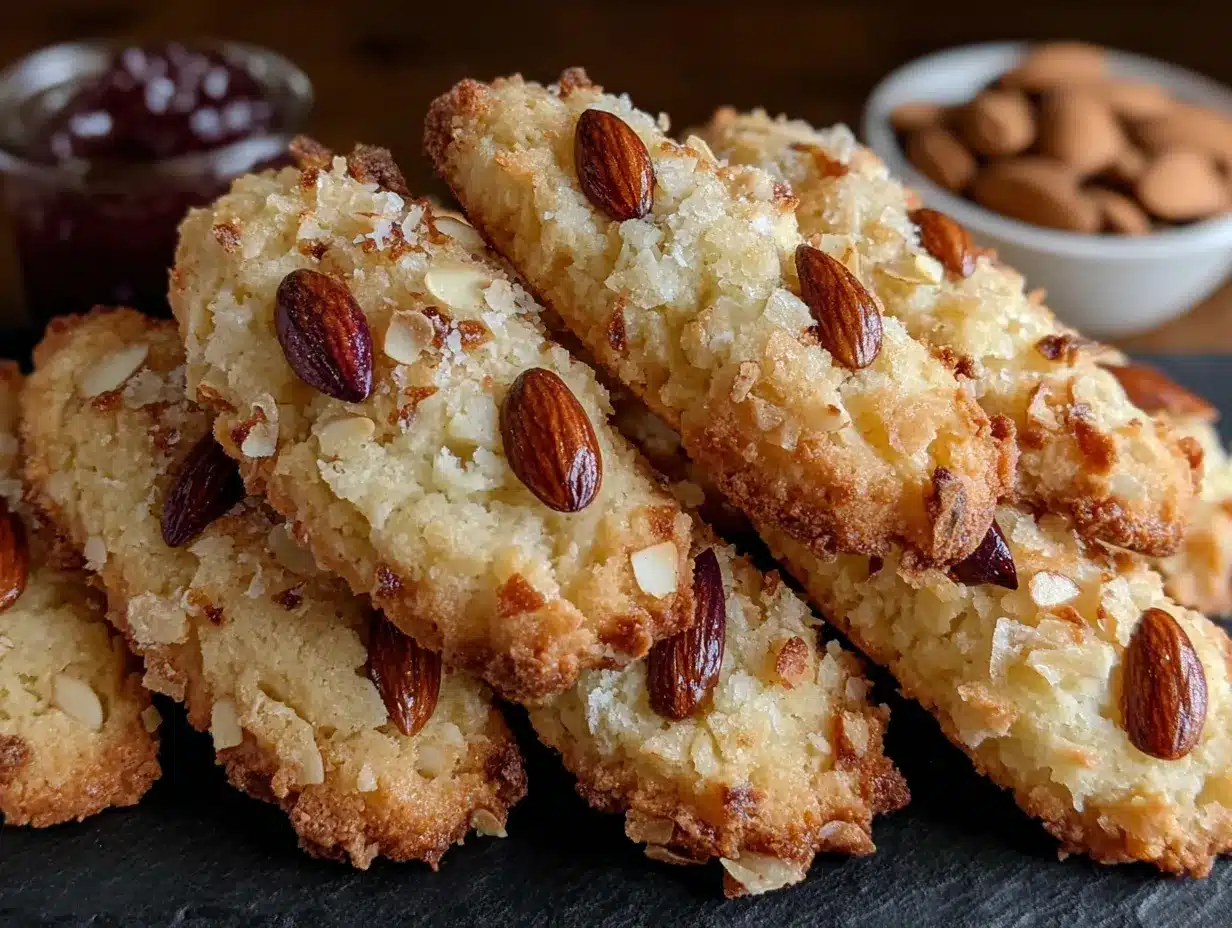
This is where the magic happens. Follow these steps carefully, and you’ll end up with cookies that look genuinely creepy—in the best way possible.
- Cream the butter and sugar (3-4 minutes). In your large mixing bowl, beat the softened butter and powdered sugar together until light, fluffy, and pale. Scrape down the sides of the bowl at least once. You’re looking for a texture that’s almost like thick frosting—smooth and airy. If your butter was properly softened, this should come together quickly.
- Add the egg and extracts (1 minute). Beat in the egg, vanilla extract, and almond extract until fully combined. The mixture might look slightly curdled at this point—that’s totally normal. Don’t panic and don’t overmix.
- Add the dry ingredients (2 minutes). In a separate bowl, whisk together the flour and salt. Gradually add this to the wet mixture, mixing on low speed or folding with a spatula until just combined. Stop as soon as you don’t see any more streaks of flour. Overmixing at this stage makes tough cookies, and we want tender, crumbly shortbread.
- Chill the dough (30 minutes minimum). Scrape the dough onto a piece of plastic wrap, flatten it into a disc, and wrap it tightly. Refrigerate for at least 30 minutes. This is crucial—warm dough is sticky and impossible to shape into convincing fingers. I’ve rushed this step before and ended up with blobby, finger-shaped-adjacent messes. Don’t be me. Chill the dough.
- Shape the fingers (15-20 minutes). Preheat your oven to 325°F (163°C). Line your baking sheets with parchment paper. Take the chilled dough and scoop out about 1 tablespoon (roughly 20g) for each finger. Roll it into a log shape, then taper one end slightly to form the fingertip. Use the back of a butter knife to press 2-3 horizontal lines across the middle to create knuckle indentations. Don’t press too deep—just enough to leave a visible crease. Place the fingers on the prepared baking sheets, spacing them about 2 inches apart.
- Add the almond nails (5 minutes). Gently press one whole almond into the tapered end of each finger, pointed end facing outward. The almond should sit flush against the dough—press it in firmly but don’t bury it completely. You want about half the almond visible. This step is where the magic happens visually, so take your time positioning each one.
- Create the cuticle effect (2 minutes). Using a toothpick or the tip of a small knife, apply a tiny dab of red jam or gel food coloring at the base of each almond, right where it meets the dough. This creates that gruesome “cuticle” effect that makes people do a double-take. Less is more here—you can always add more, but you can’t take it away.
- Bake the cookies (12-15 minutes). Bake at 325°F (163°C) for 12-15 minutes, or until the edges are just barely starting to turn golden. The centers should still look slightly pale and underdone—they’ll continue to set as they cool. If you overbake them, you lose that tender shortbread texture. I pull mine at exactly 13 minutes every time.
- Cool completely (20 minutes). Let the cookies cool on the baking sheet for 5 minutes, then transfer them to a wire rack to cool completely. Don’t try to move them while they’re still warm—they’re fragile and will break. The almonds will be hot, so be careful not to burn yourself.
Cooking Tips & Techniques
After making these cookies for countless Halloweens, I’ve collected some hard-won wisdom that will save you from my early mistakes.
Temperature is everything. The number one mistake people make is working with warm dough. If your fingers start getting sticky and hard to shape, pop the whole baking sheet in the fridge for 10 minutes. I keep a second batch of shaped fingers chilling while the first batch bakes—it makes the process so much smoother and prevents the cookies from spreading too much in the oven.
Don’t skip the chilling step. I know it’s tempting to rush, but cold dough holds its shape beautifully while warm dough turns into puddles. I once tried to skip the initial chill because I was running late for a party, and my “fingers” looked more like deformed potatoes. Learn from my impatience.
Vary the finger shapes. For maximum creep factor, don’t make every finger identical. Some can be longer and thinner, others shorter and more stumpy. Bend a few slightly at the knuckle to look like crooked witch fingers. The variation makes them look more realistic and unsettling.
Watch the almonds. Almonds can burn faster than the cookie dough, especially if your oven runs hot. If you notice the almonds browning too quickly, tent a piece of foil loosely over the baking sheet for the last few minutes of baking. You want the almonds to be lightly toasted, not dark brown.
Use the back of a knife for knuckles. I’ve tried forks, toothpicks, and even the edge of a spatula, and nothing creates those realistic knuckle creases as well as the dull edge of a butter knife. Press firmly but not all the way through the dough—you want the indentation to survive baking.
Variations & Adaptations
One of the best things about this recipe is how easily it adapts to different tastes, dietary needs, and occasions. Here are some of my favorite variations.
Gluten-Free Version : Substitute the all-purpose flour with a good 1:1 gluten-free baking flour blend. I’ve tested this with Bob’s Red Mill and King Arthur Measure for Measure, and both work well. Add an extra tablespoon of flour to the dough since gluten-free blends tend to absorb liquid slightly differently. The texture will be a bit more tender and crumbly, but the creepy factor remains intact.
Vegan Adaptation : Use vegan butter sticks (not the spreadable kind in a tub) and replace the egg with a flax egg (1 tablespoon ground flaxseed mixed with 3 tablespoons water, let sit for 5 minutes). The dough will be slightly more fragile, so handle gently. The almond nails are already vegan-friendly, so you’re good there.
Color Variations : For a truly gruesome effect, add a few drops of green food coloring to the dough to make “witches’ fingers” that look genuinely otherworldly. Or leave them pale and add a drop of purple for a slightly bruised, undead look. I’ve done a batch with half green and half pale fingers, and the contrast was stunning on the serving platter.
Flavor Twists : Swap the almond extract for peppermint extract for a completely different flavor profile—perfect for Christmas zombie fingers. Or add a tablespoon of cocoa powder to the dough for chocolate witch fingers. The chocolate version pairs beautifully with the almond nails.
Bloody Fingers Variation : Instead of just a dab of jam at the cuticle, drizzle a little extra red jam down the side of the finger for a “bloody” effect. I do this for adult Halloween parties where the gross-out factor is part of the fun. Kids tend to prefer the less gory version.
Serving & Storage Suggestions
These cookies are at their absolute best when served at room temperature, arranged on a dark platter or black serving tray to make the pale fingers really pop. I like to scatter a few loose almond slivers around the platter to look like “clippings” for an extra unsettling touch.
For a Halloween party spread, arrange them alongside other spooky treats like brown butter pumpkin snickerdoodle cookies for a sweet and creepy dessert table that covers all the bases. The contrast between the cute pumpkin cookies and the creepy fingers is always a hit.
Storage : Store the baked cookies in an airtight container at room temperature for up to 5 days. Place a sheet of parchment paper between layers to prevent the almond nails from scratching the surface of the cookies below. Do not refrigerate—the fridge will make them stale faster and can cause the almonds to soften.
Freezing Instructions : You can freeze the shaped, unbaked fingers on a parchment-lined baking sheet until solid, then transfer them to a freezer bag for up to 3 months. Bake directly from frozen, adding 2-3 minutes to the baking time. This is my favorite method for stress-free Halloween prep—I usually have a bag of these in my freezer from mid-September onward.
Reheating : These are best at room temperature, but if you want that just-baked warmth, pop them in a 300°F oven for 3-4 minutes. The microwave will make them soggy and ruin the texture, so avoid it if you can.
Flavor Development : Honestly, these cookies taste even better the day after baking. The almond flavor deepens and melds with the shortbread overnight. If you can resist eating them all on day one, you’re in for a treat on day two.
Nutritional Information & Benefits
Let’s be real—these are Halloween treat cookies, not health food. But here’s what you’re working with per cookie (based on 30 cookies):
- Calories : Approximately 120-130 calories per cookie
- Fat : 7g (mostly from butter and almonds)
- Carbohydrates : 14g
- Protein : 2g
- Sugar : 6g
The almonds actually bring some nutritional value to the party—they’re packed with vitamin E, magnesium, and healthy monounsaturated fats. So while you’re not exactly eating a salad, you’re getting a little bit of goodness with each creepy bite.
For those watching their intake, one or two of these with a cup of coffee or tea makes for a perfectly reasonable treat. They’re not overly sweet—the powdered sugar gives a more subtle sweetness than granulated sugar, so you don’t get that sugar crash feeling after eating a few.
If you’re serving these at a party alongside other treats like no-bake Oreo icebox cake, your guests will have plenty of options to choose from. The witch fingers are lighter than most Halloween desserts, which means people can enjoy a couple without feeling overly full.
Conclusion
These witch finger cookies have become a non-negotiable part of my Halloween tradition. They’re the recipe that gets requested every single year, the one my friends text me about in September asking, “Are you making the fingers again?” And honestly, I don’t see that changing anytime soon.
What I love most about this recipe is how it brings people together. There’s something about shaping these cookies that makes everyone want to join in—kids especially love rolling the dough into fingers and pressing in the almond nails. It’s messy, it’s fun, and it creates the kind of kitchen memories that stick with you long after Halloween is over.
I’d love to hear how yours turn out! Did you try any fun variations? Did your kids get involved in the shaping process? Drop a comment below and let me know—I read every single one and I’m always looking for new ideas to try. And if you share photos on social media, tag me so I can see your creepy creations. Happy Halloween, friends—now go make some fingers!
Frequently Asked Questions
Can I make these cookies ahead of time for a Halloween party?
Absolutely! You have two options: bake the cookies up to 5 days in advance and store them in an airtight container, or shape the fingers and freeze them unbaked for up to 3 months. I personally prefer the frozen method because you get that fresh-baked taste and texture on party day with minimal effort.
Why did my cookies spread and lose their finger shape?
This usually happens when the dough isn’t chilled enough before baking. Make sure you chill the shaped fingers on the baking sheet for at least 15 minutes before they go in the oven. If your kitchen is warm, pop them in the fridge while the oven preheats. Also, check that your butter wasn’t too soft when you started—it should be softened but not greasy or melted.
Can I use sliced almonds instead of whole almonds for the nails?
You can, but they won’t look as realistic. Whole almonds have that natural curved shape that mimics fingernails perfectly. Sliced almonds are flatter and tend to look more like, well, sliced almonds. If whole almonds are all you have, look for the largest ones in the bag and use those—the smaller ones can look a bit sad as fingernails.
My almonds keep falling off during baking—what am I doing wrong?
You probably aren’t pressing them in firmly enough. When you add the almond to the fingertip, press it in until the dough slightly grips the base of the almond. The dough should come up around the bottom edge of the almond slightly. If the dough is too cold and stiff, let it sit at room temperature for 5 minutes before shaping.
Can I make these cookies without almond extract?
Sure, but they won’t have that distinctive marzipan-like flavor that makes them taste so special. If you don’t have almond extract or don’t like the flavor, you can substitute an additional teaspoon of vanilla extract. The cookies will still taste good—just more like a classic shortbread than a witchy treat.
Pin This Recipe!
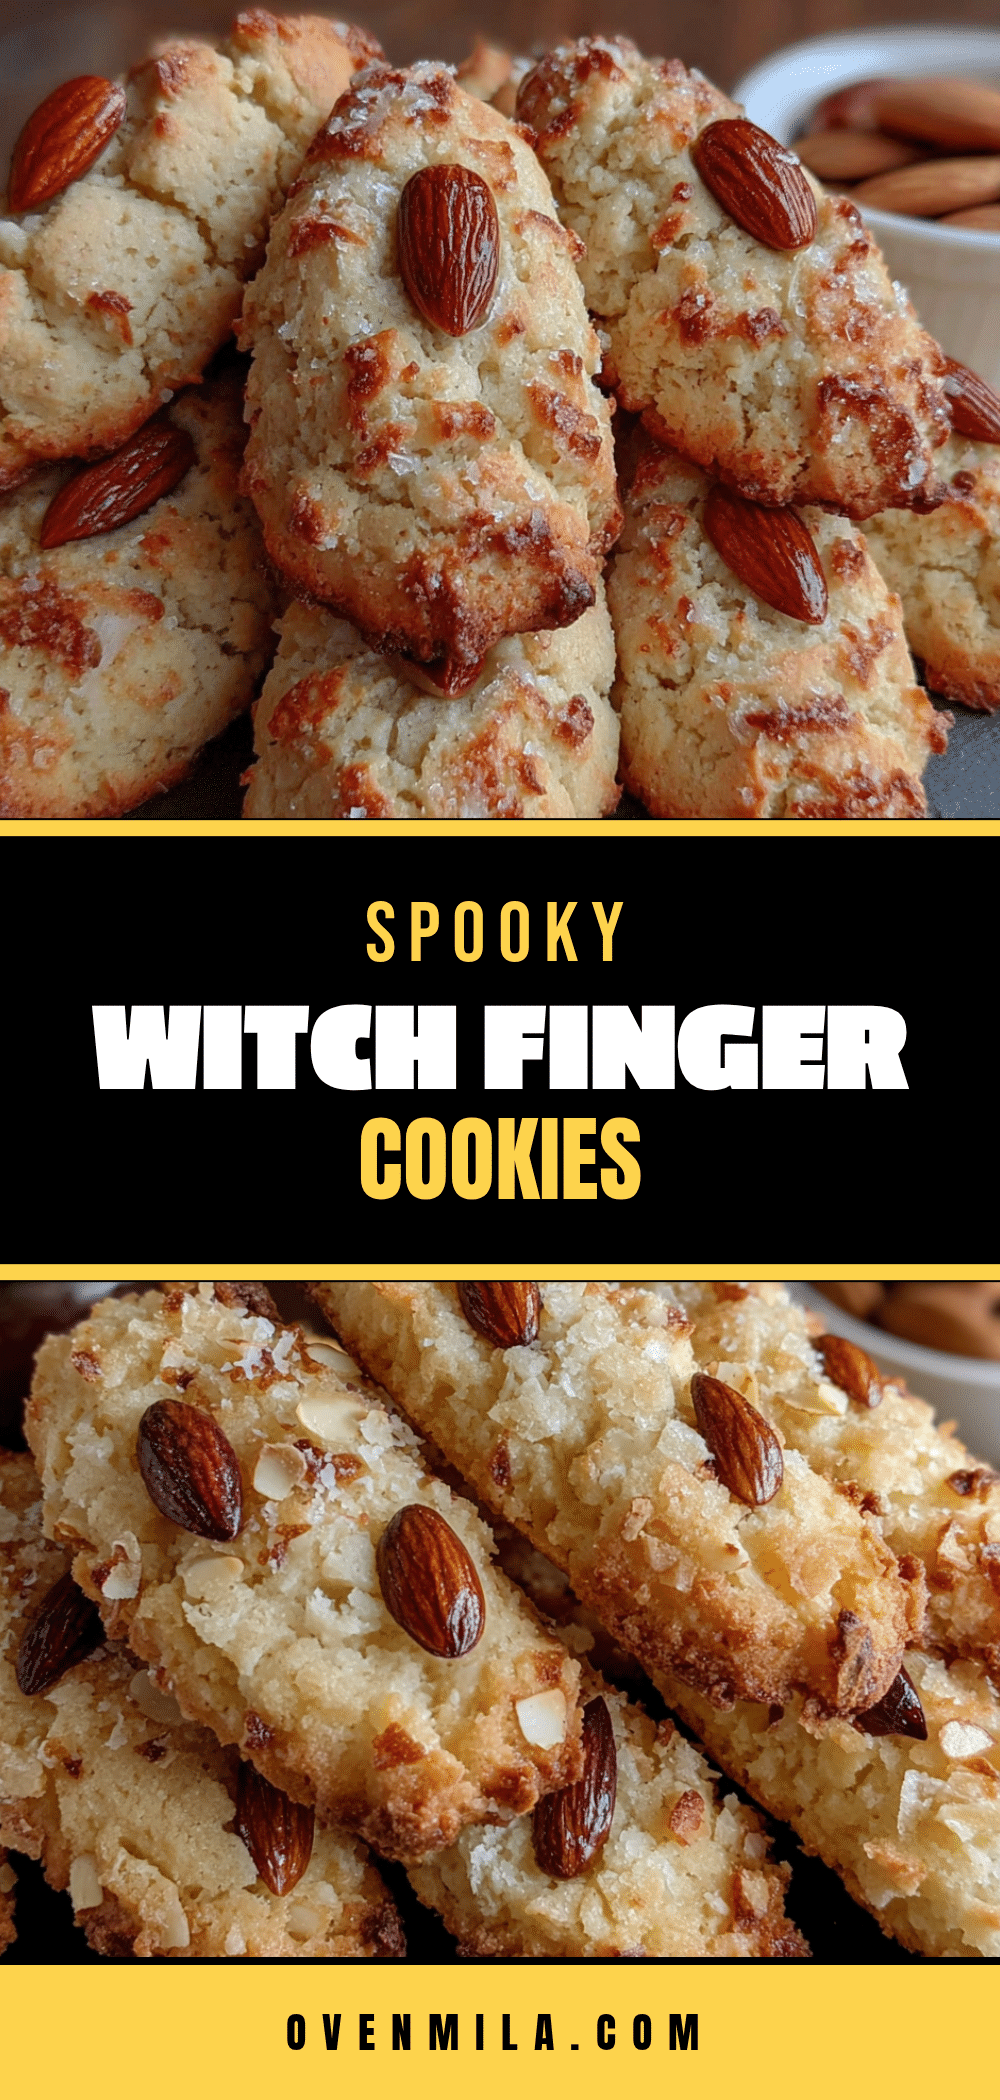
Easy Spooky Witch Finger Cookies with Almond Nails

These buttery shortbread cookies are shaped like creepy witch fingers with almond nails and a red jam cuticle. They’re easy to make, require no special equipment, and are perfect for Halloween parties.
- Prep Time: 20 minutes
- Cook Time: 13 minutes
- Total Time: 1 hour 3 minutes (includes 30 minutes chilling)
- Yield: 30 cookies 1x
- Category: Dessert
- Cuisine: American
Ingredients
- 1 cup (2 sticks or 226g) unsalted butter, softened to room temperature
- 1 cup (120g) powdered sugar
- 1 large egg, room temperature
- 1 teaspoon vanilla extract
- 1 teaspoon almond extract
- 2 and ½ cups (300g) all-purpose flour
- ½ teaspoon fine sea salt
- 30–36 whole raw almonds (with skin on)
- Red jam or gel food coloring (for cuticle effect)
Instructions
- Cream the butter and sugar: In a large mixing bowl, beat the softened butter and powdered sugar together until light, fluffy, and pale (3-4 minutes). Scrape down the sides at least once.
- Add the egg and extracts: Beat in the egg, vanilla extract, and almond extract until fully combined (1 minute). The mixture may look slightly curdled; that’s normal.
- Add the dry ingredients: In a separate bowl, whisk together the flour and salt. Gradually add to the wet mixture, mixing on low or folding with a spatula until just combined. Do not overmix.
- Chill the dough: Scrape dough onto plastic wrap, flatten into a disc, wrap tightly, and refrigerate for at least 30 minutes.
- Shape the fingers: Preheat oven to 325°F (163°C). Line baking sheets with parchment. Scoop about 1 tablespoon (20g) dough per finger. Roll into a log, taper one end. Use the back of a butter knife to press 2-3 horizontal knuckle indentations. Place 2 inches apart on sheets.
- Add the almond nails: Gently press one whole almond into the tapered end of each finger, pointed end outward, until half the almond is visible.
- Create the cuticle effect: Using a toothpick or small knife, apply a tiny dab of red jam or gel food coloring at the base of each almond.
- Bake the cookies: Bake at 325°F (163°C) for 12-15 minutes, until edges are just barely golden. Centers should still look slightly pale.
- Cool completely: Let cookies cool on baking sheet for 5 minutes, then transfer to a wire rack to cool completely.
Notes
Temperature is everything—keep dough cold. Vary finger shapes for realism. Watch almonds to prevent burning. Cookies taste even better the day after baking.
Nutrition
- Serving Size: 1 cookie
- Calories: 125
- Sugar: 6
- Sodium: 50
- Fat: 7
- Saturated Fat: 4
- Carbohydrates: 14
- Fiber: 1
- Protein: 2
Keywords: witch finger cookies, Halloween cookies, shortbread cookies, almond cookies, spooky cookies, easy Halloween treat


