My neighbor’s kid asked me last week why I couldn’t just dip pretzels in white chocolate and call them bones. I started to explain why that wouldn’t work—then stopped. She had a point, honestly. I’d been overthinking Halloween treats for years, trying to pipe intricate spider webs and shape marzipan into ghost faces that never looked quite right. She just wanted something that looked creepy and tasted good.
So I grabbed a bag of pretzel sticks, a block of white chocolate, and some slivered almonds. I figured I’d prove her wrong, show her that Halloween baking needed more effort than that. But here’s the thing—she was right. Those pretzels, once dipped and topped with an almond nail, looked exactly like witch fingers. Long, knobby, a little gnarled. Perfectly creepy without being complicated.
I’ll admit, I felt a little sheepish standing there with a batch of what I now call Spooky White Chocolate Witch Finger Pretzels. My neighbor’s kid just grinned and said, “Told you.” Maybe you’ve been there—overcomplicating something that really just needs a simple, clever shortcut. That’s what this recipe is. It’s the Halloween treat that teaches you to stop overthinking and start dipping.
These witch finger pretzels have become my go-to for Halloween parties, classroom treats, and movie nights. They come together in under fifteen minutes, use just three main ingredients, and somehow manage to look both elegant and terrifying. That’s a hard balance to strike, let me tell you. Every year since, I’ve made at least three batches—because once people see them, they disappear fast.
Why You’ll Love This Recipe
Let me tell you what makes these Spooky White Chocolate Witch Finger Pretzels so special. I’ve tested dozens of Halloween treats over the years, and this one wins every time for a few simple reasons.
- Quick & Easy: You can make a whole batch in under 15 minutes. No baking, no complicated piping, no waiting for dough to chill. Perfect for last-minute Halloween prep or when you realize the party is tomorrow.
- Simple Ingredients: Just pretzel sticks, white chocolate, and slivered almonds. That’s it. You probably have everything in your kitchen right now except maybe the chocolate.
- Perfect for Halloween: These look genuinely spooky—like actual witch fingers—but they’re completely approachable. Kids love them, adults love them, and everyone asks how you made them look so real.
- Crowd-Pleaser: I’ve brought these to three different Halloween gatherings now, and they’re always the first thing to disappear. People pick them up, laugh, then take another one. They’re conversation starters.
- Unbelievably Delicious: The salty crunch of the pretzel with the sweet creaminess of white chocolate and the nutty bite of almond—it’s a texture and flavor combo that just works. Honestly, it’s addictive.
What makes this recipe different from every other Halloween pretzel recipe out there? It’s the almond nail. That single slivered almond at the tip transforms an ordinary dipped pretzel into something that looks genuinely witchy. I tried versions with candy corn, with frosting dots, even with small pieces of dark chocolate. Nothing works quite like that almond—it has the exact shape and color of a fingernail. Creepy in the best way.
This is the kind of recipe that makes you close your eyes after the first bite. It’s comfort food reimagined for the spooky season—simple, satisfying, and just a little bit mischievous. Perfect for impressing guests without stress, or turning a simple snack into something memorable.
What Ingredients You Will Need
This recipe uses simple, pantry-friendly ingredients to create something that looks far more complicated than it actually is. The magic is in the assembly, not the shopping list.
- Pretzel sticks (1 bag, about 8 ounces) – Look for the straight, thin pretzel sticks rather than the thick rods. The thinner ones look more like actual witch fingers. I prefer Snyder’s or Utz for their consistent shape and sturdy texture. They don’t break as easily when you’re dipping them.
- White chocolate melting wafers (12 ounces) – These are my secret weapon. Melting wafers (like Ghirardelli or Wilton) melt more smoothly than white chocolate chips, which tend to seize or get grainy. If you can only find white chocolate chips, add a teaspoon of coconut oil to help them melt smoothly. For a dairy-free option, use white chocolate made with coconut milk.
- Slivered almonds (about ½ cup) – These become the fingernails. Look for whole slivered almonds, not sliced or chopped. The slivered ones have that perfect elongated shape. You want them to be relatively uniform in size so your witch fingers look consistent.
- Optional: Red food coloring (gel or liquid) – A tiny dab at the base of the almond creates a bloody cuticle effect. Totally optional, but it adds that extra creepy factor. I use gel food coloring because it’s more concentrated and doesn’t thin the chocolate.
- Optional: Coconut oil (1 teaspoon) – Only needed if you’re using white chocolate chips instead of melting wafers. It helps the chocolate stay smooth and gives it a nice shine.
That’s genuinely it. Three main ingredients, two optional extras. The beauty of this recipe is how little you need to create something that looks so intentionally spooky. I’ve made batches with fancy white chocolate from the baking aisle and batches with generic store-brand melting wafers—both work perfectly. Don’t overthink the ingredients.
One note on the pretzels: try to pick out the straightest ones from the bag. Some pretzel sticks have a slight curve, which is fine, but the straighter ones look more like fingers. I usually sort through the bag while I’m waiting for the chocolate to melt. It’s a small step that makes a big difference in the final look.
Equipment Needed
You don’t need much for this recipe, which is part of why I love it so much. Here’s what you’ll need:
- Microwave-safe bowl – For melting the white chocolate. A glass measuring cup works great because the spout makes dipping easier.
- Baking sheet – Line it with parchment paper or wax paper for the dipped pretzels to set on. I’ve used both, and parchment is slightly better because the pretzels don’t stick at all.
- Spoon or offset spatula – For stirring the chocolate and helping coat the pretzels evenly.
- Small piping bag or zip-top bag – If you want to pipe the chocolate for a cleaner look. Honestly, I usually just dip them straight in the bowl—it’s faster and the rustic look works for witch fingers.
- Tweezers or small tongs – For placing the almond slivers precisely. Your fingers work too, but the chocolate can get messy.
If you don’t have a microwave, you can melt the white chocolate using a double boiler. Just put a heatproof bowl over a pot of simmering water and stir until smooth. I’ve done it both ways, and the microwave is definitely faster and easier to control. Just go in 30-second intervals and stir between each one.
For budget-friendly options, skip the piping bag and use a spoon. Skip the tweezers and just use your fingers—wash them first, obviously. The equipment really doesn’t matter for this recipe. It’s all about the technique.
Preparation Method
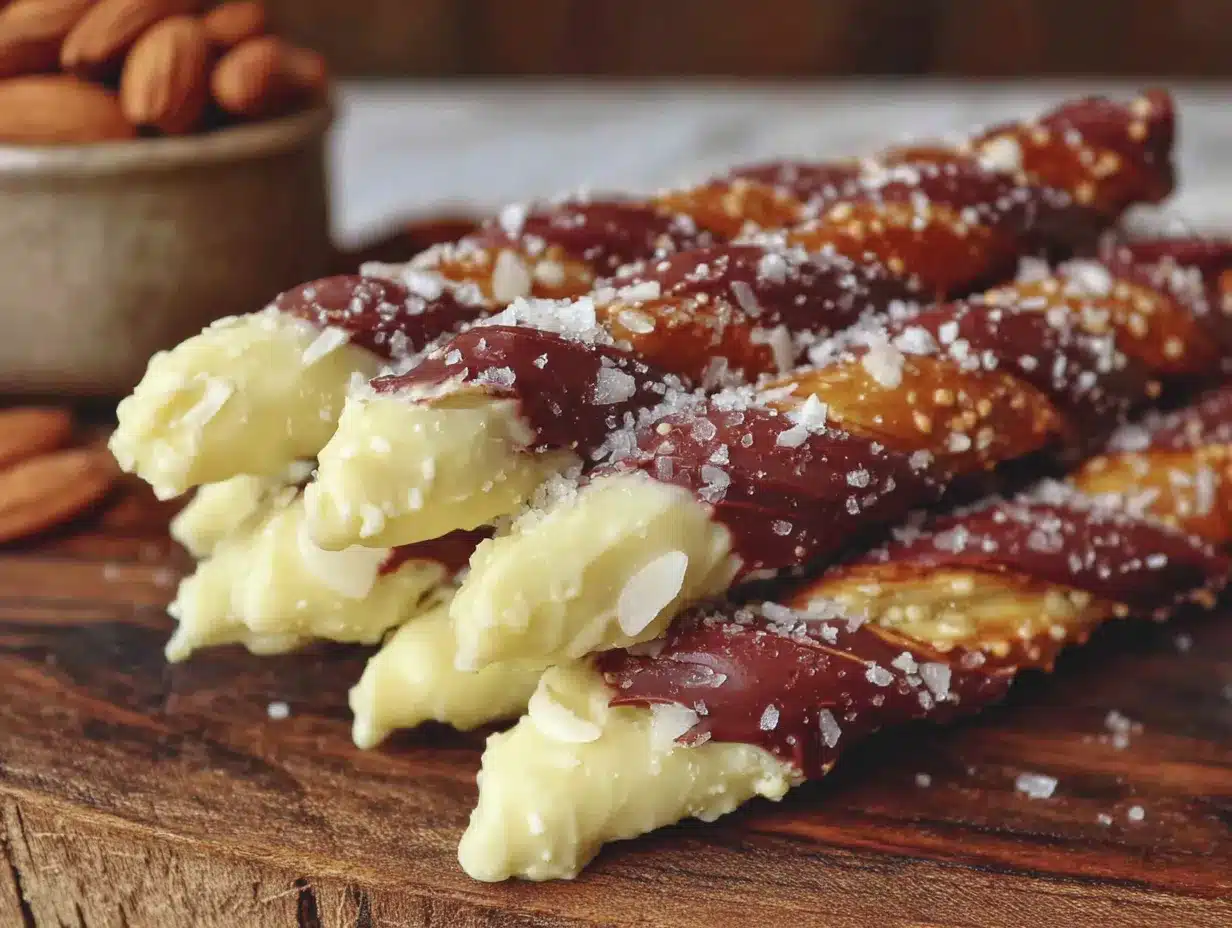
Let me walk you through how to make these Spooky White Chocolate Witch Finger Pretzels. I’ve made this recipe probably twenty times now, so I’ve figured out all the little tricks along the way.
- Prep your workspace. Line a baking sheet with parchment paper. Sort through your pretzel sticks and pick out the straightest ones—you’ll need about 40 to 50. Set your slivered almonds nearby so they’re easy to grab. This whole step takes about two minutes, but it saves you from scrambling with chocolate-covered fingers later.
- Melt the white chocolate. Place your white chocolate melting wafers in a microwave-safe bowl. Microwave in 30-second intervals, stirring thoroughly after each one. It usually takes about 90 seconds total. The chocolate should be smooth and fully melted with no lumps. If it looks thick, add a teaspoon of coconut oil and stir. Don’t overheat it—white chocolate burns easily and gets grainy.
- Dip the pretzels. Hold a pretzel stick by one end and dip it into the melted white chocolate. You want to coat about three-quarters of the pretzel, leaving about an inch uncoated at the top (that’s where the finger meets the hand, if you’re thinking about the visual). Gently tap the pretzel against the side of the bowl to let excess chocolate drip off. You don’t want a thick, gloppy coating—just a smooth, even layer.
- Place on the baking sheet. Set the dipped pretzel on the parchment-lined baking sheet. Leave a little space between each one—they shouldn’t touch. Work quickly, because the chocolate starts to set as it cools.
- Add the almond nail. While the chocolate is still wet, press a slivered almond onto the tip of the dipped end. The pointed end of the almond should face outward, away from the pretzel. Press gently so it sticks into the chocolate. This creates the fingernail effect. Repeat for each pretzel. If the chocolate starts to set before you add the almond, just dip the almond in the melted chocolate first to help it stick.
- Add optional details. If you’re using red food coloring, dip a toothpick into the gel and dab a tiny dot at the base of the almond. This creates a bloody cuticle look. Less is more here—you want it to look creepy, not messy. I usually only do this for half the batch because some people prefer the cleaner look.
- Let them set. Allow the witch finger pretzels to set completely at room temperature. This takes about 15 to 20 minutes. You can speed it up by putting the baking sheet in the refrigerator for 5 to 10 minutes, but don’t leave them in too long or the chocolate can develop condensation.
- Check for doneness. The chocolate should be firm and matte when fully set. If it’s still shiny or soft, give it more time. Once set, you can gently lift one off the parchment to check the bottom—it should be dry and not sticky.
A few things I’ve learned the hard way: Don’t dip the entire pretzel. Leaving that inch uncoated makes it look more like a finger emerging from a hand. Also, if your chocolate starts to thicken while you’re working, pop it back in the microwave for 10 seconds. And if you mess up an almond placement, just scrape it off and try again—the chocolate is forgiving as long as it’s still wet.
Cooking Tips & Techniques
I’ve made plenty of mistakes with these witch finger pretzels, so let me save you the trouble. Here’s what I’ve learned.
Temper your chocolate properly. White chocolate is finicky. If you overheat it, it seizes up into a grainy, clumpy mess. Always use low heat and stir frequently. If your chocolate does seize, you can try adding a teaspoon of vegetable oil or coconut oil and stirring vigorously. Sometimes it smooths out, sometimes it doesn’t. Better to just be careful from the start.
Work in small batches. Don’t try to dip all 50 pretzels at once. Melt half the chocolate, dip 20 to 25 pretzels, then melt the rest. This keeps the chocolate at the right consistency and prevents it from cooling and thickening before you’re done. I learned this after my first batch turned into lumpy, thick-coated messes because the chocolate had cooled too much.
Create texture for realism. Real witch fingers aren’t perfectly smooth. Before the chocolate sets, you can gently press the side of a fork or a toothpick into the chocolate to create knuckle lines. Just two or three light presses along the length of the pretzel. It makes them look surprisingly realistic. I started doing this after someone said my first batch looked too perfect—like plastic fingers. The texture makes them genuinely creepy.
Keep your hands clean. White chocolate gets everywhere. Keep a damp paper towel nearby to wipe your fingers between pretzels. Otherwise, you’ll end up with chocolate smeared on the uncoated part of the pretzel, which ruins the effect. Trust me on this one.
Timing is everything. These are best made the day you’re serving them. The pretzels stay crunchy for about 24 hours, then they start to soften slightly from the chocolate. If you need to make them ahead, store them in an airtight container at room temperature for up to two days. Don’t refrigerate them—the moisture in the fridge makes the pretzels go stale faster.
Variations & Adaptations
One of the best things about this recipe is how easy it is to adapt. Here are some variations I’ve tried over the years.
Dark Chocolate Witch Fingers: Swap the white chocolate for dark or milk chocolate. The dark chocolate gives them a more sinister look—like gnarled, burned fingers. Use dark chocolate melting wafers and follow the same process. The almond nail stands out beautifully against the dark background.
Green Witch Fingers: Add a few drops of green food coloring to the melted white chocolate for a witchy green tint. This is perfect for a more cartoonish, fun Halloween look. I’ve done this for kids’ parties and they love it. Just stir the color in thoroughly before dipping.
Gluten-Free Version: Use gluten-free pretzel sticks. They’re available at most grocery stores now, and they work exactly the same way. Just check the label to make sure your white chocolate is also gluten-free—most are, but it’s worth confirming.
Spooky Sprinkle Fingers: Before the chocolate sets, sprinkle the dipped pretzels with black or orange sprinkles. This turns them into more of a festive Halloween treat. I’ve done this when making them for classroom parties where the creepy factor needs to be toned down a bit.
Peanut Butter Witch Fingers: Add a tablespoon of peanut butter to the melted white chocolate for a nutty flavor twist. Stir until fully combined. This works best with creamy peanut butter, not chunky. The flavor is amazing—salty, sweet, and nutty all at once.
My personal favorite variation is the dark chocolate version. I made it for a Halloween movie night last year and everyone kept asking where I bought them. There’s something about the dark chocolate against the almond that looks genuinely eerie. Plus, the flavor is less sweet, which I prefer for snacking.
Serving & Storage Suggestions
These Spooky White Chocolate Witch Finger Pretzels are best served at room temperature. Arrange them on a platter with the uncoated ends pointing toward the center, so the almond fingernails face outward. It creates a creepy hand-like effect that always gets a reaction.
For presentation, I like to scatter a few extra slivered almonds around the platter—like fallen fingernails. It’s a little gross, which is exactly the point for Halloween. You can also serve them in a glass jar or a cauldron for a witchy vibe.
These pair wonderfully with other Halloween treats. Serve them alongside caramel popcorn, pumpkin-shaped cookies, or a bowl of candy corn. For drinks, they go great with hot apple cider, pumpkin spice lattes, or even a glass of cold milk for the kids.
Storage: Store any leftovers in an airtight container at room temperature. They’ll stay fresh for up to three days, but the pretzels will start to soften after the first day. I usually make them the morning of a party and they’re perfect by evening.
Freezing: You can freeze these for up to a month. Place them in a single layer in a freezer-safe container with parchment paper between layers. Thaw at room temperature for about 30 minutes before serving. The texture won’t be quite as crunchy, but they’ll still taste great.
One thing I’ve noticed: the flavors actually develop a bit overnight. The white chocolate sets fully, and the saltiness of the pretzel balances perfectly with the sweetness. If you can resist eating them all immediately, they’re even better the next day.
Nutritional Information & Benefits
Here’s the nutritional breakdown for one witch finger pretzel (based on a batch of 40):
| Nutrient | Amount per serving |
|---|---|
| Calories | 55 |
| Total Fat | 3g |
| Saturated Fat | 1.5g |
| Carbohydrates | 7g |
| Sugar | 5g |
| Protein | 1g |
| Sodium | 85mg |
While these are definitely a treat, there are a few small benefits. The almonds provide healthy fats and a bit of protein, which helps balance the sugar rush. The pretzels offer some sodium and carbohydrates for quick energy. White chocolate contains calcium from the milk solids, though not in significant amounts.
For dietary considerations: These are vegetarian and can be made gluten-free with GF pretzels. They contain dairy (white chocolate) and nuts (almonds), so they’re not suitable for those with allergies. If you need a nut-free version, substitute the almond sliver with a small candy corn or a piece of dried banana—though it won’t look quite as realistic.
I always tell myself that Halloween comes once a year, and a few witch fingers won’t hurt. Everything in moderation, right?
Conclusion
These Spooky White Chocolate Witch Finger Pretzels are proof that the best Halloween treats don’t have to be complicated. They’re quick, they’re creepy, and they taste amazing. Every time I make them, I think back to that conversation with my neighbor’s kid—the one who reminded me that sometimes the simplest idea is the best one.
I love how versatile this recipe is. You can dress it up with green coloring or keep it classic. You can make it for a kids’ party or a grown-up Halloween gathering. It works every time, and it never fails to get a reaction. That first bite, when someone realizes it’s just a pretzel dipped in chocolate—that moment of delighted surprise is why I keep making them.
I’d love to hear how yours turn out. Did you add the red cuticle detail? Did you try the dark chocolate version? Drop a comment below and let me know. And if you’re looking for more Halloween treats, don’t miss my spider web cupcakes or these pumpkin spice popcorn clusters—they’re perfect for a spooky snack spread.
Happy Halloween, and happy dipping! Don’t forget to save this recipe for next year—trust me, you’ll want to make it again.
Frequently Asked Questions
Can I use white chocolate chips instead of melting wafers?
Yes, but add a teaspoon of coconut oil to help them melt smoothly. White chocolate chips contain stabilizers that can make them seize or get grainy. The coconut oil helps create that smooth, dippable consistency.
How far in advance can I make these witch finger pretzels?
They’re best made the day you’re serving them. The pretzels stay crunchy for about 24 hours. You can make them up to two days ahead, but the texture won’t be as crisp. Store them in an airtight container at room temperature.
Can I use chocolate almond bark instead of white chocolate?
Absolutely. Chocolate almond bark is actually a great option because it melts smoothly and sets firmly. It’s often cheaper than white chocolate wafers too. Just follow the same melting instructions.
How do I keep the chocolate from getting too thick while I work?
Work in small batches and keep the unused chocolate warm. If it starts to thicken, microwave it for 10 to 15 seconds and stir. You can also place the bowl over a warm water bath to keep it at the right consistency.
Can I make these nut-free by skipping the almond?
Yes, but they won’t look like witch fingers without the fingernail. Try using a small candy corn, a piece of dried cranberry, or a tiny dollop of red frosting instead. The look will be different, but they’ll still be delicious and festive.
Pin This Recipe!
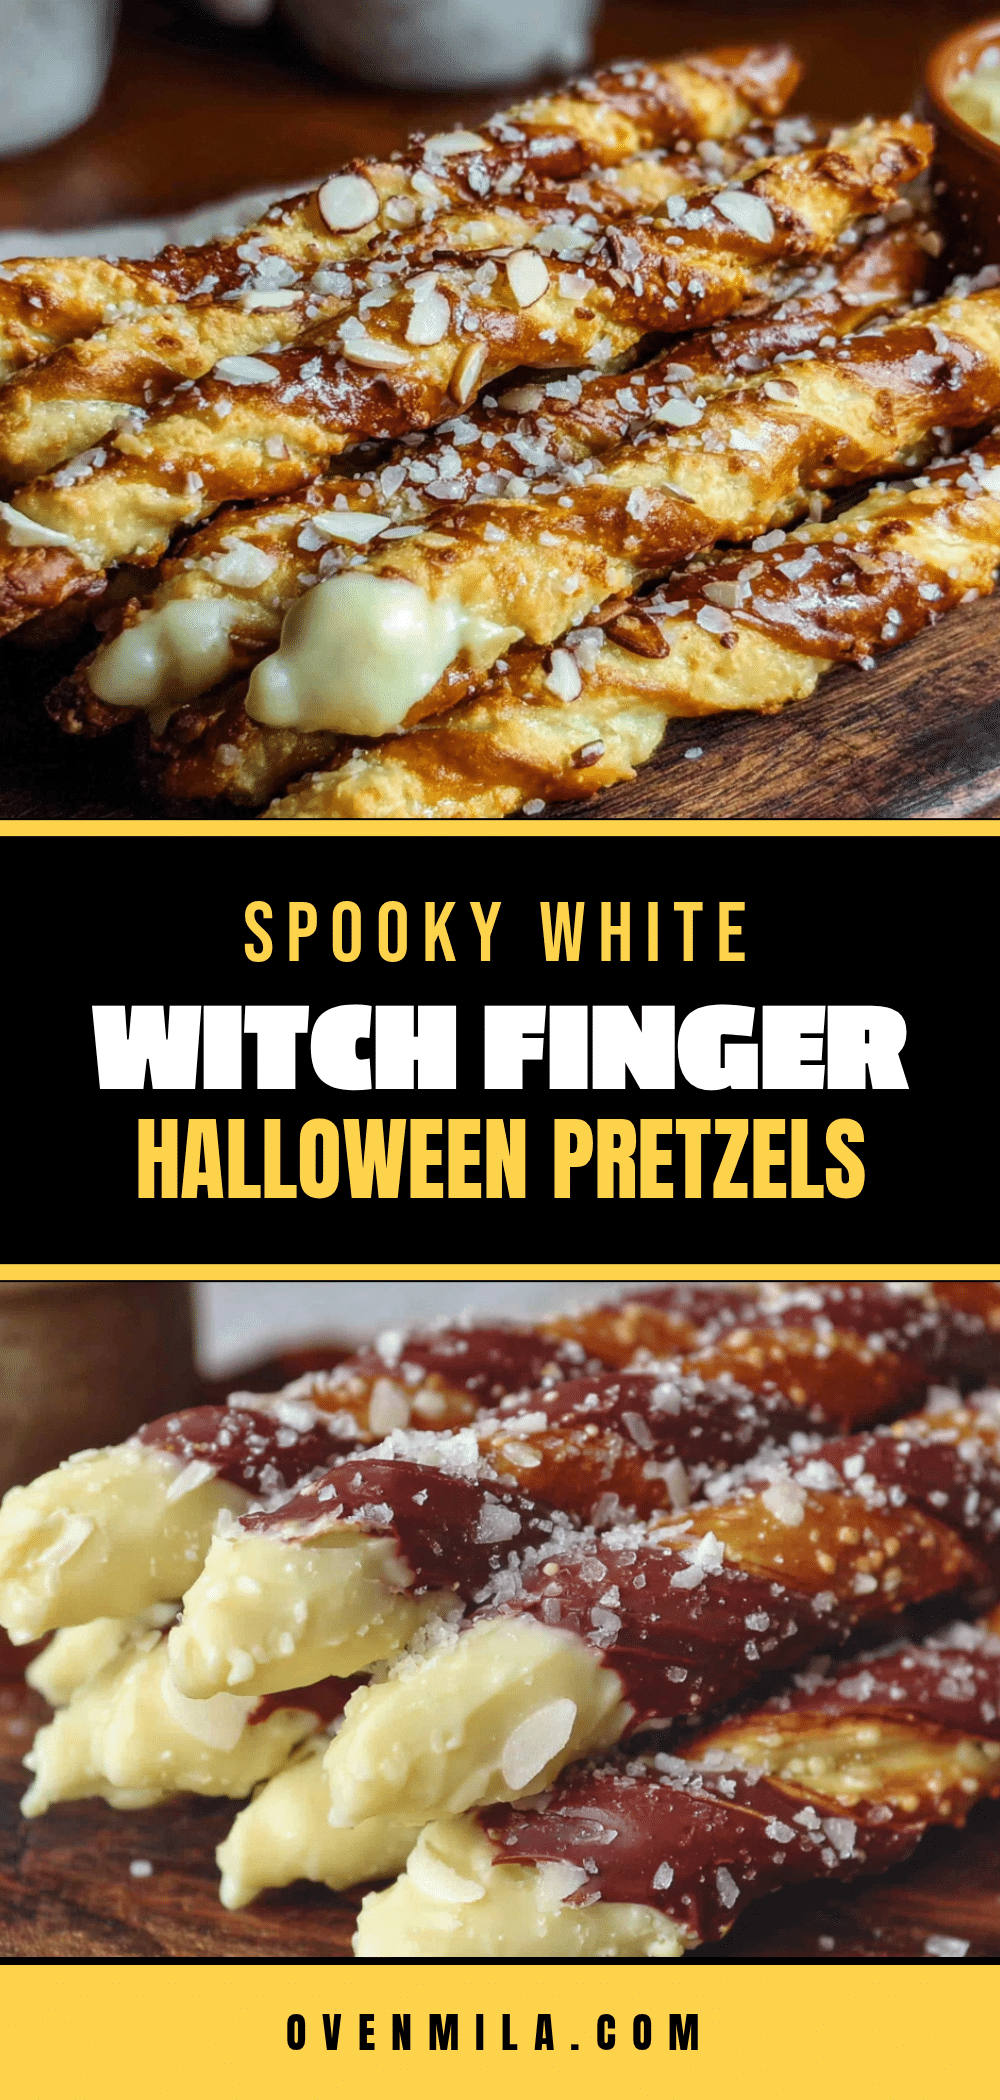
Easy White Chocolate Witch Finger Pretzels for Halloween
These spooky white chocolate witch finger pretzels are a quick and easy Halloween treat made with just pretzel sticks, white chocolate, and slivered almonds. They look genuinely creepy but come together in under 15 minutes, making them perfect for parties, classroom treats, or movie nights.
- Prep Time: 10 minutes
- Cook Time: 5 minutes
- Total Time: 15 minutes
- Yield: 40 servings 1x
- Category: Dessert
- Cuisine: American
Ingredients
- 1 bag (8 ounces) pretzel sticks
- 12 ounces white chocolate melting wafers
- ½ cup slivered almonds
- Optional: red food coloring (gel or liquid)
- Optional: 1 teaspoon coconut oil (if using white chocolate chips)
Instructions
- Prep your workspace: Line a baking sheet with parchment paper. Sort through pretzel sticks and pick out the straightest ones (about 40 to 50). Set slivered almonds nearby.
- Melt the white chocolate: Place white chocolate melting wafers in a microwave-safe bowl. Microwave in 30-second intervals, stirring thoroughly after each, until smooth (about 90 seconds total). If thick, add 1 teaspoon coconut oil and stir. Do not overheat.
- Dip the pretzels: Hold a pretzel stick by one end and dip about three-quarters into the melted white chocolate, leaving about an inch uncoated. Gently tap against the bowl to remove excess chocolate.
- Place on baking sheet: Set dipped pretzel on parchment-lined baking sheet, leaving space between each. Work quickly as chocolate sets.
- Add the almond nail: While chocolate is still wet, press a slivered almond onto the tip of the dipped end, pointed end outward. Press gently to stick. If chocolate sets, dip almond in melted chocolate first.
- Add optional details: If using red food coloring, dip a toothpick into gel and dab a tiny dot at the base of the almond for a bloody cuticle effect.
- Let them set: Allow to set completely at room temperature for 15 to 20 minutes. To speed up, refrigerate for 5 to 10 minutes, but do not leave too long to avoid condensation.
- Check for doneness: Chocolate should be firm and matte. Gently lift one to check bottom—it should be dry and not sticky.
Notes
For best results, use straight pretzel sticks and work in small batches to keep chocolate at the right consistency. Create knuckle lines by gently pressing a fork or toothpick into the chocolate before it sets. Store in an airtight container at room temperature for up to 2 days; best served the day they are made. For a gluten-free version, use gluten-free pretzel sticks.
Nutrition
- Serving Size: 1 witch finger pretz
- Calories: 55
- Sugar: 5
- Sodium: 85
- Fat: 3
- Saturated Fat: 1.5
- Carbohydrates: 7
- Protein: 1
Keywords: Halloween treats, witch finger pretzels, white chocolate pretzels, easy Halloween recipe, spooky snacks, no-bake dessert


