The office holiday party was in twelve hours and I’d completely forgotten. I mean, completely. I’d been so wrapped up in wrapping presents and untangling—honestly, just throwing away—fairy lights that the “bring a treat to share” email had slipped right out of my brain. Everyone else would be bringing those elaborate, Pinterest-perfect things. You know the ones. Hand-piped gingerbread cookies, layer cakes that looked like they belonged in a bakery window, those little pastry things that take three days and a degree in patisserie. I had a box of Rice Krispies, a bag of Christmas M&Ms, and a growing sense of panic. The kind of panic that makes you stare into your pantry like it might suddenly produce a yule log.
I’m not going to pretend I was calm. I was not calm. I was rummaging through cabinets, muttering to myself, and seriously considering just bringing a bag of store-bought cookies and claiming I’d “made them special.” But then my eyes landed on the marshmallows. And the butter. And I thought, okay. I can do this. I mean, it’s Rice Krispie treats. How hard can it be? The answer, let me tell you, is not hard at all. Especially when you dress them up for the season. I threw those Festive Christmas Rice Krispie Treats with M&Ms together in about twenty minutes flat, crossed my fingers, and walked into that party feeling like a fraud.
And then, honestly, the weirdest thing happened. People went crazy for them. Not the polite “oh, how nice” crazy, but the “where did you get this recipe” and “can I have another one” crazy. A coworker named Dave, who is notorious for bringing fancy French tarts, asked me for the recipe. The Festive Christmas Rice Krispie Treats with M&Ms were the first thing to disappear from the dessert table. I stood there, slightly stunned, holding an empty platter while people were scraping the last bits of crispy, melty, chocolate-studded goodness off the plate. It was a total accident. I’d made the simplest thing possible, and it had won the day. That’s when I learned something important: sometimes the easiest recipe is the one everyone actually wants. No fuss, no stress, just pure, nostalgic, holiday joy. And I’ve been making them for every Christmas gathering ever since.
Why You’ll Love This Recipe
Let’s be real for a second. The holidays are chaotic. Between the shopping, the wrapping, the decorating, and the family obligations, the last thing you need is a complicated recipe that takes over your kitchen for an afternoon. These Festive Christmas Rice Krispie Treats with M&Ms are the opposite of that. They are your secret weapon for looking like a holiday hero without breaking a sweat. I’ve tested this recipe more times than I can count, and I’ve learned a few tricks that make all the difference—like using a generous pinch of salt to balance the sweetness and pressing the mixture down with a buttered spatula so it holds together perfectly.
- Quick & Easy: From pantry to plate in under 25 minutes. Seriously. You can make these while the kids are watching a movie or while you’re waiting for your holiday roast to rest.
- Simple Ingredients: You probably already have butter, marshmallows, and Rice Krispies in your pantry. Just grab a bag of Christmas M&Ms and you’re in business. No specialty stores, no weird ingredients you’ll never use again.
- Perfect for Holiday Gatherings: These are made for cookie swaps, office parties, school celebrations, and family get-togethers. They travel beautifully and everyone loves them.
- Crowd-Pleaser: Kids and adults fight over these. The combination of the crispy, marshmallowy base with those crunchy, colorful M&Ms is basically irresistible.
- Unbelievably Delicious: This isn’t just a basic Rice Krispie treat. The M&Ms add a pop of chocolate and a satisfying crunch, and the festive colors make them look like you spent way more time than you actually did.
What makes this version different from the rest? It’s the technique. I’ve found that adding the M&Ms at just the right moment—after the marshmallow mixture has cooled slightly—keeps them from melting into a brown mess. You get distinct, beautiful, colorful pieces of chocolate in every bite. Plus, I’ve perfected the ratio of marshmallow to cereal so your treats are perfectly chewy, not rock-hard. This isn’t just another version of a classic; it’s the best version. The one that makes you close your eyes after the first bite and think, “Yeah, this is what Christmas tastes like.”
What Ingredients You Will Need
This recipe uses simple, pantry-friendly ingredients that come together to create something truly special. Each ingredient plays a key role, and I’ve tested a few brands to find what works best. You don’t need anything fancy here—just good, honest ingredients that you can find at any grocery store.
- 3 tablespoons unsalted butter (I prefer Land O’Lakes for its consistent richness, but any good quality butter works. Add a pinch of salt if using salted butter.)
- 1 package (10 oz) mini marshmallows (Kraft Jet-Puffed are my go-to. They melt smoothly and evenly. Avoid using large marshmallows as they don’t melt as uniformly.)
- 6 cups Rice Krispies cereal (The original is best for that iconic snap, crackle, and pop texture. Generic brands can be a bit denser.)
- 1 cup Christmas M&Ms (You’ll want the red and green ones for the festive look. I buy a big bag and pick out the holiday colors. You can also use the mint-flavored Christmas M&Ms for an extra twist.)
- ¼ teaspoon kosher salt (This is my secret ingredient. It cuts the sweetness and makes the flavors pop. Don’t skip it!)
- ½ teaspoon vanilla extract (Pure vanilla extract adds a warm, aromatic note that elevates the whole treat. Imitation works in a pinch, but pure is better.)
- Non-stick cooking spray (For greasing your pan and spatula. This is non-negotiable—it will save you from a sticky disaster.)
Ingredient Selection Tips: For the best texture, use fresh marshmallows. Stale marshmallows can be hard and won’t melt as smoothly. If your marshmallows feel a bit dry, add an extra tablespoon of butter. Also, look for M&Ms that are not too old—fresh M&Ms have a better snap and the candy coating won’t crack as easily when you mix them in. For a seasonal twist, you can swap out the Christmas M&Ms for Easter pastels, Halloween colors, or even just plain milk chocolate M&Ms year-round. The recipe is wonderfully adaptable.
Substitution Guidance: For a gluten-free version, ensure your Rice Krispies are labeled gluten-free (the original recipe has malt flavoring that contains gluten). You can also use a gluten-free crispy rice cereal alternative. For a dairy-free option, use a plant-based butter like Miyoko’s or Country Crock Plant Butter. The texture will be slightly different, but still delicious. If you’re nut-free, standard M&Ms are generally safe, but always check the packaging for allergen warnings.
Equipment Needed
You don’t need a professional kitchen to make these treats. In fact, you probably have most of this stuff already. Here’s what you’ll need:
- 9×13-inch baking pan (This is the perfect size for thick, satisfying bars. A metal pan works best for even cooling.)
- Large pot or Dutch oven (You need a pot big enough to stir the cereal without spilling. A 5-quart pot is ideal.)
- Rubber spatula or wooden spoon (A silicone spatula is my favorite—it’s flexible and won’t scratch your pot. Make sure it’s heat-safe.)
- Parchment paper (This makes lifting the treats out of the pan so much easier. You can also use wax paper, but parchment is sturdier.)
- Sharp knife or bench scraper (For cutting clean, even squares. A bench scraper gives you the cleanest cuts.)
- Measuring cups and spoons (Accuracy matters, even in a simple recipe like this.)
If you don’t have a 9×13 pan, you can use a 9×9 square pan for thicker treats (just increase the cooking time by a minute or two for the marshmallow mixture). I once made these in a disposable aluminum pan for a camping trip, and they turned out great. Just be careful not to press too hard, or the pan might buckle. For the spatula, any heat-safe spoon or spatula will work, but a silicone one is worth the investment—it’s non-stick and easy to clean. A tip from experience: spray your spatula with cooking spray before pressing the mixture into the pan. It will change your life.
Preparation Method
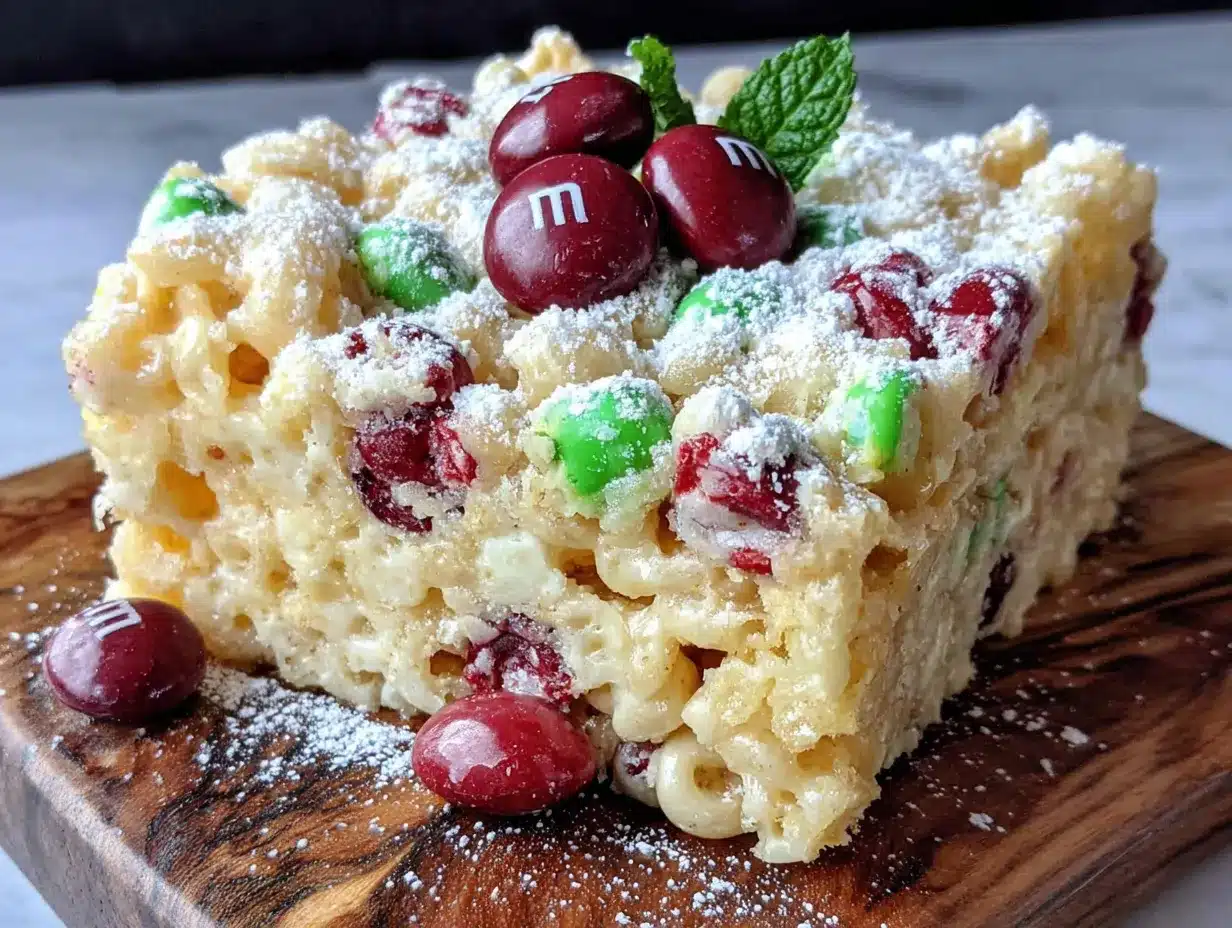
Alright, let’s get to the fun part. This is where the magic happens. I’ve broken this down into clear, numbered steps so you can follow along without any confusion. Trust me, even if you’ve never made Rice Krispie treats before, you’ve got this.
- Prepare your pan. Line your 9×13-inch baking pan with parchment paper, leaving a little overhang on two opposite sides. This will act as handles to lift the treats out later. Spray the parchment paper generously with non-stick cooking spray. Set the pan aside.
- Melt the butter. Place your large pot over medium-low heat and add the 3 tablespoons of unsalted butter. Let it melt completely, swirling the pan occasionally. You want it melted but not browned—no sizzling or browning. This should take about 2 minutes.
- Add the marshmallows. Pour the entire 10-ounce bag of mini marshmallows into the pot. Stir constantly with your rubber spatula until the marshmallows are completely melted and smooth. This usually takes about 3-4 minutes. Don’t walk away—marshmallows can scorch easily. You’ll know it’s ready when the mixture is glossy and has a thick, gooey consistency.
- Season the mixture. Remove the pot from the heat. Immediately stir in the ¼ teaspoon of kosher salt and ½ teaspoon of vanilla extract. The vanilla will smell amazing. Stir until everything is well combined. This step is crucial—the salt balances the sweetness and the vanilla adds depth.
- Add the cereal. Pour the 6 cups of Rice Krispies cereal into the pot. Fold the cereal into the marshmallow mixture gently but thoroughly. Use a folding motion—start from the bottom and bring the mixture up and over. Be careful not to crush the cereal; you want those crispy pieces intact. It should take about 1-2 minutes to get everything evenly coated.
- Add the M&Ms (the key step). Let the mixture cool for just 1 minute. Then, gently fold in ¾ cup of the Christmas M&Ms. Reserve the remaining ¼ cup for the top. If you add the M&Ms while the mixture is too hot, the candy coating will melt and you’ll get a brown, muddy mess. Trust me on this—I learned the hard way. Fold them in gently so they stay whole and colorful.
- Press into the pan. Transfer the mixture to your prepared pan. Spray your spatula with non-stick cooking spray (this is a lifesaver) and gently press the mixture into an even layer. Don’t press too hard—you want the treats to be tender, not compressed and hard. Just press until the top is relatively flat and even.
- Add the finishing touches. While the mixture is still warm, sprinkle the reserved ¼ cup of Christmas M&Ms over the top. Gently press them in so they stick. This gives you those beautiful, colorful pops on the surface.
- Cool and set. Let the treats cool at room temperature for at least 1 hour. Don’t rush this—if you cut them too early, they’ll be a sticky mess. The wait is worth it. You’ll know they’re ready when the top feels firm and the pan is cool to the touch.
- Cut and serve. Using the parchment paper overhangs, lift the entire block of treats out of the pan and onto a cutting board. Use a sharp knife or bench scraper to cut into 24 even squares. Wipe the knife clean between cuts for neat edges. Serve immediately or store as directed.
Visual Cue: At step 4, the marshmallow mixture should be a pale, glossy, golden-white color. At step 6, the mixture should look like a snowy, marshmallowy landscape dotted with red and green gems. If the M&Ms start to streak color, you waited too long to add them—but don’t worry, they’ll still taste great.
Cooking Tips & Techniques
Over the years, I’ve made these Festive Christmas Rice Krispie Treats with M&Ms more times than I can count. And I’ve made every mistake in the book. Here’s what I’ve learned so you don’t have to repeat my failures.
The Marshmallow Mistake: My first batch was a disaster because I cranked the heat too high. High heat scorches marshmallows, turning them into a burnt, bitter mess. Always use medium-low heat and stir constantly. Patience is your friend here. If you’re in a hurry, you’re better off using the microwave method—melt the butter and marshmallows in a large microwave-safe bowl in 30-second intervals, stirring between each.
The M&M Timing: This is the most important tip. Let the marshmallow-cereal mixture cool for a full minute before adding the M&Ms. I once added them immediately, and the candy coating melted into a brown smear. The treats tasted fine, but they looked like a muddy mess. For those beautiful, distinct colors, you need that cool-down period.
The Pressing Problem: Don’t over-pack the mixture. I used to press down as hard as I could, thinking it would make the treats hold together better. Wrong. It made them hard and dense. You want a light, gentle touch. Just enough to level the surface. Think of it like patting a baby’s head, not like you’re squashing a bug.
The Cutting Conundrum: For the cleanest cuts, use a bench scraper or a long, sharp knife. Spray the blade with cooking spray before each cut. This prevents the sticky marshmallow from clinging to the knife. I also like to let the treats chill in the fridge for 15 minutes before cutting—it makes them slightly firmer and easier to slice.
Multitasking Strategy: While the marshmallow mixture is cooling (step 6), use that time to line your pan and spray your spatula. This way, everything is ready when you need it. The whole process moves quickly, so having your tools prepped is a game-changer.
Variations & Adaptations
One of the best things about this recipe is how easy it is to customize. I’ve tried a bunch of different variations over the years, and here are my favorites.
- Peppermint Crunch: Add ½ cup of crushed candy canes or peppermint candies along with the M&Ms. The minty crunch pairs beautifully with the chocolate and marshmallow. Just be sure to crush the candy canes into small pieces—no one wants a giant shard of peppermint.
- White Chocolate Drizzle: After the treats have cooled, melt ½ cup of white chocolate chips with 1 teaspoon of coconut oil and drizzle it over the top. Sprinkle with a little extra crushed candy cane or festive sprinkles. It looks gorgeous and adds a creamy sweetness.
- Dark Chocolate & Sea Salt: Swap the milk chocolate M&Ms for dark chocolate ones (or chop up a dark chocolate bar). After pressing the treats into the pan, sprinkle with a pinch of flaky sea salt. The salty-sweet combination is absolutely addictive.
- Gluten-Free Version: Use gluten-free crispy rice cereal (like the one from Nature’s Path or Erewhon). Everything else in the recipe is naturally gluten-free, so this is an easy swap. I’ve made this for my gluten-sensitive friends, and they couldn’t tell the difference.
- Vegan Adaptation: Use vegan butter (like Earth Balance) and vegan marshmallows (Dandies are excellent). The texture will be slightly different—vegan marshmallows can be a bit chewier—but the flavor is still fantastic.
I once tried a version with crushed pretzels mixed in for a salty crunch. It was good, but the pretzels got a bit soft after a day. If you try that, I’d recommend adding them right before serving. My personal favorite variation is the Peppermint Crunch—it just screams Christmas to me.
Serving & Storage Suggestions
These treats are best served at room temperature. The texture is perfectly chewy and the M&Ms have a satisfying snap. I like to arrange them on a festive platter or a Christmas-themed cake stand. They make a gorgeous addition to any dessert table.
Complementary Pairings: Serve these alongside a cup of hot cocoa, a warm mug of spiced cider, or a glass of cold milk. For a dessert spread, they pair beautifully with gingerbread cookies, peppermint bark, or a simple vanilla ice cream. They’re also fantastic on a cookie tray—their colorful appearance adds a pop of festive cheer.
Storage Instructions: Store the treats in an airtight container at room temperature for up to 5 days. Place a piece of parchment paper between layers to prevent sticking. Do not refrigerate them—the fridge makes them hard and dry. If you live in a humid climate, they may get a bit sticky; adding a silica gel packet to the container can help, but honestly, they’ll likely be eaten before that’s an issue.
Freezer Instructions: These treats freeze beautifully. Place them in a single layer on a baking sheet and freeze for 1 hour, then transfer to a freezer-safe bag or container. They’ll keep for up to 3 months. To thaw, let them sit at room temperature for about 30 minutes. The texture remains surprisingly good—almost as fresh as the day you made them.
Flavor Development: These treats are actually best the day after you make them. The flavors meld together, and the texture becomes perfectly balanced. So if you can resist eating them right away, you’re in for a treat (pun intended).
Nutritional Information & Benefits
Let’s be honest—these are a treat. They’re not health food, and that’s okay. The holidays are about indulgence and joy. But here’s a rough idea of what you’re looking at per serving (based on 24 servings):
| Nutrient | Amount Per Serving |
|---|---|
| Calories | 185 |
| Total Fat | 7g |
| Saturated Fat | 4g |
| Cholesterol | 10mg |
| Sodium | 115mg |
| Total Carbohydrates | 30g |
| Dietary Fiber | 0g |
| Sugars | 18g |
| Protein | 2g |
These treats are primarily a source of quick energy from carbohydrates. The butter provides a small amount of fat-soluble vitamins, and the M&Ms offer a tiny bit of antioxidants from the chocolate. If you’re looking for a slightly healthier version, you can reduce the butter to 2 tablespoons and use a sugar-free marshmallow alternative, but honestly, I think it’s better to just enjoy them as they are. The holidays are about balance, not deprivation. One of these treats is a perfectly reasonable indulgence.
Dietary Considerations: This recipe contains dairy (butter) and gluten (if using standard Rice Krispies). For a dairy-free and gluten-free version, see the variations above. The M&Ms may contain traces of nuts, so check the label if you have allergies.
Conclusion
So there you have it. The recipe that saved my holiday party, became a family tradition, and continues to be the first thing to disappear from every dessert table. These Festive Christmas Rice Krispie Treats with M&Ms are proof that you don’t need complicated techniques or exotic ingredients to create something truly special. Sometimes the simplest things are the most memorable.
I love this recipe because it’s forgiving. It’s flexible. It’s the kind of recipe that lets you relax and enjoy the process instead of stressing over perfection. Whether you’re making them for a cookie swap, a classroom party, or just a cozy night in with your family, these treats deliver every single time. And honestly, that feeling of watching people’s faces light up when they take a bite? That’s what the holidays are all about.
I’d love to hear how yours turn out! Did you try any of the variations? Did you come up with your own twist? Drop a comment below and let me know. And if you share them on social media, tag me—I can’t wait to see your beautiful, festive creations. Happy holidays, and happy baking!
Frequently Asked Questions
Can I use regular M&Ms instead of Christmas M&Ms?
Absolutely! Any color or variety of M&Ms will work. For a festive look, you can also use holiday-specific colors like red and green for Christmas, pastels for Easter, or orange and black for Halloween. The flavor is the same.
Why did my M&Ms melt into the mixture?
This happens when the marshmallow mixture is too hot when you add the M&Ms. Let the mixture cool for a full minute after adding the cereal before folding in the M&Ms. If the candy coating starts to streak or melt, the mixture is still too hot.
Can I make these treats ahead of time?
Yes! They actually taste even better the next day. Store them in an airtight container at room temperature for up to 5 days. You can also freeze them for up to 3 months. Just thaw at room temperature before serving.
How do I keep the treats from sticking to the knife when cutting?
Spray your knife or bench scraper with non-stick cooking spray before each cut. You can also let the treats chill in the fridge for 15 minutes before cutting—they’ll be firmer and less sticky.
Can I use a different cereal instead of Rice Krispies?
Of course! Cocoa Krispies, Froot Loops, or even a generic crispy rice cereal all work well. Just keep in mind that different cereals have different densities and sweetness levels, so the texture and flavor may vary slightly.
Pin This Recipe!
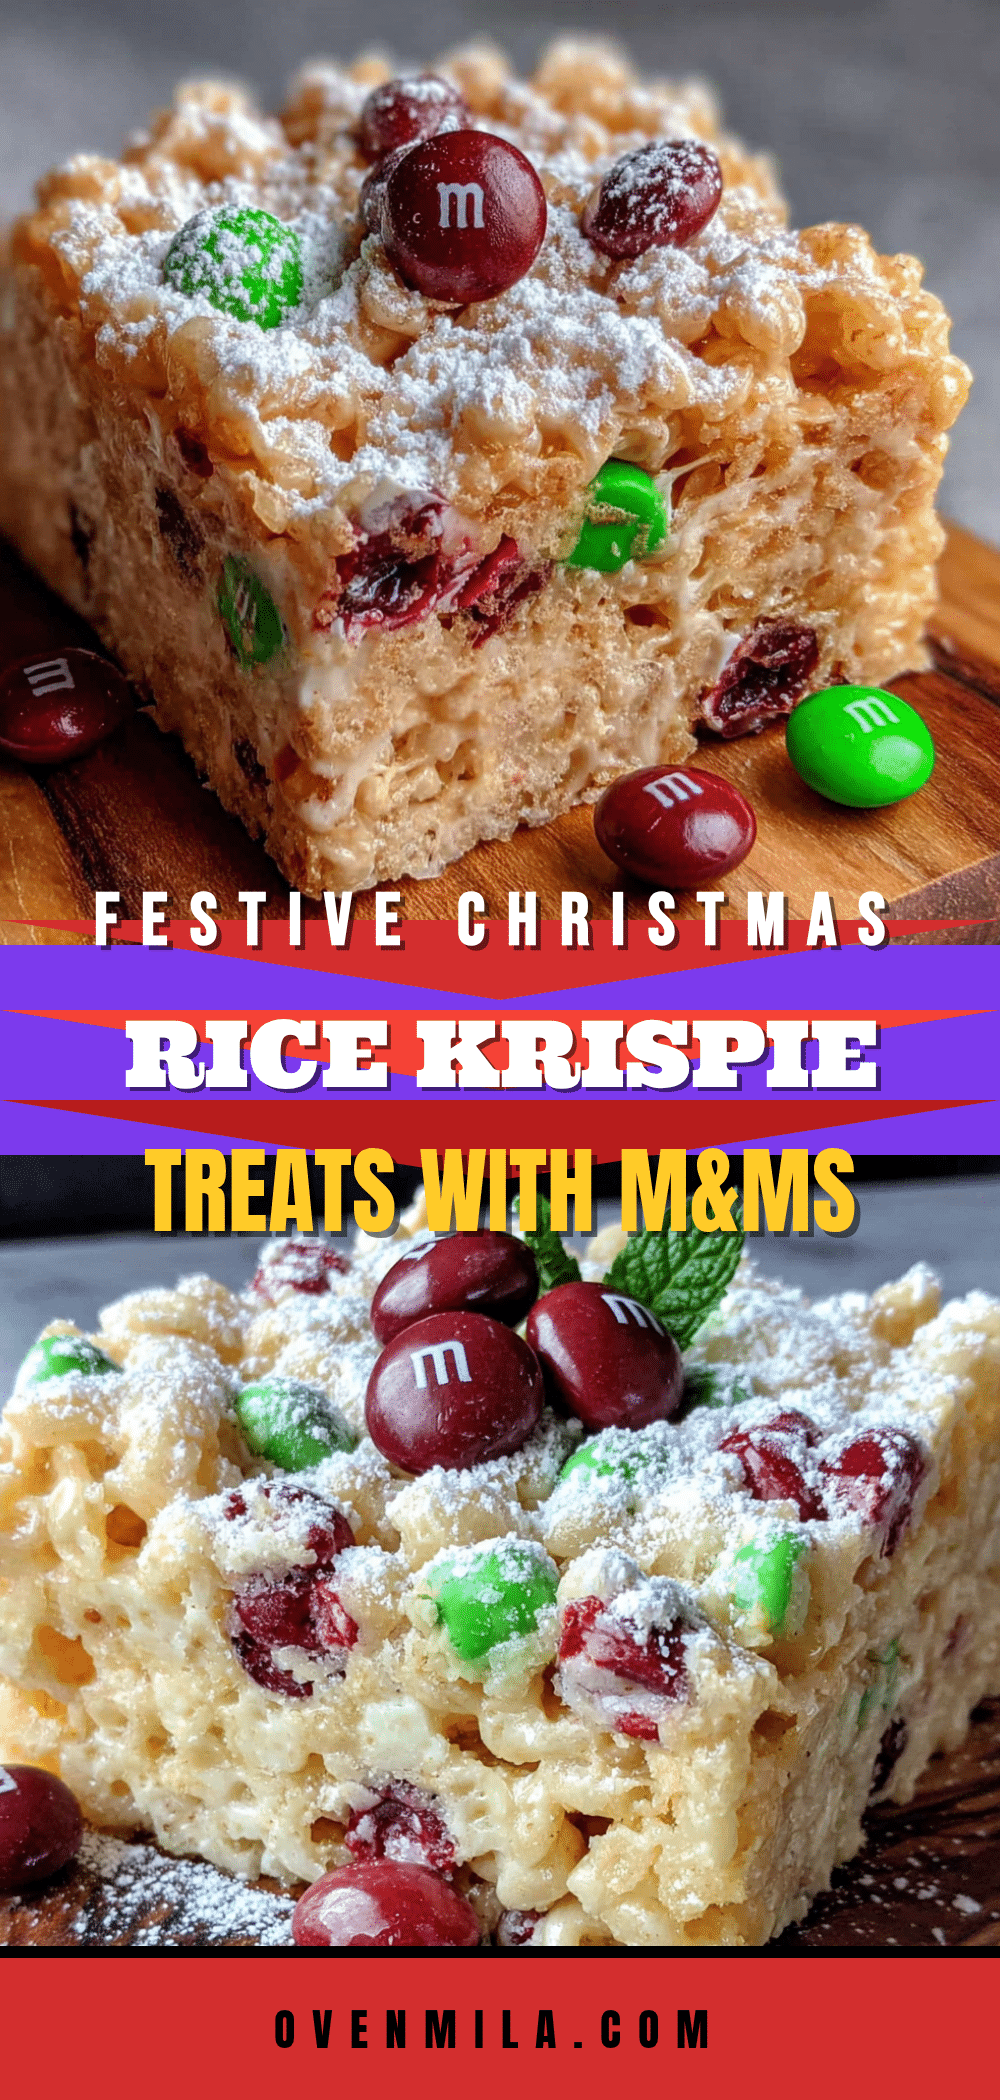
Festive Christmas Rice Krispie Treats: Easy M&M Recipe
Quick and easy no-bake Christmas Rice Krispie treats loaded with festive M&Ms. Perfect for holiday parties, cookie swaps, and family gatherings.
- Prep Time: 10 minutes
- Cook Time: 10 minutes
- Total Time: 20 minutes
- Yield: 24 servings 1x
- Category: Dessert
- Cuisine: American
Ingredients
- 3 tablespoons unsalted butter
- 1 package (10 oz) mini marshmallows
- 6 cups Rice Krispies cereal
- 1 cup Christmas M&Ms
- ¼ teaspoon kosher salt
- ½ teaspoon vanilla extract
- Non-stick cooking spray
Instructions
- Line a 9×13-inch baking pan with parchment paper, leaving overhang on two opposite sides. Spray generously with non-stick cooking spray.
- In a large pot over medium-low heat, melt the butter completely, about 2 minutes.
- Add the mini marshmallows and stir constantly until completely melted and smooth, about 3-4 minutes.
- Remove from heat and stir in the kosher salt and vanilla extract until well combined.
- Pour in the Rice Krispies cereal and fold gently until evenly coated, about 1-2 minutes.
- Let the mixture cool for 1 minute, then gently fold in ¾ cup of the Christmas M&Ms. Reserve the remaining ¼ cup for topping.
- Transfer the mixture to the prepared pan. Spray a spatula with cooking spray and gently press into an even layer. Do not over-pack.
- While still warm, sprinkle the reserved ¼ cup of M&Ms over the top and gently press them in.
- Let cool at room temperature for at least 1 hour until firm.
- Using the parchment overhangs, lift the block out of the pan onto a cutting board. Cut into 24 even squares with a sharp knife or bench scraper.
Notes
For best results, let the marshmallow-cereal mixture cool for a full minute before adding M&Ms to prevent the candy coating from melting. Use a light hand when pressing the mixture into the pan to keep treats tender. Store in an airtight container at room temperature for up to 5 days. Freeze for up to 3 months.
Nutrition
- Serving Size: 1 square
- Calories: 185
- Sugar: 18
- Sodium: 115
- Fat: 7
- Saturated Fat: 4
- Carbohydrates: 30
- Protein: 2
Keywords: Christmas Rice Krispie treats, M&M Rice Krispie treats, holiday dessert, easy Christmas recipe, no-bake dessert


