There used to be a little bakery tucked away on a side street in Portland, called “Meringue.” It had a pink awning and a bell that jingled when you walked in. They made these tiny, ethereal meringue cookies that practically dissolved on your tongue. When they closed three years ago—the owner retired to, I heard, a beach house in Mexico—I was genuinely heartbroken. After about six tries—some were chewy, some were flat, one batch actually turned into a weird, sticky syrup—I finally cracked the code. These are the “Forgotten Cookies,” a no-bake meringue that you literally put in the oven, turn off the heat, and forget about overnight. It’s the perfect, lazy spring baking project when you want something sweet but don’t want to stand over a hot stove.
The first time I made them correctly, I actually teared up a little. It was a Tuesday afternoon, and I had a bowl of egg whites on the counter that I didn’t know what to do with. I remembered that bakery, the way the cookies looked like little clouds. I whisked the sugar in slowly, added a pinch of salt, and folded in some mini chocolate chips. By the time I pulled them out of the oven the next morning, they were perfect. Honestly, it felt like magic. Maybe you’ve been there—chasing a flavor from a place that’s gone. This is that recipe. This is the one that stays with you.
Why You’ll Love This Recipe
Let me tell you, these aren’t just any meringue cookies. They are the kind that makes you close your eyes after the first bite. They are light, airy, and have that perfect snap when you bite into them, followed by a melt-in-your-mouth texture that is pure bliss.
- No-Bake & Effortless: The oven does all the work. You mix, you scoop, you walk away. It’s the ultimate set-it-and-forget-it dessert.
- Simple Ingredients: You probably have everything in your pantry right now. Egg whites, sugar, a pinch of salt, and your favorite mix-ins. No cream of tartar required if you don’t have it.
- Perfect for Spring Baking: These are light and not too heavy, making them ideal for Easter brunch, a spring tea party, or just a sweet treat after a long day.
- Naturally Gluten-Free & Low-Fat: They are a fantastic option for anyone avoiding gluten or watching their fat intake. Pure protein and sugar, basically!
- Endlessly Customizable: You can make them with chocolate chips, crushed peppermint, freeze-dried strawberries, or even just a swirl of food coloring. They are a blank canvas for your spring flavor dreams.
I’ve tested these more times than I care to admit. I’ve tried them with superfine sugar, with granulated, with a splash of vanilla, and with almond extract. This version is the one that works every single time. It’s not just another recipe—it’s the one you’ll come back to year after year.
What Ingredients You Will Need
This recipe uses simple, pantry-friendly ingredients to create something that looks and tastes like you spent hours in the kitchen. The magic is in the technique, not the grocery list. Here is what you need to gather.
- 3 large egg whites, at room temperature: This is crucial. Cold eggs won’t whip up to the same volume. I always separate my eggs when they are cold, then let the whites sit on the counter for about 30 minutes. It makes a world of difference. (Look for eggs that are fresh—older whites don’t whip as well.)
- ¾ cup (150g) granulated white sugar: You can use superfine sugar if you have it, but regular granulated works perfectly. The key is to add it slowly so it dissolves completely. I’ve used organic cane sugar before, and it works fine, though the cookies are slightly less white.
- ¼ teaspoon salt: A tiny pinch of salt balances the sweetness and helps stabilize the meringue. I use fine sea salt, but table salt works just as well.
- 1 teaspoon vanilla extract: Pure vanilla extract is best, but imitation will work in a pinch. I love using a vanilla bean paste for those little specks of vanilla, but extract is my go-to for simplicity.
- ½ cup (90g) mini chocolate chips or your favorite mix-in: Mini chips are best because they distribute evenly and don’t sink to the bottom. You can also use chopped nuts, crushed freeze-dried fruit (like strawberries or raspberries), or even a little shredded coconut. (For spring, I love using pastel-colored candy melts or chopped white chocolate.)
Ingredient Substitutions: If you are avoiding sugar, you can try a monk fruit sweetener that measures like sugar, but I haven’t tested it personally. For a dairy-free option, make sure your chocolate chips are dairy-free. I recommend using a brand like Enjoy Life for the best texture.
Equipment Needed
You don’t need a fancy kitchen to make these cookies. Just a few basic tools will do the trick.
- Electric mixer (stand or hand-held): You can technically whisk by hand, but your arm will get a serious workout. A hand mixer is perfect for this job. I’ve used my trusty KitchenAid hand mixer for years, and it works beautifully.
- Large mixing bowl: Make sure it is completely clean and free of any grease. A glass or metal bowl is best. Even a tiny bit of oil can prevent your egg whites from whipping up.
- Rubber spatula: For folding in the mix-ins gently.
- Baking sheet: A standard half-sheet pan works perfectly. Line it with parchment paper for easy cleanup.
- Parchment paper or silicone baking mat: This is non-negotiable. The cookies will stick to a bare baking sheet. I prefer parchment paper because it’s easier to lift the cookies off.
- Cookie scoop or two spoons: A small cookie scoop (about 1 tablespoon) makes uniform cookies. If you don’t have one, two spoons work fine for dropping the meringue onto the sheet.
If you don’t have an electric mixer, you can use a whisk and a lot of elbow grease. It’s a great arm workout, honestly. Just be prepared to whisk for about 8-10 minutes.
Preparation Method
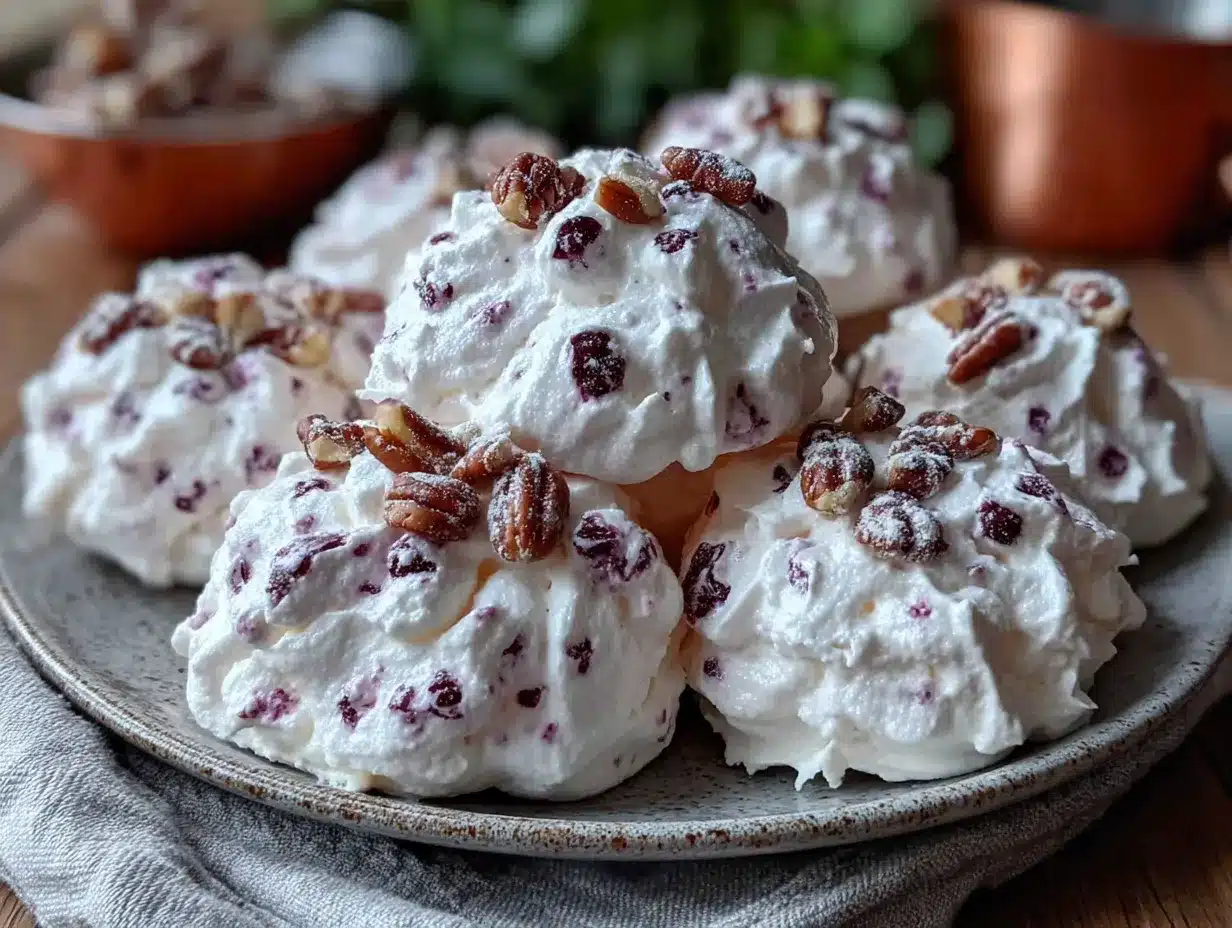
Here is the step-by-step process. Follow these instructions, and you will have perfect forgotten cookies every time.
- Preheat your oven to 350°F (175°C). This is important. We are going to use the residual heat to “bake” the cookies, so the oven needs to be hot to start.
- Prepare your baking sheet. Line a large baking sheet with parchment paper or a silicone baking mat. Set it aside.
- Whip the egg whites. In a large, clean mixing bowl, beat the egg whites on medium speed until they become frothy and start to form soft peaks. This usually takes about 2-3 minutes. You’ll see them go from liquid to a bubbly, white foam.
- Add the sugar slowly. With the mixer running on medium-high speed, add the sugar, one tablespoon at a time. This is the most important step. Adding the sugar too quickly can deflate the meringue. Let each addition incorporate fully before adding the next. This process should take about 3-4 minutes.
- Add the salt and vanilla. Once all the sugar is added, pour in the salt and vanilla extract. Continue beating on high speed until the meringue is stiff and glossy. This means when you lift the beaters, the meringue forms a stiff peak that stands straight up. It should look like marshmallow fluff. This takes about 5-7 minutes total. You can test it by rubbing a little between your fingers—if it feels smooth and not grainy, the sugar is dissolved.
- Fold in the mix-ins. Turn off the mixer. Using a rubber spatula, gently fold in the mini chocolate chips (or your chosen mix-in). Be careful not to overmix, or you will deflate the meringue. Fold just until the chips are evenly distributed.
- Scoop the cookies. Using a small cookie scoop or two spoons, drop heaping tablespoons of the meringue onto the prepared baking sheet. Space them about 1 inch apart—they won’t spread much. You should get about 24-30 cookies.
- Place in the oven and TURN IT OFF. This is the “forgotten” part. Put the baking sheet in the preheated oven, then immediately turn the oven OFF. Do not open the door. Let the cookies sit in the cooling oven for at least 6 hours, or overnight. I always do mine overnight. The residual heat gently dries them out, creating that perfect, airy texture.
- Remove and enjoy. In the morning, or after 6 hours, remove the cookies from the oven. They should be firm to the touch and easily lift off the parchment paper. If they are still sticky, let them cool on the counter for another hour.
Warning: Do not open the oven door while the cookies are cooling! The sudden rush of cool air can cause them to collapse.
Cooking Tips & Techniques
I’ve made my fair share of mistakes with these cookies, so let me save you the trouble. Here are my best tips.
- Room temperature eggs are non-negotiable. I learned this the hard way. Cold egg whites don’t whip up to the same volume, and you’ll end up with flat, sad cookies. Let them sit out for 30 minutes.
- Make sure your bowl is squeaky clean. Any trace of fat—from butter, oil, or even egg yolk—will prevent your meringue from whipping. I wipe my bowl with a little lemon juice and a paper towel before I start, just to be safe.
- Don’t rush the sugar. Adding it all at once is the number one mistake. The sugar needs time to dissolve. If you rush it, your cookies will weep sugar syrup and be grainy.
- Test for stiffness. You want the meringue to be stiff and glossy. If it’s still runny, keep beating. The “stiff peak” test is your best friend.
- Humidity is the enemy. Meringues are essentially sugar and air, and they hate moisture. Don’t make these on a rainy or humid day. They will end up chewy and sticky instead of crisp. Spring is perfect, as long as it’s not a rainy spring day.
- Oven temperature is key. Every oven is different. If your oven runs hot, your cookies might brown slightly. If it runs cool, they might need more time. The “forgotten” method is very forgiving, but a reliable oven helps.
Variations & Adaptations
These cookies are a blank canvas. Here are some of my favorite variations for spring.
- Lemon Lavender: Add 1 teaspoon of lemon zest and ½ teaspoon of dried culinary lavender to the meringue before folding. It’s a beautiful, floral spring flavor. I tried this for a bridal shower, and everyone asked for the recipe.
- Strawberries & Cream: Fold in ¼ cup of crushed freeze-dried strawberries. The cookies turn a lovely pink color and have an intense, fruity flavor. It’s like a strawberry shortcake in cookie form.
- Mint Chocolate Chip: Use ½ teaspoon of peppermint extract instead of vanilla and fold in dark chocolate chips. It’s like a thin mint, but airy and light. Perfect for after Easter dinner.
- Vegan Option: You can use aquafaba (the liquid from a can of chickpeas) instead of egg whites. Use 3 tablespoons of aquafaba per egg white. The process is the same, though they might take a little longer to whip. I’ve done this for a friend with egg allergies, and it works surprisingly well.
- Spiced Chai: Add ½ teaspoon of chai spice blend (cinnamon, cardamom, ginger, cloves) with the sugar. It gives a warm, cozy flavor that is perfect for a cool spring evening.
Serving & Storage Suggestions
These cookies are best served at room temperature, straight from the oven. They are delicate and should be handled with care.
- Serving: Arrange them on a pretty plate or in a decorative tin. They look beautiful on their own, or you can dust them with a little powdered sugar for an extra touch. They are perfect with a cup of tea, a glass of bubbly for brunch, or even crumbled over ice cream.
- Storage: Store them in an airtight container at room temperature. Do not refrigerate them, as the moisture will make them sticky. They will keep for up to 2 weeks, but honestly, they never last that long in my house.
- Freezing: You can freeze the baked cookies in a freezer-safe container for up to 3 months. Let them thaw at room temperature for about 10 minutes before serving. The texture remains surprisingly good.
- Flavor Development: These cookies are best eaten within the first week. After that, they start to absorb a little moisture from the air and lose their snap. If they get a little soft, you can pop them back into a 200°F oven for 10 minutes to crisp them up.
Nutritional Information & Benefits
While these are a treat, they are a lighter option than many cookies. Here is the estimated nutritional breakdown per cookie (based on 30 cookies).
| Nutrient | Amount per Cookie |
|---|---|
| Calories | 35 |
| Fat | 1g |
| Saturated Fat | 0.5g |
| Sodium | 25mg |
| Carbohydrates | 7g |
| Sugar | 6g |
| Protein | 1g |
Health Benefits: Egg whites are a great source of lean protein. These cookies are naturally gluten-free and low in fat. The main ingredient is sugar, so they are a treat, but they are a much lighter option than a butter-laden cookie. I love that I can have two or three without feeling overly guilty.
Dietary Considerations: This recipe is gluten-free, nut-free (if you skip the nuts), and can be made dairy-free and vegan with the aquafaba substitution. They are perfect for spring celebrations where guests might have different dietary needs.
Conclusion
These forgotten cookies are more than just a recipe—they are a little piece of my heart, recreated from a lost bakery. They are the perfect spring baking project because they are so simple, yet the result is so impressive. I love that I can make them the night before a party and have a beautiful, homemade treat ready to go in the morning.
I encourage you to make them your own. Try the lemon lavender version, or go wild with the strawberry one. The possibilities are endless. Please, drop a comment below and tell me which variation you tried, or share a photo of your cookies on social media. I love seeing your creations! Happy spring baking, friends. I promise you, this is the one.
Frequently Asked Questions
Can I use a sugar substitute in forgotten cookies?
You can try monk fruit sweetener that measures like sugar, but the texture may be slightly different. Sugar is crucial for the structure and crispness of meringues. I haven’t had great success with other substitutes.
Why did my forgotten cookies turn out chewy?
This usually happens because of humidity or because the oven wasn’t hot enough to dry them out completely. Make sure you are not making them on a rainy day, and that your oven reaches 350°F before you turn it off.
Can I add food coloring to the meringue?
Absolutely! Add a few drops of gel food coloring at the end of whipping, just before you fold in the mix-ins. Gel colors work best because they don’t add extra liquid. Try pastel pink or lavender for spring.
How do I know when the meringue is whipped enough?
The meringue should be stiff and glossy. When you lift the beaters, the meringue should form a peak that stands straight up and doesn’t flop over. It should also feel smooth when you rub a little between your fingers.
Can I double this recipe?
Yes, you can easily double it. Just make sure you have a large enough bowl and that you bake the cookies on two separate baking sheets. You may need to let them cool in the oven for a little longer if you have more cookies.
Pin This Recipe!
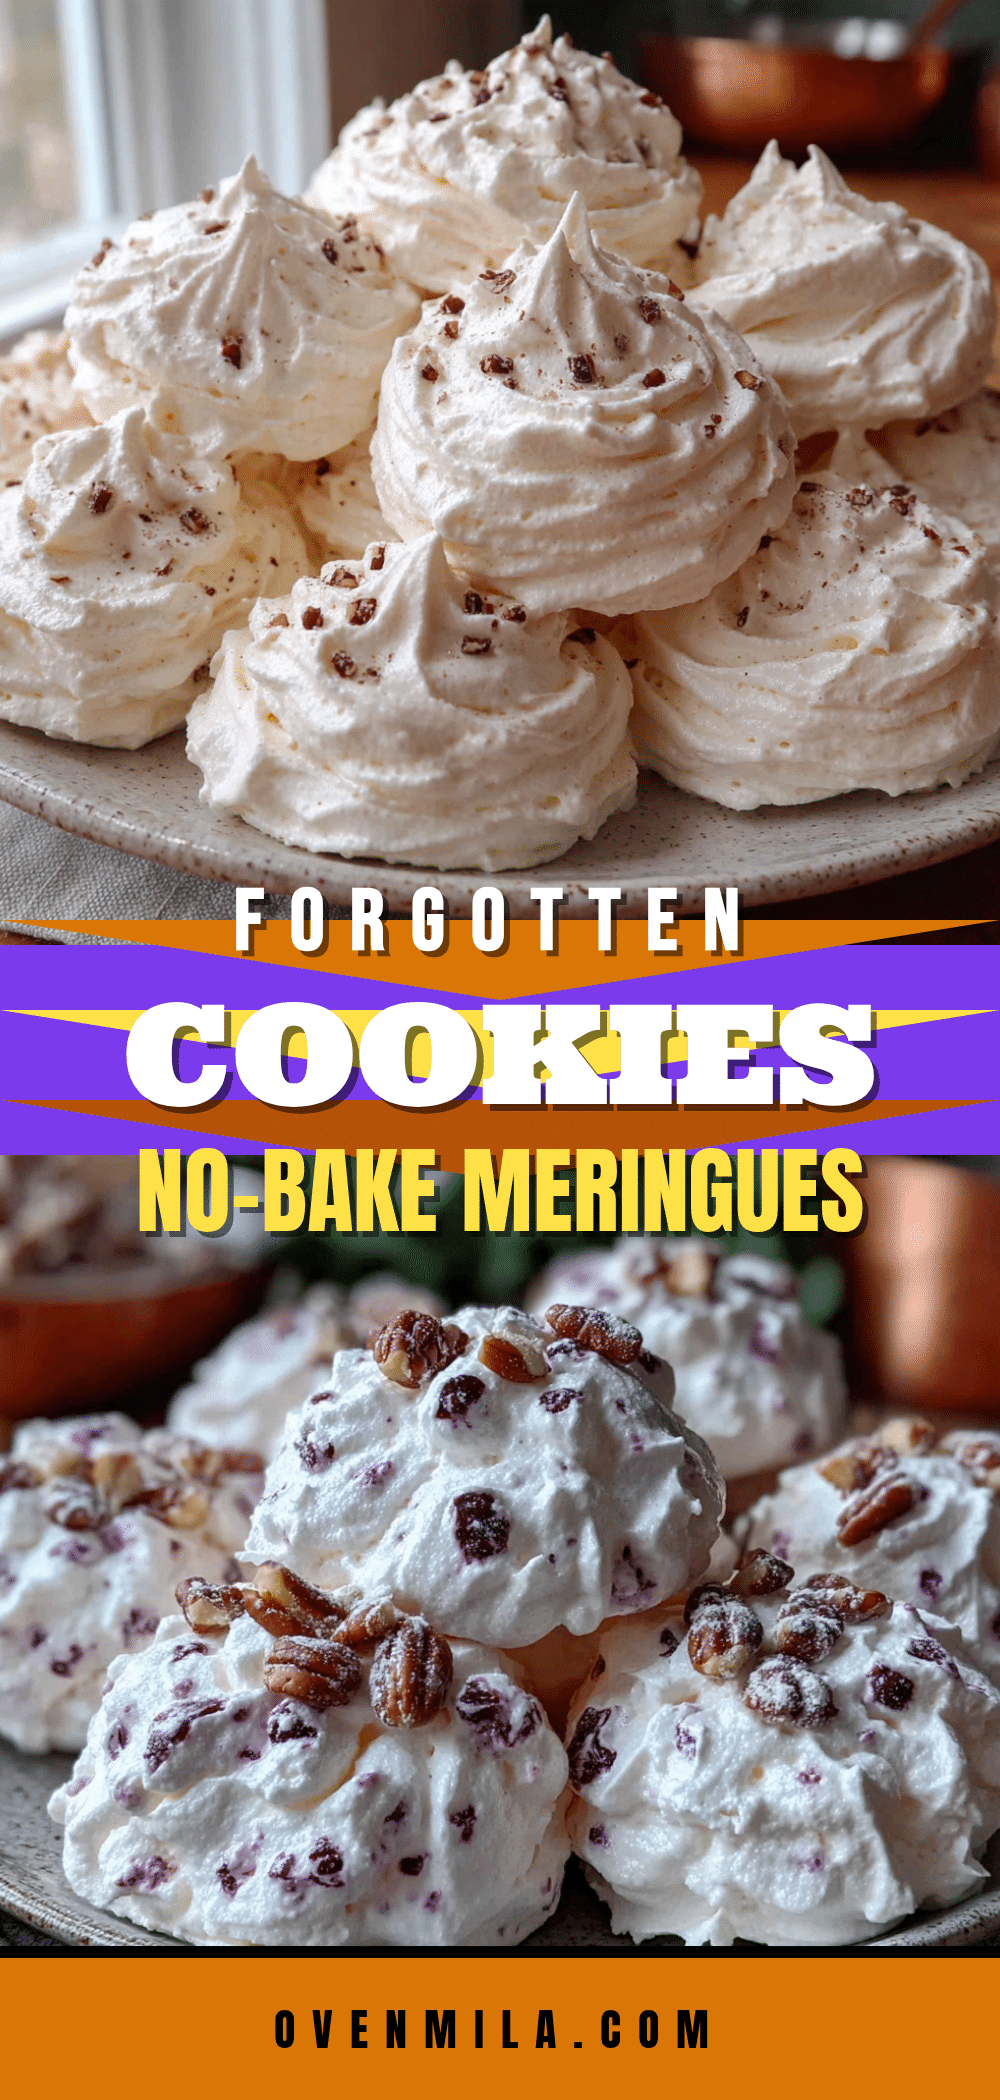
Forgotten Cookies: Easy No-Bake Meringues for Spring

These no-bake meringue cookies are light, airy, and melt in your mouth. Simply mix, scoop, and forget them in the oven overnight for a perfect spring treat.
- Prep Time: 15 minutes
- Cook Time: 0 minutes (oven off)
- Total Time: 6 hours 15 minutes (including overnight cooling)
- Yield: 24-30 cookies 1x
- Category: Dessert
- Cuisine: American
Ingredients
- 3 large egg whites, at room temperature
- ¾ cup (150g) granulated white sugar
- ¼ teaspoon salt
- 1 teaspoon vanilla extract
- ½ cup (90g) mini chocolate chips or your favorite mix-in
Instructions
- Preheat your oven to 350°F (175°C).
- Line a large baking sheet with parchment paper or a silicone baking mat.
- In a large, clean mixing bowl, beat the egg whites on medium speed until frothy and soft peaks form, about 2-3 minutes.
- With the mixer running on medium-high speed, add the sugar one tablespoon at a time, letting each addition incorporate fully before adding the next (about 3-4 minutes total).
- Add the salt and vanilla extract. Continue beating on high speed until the meringue is stiff and glossy, about 5-7 minutes total. The meringue should form a stiff peak that stands straight up.
- Turn off the mixer. Using a rubber spatula, gently fold in the mini chocolate chips (or chosen mix-in) until evenly distributed.
- Using a small cookie scoop or two spoons, drop heaping tablespoons of the meringue onto the prepared baking sheet, spacing them about 1 inch apart. You should get about 24-30 cookies.
- Place the baking sheet in the preheated oven, then immediately turn the oven OFF. Do not open the door. Let the cookies sit in the cooling oven for at least 6 hours or overnight.
- Remove the cookies from the oven. They should be firm to the touch and easily lift off the parchment paper. If still sticky, let them cool on the counter for another hour.
Notes
Do not open the oven door while the cookies are cooling. Humidity is the enemy; avoid making these on rainy or humid days. For best results, use room temperature eggs and a clean, grease-free bowl.
Nutrition
- Serving Size: 1 cookie
- Calories: 35
- Sugar: 6
- Sodium: 25
- Fat: 1
- Saturated Fat: 0.5
- Carbohydrates: 7
- Protein: 1
Keywords: forgotten cookies, no-bake meringues, spring baking, gluten-free cookies, low-fat cookies, easy meringue recipe


