I was sitting on my neighbor Gina’s porch last July, helping her untangle a string of patio lights that had wrapped itself into a knot during a storm. She’s in her seventies, a retired schoolteacher who grows tomatoes that would make a farmer jealous, and she was telling me about her trip to the Amalfi Coast. Not the fancy parts, mind you—she stayed in a little apartment above a bakery where the owner’s grandmother made limoncello every Sunday. “She just used lemons and alcohol and sugar,” Gina said, squinting at the light cord. “That’s it. No fancy equipment. No special training.”
I remember laughing because here I was, a person who writes about food for a living, and I’d never once thought to make my own limoncello. I’d bought the expensive bottles from the store, the ones that taste more like syrup than sunshine. But the way Gina described that Italian grandmother’s process—the way she’d sit on her balcony peeling lemons by hand, the way the whole neighborhood smelled like citrus for an afternoon—it stuck with me. I went home that night with a bag of lemons from her tree and a determination to get it right.
The first batch was a disaster. I used vodka that was too cheap, and it tasted like lemon-flavored rubbing alcohol. The second batch was better, but cloudy. The third? Well, the third batch was the one where I finally understood what that grandmother knew all along. This homemade limoncello recipe is light, bright, and honestly, it’s the kind of thing that makes you feel like you’ve discovered a secret. Maybe you’ve been there—wanting something that tastes special but not wanting to spend a fortune or jump through a million hoops. This is that recipe.
Why You’ll Love This Light & Bright Homemade Limoncello
I’ve made this limoncello more times than I can count now, and every single time, someone asks for the recipe. That’s not me bragging—it’s just that this version hits a sweet spot that store-bought bottles never quite reach. It’s got that sunshine-in-a-glass quality, but without the cloying sweetness that makes most commercial limoncellos feel heavy.
- Simple Ingredients : You only need four things—lemons, alcohol, sugar, and water. That’s it. No weird additives or hard-to-find extracts.
- Quick to Make (Mostly Waiting) : The active prep time is maybe 20 minutes. The rest is just letting time do its thing.
- Perfect for Gifting : I’ve given bottles of this for housewarmings, holidays, and just-because occasions. People lose their minds over it.
- Totally Customizable : Want it sweeter? Less sweet? More lemony? You’re in control.
- Unbelievably Fresh : The flavor is nothing like what you get in a bottle from the store. It’s like comparing a fresh-squeezed lemonade to a powdered mix.
What makes this recipe different from the rest is the technique. I spent a lot of time experimenting with ratios—too much sugar and you lose the lemon brightness, too little and it’s harsh. I also figured out that the type of alcohol you use matters way more than you’d think. A mid-range vodka gives you a clean canvas for the lemon flavor to shine, while something too cheap leaves a burn that masks everything else. This isn’t just another limoncello recipe—it’s the one I’ve tested and tweaked until it felt like pure joy in a glass.
There’s something about sipping this on a warm evening that just feels right. It’s not about getting fancy. It’s about that moment when the citrus hits your tongue and you close your eyes for a second. That’s the feeling this recipe was built for.
What Ingredients You Will Need
This light & bright homemade limoncello uses simple, fresh ingredients to create something that tastes far more complex than its parts. The magic is in the quality, not the quantity.
For the Limoncello Base
- 10-12 organic lemons , preferably thick-skinned and unwaxed (the peel is the star here, so skip the waxy supermarket lemons if you can)
- 1 liter (4 cups) high-proof vodka (100 proof or 50% alcohol by volume works best—I like Tito’s or a good store brand that’s at least 80 proof)
- 3 cups (600g) granulated sugar
- 4 cups (960ml) filtered water
Ingredient Notes & Substitutions
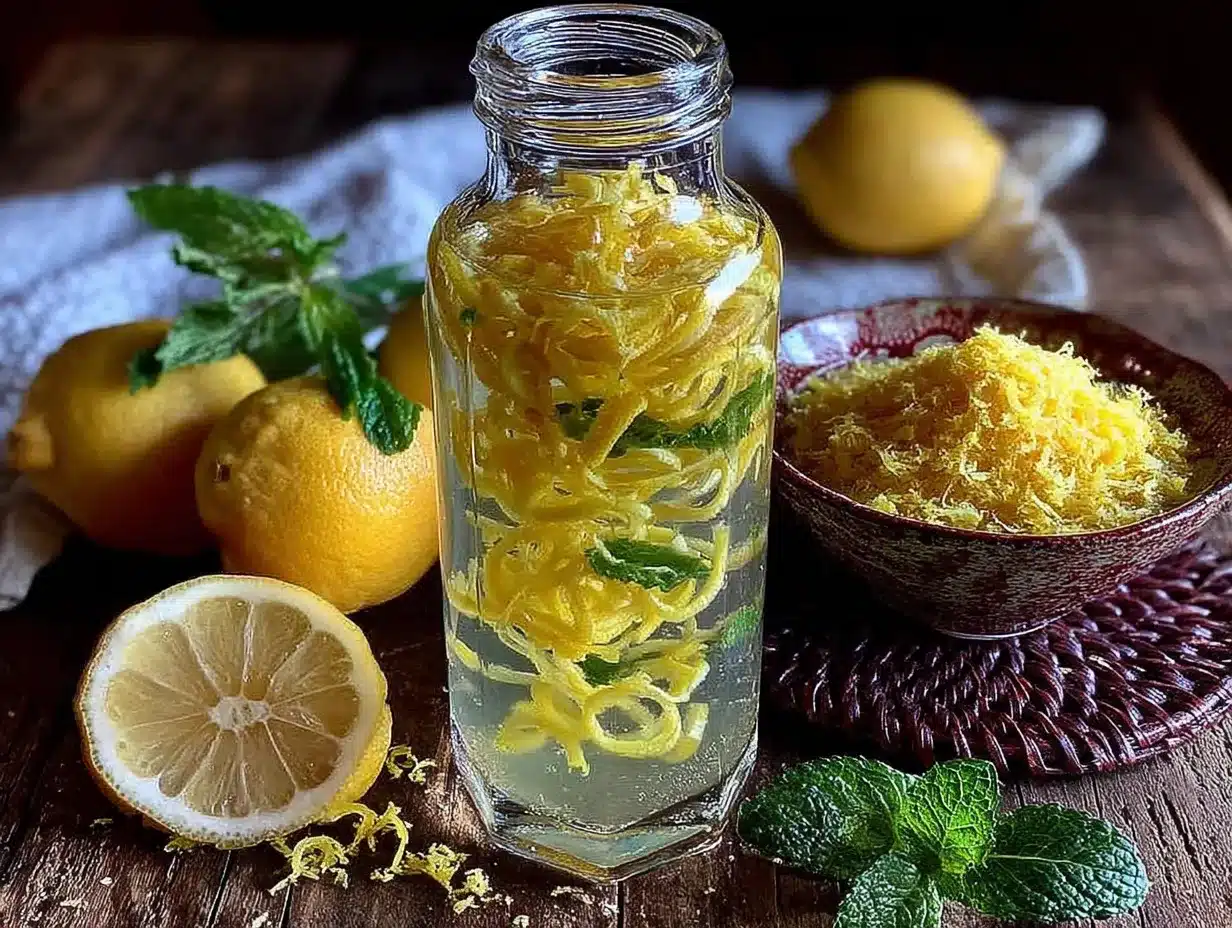
- Lemons : Organic is non-negotiable here. You’re steeping the peel, so any pesticides or wax will end up in your limoncello. Look for lemons that feel heavy for their size—that means they’re juicy and full of flavor. Meyer lemons work beautifully for a slightly sweeter, less acidic result.
- Alcohol : Everclear (151 proof) is traditional in Italy because it extracts flavor faster and gives a cleaner result. But honestly, I find that high-proof vodka is easier to work with and still gives you that bright, clean finish. If you use Everclear, you’ll need to dilute the final product more.
- Sugar : Regular white granulated sugar is best. It dissolves cleanly and doesn’t add any competing flavors. I’ve tried honey and agave, and they both muddy the lemon flavor. Stick with the simple stuff.
- Water : Filtered water matters more than you think. Tap water with a strong chlorine taste can affect the final flavor. It’s subtle, but it’s there.
Equipment Needed
You don’t need much for this recipe, which is part of its charm. Here’s what you’ll want to have on hand:
- A vegetable peeler (a Y-peeler works best—it gives you thin strips without the bitter white pith)
- A large glass jar with a tight-fitting lid (at least 2-quart capacity; I use a big mason jar or an old pickle jar that I’ve scrubbed clean)
- A fine-mesh strainer or cheesecloth for filtering
- A large saucepan for making the simple syrup
- A funnel for bottling (makes life so much easier)
- Glass bottles for storage (swing-top bottles are perfect and look beautiful)
- A measuring cup and kitchen scale (optional but helpful)
I’ve made this with a $5 vegetable peeler and a repurposed pasta sauce jar, and it turned out just as good as when I use fancy equipment. Don’t overthink the tools. Just make sure everything is squeaky clean—any residue can throw off the flavor.
Preparation Method
This is where the magic happens. The process is simple, but each step matters. Take your time, and you’ll be rewarded with the brightest, most aromatic limoncello you’ve ever tasted.
Step 1: Prepare the Lemons (10 minutes)
Wash your lemons thoroughly with warm water and a gentle scrub to remove any dirt or residue. Pat them dry. Using your vegetable peeler, carefully remove the yellow zest in wide strips. The key here is to avoid the white pith—that’s where the bitterness lives. If you see white on your strips, use a small knife to scrape it off. You want only the bright yellow part. Place the peels in your large glass jar as you go.
Step 2: Start the Infusion (5 minutes + 7-10 days of waiting)
Pour the vodka directly over the lemon peels in the jar. Make sure all the peels are fully submerged—if some are floating, give the jar a gentle shake. Seal the lid tightly and give it a good swirl. Now comes the hard part: patience. Store the jar in a cool, dark place (a kitchen cabinet works perfectly) for 7 to 10 days. Give it a gentle shake every day or two. You’ll watch the color change from clear to a beautiful golden yellow as the lemon oils infuse into the alcohol.
I know waiting feels impossible, but trust me on this. I once tried to rush the process after 5 days, and the flavor was thin and disappointing. The extra few days make all the difference.
Step 3: Make the Simple Syrup (10 minutes + cooling time)
About 24 hours before you plan to strain the limoncello, make your simple syrup. Combine the sugar and water in a saucepan over medium heat. Stir gently until the sugar completely dissolves—this takes about 5 minutes. Don’t let it boil vigorously; a gentle simmer is all you need. Once the sugar is dissolved, remove from heat and let it cool completely to room temperature. This is important because adding hot syrup to the alcohol mixture can cause cloudiness.
Step 4: Strain and Combine (15 minutes)
After your infusion period is up, set up your strainer over a large bowl or pitcher. Line it with cheesecloth or a clean kitchen towel for extra filtering. Slowly pour the vodka through, catching all the lemon peels. Don’t press on the peels—that can push bitterness into your limoncello. Let it drip naturally. Now, pour the cooled simple syrup into the strained vodka and stir gently. You’ll see it transform from a clear golden liquid into something slightly milky and opaque—that’s the essential oils emulsifying, and it’s exactly what you want.
Step 5: Bottle and Chill (10 minutes + 24 hours of resting)
Using your funnel, pour the limoncello into clean glass bottles. Seal them tightly and pop them in the fridge. Here’s another patience test: let it rest for at least 24 hours before tasting. The flavors need time to meld and mellow. I’ve sneaked a taste after just a few hours, and it’s always a little harsh. Give it the full day, and you’ll be rewarded with something smooth and absolutely lovely.
Cooking Tips & Techniques
I’ve made more batches of this light & bright homemade limoncello than I can count, and I’ve learned a few things the hard way. Here are the tips that actually matter.
Don’t skimp on lemon quality. I made a batch with regular grocery store lemons once, and the difference was noticeable. The limoncello had a flat, slightly chemical aftertaste. Organic, thick-skinned lemons give you that burst of sunshine flavor you’re after.
Temperature matters during infusion. Keep your jar in a cool, dark place—not the fridge, not a sunny windowsill. Too warm and the flavors can turn muddy. Too cold and the extraction slows down. A kitchen cabinet away from the stove is perfect.
Cloudiness isn’t a mistake. If your limoncello looks milky or cloudy, you haven’t done anything wrong. That’s the lemon oils emulsifying with the syrup. It’s actually a sign of a well-made limoncello. Store-bought versions are often filtered or stabilized to stay clear, but homemade versions have that beautiful, natural opacity.
Adjust sweetness to your taste. The 3 cups of sugar in this recipe gives you a balanced, crowd-pleasing sweetness. But if you prefer a drier limoncello, start with 2 cups and add more after tasting. You can always add sugar syrup, but you can’t take it out.
Let it rest in the fridge. I know I said this already, but it’s worth repeating. The first time I made limoncello, I bottled it and immediately poured a glass. It was fine, but the next day? It was incredible. The flavors settle and round out beautifully after a full 24 hours in the cold.
Variations & Adaptations
One of the best things about this recipe is how easy it is to play with. Here are a few variations I’ve tried and loved.
Creamy Limoncello
After you’ve made the basic limoncello, stir in 1 cup of heavy cream or full-fat coconut milk. Shake well before serving. It turns into a dreamy, dessert-like liqueur that’s perfect over ice or in coffee. I made this for a holiday party and people couldn’t stop asking for refills.
Herb-Infused Limoncello
Add a few sprigs of fresh rosemary, thyme, or lavender to the jar along with the lemon peels. The herbs infuse alongside the citrus, adding a subtle, aromatic layer. Rosemary limoncello is my personal favorite—it tastes like a garden in a glass.
Spiced Limoncello
Drop in a cinnamon stick, a vanilla bean (split open), or a few cardamom pods during the infusion. This gives the limoncello a warm, cozy undertone that’s lovely in fall and winter. I made a batch with vanilla and cinnamon for a Christmas gift exchange, and it was the first bottle emptied.
Lower-Alcohol Version
If you want something with less kick, use 80-proof vodka instead of 100-proof. You’ll still get great flavor, though the extraction might be slightly less intense. You can also dilute the finished limoncello with a bit more simple syrup or sparkling water when serving.
Serving & Storage Suggestions
This light & bright homemade limoncello is best served ice cold. I keep my bottles in the freezer—the high alcohol content means it won’t freeze solid, and the cold temperature makes it thick and syrupy. Pour it into small chilled glasses, and sip it slowly. It’s perfect as an after-dinner digestif, but honestly, I’ve been known to pour a small glass on a warm afternoon just because.
Storage : Properly stored in a sealed bottle in the fridge or freezer, this limoncello will keep for up to a year. The flavor actually continues to mellow and improve over the first few months. Just make sure the bottles are airtight—any exposure to air can cause the flavor to degrade.
Gifting : This makes a fantastic homemade gift. Pour it into pretty glass bottles, add a simple tag with the name and date, and tie on a ribbon. I’ve given these for birthdays, holidays, and hostess gifts, and they’re always a hit.
Serving Ideas : Beyond sipping it straight, try it over vanilla ice cream, drizzled over fresh berries, or mixed into sparkling water for a light cocktail. It’s also wonderful in lemon-based desserts—add a splash to lemon bars or pound cake batter for an extra hit of citrus flavor.
Nutritional Information & Benefits
This homemade limoncello is a treat, so I won’t pretend it’s health food. But there are a few bright spots worth mentioning.
Estimated per 2-ounce serving : Calories: 150-180 | Carbohydrates: 25-30g | Sugar: 25-30g | Alcohol: 20-25% ABV (varies based on proof and dilution)
Key benefits : Lemon peels are rich in antioxidants, particularly a flavonoid called hesperidin, which has anti-inflammatory properties. The vitamin C from the lemons also makes an appearance, though some is lost during the infusion process. Plus, there’s something to be said for the simple pleasure of a small, mindful indulgence—it’s good for the soul.
Dietary notes : This recipe is naturally gluten-free, dairy-free, and vegan (as long as you use a vegan-friendly sugar). It’s not low-carb or low-sugar, but a small serving goes a long way. If you’re watching your sugar intake, you can reduce the sugar to 2 cups for a less sweet version.
Allergens : None of the major allergens are present in this recipe, but always check your alcohol labels for any additives.
Conclusion
This light & bright homemade limoncello is one of those recipes that feels like a secret worth sharing. It’s simple enough for a beginner, but the result is something that tastes like it came from a little Italian kitchen. I love that it’s made from just a few honest ingredients, and I love even more that it brings people together—whether you’re sipping it on a quiet evening or handing out bottles to friends.
Don’t be afraid to tweak it. Make it sweeter, less sweet, add some herbs, or keep it classic. The beauty of homemade is that it’s yours. I’d love to hear how it turns out for you—drop a comment below and let me know if you tried any variations. And if you share a photo on Pinterest, tag me so I can see your beautiful bottles!
Here’s to sunshine in a glass. Cheers, friends.
Frequently Asked Questions
Can I use bottled lemon juice instead of fresh lemons?
No, please don’t. Bottled lemon juice lacks the essential oils in the peel that give limoncello its signature flavor and aroma. You need the fresh peels for the infusion—there’s no shortcut around it.
Why is my limoncello cloudy?
Cloudiness is normal and actually desirable in homemade limoncello. It happens when the lemon oils emulsify with the simple syrup. If you want a clearer limoncello, you can let it rest in the fridge for a few weeks and then carefully pour off the clearer liquid from the top, leaving the sediment behind.
How long does homemade limoncello last?
Stored properly in a sealed bottle in the fridge or freezer, it will last up to a year. The flavor actually improves over the first few months as the ingredients continue to meld. After a year, the flavor may start to fade slightly, but it’s still safe to drink.
Can I use a different alcohol instead of vodka?
Yes! Everclear (151 proof) is traditional and extracts flavor faster. You can also use grain alcohol or even a neutral white rum. Just adjust the proof accordingly—higher proof alcohol needs more dilution with simple syrup. I’ve even used a good-quality gin for a botanical twist, though that changes the flavor profile significantly.
Do I have to wait the full 7-10 days for infusion?
Technically, you can taste it after 5 days, but the flavor won’t be as deep or complex. The longer infusion allows the lemon oils to fully extract into the alcohol, giving you that bright, aromatic finish. I’ve tried rushing it, and it’s never as good. Trust the process—the wait is worth it.
Pin This Recipe!
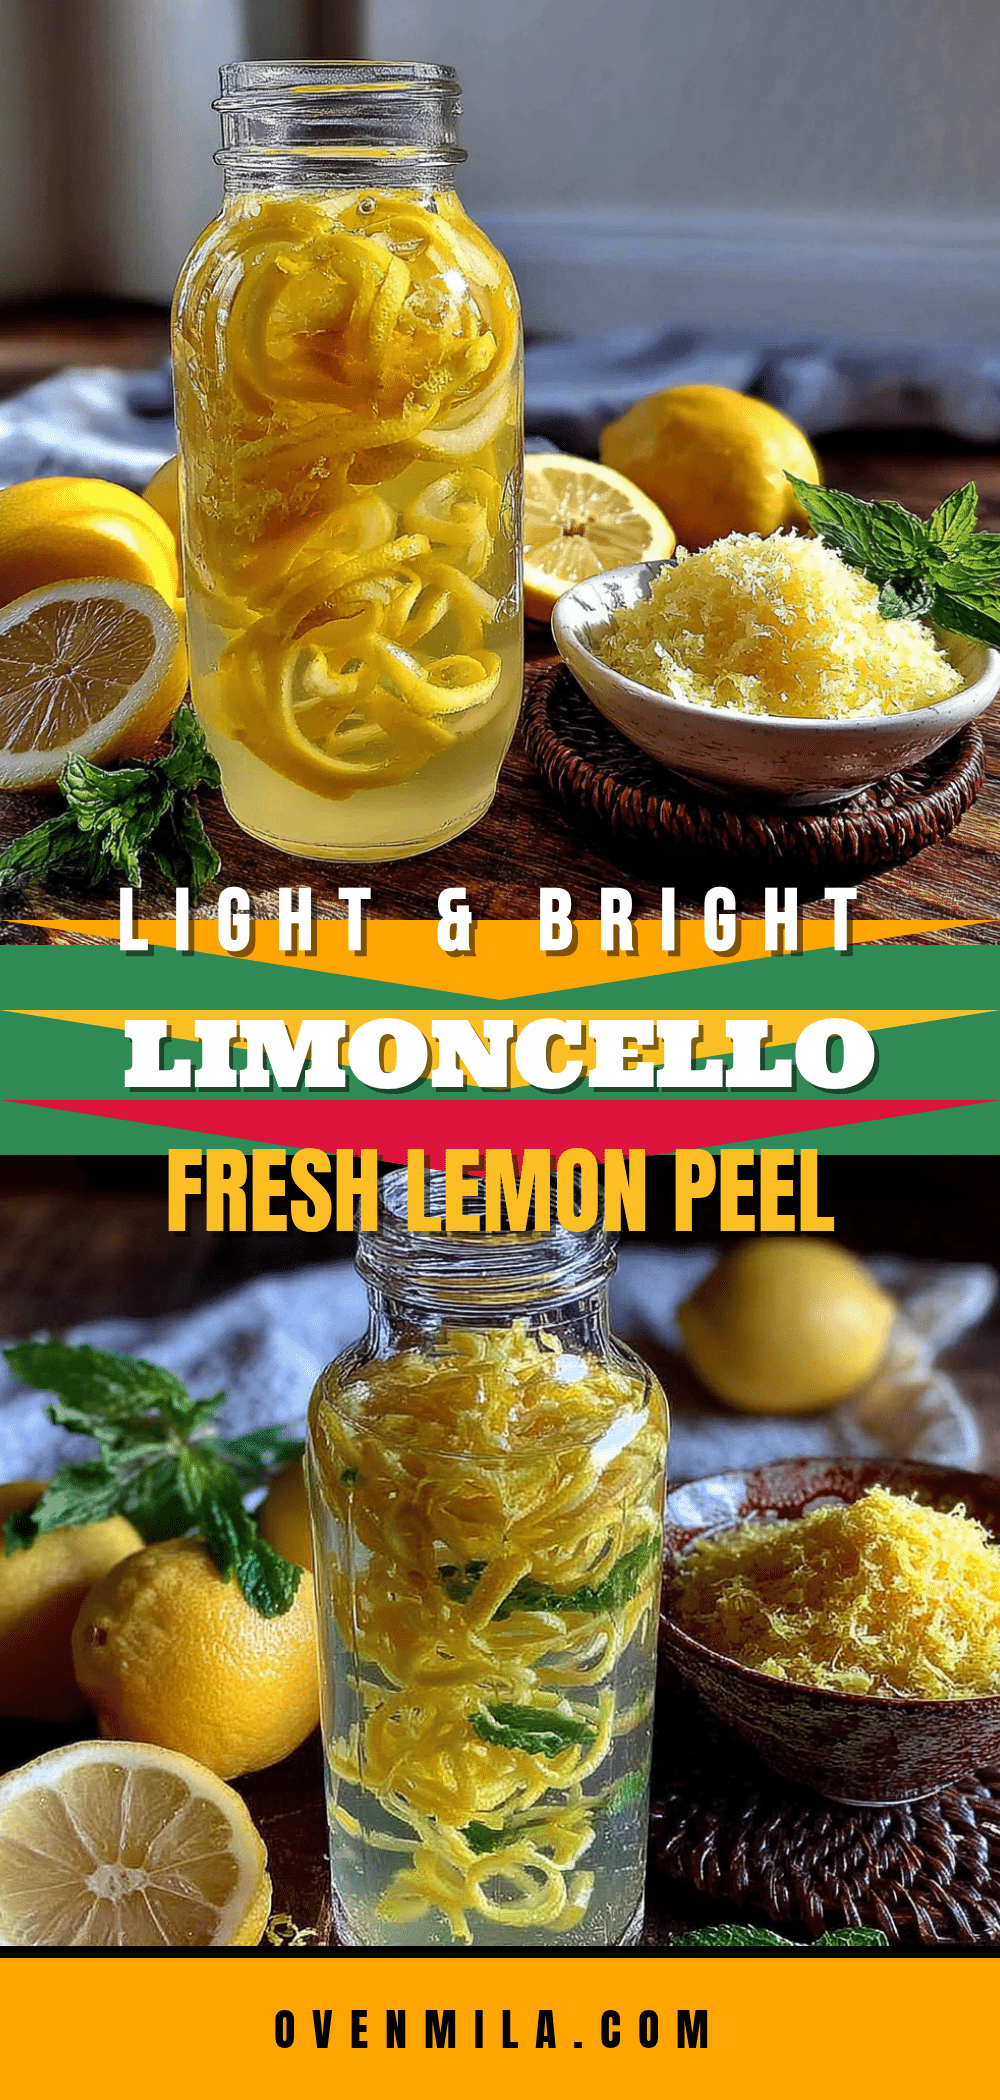
Light and Bright Homemade Limoncello with Fresh Lemon Peel
This light and bright homemade limoncello is made with just four simple ingredients—lemons, alcohol, sugar, and water. It’s a sunshine-in-a-glass liqueur that’s perfect for sipping on warm evenings or gifting to friends.
- Prep Time: 20 minutes
- Cook Time: 5 minutes
- Total Time: 7-10 days (including infusion and resting)
- Yield: About 6-8 cups (48-64 servings of 2 ounces each) 1x
- Category: Beverage
- Cuisine: Italian
Ingredients
- 10–12 organic lemons, preferably thick-skinned and unwaxed
- 1 liter (4 cups) high-proof vodka (100 proof or 50% alcohol by volume; at least 80 proof)
- 3 cups (600g) granulated sugar
- 4 cups (960ml) filtered water
Instructions
- Wash the lemons thoroughly with warm water and a gentle scrub. Pat them dry. Using a vegetable peeler, carefully remove the yellow zest in wide strips, avoiding the white pith. Place the peels in a large glass jar.
- Pour the vodka directly over the lemon peels in the jar, ensuring all peels are submerged. Seal the lid tightly and give it a good swirl. Store the jar in a cool, dark place for 7 to 10 days, shaking gently every day or two.
- About 24 hours before straining, make the simple syrup: Combine the sugar and water in a saucepan over medium heat. Stir gently until the sugar completely dissolves (about 5 minutes). Do not let it boil vigorously. Remove from heat and let cool completely to room temperature.
- After the infusion period, set up a fine-mesh strainer lined with cheesecloth over a large bowl or pitcher. Slowly pour the vodka through, catching the lemon peels. Do not press on the peels. Pour the cooled simple syrup into the strained vodka and stir gently.
- Using a funnel, pour the limoncello into clean glass bottles. Seal tightly and refrigerate for at least 24 hours before serving to allow flavors to meld.
Notes
Use organic lemons to avoid pesticides and wax. Avoid the white pith when peeling to prevent bitterness. Cloudiness is normal and desirable—it indicates proper emulsification of lemon oils. For best results, let the limoncello rest in the fridge for at least 24 hours before tasting. Store in the fridge or freezer for up to a year.
Nutrition
- Serving Size: 2 ounces
- Calories: 150180
- Sugar: 2530
- Carbohydrates: 2530
Keywords: limoncello, homemade limoncello, lemon liqueur, Italian liqueur, citrus liqueur, easy limoncello, light limoncello, bright limoncello


