My neighbor’s grandmother, a woman named Rosa who had a way of filling a room without raising her voice, saw me wrestling with a piping bag one afternoon. I was trying to coax a perfect swirl of buttercream onto a cupcake, and it was, honestly, a disaster. The bag kept slipping, the tip was clogged, and I was muttering under my breath. She didn’t say a word at first, just watched from her side of the fence. Then, she walked over with a pair of kitchen shears, snipped the end off my bag, and said, “You’re fighting it. Let the frosting lead.” That was the moment I stopped trying to control everything in the kitchen. The cake we made together that day was a full-fat, sugar-bomb celebration, but the conversation—about her son’s first birthday party, the one where he ate an entire slice with his hands—is what I remember most. I’ve been trying to capture that feeling ever since. This Lightened-Up Birthday Sheet Cake with Rainbow Sprinkle Buttercream is my attempt. It’s for the days when you want a slice of pure, joyful nostalgia but also want to feel good after you eat it. Maybe you’ve been there, standing in the aisle, torn between the box mix and the promise of something homemade. This is the best of both worlds: a tender, moist cake that doesn’t taste “light” and a buttercream that’s actually fluffy, not a greasy mess. It’s the recipe I turn to when I want to celebrate without the sugar hangover. Honestly, it’s become the default birthday cake in my house, and no one has ever guessed it’s been lightened up.
Why You’ll Love This Recipe
This isn’t just another healthy cake recipe that leaves you feeling cheated. I’ve tested this version more times than I can count, tweaking the ratios until the crumb was just right. It’s a recipe that delivers on the promise of a real birthday cake experience, without the heavy feeling that usually follows.
- Quick & Easy: From bowl to oven in about 15 minutes. No complex techniques or fussy steps. It’s a one-bowl wonder that comes together faster than you can preheat the oven.
- Simple Ingredients: You likely have most of these already in your pantry. No need for a special trip to the store for obscure flours or hard-to-find extracts.
- Perfect for Celebrations: Whether it’s a kid’s birthday party, a casual office potluck, or a Tuesday that just needs a little sparkle, this sheet cake is the answer. It’s easy to transport and even easier to serve.
- Crowd-Pleaser: I’ve brought this to gatherings where people were skeptical of a “light” dessert. It was gone before the full-sugar version I brought as a backup. Kids and adults alike go back for seconds.
- Unbelievably Delicious: The secret is a combination of Greek yogurt and a touch of oil that keeps the cake incredibly moist without being dense. The buttercream uses a clever trick to get that signature fluffy texture with less butter and powdered sugar.
What makes this recipe different from the rest is the technique. Instead of just swapping in applesauce and hoping for the best, I’ve balanced the wet and dry ingredients to create a structure that holds up under the weight of the frosting. The buttercream uses a small amount of cream cheese to add stability and tang, allowing you to use significantly less powdered sugar without sacrificing that pipeable, spreadable texture. It’s comfort food reimagined—healthier, faster, but with the same soul-soothing satisfaction. It’s the kind of cake that makes you close your eyes after the first bite, not because it’s virtuous, but because it’s genuinely delicious.
What Ingredients You Will Need
This recipe relies on simple, wholesome ingredients that work together to create a tender crumb and a rich flavor without the full load of fat and sugar. Each component plays a specific role, so let’s break it down.
- For the Cake:
- 1 ½ cups (190g) all-purpose flour – I’ve tested this with a 1:1 gluten-free baking blend and it works well, but the texture is slightly more tender with all-purpose. Spoon and level your flour for the most accurate measurement.
- 1 cup (200g) granulated sugar – You can reduce this to ¾ cup if you prefer a less sweet cake, but it will affect the browning and texture slightly. I find a full cup is the sweet spot for a true birthday cake taste.
- ½ cup (120g) plain Greek yogurt (full-fat or 2%) – This is the magic ingredient. It adds moisture and protein while replacing some of the oil and eggs. I prefer Fage or Chobani for their thick consistency. Do not use non-fat, as it can make the cake gummy.
- ¼ cup (60ml) vegetable oil – You need a little fat for tenderness. Melted coconut oil or a light olive oil also work.
- 2 large eggs, at room temperature – Room temperature eggs emulsify better, creating a finer crumb. If you’re in a hurry, place them in a bowl of warm water for 5 minutes.
- ½ cup (120ml) milk (any kind works – dairy, almond, oat) – I use 2% dairy milk for the best flavor, but oat milk is a close second.
- 2 teaspoons vanilla extract – Use the real stuff, not imitation. It makes a difference in the overall flavor profile.
- 1 ½ teaspoons baking powder – Make sure it’s fresh. Test it by dropping a little into hot water; if it fizzes, it’s good.
- ¼ teaspoon baking soda – This helps the cake brown and rise slightly.
- ½ teaspoon salt – Balances the sweetness.
- For the Rainbow Sprinkle Buttercream:
- ½ cup (113g) unsalted butter, softened – I recommend using a European-style butter like Kerrygold for its richer flavor and lower water content, which makes for a more stable frosting.
- 4 ounces (113g) cream cheese, softened – This is the secret to a lighter, less sweet buttercream. It adds a subtle tang and helps the frosting hold its shape without needing mountains of powdered sugar.
- 3 cups (360g) powdered sugar – Sift it if you want an ultra-smooth frosting, but I rarely do and it’s still fine.
- 1 teaspoon vanilla extract – Again, pure vanilla is key.
- 1-2 tablespoons milk – To adjust the consistency. Start with one and add more if needed.
- ⅓ cup rainbow sprinkles (jimmies) – Use the long, skinny kind (jimmies) as they bleed less color than the round ball sprinkles. I’ve learned this the hard way!
Equipment Needed
You don’t need a professional bakery setup for this cake. Most of these tools are standard kitchen staples.
- 9×13-inch baking pan – A metal pan will give you a more evenly browned cake than a glass one. If using glass, reduce the oven temperature by 25°F.
- Electric hand mixer or stand mixer – You can make the cake batter by hand with a whisk, but the buttercream really needs the power of a mixer to get properly fluffy. I’ve made it with a hand mixer for years and it works perfectly.
- Mixing bowls – A large one for the batter and a medium one for the frosting.
- Rubber spatula – For scraping down the sides of the bowl and folding in the sprinkles.
- Cooling rack – Essential for letting the cake cool completely before frosting. If you frost a warm cake, you’ll have a melty, sugary mess.
- Offset spatula – This makes spreading the buttercream so much easier, but a butter knife will work in a pinch. I bought a cheap one from a restaurant supply store years ago and it’s still going strong.
- Parchment paper – Lining the pan makes for easy removal and clean-up. I always leave an overhang on two sides to use as handles.
Preparation Method
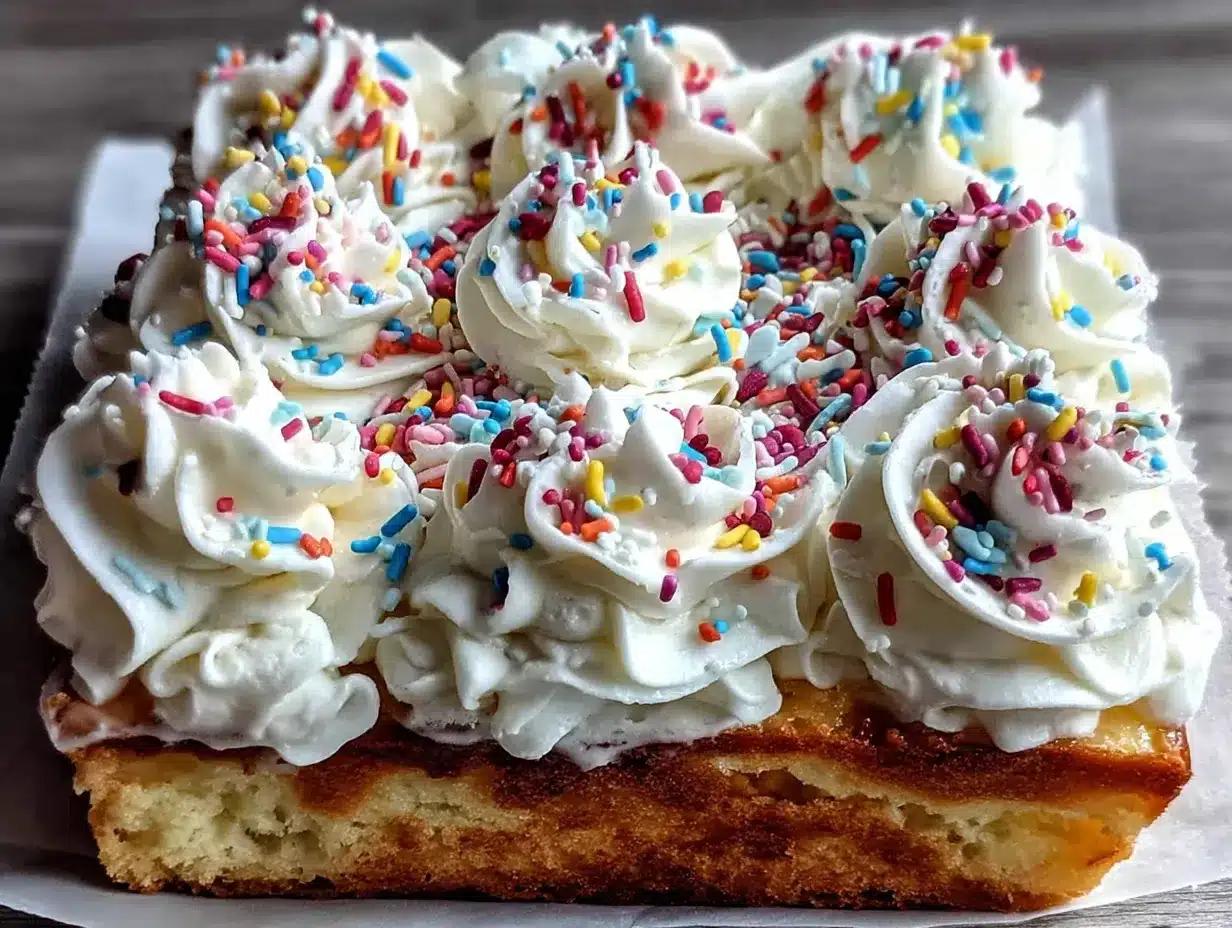
Let’s get baking! Follow these steps carefully, and you’ll have a perfect sheet cake every time.
- Preheat and Prep: Preheat your oven to 350°F (175°C). Line your 9×13-inch pan with parchment paper, leaving a little overhang on the long sides. Lightly grease the parchment and the exposed sides of the pan with a little oil or cooking spray.
- Whisk Dry Ingredients: In a large mixing bowl, whisk together the flour, sugar, baking powder, baking soda, and salt. Make sure there are no lumps. This is a good time to check that your baking powder is still active.
- Combine Wet Ingredients: In a separate medium bowl or a large liquid measuring cup, whisk together the Greek yogurt, oil, eggs, milk, and vanilla extract. Whisk until the mixture is smooth and the yogurt is fully incorporated. It will look a little curdled at first, but keep whisking—it will come together.
- Combine Wet and Dry: Pour the wet ingredients into the bowl with the dry ingredients. Using a rubber spatula or a wooden spoon, gently fold the mixture together. Stir just until you no longer see streaks of flour. A few small lumps are perfectly fine. Over-mixing will make the cake tough. This is the most important step for a tender crumb.
- Bake the Cake: Pour the batter into the prepared pan and spread it into an even layer. Bake for 25-30 minutes, or until a toothpick inserted into the center comes out clean or with a few moist crumbs attached. The top should be golden brown and spring back lightly when touched. My oven runs hot, so I start checking at 22 minutes.
- Cool Completely: Place the pan on a wire rack and let the cake cool in the pan for about 15 minutes. Then, using the parchment overhang, lift the cake out of the pan and transfer it to the wire rack to cool completely. This is critical. If the cake is even slightly warm, the buttercream will slide right off. I usually let it cool for at least 2 hours, or I make the cake a day ahead and frost it the next day.
- Make the Buttercream: While the cake is cooling, make the frosting. In the bowl of a stand mixer fitted with the paddle attachment (or using a hand mixer and a large bowl), beat the softened butter and cream cheese together on medium speed until smooth, light, and fluffy, about 2-3 minutes. Scrape down the sides and bottom of the bowl.
- Add Sugar and Vanilla: With the mixer on low speed, gradually add the powdered sugar, about ½ cup at a time. Mix until each addition is incorporated before adding the next. Add the vanilla extract and 1 tablespoon of milk. Increase the speed to medium-high and beat for 2-3 minutes, until the frosting is light and fluffy. If it’s too thick, add the remaining tablespoon of milk. If it’s too thin, add a little more powdered sugar.
- Fold in Sprinkles: Using a rubber spatula, gently fold in the rainbow sprinkles. Be careful not to over-mix, or the color from the sprinkles will bleed and turn your frosting a muddy grey. Fold just until they are evenly distributed.
- Frost the Cake: Once the cake is completely cool, place it on a serving platter or cutting board. Using an offset spatula, spread the buttercream evenly over the top of the cake. You can make it as smooth or as swirly as you like. I always add a few extra sprinkles on top for a festive finish.
- Slice and Serve: For clean slices, use a sharp knife and wipe it clean between each cut. This cake is delicious at room temperature or slightly chilled.
Cooking Tips & Techniques
Over the years, I’ve made every mistake in the book with this cake, so you don’t have to. Here are the lessons I’ve learned.
- Don’t Over-mix the Batter: I cannot stress this enough. Once you add the wet ingredients to the dry, mix only until combined. Over-mixing develops the gluten, which leads to a dense, rubbery cake. A few lumps are your friend.
- Room Temperature Ingredients are Non-Negotiable: Cold eggs and cold yogurt won’t emulsify properly with the butter and sugar, leading to a denser cake. Take them out of the fridge 30 minutes before you start baking. For the buttercream, cold cream cheese will leave you with lumps no matter how long you beat it.
- The Parchment Paper Trick: I used to grease and flour my pan and still end up with cake stuck in the corners. Using parchment paper with an overhang is a game-changer. It makes lifting the cake out of the pan effortless and ensures you don’t scratch your non-stick bakeware.
- Patience with Cooling: I once tried to speed things up by putting a warm cake in the fridge to cool. The condensation made the top of the cake soggy, and the frosting became a sticky, sliding mess. Trust the process and let it cool completely on a rack at room temperature.
- Taste Your Frosting: Before you add the sprinkles, taste the buttercream. Does it need a pinch more salt to balance the sweetness? A tiny splash more vanilla? Adjust it to your preference. This is your cake, after all.
Variations & Adaptations
This recipe is wonderfully flexible. Here are a few ways to make it your own.
- Gluten-Free Option: Substitute the all-purpose flour with a high-quality 1:1 gluten-free baking blend that contains xanthan gum. I’ve had great results with Bob’s Red Mill 1-to-1 Baking Flour. The texture will be slightly more tender, but it’s still delicious.
- Dairy-Free Adaptation: Use a dairy-free Greek-style yogurt (like Kite Hill) and a neutral-flavored dairy-free milk (like oat or almond). For the buttercream, use a high-quality vegan butter stick (like Miyoko’s) and a dairy-free cream cheese (like Tofutti). The flavor will be slightly different, but it still works beautifully.
- Flavor Twists: Swap the vanilla extract in the cake for 1 teaspoon of almond extract for a classic wedding cake flavor. For the frosting, you can add ½ cup of melted and cooled dark chocolate for a chocolate sprinkle buttercream. I tried a lemon version once by adding the zest of one lemon to the cake batter and a tablespoon of lemon juice to the frosting—it was a huge hit in the spring.
- Different Sprinkles: Feel free to use holiday-themed sprinkles for different occasions. Red and green for Christmas, pastels for Easter, or orange and black for Halloween. Just remember that the shape matters—jimmies bleed less than nonpareils.
- Cupcake Version: This batter makes about 24 cupcakes. Bake them at 350°F (175°C) for 15-18 minutes, or until a toothpick comes out clean. The buttercream recipe will generously frost all 24.
Serving & Storage Suggestions
This cake is best served at room temperature, which allows the crumb to be its most tender and the buttercream to be perfectly soft. If you’ve chilled it, let it sit on the counter for about 30 minutes before slicing.
For presentation, I love to serve it directly from the pan on a beautiful wooden board or a simple white platter. A few extra sprinkles scattered on the plate and a dollop of lightly sweetened whipped cream on the side makes it feel even more special. It pairs wonderfully with a tall glass of cold milk, a hot cup of coffee, or a scoop of vanilla bean ice cream.
Storage: Store leftover cake in an airtight container in the refrigerator for up to 5 days. The cake itself will stay moist, and the frosting will firm up slightly, which makes for very neat slices. I actually prefer the texture of the cake on day two—the flavors have had time to meld together.
Freezing: You can freeze the unfrosted cake layers for up to 3 months. Wrap them tightly in plastic wrap and then in a layer of foil. Thaw overnight in the refrigerator before frosting. The frosted cake can also be frozen for up to a month. Place it in the freezer uncovered for an hour to firm up the frosting, then wrap it tightly. Thaw in the fridge overnight.
Nutritional Information & Benefits
Please note that these are estimates and will vary based on the specific brands and substitutions you use.
Per Serving (1/12th of cake):
- Calories: ~320
- Fat: 14g
- Saturated Fat: 6g
- Carbohydrates: 48g
- Sugar: 36g
- Protein: 5g
- Fiber: 1g
The key health benefits here come from the swaps. The Greek yogurt adds protein and calcium while reducing the amount of oil and eggs needed. The cream cheese in the frosting provides a small amount of protein and calcium, and it allows us to use less butter and significantly less powdered sugar than a traditional American buttercream. This cake is lower in saturated fat and sugar than a standard birthday cake, making it a more balanced choice for a celebration. It’s still a treat, but it’s one that won’t leave you crashing an hour later. For those watching their gluten or dairy intake, the variations above provide excellent options.
Conclusion
This Lightened-Up Birthday Sheet Cake with Rainbow Sprinkle Buttercream is more than just a recipe—it’s a permission slip to celebrate without the guilt. It’s the cake I bring to every party, the one that disappears first, and the one that gets asked for by name. It proves that you can have your cake and eat it too, without compromising on flavor or that nostalgic, joyful feeling. I love that it’s so simple to put together, yet it always feels like an occasion. I encourage you to make it your own—play with the extracts, change up the sprinkles, or try a different frosting. The most important thing is that you enjoy the process and the result.
I’d love to hear how it turns out for you! Drop a comment below and let me know if you tried any variations, or tag me in your photos on social media. Your kitchen adventures inspire me every single day. Now go on, preheat that oven and make someone’s day a little brighter.
Frequently Asked Questions
Can I use a different size pan?
Yes, you can use two 8-inch round pans for a layer cake. Bake them for about 22-26 minutes. The baking time will be slightly less than the sheet cake, so start checking early.
Can I make this cake vegan?
I haven’t tested a vegan version of this specific recipe, but you could try using a flax egg (1 tablespoon ground flaxseed mixed with 3 tablespoons water per egg) and a vegan yogurt and milk. The texture will be denser, but it should still be tasty.
My frosting turned out too runny. What did I do wrong?
This usually happens if the butter or cream cheese was too soft, or if you added too much milk. Try popping the frosting in the refrigerator for 15-20 minutes to firm it up, then beat it again briefly.
Can I use a boxed cake mix to make this lighter?
Absolutely! You can apply the same principle by substituting the oil in a box mix with an equal amount of Greek yogurt. It will make the cake much more moist and add a protein boost.
Do I have to use rainbow sprinkles?
Not at all! Use any sprinkles you like. Chocolate jimmies, holiday mixes, or even crushed freeze-dried berries would be delicious. Just be mindful that some sprinkles bleed more color than others.
Pin This Recipe!
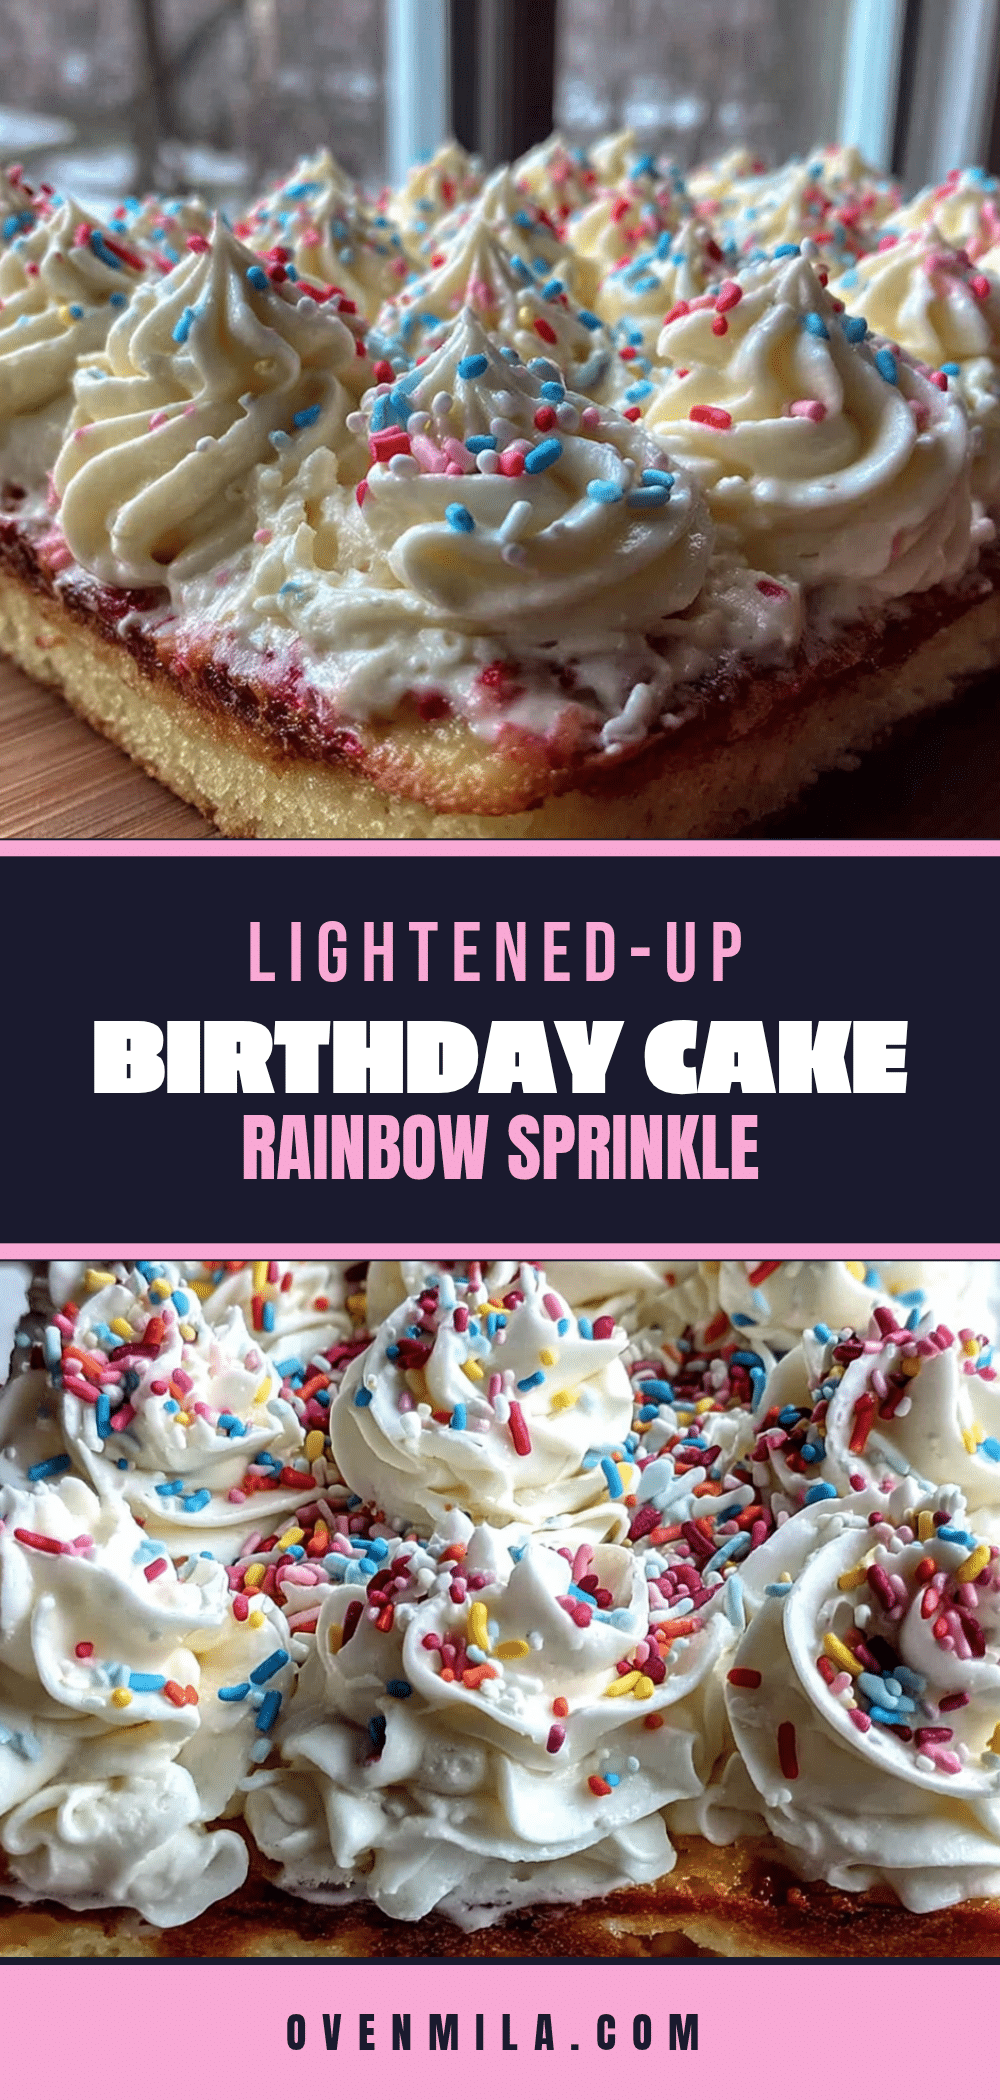
Lightened-Up Birthday Sheet Cake with Rainbow Sprinkle Buttercream
A tender, moist sheet cake with a fluffy, less-sweet buttercream that delivers pure birthday joy without the sugar hangover. This one-bowl wonder uses Greek yogurt and cream cheese to lighten things up while keeping every bite deliciously nostalgic.
- Prep Time: 15 minutes
- Cook Time: 25-30 minutes
- Total Time: 2 hours 45 minutes (including cooling)
- Yield: 12 servings 1x
- Category: Dessert
- Cuisine: American
Ingredients
- 1 ½ cups (190g) all-purpose flour
- 1 cup (200g) granulated sugar
- ½ cup (120g) plain Greek yogurt (full-fat or 2%)
- ¼ cup (60ml) vegetable oil
- 2 large eggs, at room temperature
- ½ cup (120ml) milk (any kind)
- 2 teaspoons vanilla extract
- 1 ½ teaspoons baking powder
- ¼ teaspoon baking soda
- ½ teaspoon salt
- ½ cup (113g) unsalted butter, softened
- 4 ounces (113g) cream cheese, softened
- 3 cups (360g) powdered sugar
- 1 teaspoon vanilla extract
- 1–2 tablespoons milk
- ⅓ cup rainbow sprinkles (jimmies)
Instructions
- Preheat your oven to 350°F (175°C). Line your 9×13-inch pan with parchment paper, leaving a little overhang on the long sides. Lightly grease the parchment and the exposed sides of the pan with a little oil or cooking spray.
- In a large mixing bowl, whisk together the flour, sugar, baking powder, baking soda, and salt. Make sure there are no lumps.
- In a separate medium bowl or a large liquid measuring cup, whisk together the Greek yogurt, oil, eggs, milk, and vanilla extract. Whisk until the mixture is smooth and the yogurt is fully incorporated.
- Pour the wet ingredients into the bowl with the dry ingredients. Using a rubber spatula or a wooden spoon, gently fold the mixture together. Stir just until you no longer see streaks of flour. A few small lumps are perfectly fine. Do not over-mix.
- Pour the batter into the prepared pan and spread it into an even layer. Bake for 25-30 minutes, or until a toothpick inserted into the center comes out clean or with a few moist crumbs attached. The top should be golden brown and spring back lightly when touched.
- Place the pan on a wire rack and let the cake cool in the pan for about 15 minutes. Then, using the parchment overhang, lift the cake out of the pan and transfer it to the wire rack to cool completely. This is critical—the cake must be completely cool before frosting.
- While the cake is cooling, make the frosting. In the bowl of a stand mixer fitted with the paddle attachment (or using a hand mixer and a large bowl), beat the softened butter and cream cheese together on medium speed until smooth, light, and fluffy, about 2-3 minutes. Scrape down the sides and bottom of the bowl.
- With the mixer on low speed, gradually add the powdered sugar, about ½ cup at a time. Mix until each addition is incorporated before adding the next. Add the vanilla extract and 1 tablespoon of milk. Increase the speed to medium-high and beat for 2-3 minutes, until the frosting is light and fluffy. If it’s too thick, add the remaining tablespoon of milk. If it’s too thin, add a little more powdered sugar.
- Using a rubber spatula, gently fold in the rainbow sprinkles. Be careful not to over-mix, or the color from the sprinkles will bleed and turn your frosting a muddy grey. Fold just until they are evenly distributed.
- Once the cake is completely cool, place it on a serving platter or cutting board. Using an offset spatula, spread the buttercream evenly over the top of the cake. Add a few extra sprinkles on top for a festive finish.
- For clean slices, use a sharp knife and wipe it clean between each cut. This cake is delicious at room temperature or slightly chilled.
Notes
Don’t over-mix the batter—a few lumps are fine. Room temperature ingredients are essential for proper emulsification. Let the cake cool completely before frosting to avoid a melty mess. For the buttercream, use jimmies-style sprinkles to minimize color bleeding. The cake can be made a day ahead and frosted the next day.
Nutrition
- Serving Size: 1/12 of cake
- Calories: 320
- Sugar: 36
- Fat: 14
- Saturated Fat: 6
- Carbohydrates: 48
- Fiber: 1
- Protein: 5
Keywords: lightened-up birthday cake, sheet cake, rainbow sprinkle buttercream, healthy birthday cake, Greek yogurt cake, easy sheet cake, one-bowl cake


