Juggling three kids, a barking dog, and a half-filled fridge, I was scrambling when I noticed a small stash of huckleberries hiding in the back of the fridge. Half an hour before the doorbell would ring with neighborhood kids starving for a snack, I grabbed the berries and some basic pantry staples. There was no time for fussing or fancy baking, just a desperate need for something quick, satisfying, and homemade. The kitchen smelled like warm butter and sweet berries within minutes, and those rustic hand pies came together almost by magic. Honestly, they’re one of those recipes that stuck because they saved the day during chaos.
The flaky crust cracked perfectly with every bite, buttery and tender, cradling the tangy-sweet burst of Montana-style huckleberries inside. There’s something about the wild berry’s tartness that pulls you in, and wrapping it all in a handheld pie just feels right — like a little piece of home you can carry around. I’ve since made these pies over and over, not just for the kids but for myself on busy mornings or when I need a quick pick-me-up that feels both comforting and a little wild. It’s not fancy, but it’s real, and that’s why it works so well.
These huckleberry hand pies hold a quiet kind of charm — a reminder of simpler days and the joy of a flaky crust that breaks just right. I trust you’ll find the same calm in the chaos when you make them.
Why You’ll Love This Recipe
After countless attempts at capturing the perfect Montana-style huckleberry hand pies, this recipe became my go-to because it’s just so approachable and reliable. The flaky crust, the juicy filling — it all comes together without headache or fuss. Here’s why this recipe stands out:
- Quick & Easy: Ready in under 45 minutes, perfect for those last-minute snack emergencies or casual weekend baking.
- Simple Ingredients: You’ll find everything you need in your kitchen — no specialty stores or complicated items.
- Perfect for Any Occasion: Whether it’s a cozy afternoon treat, a picnic, or a casual gathering, these hand pies fit the bill.
- Crowd-Pleaser: Kids, adults, picky eaters — everyone loves the buttery crust and sweet-tart filling combo.
- Unbelievably Delicious: The texture is spot-on, with a crisp, flaky exterior and jammy center that’s just bursting with Montana’s signature huckleberries.
This isn’t just any berry pie slathered in sugar. The secret lies in the crust — it’s buttery and flaky without being greasy, and the filling balances sweetness with just a hint of tang, thanks to the wild huckleberries. My little trick? I blend the butter into the flour just right, then chill the dough to get that perfect lift and crisp. It’s a recipe that feels both traditional and fresh, with a nod to Montana’s wild bounty. And, honestly, it’s the kind of recipe that makes you close your eyes after the first bite, savoring that simple, homey goodness.
What Ingredients You Will Need
This recipe uses simple, wholesome ingredients to deliver bold flavor and satisfying texture without the fuss. Most are pantry staples, with the star being fresh or frozen Montana-style huckleberries.
- For the crust:
- 2 ½ cups (315g) all-purpose flour, sifted
- 1 cup (227g) unsalted butter, cold and cubed (I recommend using a high-quality European-style butter for extra richness)
- 1 tsp salt
- 1 tbsp granulated sugar (adds a touch of sweetness to balance the tart berries)
- 6-8 tbsp ice water (adjust as needed to bring the dough together)
- For the huckleberry filling:
- 2 cups (300g) fresh or frozen Montana-style huckleberries (wild if possible for authentic flavor)
- ½ cup (100g) granulated sugar (adjust based on berry sweetness)
- 1 tbsp cornstarch (to thicken the filling)
- 1 tsp lemon juice (brightens the berry flavor)
- ½ tsp vanilla extract (optional but adds warmth)
- For assembly:
- 1 egg, beaten (for egg wash to get that golden crust)
- Coarse sugar, for sprinkling (optional, but adds a nice crunch and sparkle)
If you’re looking to swap things up, feel free to use almond flour for a gluten-free crust or coconut sugar for a slightly different sweetness profile. For vegan options, plant-based butter alternatives work well, although the texture might change slightly. I like using frozen huckleberries when fresh ones aren’t in season — just thaw and drain excess liquid before filling.
Equipment Needed
- Mixing bowls (large and medium sizes)
- Pastry cutter or food processor (for cutting butter into flour; a food processor speeds things up but a pastry cutter works fine)
- Rolling pin (essential for getting even dough thickness)
- Baking sheet lined with parchment paper or silicone mat
- Pastry brush (for the egg wash)
- Measuring cups and spoons
- Sharp knife or round biscuit cutter (about 4-5 inches diameter to shape pies)
I’ve tried making hand pies with everything from a wine bottle as a rolling pin substitute (it works in a pinch!) to using silicone baking mats instead of parchment paper. Just be sure to chill your dough and tools well — it makes a huge difference. Investing in a good pastry cutter is worth it if you bake often; it cuts butter cleanly, giving you flakier results.
Preparation Method
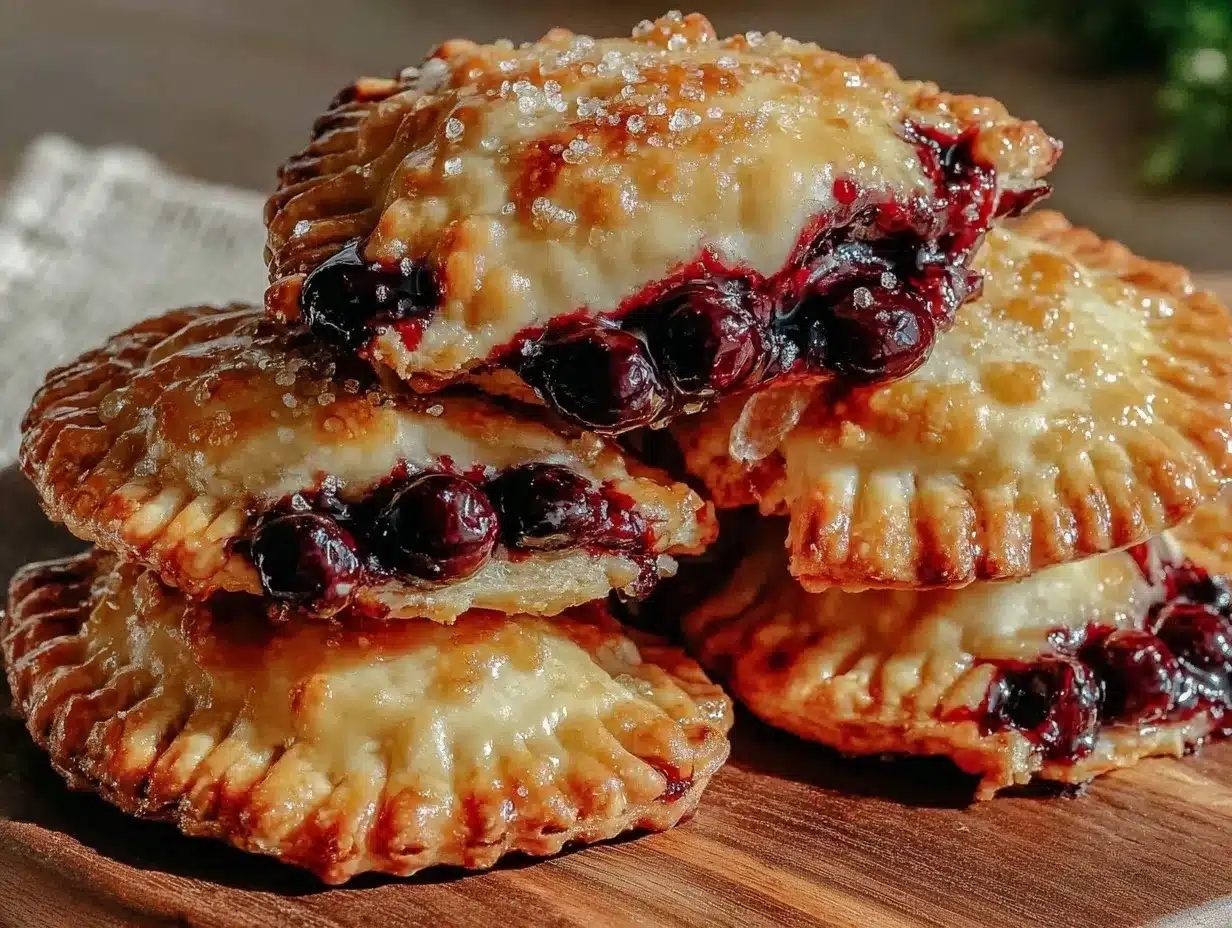
- Make the crust dough: In a large bowl, whisk together the flour, sugar, and salt. Add the cold cubed butter. Use a pastry cutter or food processor pulse to cut the butter into the flour until the mixture resembles coarse crumbs with pea-sized pieces of butter remaining. This creates the flaky layers. (About 5 minutes)
- Add ice water: Sprinkle 6 tablespoons of ice water over the mixture, stirring gently with a fork. Add more water, one tablespoon at a time, until dough just holds together when squeezed. Don’t overwork it or the crust will get tough. (2-3 minutes)
- Chill the dough: Form dough into two discs, wrap tightly in plastic wrap, and refrigerate for at least 1 hour. This resting time lets the butter firm up and the gluten relax, making the crust tender and flaky.
- Prepare the filling: In a medium bowl, combine huckleberries, sugar, cornstarch, lemon juice, and vanilla. Toss gently to coat and let sit while dough chills. The sugar and cornstarch will pull juices from the berries and thicken during baking.
- Roll out the dough: On a lightly floured surface, roll one dough disc to about ⅛ inch (3mm) thickness. Use a 4-5 inch (10-13 cm) round cutter to cut out circles. Re-roll scraps as needed but don’t overwork.
- Fill and seal pies: Place about 2 tablespoons of filling in the center of each dough circle, leaving a small border. Moisten edges with water, fold dough over to form a half-moon shape, and press edges firmly with a fork to seal. Make a tiny slit on top to vent steam.
- Apply egg wash: Place pies on the lined baking sheet. Brush with beaten egg and sprinkle with coarse sugar if desired. This gives a golden, sparkling finish.
- Bake: Preheat oven to 375°F (190°C). Bake pies for 25-30 minutes or until golden brown and bubbly. Rotate the pan halfway through for even browning.
- Cool and serve: Let pies cool on a wire rack for 10 minutes before eating. The filling will be hot and set a bit as it cools.
If the filling seems watery, add a bit more cornstarch next time. Also, chilling the dough well is absolutely key — I learned that the hard way when pies came out tough and flat. The flaky crust and juicy filling combo is worth the wait!
Cooking Tips & Techniques
Making flaky hand pies isn’t rocket science, but a few tricks make all the difference. Here’s what I’ve learned:
- Keep everything cold. Butter, flour, water — chilling these stops the butter from melting prematurely, which creates flaky layers as it bakes.
- Don’t overwork the dough. Stir just enough to combine ingredients. Over-kneading develops gluten, making the crust tough.
- Use cornstarch in the filling. It thickens the juices from the berries without clouding the color or flavor.
- Vent the pies. Small slits on top prevent soggy bottoms by letting steam escape.
- Rotate the pan mid-bake. Ovens often have hot spots, so turning the sheet helps pies brown evenly.
- Let pies cool slightly. The filling is molten hot right out of the oven, so patience helps avoid burns and lets the juices set.
I once skipped chilling the dough because I was in a rush — big mistake. The crust melted into a greasy mess. Since then, I always plan ahead or freeze dough discs if I need to make pies later. Also, if you want to speed things up, prepping filling while dough chills is a lifesaver.
Variations & Adaptations
While these hand pies are fantastic as-is, you can switch things up for different occasions or dietary needs:
- Flavor twists: Add a pinch of cinnamon or cardamom to the filling for warming spice notes. A splash of bourbon or vanilla extract adds depth, too.
- Different berries: Try blueberries, blackberries, or a mix of wild berries depending on season and availability. Fresh or frozen both work well.
- Gluten-free crust: Substitute almond flour or a gluten-free all-purpose blend. The texture differs but still delicious.
- Vegan option: Use coconut oil or vegan butter and a flax egg for the wash.
- Mini pies: Cut smaller circles for bite-sized treats perfect for parties or lunchboxes.
I once made these with a splash of maple syrup in the filling, inspired by a maple bourbon pulled jackfruit recipe I love — it gave the filling a lovely hint of richness. Feel free to experiment and make this recipe your own.
Serving & Storage Suggestions
These Montana-style huckleberry hand pies are best served warm or at room temperature, letting that buttery crust shine through. They pair wonderfully with a cup of coffee or tea for breakfast or afternoon snack.
If serving for a crowd, line them up on a rustic wooden board or a colorful plate to highlight their golden glow. For a fresh contrast, a dollop of whipped cream or a scoop of vanilla ice cream alongside works beautifully.
Store leftover pies in an airtight container at room temperature for up to 2 days or in the fridge for up to 5 days. To freeze, wrap individually in plastic wrap and place in a freezer-safe bag for up to 3 months.
Reheat gently in a 350°F (175°C) oven for 8-10 minutes to restore crispiness. Microwave reheating softens the crust, so oven warming is best if you want that flaky texture back.
Flavors tend to deepen and meld after a day, so sometimes I make pies ahead and let them rest overnight. It’s a nice way to prep for a gathering without last-minute stress.
Nutritional Information & Benefits
Each hand pie contains approximately 250-300 calories, depending on size and ingredient variations. The huckleberries provide antioxidants and vitamin C, giving a little nutritional boost alongside the indulgence.
The crust, rich in butter, delivers satisfying fats that help keep you full, while the moderate sugar keeps sweetness balanced. Using fresh berries means you’re avoiding artificial flavors or preservatives common in store-bought desserts.
This recipe can be adapted for gluten-free or vegan diets, making it accessible for many. The natural tartness of huckleberries helps keep added sugar low compared to other fruit fillings, which is a nice plus for mindful eaters.
For a wholesome pairing, try these pies with a fresh salad like the roasted edamame quinoa salad to balance a meal with savory and sweet.
Conclusion
These Montana-style huckleberry hand pies have become my secret weapon against hectic days and snack-time battles. The buttery flaky crust paired with wild huckleberries feels like a tiny celebration in each bite, simple yet packed with flavor. What I love most is how forgiving the recipe is — a few tweaks here and there, and it always delivers that satisfying comfort food feeling.
Give yourself some grace and fun with this one; it’s not about perfection but the joy of homemade goodness. Whether you’re feeding a hungry family or treating yourself, these pies bring a little Montana magic to your kitchen.
Feel free to share your own twists or questions — I’d love to hear how your hand pies turn out!
Frequently Asked Questions
Can I use frozen huckleberries for the filling?
Yes! Just thaw and drain any excess liquid before mixing with sugar and cornstarch to avoid a soggy crust.
How do I make the crust extra flaky?
Keep the butter and dough cold, don’t overwork the dough, and chill it before rolling out to get the flakiest crust.
Can I prepare these hand pies in advance?
Absolutely. You can assemble and freeze them before baking. Bake straight from frozen, adding a few extra minutes to cooking time.
What can I substitute if I don’t have cornstarch?
Arrowroot powder or tapioca starch work well as thickening agents for the filling.
Are these hand pies suitable for a gluten-free diet?
Yes, by swapping the all-purpose flour with gluten-free flour blends or almond flour, you can make a tasty gluten-free version.
Pin This Recipe!
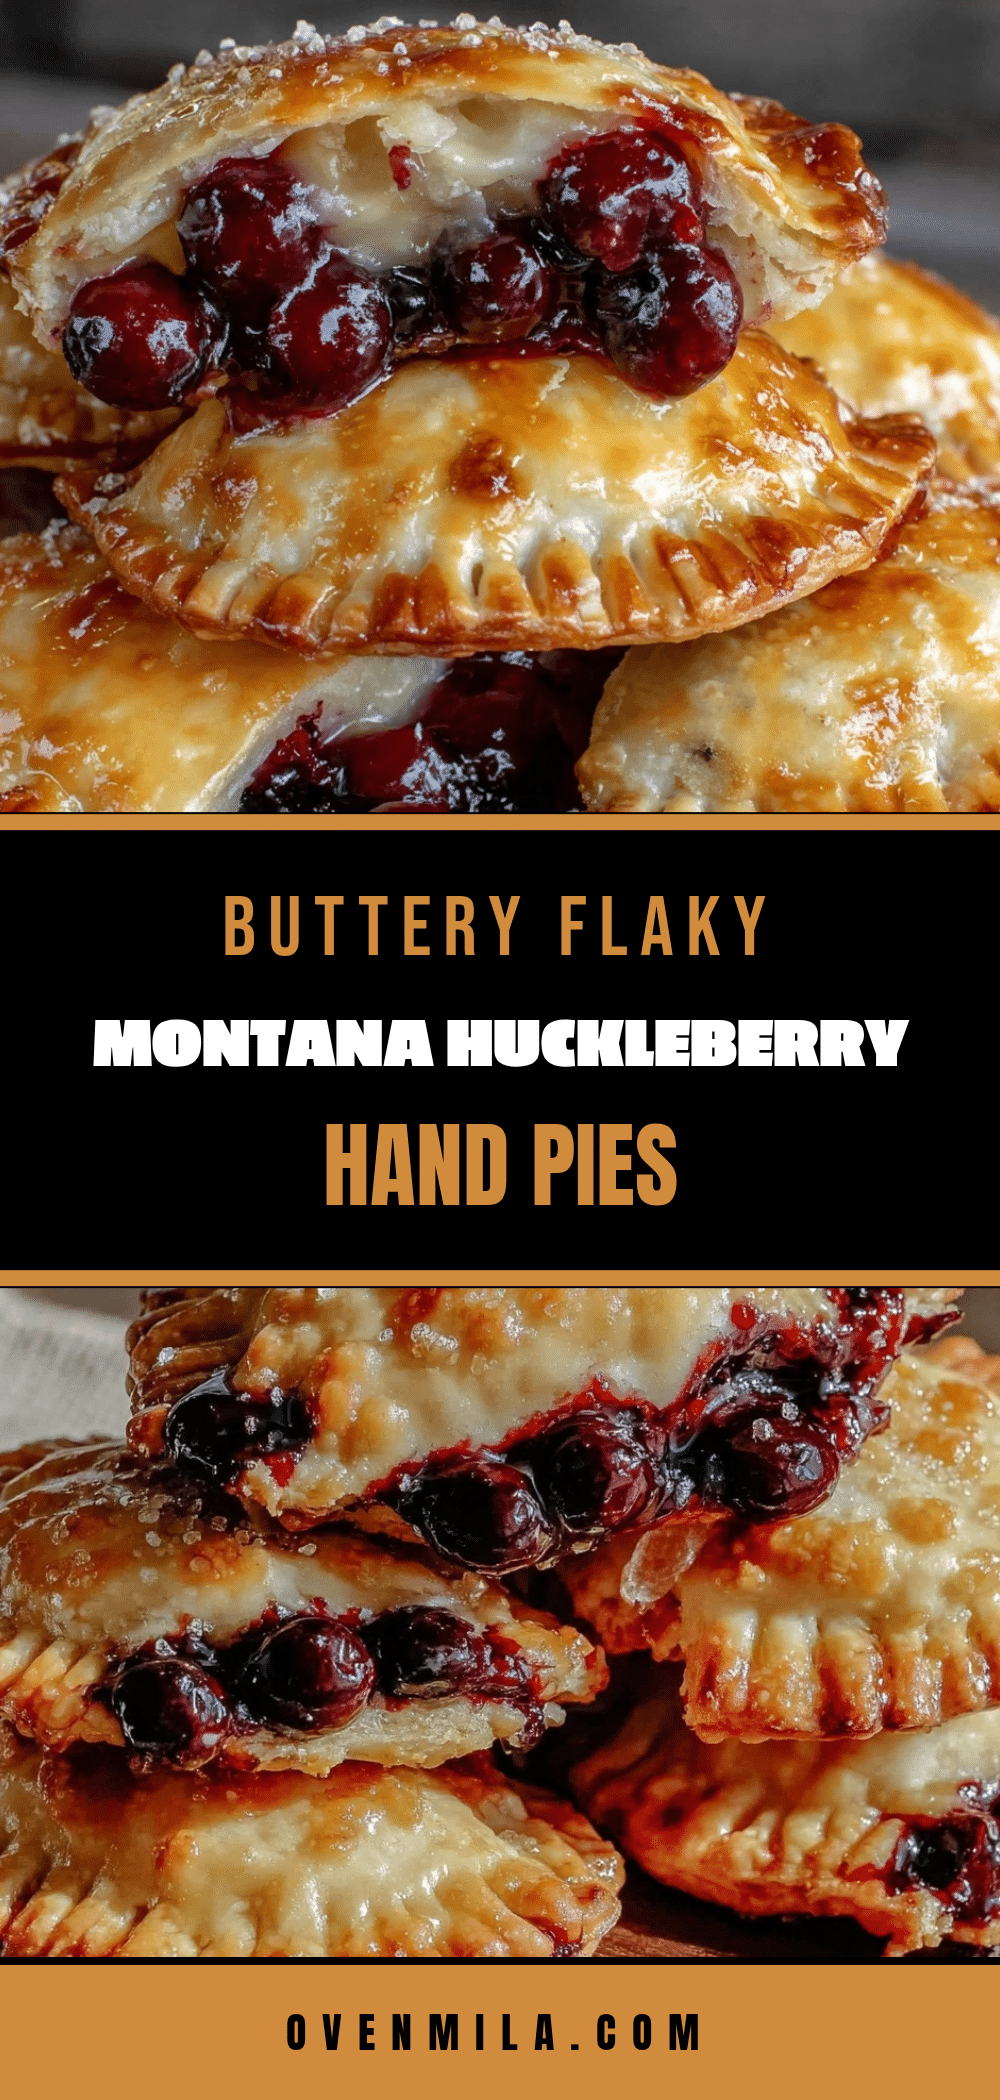
Montana-Style Huckleberry Hand Pies
Quick and easy homemade flaky hand pies filled with tangy-sweet Montana-style huckleberries, perfect for snacks or casual gatherings.
- Prep Time: 15 minutes
- Cook Time: 30 minutes
- Total Time: 45 minutes
- Yield: 8-10 hand pies 1x
- Category: Dessert
- Cuisine: American
Ingredients
- 2 ½ cups (315g) all-purpose flour, sifted
- 1 cup (227g) unsalted butter, cold and cubed
- 1 tsp salt
- 1 tbsp granulated sugar
- 6–8 tbsp ice water
- 2 cups (300g) fresh or frozen Montana-style huckleberries
- ½ cup (100g) granulated sugar
- 1 tbsp cornstarch
- 1 tsp lemon juice
- ½ tsp vanilla extract (optional)
- 1 egg, beaten (for egg wash)
- Coarse sugar, for sprinkling (optional)
Instructions
- In a large bowl, whisk together the flour, sugar, and salt. Add the cold cubed butter. Use a pastry cutter or food processor pulse to cut the butter into the flour until the mixture resembles coarse crumbs with pea-sized pieces of butter remaining.
- Sprinkle 6 tablespoons of ice water over the mixture, stirring gently with a fork. Add more water, one tablespoon at a time, until dough just holds together when squeezed. Don’t overwork it.
- Form dough into two discs, wrap tightly in plastic wrap, and refrigerate for at least 1 hour.
- In a medium bowl, combine huckleberries, sugar, cornstarch, lemon juice, and vanilla. Toss gently to coat and let sit while dough chills.
- On a lightly floured surface, roll one dough disc to about ⅛ inch (3mm) thickness. Use a 4-5 inch round cutter to cut out circles. Re-roll scraps as needed but don’t overwork.
- Place about 2 tablespoons of filling in the center of each dough circle, leaving a small border. Moisten edges with water, fold dough over to form a half-moon shape, and press edges firmly with a fork to seal. Make a tiny slit on top to vent steam.
- Place pies on the lined baking sheet. Brush with beaten egg and sprinkle with coarse sugar if desired.
- Preheat oven to 375°F (190°C). Bake pies for 25-30 minutes or until golden brown and bubbly. Rotate the pan halfway through for even browning.
- Let pies cool on a wire rack for 10 minutes before eating.
Notes
Keep all ingredients cold to ensure a flaky crust. Do not overwork the dough to avoid toughness. Chill dough for at least 1 hour before rolling. Vent pies with a small slit to prevent soggy bottoms. Rotate baking sheet halfway through baking for even browning. Reheat in oven to restore crispiness.
Nutrition
- Serving Size: 1 hand pie
- Calories: 275
- Sugar: 15
- Sodium: 180
- Fat: 16
- Saturated Fat: 10
- Carbohydrates: 30
- Fiber: 2
- Protein: 3
Keywords: huckleberry hand pies, Montana-style, flaky crust, homemade pies, berry hand pies, quick dessert, easy baking, wild berries


